How to Screenshot a Single Element with PhantomJS
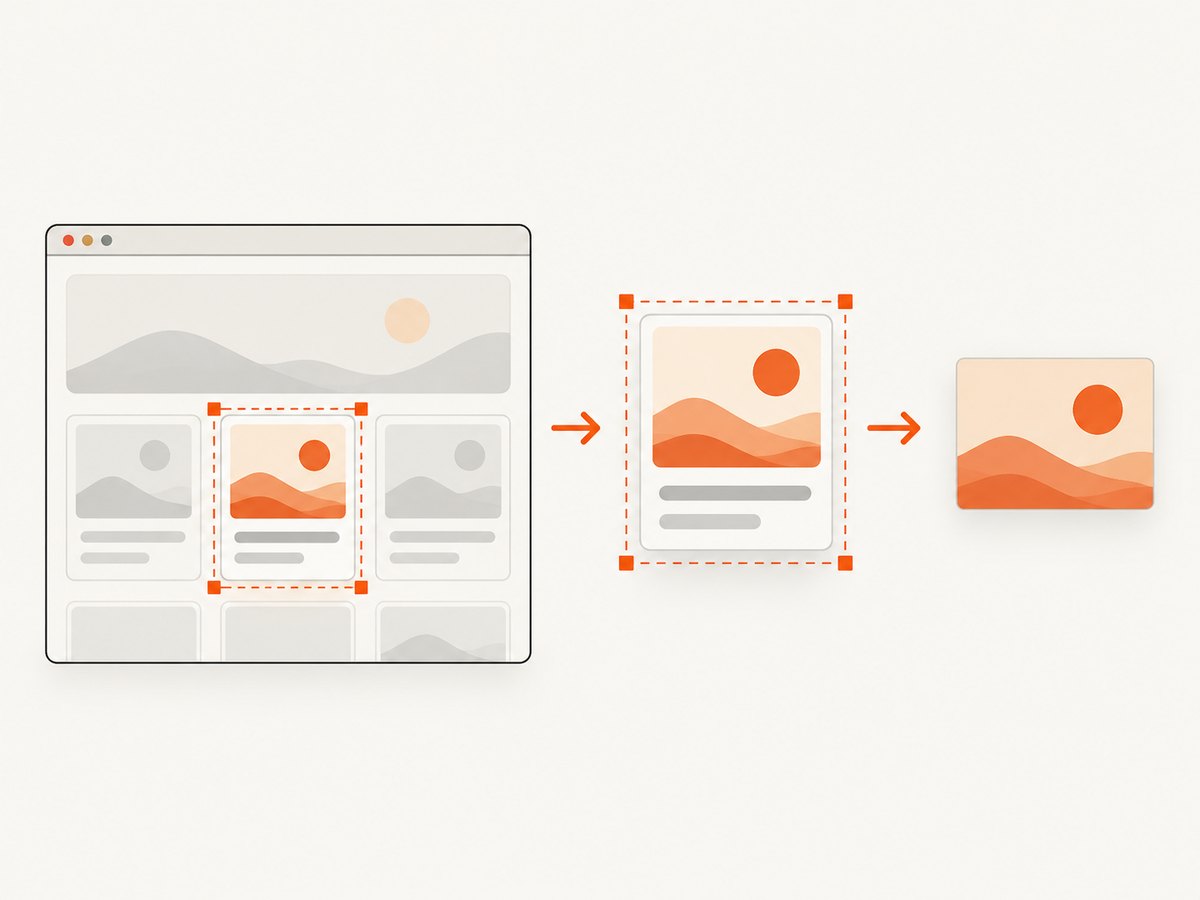
PhantomJS captures a rectangle, not a DOM selector. Find an element’s rendered bounds, set page.clipRect, and render after the page is ready.

PhantomJS does not document a selector-based element screenshot call. To capture one element, find its rendered rectangle, assign that rectangle’s top, left, width, and height to page.clipRect, then call page.render() after the page is visually ready. In other words, PhantomJS captures a region; your script supplies the element’s geometry. The coordinates below are illustrative, not measurements of a real page.
1. Capture a rectangle with PhantomJS
Save this as element.js, replace the URL and crop coordinates, then run it with the PhantomJS executable available in your environment:
var page = require('webpage').create();

page.viewportSize = { width: 1024, height: 768 };
page.open('https://example.com/', function (status) {
  if (status !== 'success') {
    console.error('Unable to load the page');
    phantom.exit(1);
    return;
  }

  // Illustrative rectangle: replace with the target element's bounds.
  page.clipRect = {
    top: 120,
    left: 80,
    width: 400,
    height: 220
  };

  page.render('element.png');
  phantom.exit();
});
The official screen-capture guide demonstrates assigning page.clipRect before rendering, and the page automation API describes it as the portion of the page to capture. Its fields are top, left, width, and height. It does not document passing a CSS selector to page.render() to capture a node. [PhantomJS screen capture guide; clipRect API]
2. Find the element’s rendered bounds
The basic example uses fixed numbers so the capture sequence is clear. For a real page, the script must discover the target node’s geometry and account for the coordinate space used by the rendered page. PhantomJS’s cited API documentation does not provide a built-in selector-to-clip conversion helper, so do not assume a selector can be supplied in place of the rectangle.
A practical workflow is:
- Choose a viewport size and set it before opening or measuring the page.
- Wait until the target exists and the content affecting its position has rendered.
- Inspect the target’s rectangle in the page and translate it to the coordinate space expected by
clipRect. - Set all four clip fields and render. Check the saved image for clipping or surrounding content.
- Repeat at the same viewport and page state when you need reproducible output.
Do not copy coordinates from a different viewport or from a page state with a different scroll position. If the page scrolls, fonts swap, images load late, or a banner changes layout, the target may move between measurement and capture. Coordinate handling can depend on page layout and the PhantomJS version in use; verify it against your actual page instead of assuming a conversion rule.
What the four values mean
| Field | Purpose | Check |
|---|---|---|
top |
Vertical start of the crop | Is the target’s top edge inside the captured region? |
left |
Horizontal start of the crop | Does the crop start at the intended horizontal coordinate? |
width |
Crop width | Does it include the full target without unwanted neighbors? |
height |
Crop height | Does it include the full target, including relevant padding or borders? |
These values describe a rectangle, not the semantic shape of an element. A rotated, clipped, or irregularly shaped node may occupy a rectangular box that includes background beyond its visible pixels. An element extending beyond a scrollable container’s visible area may also need special handling; a rectangular page crop does not automatically reveal content that the page itself clips.
3. Wait for the right visual state
page.open() reports whether navigation succeeded, but a successful load callback does not establish that every asynchronous visual change has finished. The PhantomJS homepage example waits briefly before rendering, but a fixed delay is only a timing guess. It can waste time on fast pages and still capture too early on slow ones. Prefer a condition tied to the content you need where your script and page allow it.
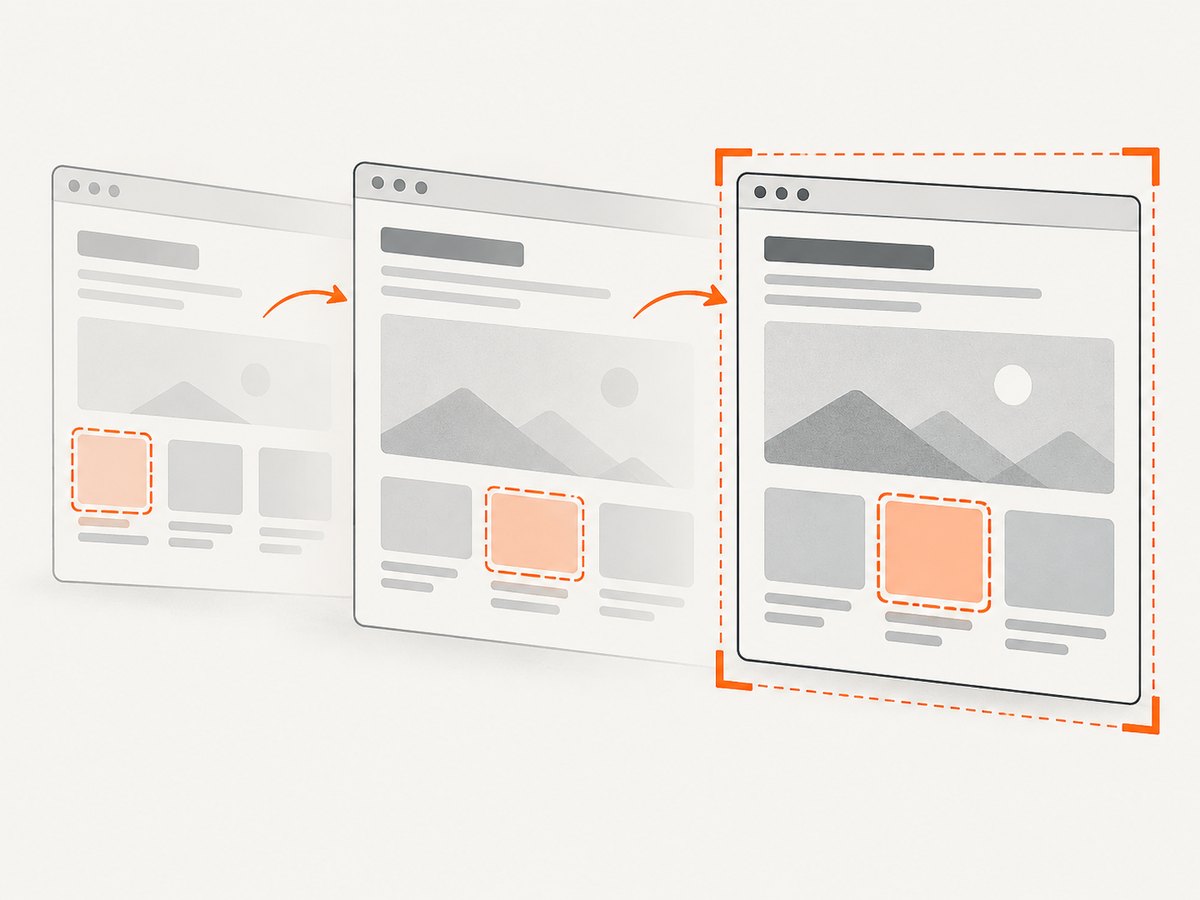
Before capture, consider whether the target depends on:
- JavaScript rendering or data fetched after navigation;
- web fonts that change line wrapping and element dimensions;
- images whose intrinsic dimensions affect layout;
- animations, carousels, or transitions that change the frame;
- cookie notices, sticky headers, or other overlays that cover the target.
If you cannot observe a reliable ready condition, use a measured delay as a fallback and inspect output across representative runs. The official documentation lists PNG, JPEG, GIF, and PDF render outputs. For a single-element image capture, choose an image extension such as .png or .jpg; do not infer that changing the extension changes the crop geometry. [PhantomJS screen capture guide]
4. Choose a format and manage output
PNG is a sensible default for interface elements with text, sharp edges, or flat colors. JPEG can be useful when a smaller lossy image is acceptable, especially for photographic content. PhantomJS’s guide also lists GIF and PDF as supported render types; PDF is generally a document output rather than a convenient single-element image. Select the format based on the consumer of the result, and verify the output file where it will be used.
For repeatable captures, make the viewport, page state, target rectangle, output path, and format explicit. Treat screenshots as generated artifacts: write to a known location, distinguish runs if necessary, and check process exit status in automation. If you capture many pages, avoid rendering before each page has reached its intended visual state, and avoid retaining more image data than the next pipeline step needs.
5. Troubleshooting PhantomJS element crops
| Symptom | Likely cause | Fix |
|---|---|---|
| Image is blank or the page is missing | Navigation failed, the page is not ready, or the target is absent. | Check status, log the requested URL, and wait for a page-specific condition before rendering. |
| Crop captures the wrong area | Coordinates came from a different viewport, scroll state, or layout. | Set the viewport consistently, measure after layout stabilizes, and verify the coordinate space against the rendered result. |
| Target is cut off | Width or height is too small, or the target moved after measurement. | Re-measure immediately before rendering and include the full intended bounds. |
| Extra content appears around the target | The clip rectangle is larger or offset from the target’s rendered box. | Correct top/left and reduce width/height as appropriate; remember the crop is rectangular. |
| Intermittent layout or text differences | Fonts, images, asynchronous data, or animation were still changing. | Wait on relevant content where possible; otherwise use a deliberate delay and compare repeated captures. |
| Unexpected crop at another viewport | Responsive layout changed the target position or dimensions. | Measure independently at each viewport; do not reuse fixed coordinates across breakpoints. |
| Process hangs or exits before output | A failure path did not exit, or rendering was attempted before navigation completed. | Handle both success and failure explicitly, log errors, and make each path terminate the process. |
6. Maintenance and alternatives
The PhantomJS project homepage states: “Important: PhantomJS development is suspended until further notice (more details).” It identifies QtWebKit as the backend. That status matters when starting new automation: weigh maintenance status, browser behavior, runtime requirements, whether the API accepts a node reference or needs manual coordinates, and how it handles scrolling and waiting. Existing scripts may still be adequate for a contained legacy workflow, but plan around the project’s stated status. [PhantomJS project homepage]
For new browser automation, the official Playwright API documents locator.screenshot() for a matched element. It scrolls the element into view, waits for actionability checks, and throws if the element detaches; its documentation also describes visibility limitations for covered content and off-screen portions of scrollable containers. Puppeteer documents ElementHandle.screenshot() for an element and says it attempts to scroll a hidden element into view. Review their current official API pages for details before adopting them; this article makes no benchmark or migration-test claim. [Playwright Locator API; Puppeteer screenshots guide]
7. Or skip the browser setup
If you need a hosted screenshot rather than maintaining a PhantomJS capture script, ScreenshotNeo is a website screenshot API and MCP server for developers. Its API accepts a URL in one GET request and can return PNG, JPEG, WebP, or PDF. It also supports capturing one element by CSS selector, alongside full-page capture, viewport and device options, waits, custom CSS and JavaScript, hiding selectors, and other capture controls. See the ScreenshotNeo API documentation for parameters and setup.
curl -G "https://api.screenshotneo.com/v1/shot" -d access_key=YOUR_API_KEY --data-urlencode url=https://stripe.com -o shot.webpEquivalent request examples:
import requests

r = requests.get(
    "https://api.screenshotneo.com/v1/shot",
    params={"access_key": "YOUR_API_KEY", "url": "https://stripe.com"},
    timeout=90,
)
open("shot.webp", "wb").write(r.content)
const q = new URLSearchParams({ access_key: 'YOUR_API_KEY', url: 'https://stripe.com' });
const res = await fetch(`https://api.screenshotneo.com/v1/shot?${q}`);
if (!res.ok) throw new Error(`Screenshot request failed: ${res.status}`);
await Bun.write('shot.webp', res);In Node.js environments without Bun, save the response body using the file-writing API for your runtime. The example uses the documented request construction and checks the HTTP status before writing. Store your key as a secret rather than embedding it in public client code.
- Cookie banners, popups, and chat widgets are removed before the shot; each cleanup step can be turned off.
- Bot checks, blank pages, and failed loads are never billed; response headers say whether the page was clean and billed.
- An MCP server lets AI agents use
take_screenshot,get_page_info, andcapture_pdf. - The Free plan includes 1,000 shots a month with no card; paid plans start at $5 for 3,000 shots.
Sign up free for 1,000 screenshots a month, with no card required.
8. FAQ
Can I pass a CSS selector to PhantomJS render?
The cited API documents rectangular clipping, not a selector-based screenshot call. Your script must determine the element’s rectangle and provide it to page.clipRect.
Does clipRect capture a full element that extends below the viewport?
It captures the specified page region. Ensure the target content is actually rendered and visible in the relevant coordinate space; scrollable containers and clipped content may require a different approach.
Is PhantomJS still maintained?
The project homepage says development is suspended until further notice. Consult the project’s current homepage when evaluating it for new work.
Which output types are documented?
The PhantomJS screen-capture guide lists PNG, JPEG, GIF, and PDF.


