How to Capture a Webpage Screenshot in TIFF Format with PhantomJS
PhantomJS does not render TIFF directly. Capture a PNG, then convert it to TIFF with ImageMagick using this complete workflow.
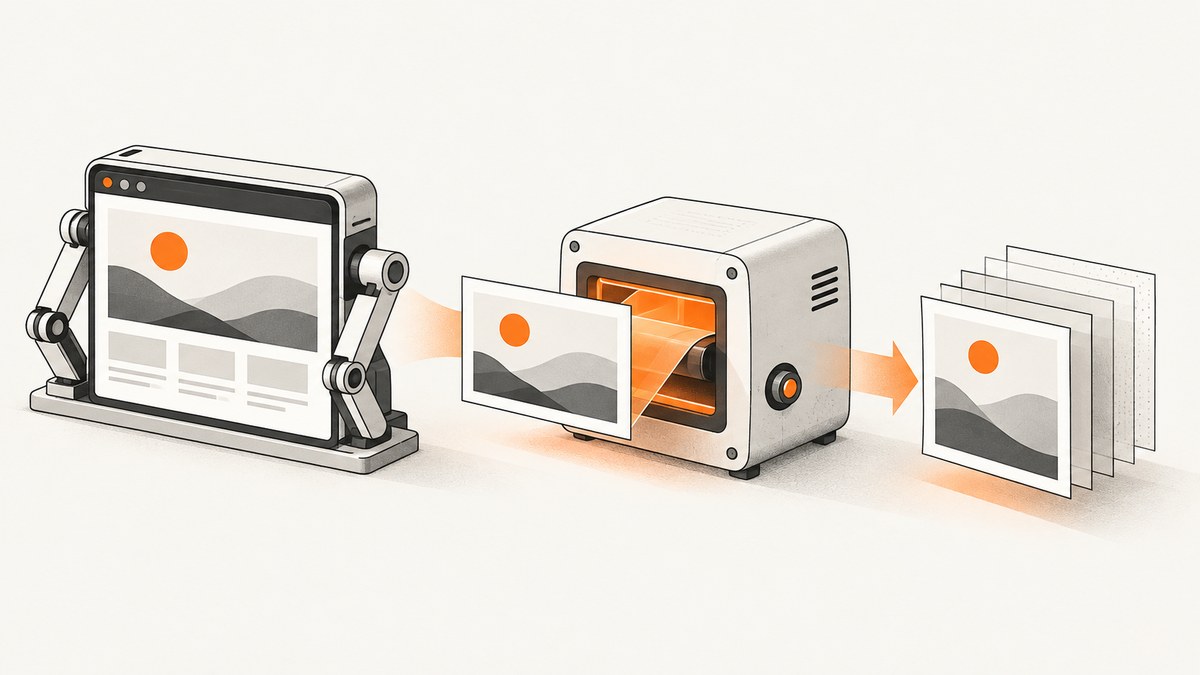
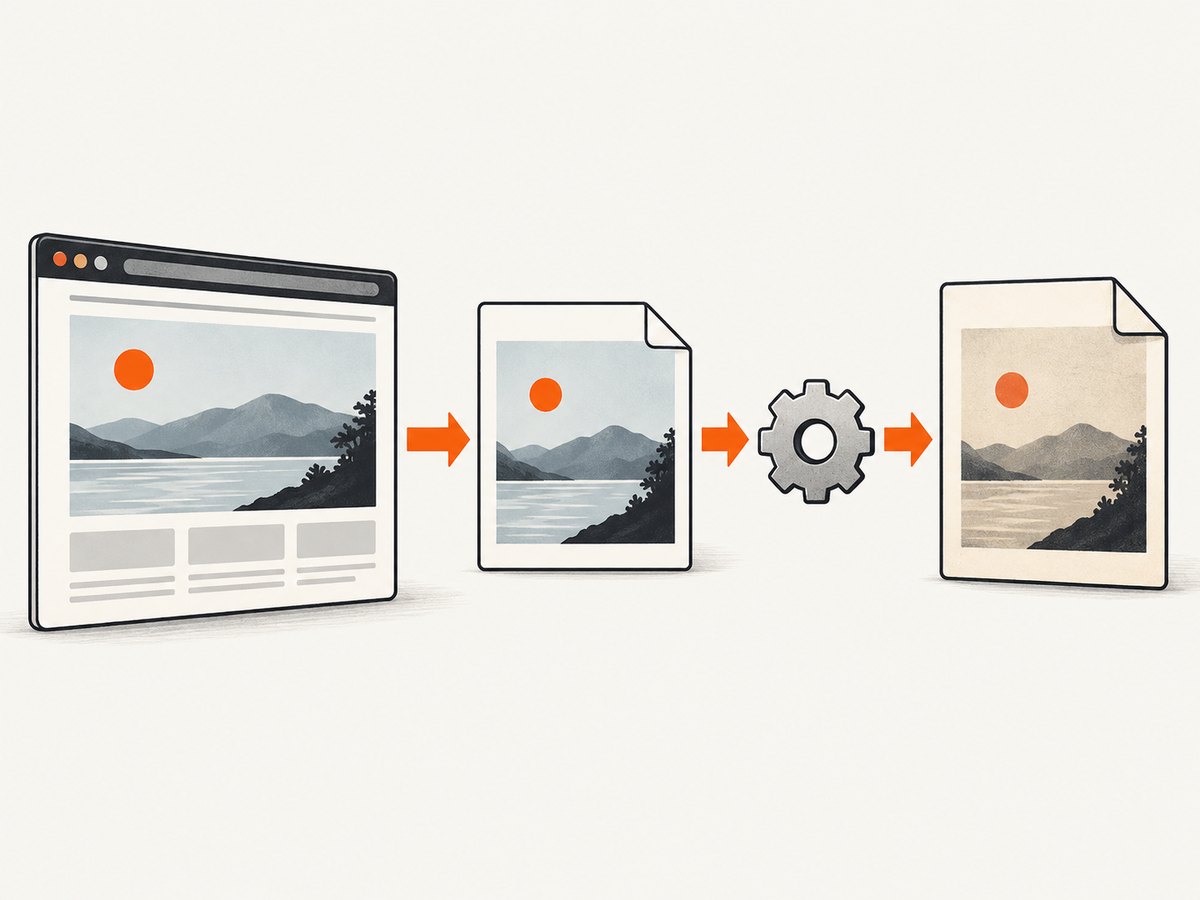
Direct answer: PhantomJS does not document TIFF as a direct output format. Its official screen-capture guide lists PNG, JPEG, GIF, and PDF, while the renderBase64 API lists PNG, GIF, and JPEG. The reliable TIFF workflow is therefore: render the page to PNG with page.render('capture.png'), then convert that PNG to TIFF with ImageMagick: magick capture.png capture.tif. The conversion step is supported by ImageMagick’s format documentation, which lists TIFF as readable and writable.
This guide shows a complete, runnable PhantomJS script, explains viewport and clipping controls, covers conversion settings and automation, and documents the failure modes that commonly affect legacy PhantomJS jobs. If you need a maintained screenshot service instead of installing a discontinued browser, the final section shows a one-request alternative.
1. What PhantomJS can and cannot output
PhantomJS’s official capture example uses page.open followed by page.render. The documented image formats are PNG, JPEG, and GIF, with PDF also supported by the capture guide. TIFF is absent from that list. The separate renderBase64 API likewise documents PNG, GIF, and JPEG, so changing the filename extension to .tif does not add TIFF support.
Use the documented renderer for the browser step, then use a dedicated image tool for TIFF encoding:
| Stage | Tool | Output |
|---|---|---|
| Render webpage | PhantomJS page.render |
PNG, JPEG, GIF, or PDF |
| Convert image | ImageMagick magick |
TIFF and other image formats |
PhantomJS development is suspended, according to the project’s homepage. Treat it as a legacy dependency: pin the version in your build image, keep a known-good script, and plan a migration if the page features or security requirements change.
2. Install the dependencies
PhantomJS
Install PhantomJS using the package or binary appropriate for your operating system, then verify that the executable is on your path:
phantomjs --versionThe command should print a version number. If your distribution does not provide a package, use the official project distribution for your platform and record the binary checksum in your build process.
ImageMagick
Install ImageMagick and verify the command-line tool:
magick -version
magick identify -format '%m %wx%h\n' capture.png
On older ImageMagick installations the executable may be named convert; current documentation uses magick. The format reference identifies TIFF and TIF as supported names. Check your installed version before relying on advanced compression or profile options.
3. Minimal PhantomJS capture script
Create capture.js with this complete script:
var page = require('webpage').create();

page.open('https://example.com/', function (status) {
  if (status === 'success') {
    page.render('capture.png');
    console.log('Saved capture.png');
  } else {
    console.log('Page failed to load: ' + status);
  }
  phantom.exit();
});
Run it and convert the result:
phantomjs capture.js
magick capture.png capture.tif
The first command produces a browser-rendered PNG. The second reads that PNG and writes a TIFF. Keep the intermediate PNG when diagnosing rendering problems; delete it only after conversion succeeds.
4. Control the viewport and capture rectangle
The viewport determines the browser’s layout width and height. The clip rectangle selects the region that page.render writes. The official guide demonstrates a 1024 by 768 viewport and clip rectangle:

var page = require('webpage').create();
page.viewportSize = { width: 1024, height: 768 };
page.clipRect = { top: 0, left: 0, width: 1024, height: 768 };

page.open('https://example.com/', function (status) {
  if (status === 'success') {
    page.render('capture.png');
  }
  phantom.exit();
});
viewportSize affects responsive breakpoints, while clipRect limits the pixels saved. This example captures a fixed rectangle; it is not a general recipe for a full-page screenshot. For a taller page, increase the clip height after determining the document dimensions, or capture several viewport-sized regions and assemble them with an image tool.
Reading page dimensions
PhantomJS exposes the page’s JavaScript context through page.evaluate. You can inspect the document before choosing a clip rectangle:
var page = require('webpage').create();
page.viewportSize = { width: 1280, height: 900 };

page.open('https://example.com/', function (status) {
  if (status !== 'success') {
    console.log('Page failed to load: ' + status);
    phantom.exit();
    return;
  }

  var size = page.evaluate(function () {
    return {
      width: Math.max(document.body.scrollWidth, document.documentElement.scrollWidth),
      height: Math.max(document.body.scrollHeight, document.documentElement.scrollHeight)
    };
  });

  page.clipRect = { top: 0, left: 0, width: size.width, height: size.height };
  page.render('capture.png');
  phantom.exit();
});
Very tall pages can exceed memory limits or expose layout bugs. For predictable jobs, cap the maximum height and use tiles when the document is larger.
5. Wait for fonts, images, and client-side rendering
page.open reports that the initial load completed; it does not guarantee that a single-page application has finished drawing, that web fonts have arrived, or that lazy images have entered the viewport. Add a bounded polling loop when the page needs additional time:
var page = require('webpage').create();
page.viewportSize = { width: 1280, height: 900 };

page.open('https://example.com/', function (status) {
  if (status !== 'success') {
    console.log('Page failed to load: ' + status);
    phantom.exit();
    return;
  }

  var deadline = Date.now() + 10000;
  var timer = setInterval(function () {
    var ready = page.evaluate(function () {
      return document.readyState === 'complete';
    });

    if (ready || Date.now() >= deadline) {
      window.clearInterval(timer);
      page.render('capture.png');
      phantom.exit();
    }
  }, 250);
});
Use a short, explicit deadline. An unbounded wait turns one slow page into a stuck batch job. If a site requires a click, login, or scroll to trigger content, perform that action inside page.evaluate and then wait for a selector or a bounded delay.
6. Convert PNG to TIFF with ImageMagick
The simplest conversion preserves the rendered pixels:
magick capture.png capture.tifInspect the result:
magick identify capture.tifTIFF supports multiple compression modes and color models. Do not choose a compression or profile solely because a filename ends in .tif; confirm what your downstream archive, print pipeline, OCR system, or document-management system accepts. Examples of explicit options include:
# Lossless-style LZW compression (verify support in your ImageMagick build)
magick capture.png -compress LZW capture-lzw.tif

# ZIP compression
magick capture.png -compress Zip capture-zip.tif

# Force RGB colorspace when a consumer requires it
magick capture.png -colorspace sRGB -compress LZW capture-rgb.tif
These commands illustrate ImageMagick option placement. Validate the output with identify -verbose and your target application. The research sources do not establish a universal best compression, color profile, DPI value, or metadata policy.
7. A production-friendly shell workflow
For repeatable jobs, fail fast, use a temporary directory, and preserve logs:
#!/usr/bin/env sh
set -eu

url="${1:?usage: $0 URL OUTPUT.tif}"
output="$2"
tmpdir="$(mktemp -d)"
trap 'rm -rf "$tmpdir"' EXIT

cat > "$tmpdir/capture.js" <<EOF
var page = require('webpage').create();
page.viewportSize = { width: 1280, height: 900 };
page.open('$url', function (status) {
  if (status !== 'success') {
    console.log('Page failed to load: ' + status);
    phantom.exit(1);
    return;
  }
  page.render('$tmpdir/capture.png');
  phantom.exit(0);
});
EOF

phantomjs "$tmpdir/capture.js"
magick "$tmpdir/capture.png" "$output"
test -s "$output"
printf 'Wrote %s\n' "$output"
When URLs come from users or a queue, do not interpolate untrusted text into source code as shown in this compact example. Generate the JavaScript safely, pass data through a controlled input file, or use a renderer with an API designed for untrusted URLs.
8. Troubleshooting
| Symptom | Likely cause | Fix |
|---|---|---|
capture.tif is empty or missing |
The PhantomJS callback reported failure, or the process exited before rendering. | Log status, check the PNG exists and has nonzero size, and exit nonzero on failure. |
| TIFF conversion says “no decode delegate” | ImageMagick cannot read the input format or the installation is incomplete. | Run magick -version, verify the PNG with identify capture.png, and reinstall with PNG/TIFF delegates enabled. |
| Page is blank | JavaScript content was not ready, a script failed, or the site blocks the old browser engine. | Use page.onError logging, wait for application readiness, and test the URL in the same PhantomJS environment. |
| Fonts or images are missing | Resources were still loading or require browser features PhantomJS lacks. | Add a bounded wait, confirm network access, and use a modern renderer when the page depends on newer APIs. |
| Only the top of the page appears | The clip rectangle is viewport-sized. | Measure document height and set a larger clip rectangle, or capture and stitch tiles. |
| Output looks blurry | The raster dimensions are too small for the target use. | Increase viewport and clip dimensions; TIFF changes encoding, not the pixels already rendered. |
| Job never finishes | A page request or readiness loop has no deadline. | Set a timeout, abort the job, and record the URL for retry. |
| HTTPS or certificate errors | The legacy engine rejects the site’s TLS configuration. | Confirm the certificate chain and consider a maintained browser or screenshot API. |
9. Reliability, performance, and cost considerations
Rendering and conversion are separate failure domains. A successful PNG does not prove that the TIFF encoder accepted the file, so check both exit codes and the final file size. For batches, process jobs with a bounded worker count rather than launching an unlimited number of PhantomJS processes; each browser consumes memory. Reuse a fixed viewport and conversion policy so outputs remain comparable.
PhantomJS itself is free software, but operating it has maintenance costs: you supply the runtime, fonts, network access, retries, storage, and security review. Because development is suspended, modern sites may fail as their JavaScript and TLS requirements move beyond the engine. ImageMagick conversion is normally fast compared with page rendering, but very large full-page rasters can consume substantial memory and disk space. Measure your own workload before selecting concurrency or page-height limits; the supplied research does not provide benchmark figures.
10. Or skip the browser setup
ScreenshotNeo provides a website screenshot API when you want a maintained capture service instead of installing PhantomJS and ImageMagick. It returns PNG, JPEG, WebP, or PDF; TIFF conversion can still be performed locally after receiving an image. See the ScreenshotNeo API documentation for the full option list.
One request captures a URL:
curl -G "https://api.screenshotneo.com/v1/shot" -d access_key=YOUR_API_KEY --data-urlencode url=https://example.com -o shot.webpimport requests
r = requests.get("https://api.screenshotneo.com/v1/shot", params={"access_key": "YOUR_API_KEY", "url": "https://example.com"}, timeout=90)
open("shot.webp", "wb").write(r.content)const q = new URLSearchParams({ access_key: 'YOUR_API_KEY', url: 'https://example.com' });
const res = await fetch(`https://api.screenshotneo.com/v1/shot?${q}`);ScreenshotNeo accepts cookie and consent banners before capture and removes more than 60 known consent platforms, newsletter popups, and chat widgets; each step can be disabled. Bot checks, blank pages, timeouts, failed loads, and cache hits are not billed, and response headers identify the page verdict and billing result with X-Page-Verdict and X-Billed. It also offers an MCP server for Claude, Cursor, and other MCP clients, with take_screenshot, get_page_info, and capture_pdf tools. The Free plan includes 1,000 screenshots per month with no card; paid plans start at $5 for 3,000 shots. After downloading an image, convert it to TIFF with the same ImageMagick command:
magick shot.webp shot.tifCreate a free ScreenshotNeo account to start with 1,000 screenshots per month and no card.
11. FAQ
Can I make PhantomJS write TIFF by changing the extension?
No. The documented renderer formats do not include TIFF. Render a supported format and convert it.
Is TIFF higher quality than PNG?
Not automatically. Both can store lossless pixel data; the result depends on the source pixels, color handling, compression, and metadata requirements.
Can PhantomJS capture a whole page?
It can render a rectangle you define. Measure the document and set a suitable clip rectangle, or capture tiles for very tall pages.
Should new projects use PhantomJS?
PhantomJS development is suspended. It can remain useful for a pinned legacy workflow, but a maintained browser or screenshot service is safer for pages that require current web features.
Can ScreenshotNeo return TIFF directly?
The listed ScreenshotNeo image outputs are PNG, JPEG, and WebP, plus PDF. Download an image and use ImageMagick if TIFF is required.


