How to Pipe Puppeteer Screenshots to FFmpeg
Capture Puppeteer screenshots, stream them safely into FFmpeg, and produce reliable MP4 video with correct timing, codecs, backpressure, and troubleshooting.

To pipe Puppeteer screenshots to FFmpeg, capture each frame as a complete JPEG or PNG buffer, write the buffer to an FFmpeg process started with an image2pipe input, respect Node.js stream backpressure, then close standard input and wait for FFmpeg to finish. Closing stdin is what lets FFmpeg write the final MP4 trailer.
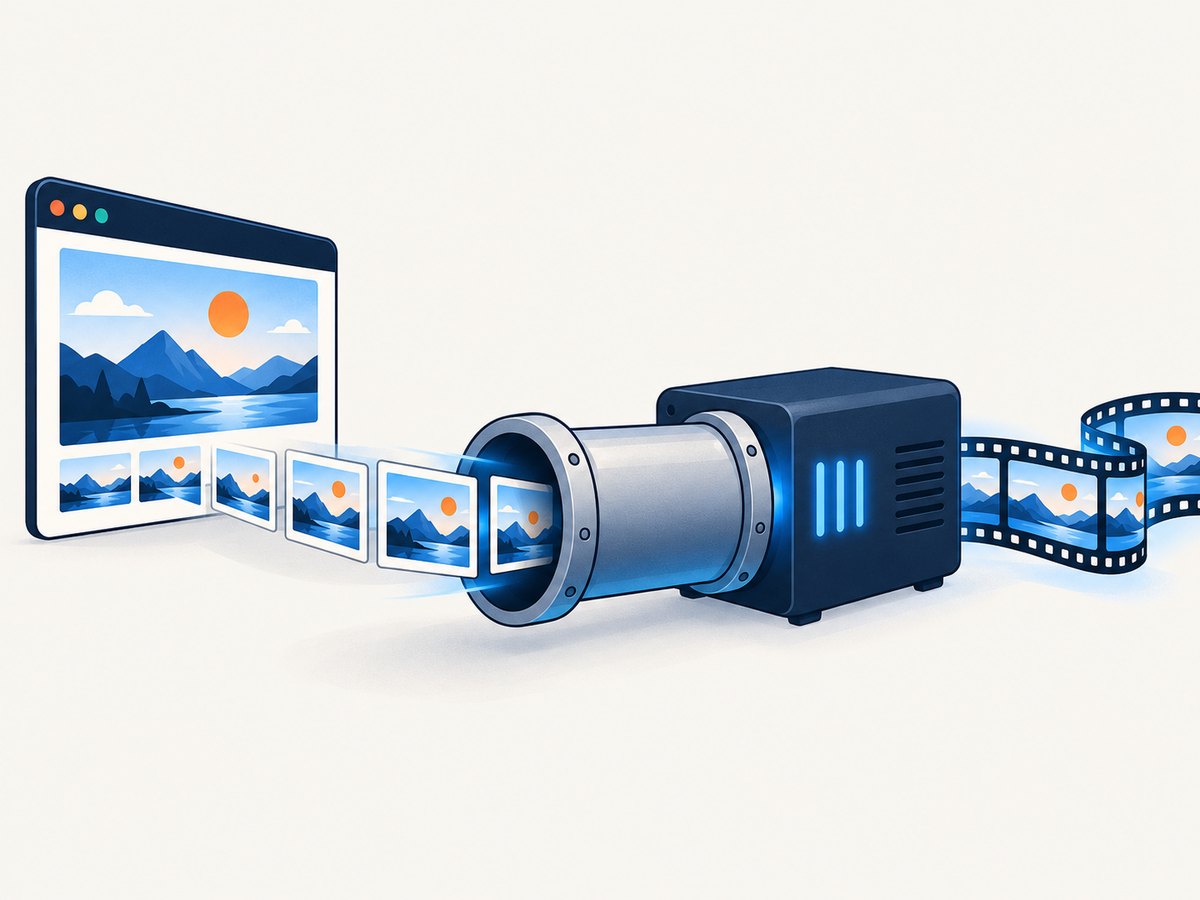
The basic pipeline is:
page.screenshot() buffer -> ffmpeg stdin -> image2pipe decoder -> video encoder -> output.mp4Puppeteer returns screenshot bytes as a Uint8Array, or a base64 string when you request encoding: 'base64'. For a video pipeline, use binary buffers and avoid base64 conversion. FFmpeg’s documented image-pipe form is equivalent to cat *.jpg | ffmpeg -f image2pipe -c:v mjpeg -i - output.mpg. The Node.js version writes each complete encoded image to pipe:0.
What you need before you start
- Node.js with ECMAScript modules enabled, or adapt the imports to CommonJS.
- Puppeteer installed in the project.
- FFmpeg installed and available as
ffmpegonPATH, or an explicit executable path. - A page that can render repeatedly at the viewport and cadence you select.
npm install puppeteer
ffmpeg -version
Puppeteer’s recording documentation also requires FFmpeg. If your deployment image does not include it, install it in the image or pass its absolute path when spawning the process.
Minimal working example: Puppeteer JPEG frames to MP4
This complete script captures 150 frames at an intended 30 frames per second, sends JPEG bytes to FFmpeg, and waits for a successful exit. The loop is a timing pattern, not a guaranteed 30 FPS benchmark. Browser rendering, screenshot encoding, host CPU, and FFmpeg settings determine the actual throughput.
import { spawn } from 'node:child_process';
import puppeteer from 'puppeteer';

const browser = await puppeteer.launch({
  headless: true,
});

const page = await browser.newPage();
await page.setViewport({ width: 1280, height: 720 });
await page.goto('https://example.com', { waitUntil: 'networkidle2' });

const fps = 30;
const frameCount = 150;

const ffmpeg = spawn('ffmpeg', [
  '-y',
  '-f', 'image2pipe',
  '-framerate', String(fps),
  '-vcodec', 'mjpeg',
  '-i', 'pipe:0',
  '-c:v', 'libx264',
  '-pix_fmt', 'yuv420p',
  'output.mp4',
]);

ffmpeg.stderr.on('data', chunk => {
  process.stderr.write(chunk);
});

function waitForDrain(stream) {
  return new Promise(resolve => stream.once('drain', resolve));
}

function waitForFfmpeg(process) {
  return new Promise((resolve, reject) => {
    process.once('error', reject);
    process.once('close', code => {
      if (code === 0) resolve();
      else reject(new Error(`ffmpeg exited with code ${code}`));
    });
  });
}

try {
  for (let i = 0; i < frameCount; i += 1) {
    const frame = await page.screenshot({
      type: 'jpeg',
      quality: 85,
    });

    if (!ffmpeg.stdin.write(frame)) {
      await waitForDrain(ffmpeg.stdin);
    }

    await new Promise(resolve => {
      setTimeout(resolve, 1000 / fps);
    });
  }

  ffmpeg.stdin.end();
  await waitForFfmpeg(ffmpeg);
} finally {
  await browser.close();
}
Save it as capture.mjs and run node capture.mjs. The screenshot format and FFmpeg input codec agree: Puppeteer produces JPEG, and FFmpeg reads an MJPEG image pipe. Each call writes one complete JPEG buffer. Do not convert the buffer to a UTF-8 string.
How the image2pipe input works
FFmpeg normally reads a sequence of named files. The image2pipe demuxer reads encoded images from standard input instead. It identifies each image from its encoded data, so the stream must contain complete images in sequence.
| Capture output | FFmpeg input settings | Notes |
|---|---|---|
| JPEG | -f image2pipe -vcodec mjpeg |
Good default for smaller frames and photographic pages. |
| PNG | -f image2pipe -vcodec png |
Lossless, but usually larger and slower to encode. |
The output codec is independent of the input image codec. A common production choice is H.264 in an MP4 container:
ffmpeg -f image2pipe -framerate 30 -vcodec mjpeg -i pipe:0 \
  -c:v libx264 -pix_fmt yuv420p output.mp4
-framerate tells FFmpeg how quickly to present the incoming frames. It does not make Puppeteer capture at that rate. Your capture loop must supply frames at a suitable cadence. If frames arrive irregularly, the resulting motion can speed up or slow down relative to wall-clock time.
Choosing timing and frame rate
There are two separate clocks:
- Capture timing: when Puppeteer takes a screenshot.
- Playback timing: how FFmpeg assigns timestamps to the input frames.
A simple fixed-delay loop is easy to understand, but screenshot work itself consumes time. At 30 FPS, each iteration has about 33.3 milliseconds for screenshot encoding, stream writing, and delay. If capture takes longer, the loop cannot sustain the requested cadence. Measure elapsed time if exact wall-clock duration matters.
const frameInterval = 1000 / fps;
let nextDeadline = performance.now();

for (let i = 0; i < frameCount; i += 1) {
  const frame = await page.screenshot({ type: 'jpeg', quality: 85 });

  if (!ffmpeg.stdin.write(frame)) {
    await new Promise(resolve => ffmpeg.stdin.once('drain', resolve));
  }

  nextDeadline += frameInterval;
  const wait = nextDeadline - performance.now();
  if (wait > 0) {
    await new Promise(resolve => setTimeout(resolve, wait));
  }
}
This keeps the schedule closer to a target cadence, but it cannot create frames faster than the browser and encoder can produce them. For a deterministic time-lapse, capture one frame per event or interval and choose an output frame rate that gives the desired playback duration.
JPEG versus PNG
JPEG
JPEG is usually the practical choice for video. Set Puppeteer’s quality from 0 to 100 and compare text edges, gradients, and animation detail. Lower quality reduces pipe traffic and encoding work, while excessively low quality can make small type visibly blurry.
PNG
PNG preserves exact pixels and is useful for diagrams, screenshots with sharp text, or workflows that require lossless intermediate frames. It can produce much larger buffers, increasing memory pressure and time spent waiting on drain. If you use PNG, change FFmpeg’s input codec to png; feeding PNG bytes while declaring MJPEG causes corrupt or rejected frames.
Backpressure, memory, and shutdown
child.stdin.write() returns false when Node’s writable buffer is full. Continue capturing without waiting and you can accumulate data in memory faster than FFmpeg consumes it. Always wait for the drain event before requesting another frame.

Use stdin.end() exactly once after the final frame. Then await the child’s close event. A file can exist before FFmpeg has written its trailer, so treating the presence of output.mp4 as success is insufficient.
ffmpeg.stdin.end();
const exitCode = await new Promise((resolve, reject) => {
  ffmpeg.once('error', reject);
  ffmpeg.once('close', resolve);
});

if (exitCode !== 0) {
  throw new Error(`FFmpeg failed: ${exitCode}`);
}
For cancellation, stop taking screenshots, call stdin.destroy() or terminate FFmpeg, and remove an incomplete output file. For normal completion, ending stdin gives FFmpeg the clean end-of-stream signal it needs.
Viewport, page state, and repeatable frames
Set the viewport before navigation so every frame has the same dimensions. If the page changes layout in response to viewport width, a changing viewport produces frames that do not align cleanly.
await page.setViewport({
  width: 1280,
  height: 720,
  deviceScaleFactor: 1,
});

await page.goto(url, { waitUntil: 'networkidle2' });
await page.waitForSelector('#app');
Wait for fonts, images, and application state that your animation depends on. networkidle2 only describes network activity; it does not guarantee that a client-side chart has finished drawing. A page-specific readiness selector or a short delay after the selector is often more reliable.
For an animated page, leave animation enabled. For a state-by-state recording, use page code to advance the state between screenshots and capture after each transition. If you need full-page images, remember that page dimensions may be much larger than your video viewport; set a fixed viewport and choose whether to capture the visible area or a full-page image consistently.
Built-in Puppeteer recording
Puppeteer provides an FFmpeg-backed recording API. Older projects commonly use page.screencast(), which defaults to WebM/VP9 at 30 FPS and requires FFmpeg. Current Puppeteer API documentation labels page.screencast() obsolete and points new code toward page.record(). Check the installed Puppeteer version before choosing an API.
The recording options documented for the screencast interface include:
ffmpegPathfor an FFmpeg executable that is not onPATH.formatfor the recording format.fpsfor the requested frame rate.qualityandscalefor output sizing and compression.speedand outputpath.- Overwrite behavior for an existing destination.
Use the built-in recorder when its supported format and lifecycle are enough. Manual piping is better when you need to choose every screenshot format, insert custom filters, coordinate frames with application events, or handle stream backpressure yourself. The built-in interface can reduce code, but it does not remove the need to install and configure FFmpeg.
Third-party wrappers
Packages such as ffmpeg-stream expose pipe descriptors and an image2pipe workflow. Projects such as puppeteer-stream wrap browser capture and FFmpeg settings, including output format, frame size, and FPS. Treat these as implementation choices: verify package maintenance, licensing, Puppeteer compatibility, FFmpeg requirements, and whether an X11 display or Xvfb is required. An X11-based recorder may need a virtual display in a headless Linux environment.
Or skip the browser setup
If you need a clean still image for a pipeline and do not need to animate a browser state, ScreenshotNeo provides a single HTTP request that returns PNG, JPEG, WebP, or PDF. It handles the browser capture service for you.
See the ScreenshotNeo API documentation for all options. A minimal request is:
curl -G "https://api.screenshotneo.com/v1/shot" \
  -d access_key=YOUR_API_KEY \
  --data-urlencode url=https://stripe.com \
  -o shot.webp
import requests
r = requests.get(
"https://api.screenshotneo.com/v1/shot",
params={"access_key": "YOUR_API_KEY", "url": "https://stripe.com"},
timeout=90,
)
r.raise_for_status()
open("shot.webp", "wb").write(r.content)const q = new URLSearchParams({
access_key: 'YOUR_API_KEY',
url: 'https://stripe.com',
});
const res = await fetch(`https://api.screenshotneo.com/v1/shot?${q}`);
if (!res.ok) throw new Error(`Screenshot failed: ${res.status}`);
const data = Buffer.from(await res.arrayBuffer());
await import('node:fs/promises').then(fs => fs.writeFile('shot.webp', data));Cookie banners, newsletter popups, and chat widgets are removed before the shot. Bot checks, blank pages, failed loads, timeouts, and cache hits are not billed, and the response identifies the result with X-Page-Verdict and X-Billed headers. ScreenshotNeo also provides an MCP server so Claude, Cursor, and other MCP clients can call take_screenshot, get_page_info, and capture_pdf. The free plan includes 1,000 screenshots per month with no card; paid plans start at $5 for 3,000 shots. Create a free ScreenshotNeo account.
Troubleshooting
| Symptom | Likely cause | Fix |
|---|---|---|
| No MP4 or an unplayable MP4 | FFmpeg stdin was never ended, or the process was not awaited. | Call ffmpeg.stdin.end() after the final frame and await close. |
| “Invalid data found” or corrupt frames | Incomplete writes, text conversion, or a codec mismatch. | Write the original binary buffer and ensure JPEG uses mjpeg while PNG uses png. |
| Memory usage grows continuously | Frames are produced faster than FFmpeg consumes them. | Check stdin.write(); await drain when it returns false. |
| Video plays too fast or too slowly | Capture cadence and -framerate disagree. |
Set both from the same intended FPS, or record timestamps and design the cadence explicitly. |
| FFmpeg not found | The binary is not installed or is absent from PATH. |
Install FFmpeg in the runtime image or pass an absolute executable path. |
| Black, blank, or partially rendered frames | The page was captured before application content was ready. | Wait for a meaningful selector, fonts, images, or application-specific readiness state. |
| Different frame dimensions | Viewport or device scale changed between captures. | Set a fixed viewport and keep screenshot options constant. |
| Headless Linux recorder fails | A wrapper expects an X11 display. | Provide Xvfb as documented by that project, or use direct Puppeteer screenshots. |
Performance and reliability checklist
- Choose JPEG quality based on visible artifacts and pipe bandwidth.
- Keep viewport dimensions and device scale fixed.
- Reuse one browser and page for a single recording instead of launching per frame.
- Wait for
drainto prevent unbounded buffering. - Capture only as fast as the page can render and FFmpeg can encode.
- Forward FFmpeg stderr to logs so codec and input errors are visible.
- Wait for the process exit code before publishing or uploading the MP4.
- Use a temporary output path and rename it after successful completion.
- Set an application timeout so a stalled browser or encoder cannot run forever.
- Measure on the target browser, viewport, codec, and host; the supplied pattern is not a performance guarantee.
Cost and operational considerations
Manual Puppeteer plus FFmpeg uses your own CPU, memory, browser processes, storage, and operations work. JPEG reduces intermediate data but adds browser-side encoding; PNG preserves pixels but usually increases transfer and encoding costs. Longer recordings multiply screenshot and encoding work linearly with frame count.
If you only need periodic website images, a screenshot API can remove browser installation and display management. ScreenshotNeo offers caching with a caller-selected TTL, bulk capture for up to 100 URLs per call, async jobs with signed webhooks, custom headers and cookies, device presets, full-page and element capture, and PDF output. Only clean shots are billed, and failed or blank results are identified in response headers.
FAQ
Can I pipe base64 screenshots to FFmpeg?
Not directly. Decode the base64 back to binary first, or request the default binary screenshot result. Binary buffers avoid unnecessary conversion and memory overhead.
Does FFmpeg control Puppeteer’s capture rate?
No. FFmpeg assigns timing to frames it receives. Your capture loop controls when Puppeteer takes screenshots.
Should I use MP4 or WebM?
Choose the container required by your playback targets. MP4 with H.264 and yuv420p is a common compatibility choice; Puppeteer’s built-in recorder may default to WebM/VP9 depending on the API and version.
Why is my final frame missing?
Usually the process is being terminated before its stdin stream is closed or before FFmpeg exits. End stdin only after writing the final complete buffer, then await the close event.
Can I add FFmpeg filters?
Yes. Add filters such as scaling, cropping, or frame-rate conversion to the FFmpeg argument list, but keep the input image format declaration consistent with Puppeteer’s output.


