How to Pixelate an Image on a Website
Learn how to pixelate a whole image or selected area online, with CSS and Canvas code, export checks, troubleshooting, and privacy guidance.
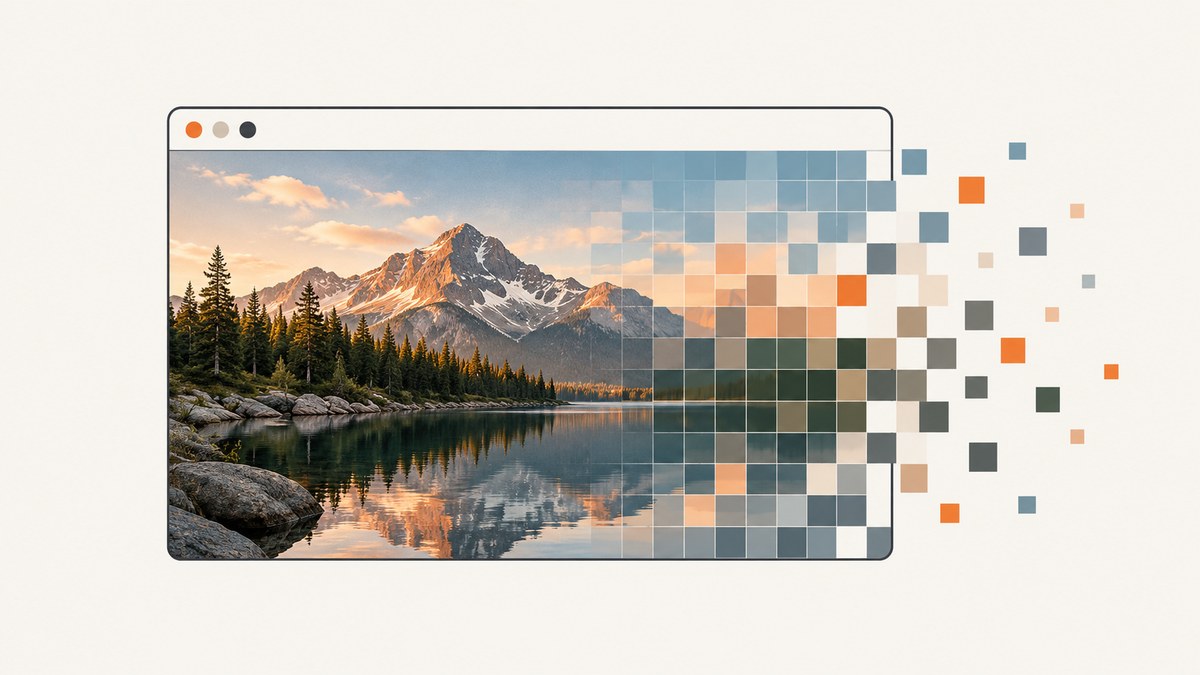
Direct answer: To pixelate an image on a website, choose a browser editor for a quick one-off change, use image-rendering: pixelated when you only need a crisp enlarged display, or use the Canvas API when you need to change pixels and download a new file. For sensitive information, use an opaque mask or crop and inspect the exported image; pixelation is not a guaranteed anonymization method.
Choose the right method
| Need | Best method | What it does |
|---|---|---|
| Quick edit without code | Browser image editor | Select a whole image or region, adjust block size, preview, and export. |
| Retro, blocky enlargement on a page | CSS image-rendering: pixelated |
Changes interpolation while the image is displayed. It does not create an edited download. |
| Downloadable transformed image | Canvas API | Lets you reduce, redraw, inspect, and save actual pixel data. |
| High-consequence redaction | Opaque mask or crop | Removes visual details more directly than relying on a pixel size. |
Pixelate an image with an online editor
A guided editor is the fastest route for a single image. Canva documents both whole-image pixelation and a selected-area workflow in which you select or brush-mark the target and adjust pixel size. Its feature description is a product explanation, not a privacy certification. See Canva’s pixelate image guide for the editor workflow.
- Open an image editor and load the original file.
- Choose whole-image pixelation for a visual effect, or select/brush the area that should become blocky.
- Increase or decrease the block size while viewing the image at its intended display size.
- Export the result in the format you need.
- Close the editor, reopen the exported file, and inspect it at 100% and at the size where it will be published.
Keep the original file separate. If you are covering a face, address, license plate, or document detail, check the borders of the selection and any alternate frames or layers before sharing.
Use CSS for a pixelated display effect
CSS is appropriate when the source image should remain unchanged and you only want enlarged pixels to look sharp. Browsers normally smooth enlarged images; image-rendering: pixelated requests nearest-neighbor-style rendering. Chrome’s developer example explains that the property applies to img, canvas elements, and CSS background images. MDN documents the property and its rendering behavior.
<!doctype html>
<html lang="en">
<head>
  <meta charset="utf-8">
  <meta name="viewport" content="width=device-width, initial-scale=1">
  <title>Pixelated image</title>
  <style>
    .pixelated {
      width: 640px;
      max-width: 100%;
      height: auto;
      image-rendering: pixelated;
    }
  </style>
</head>
<body>
  <img class="pixelated" src="photo.png" alt="Pixelated landscape">
</body>
</html>
This changes presentation only. A visitor can still download the original URL, inspect a responsive source, or disable the style. Use Canvas or an image-processing service when the delivered asset itself must contain the effect.
Pixelated CSS backgrounds
.pixel-art-background {
  width: 320px;
  height: 180px;
  background: url("photo.png") center / cover no-repeat;
  image-rendering: pixelated;
}
Test the result at the actual size and on the browsers you support. Non-integer scaling can make the pattern look uneven, so choose dimensions that enlarge the source by a whole-number factor when a regular grid matters.
Pixelate real pixels with Canvas
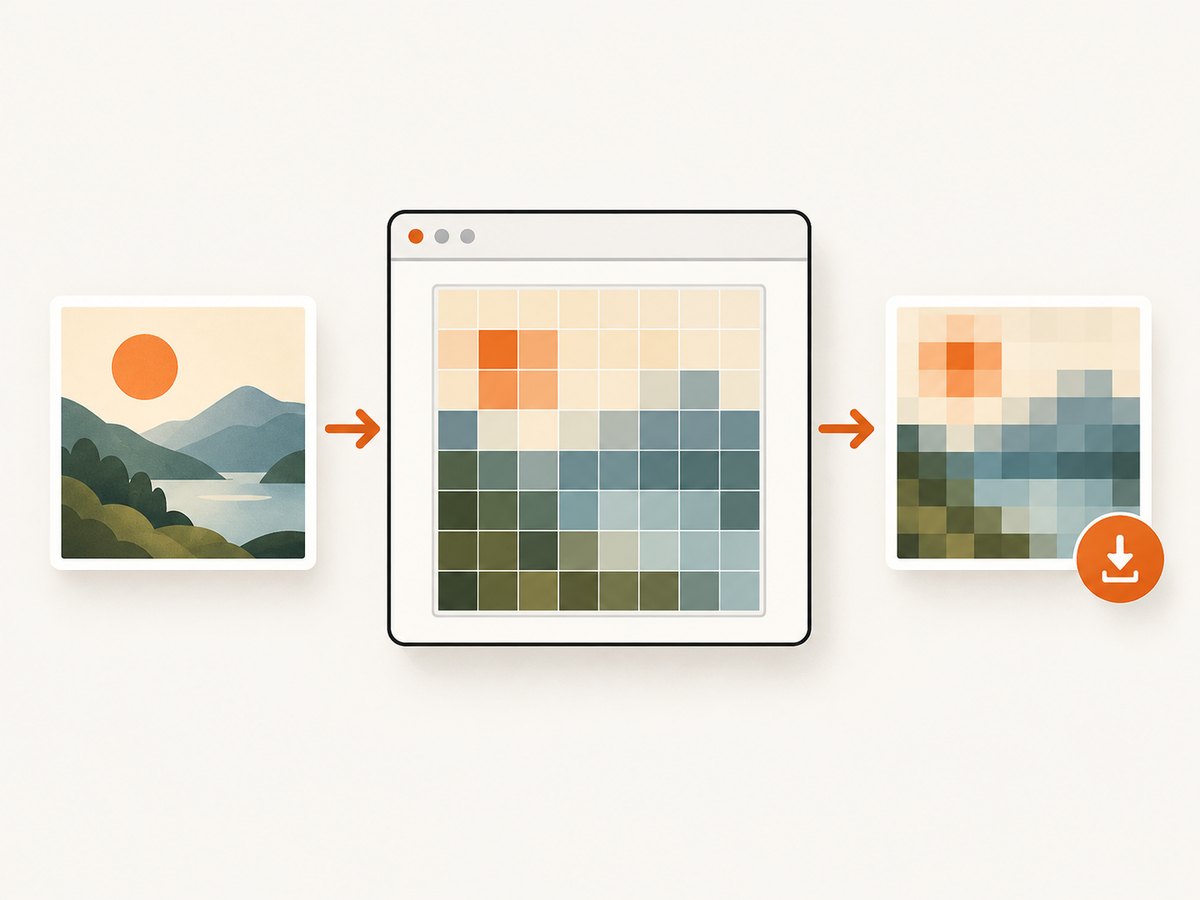
Canvas gives you a new bitmap to export. The basic algorithm divides the image into blocks, samples one color per block, and fills that block with the sampled color. MDN’s Canvas tutorial covers drawing images, ImageData, smoothing controls, pixel access, and saving canvas output.
<!doctype html>
<html lang="en">
<head>
  <meta charset="utf-8">
  <meta name="viewport" content="width=device-width, initial-scale=1">
  <title>Canvas pixelation</title>
  <style>
    canvas { max-width: 100%; height: auto; display: block; }
    .controls { margin: 1rem 0; }
  </style>
</head>
<body>
  <input id="file" type="file" accept="image/*">
  <label class="controls">Block size
    <input id="size" type="range" min="2" max="80" value="12">
  </label>
  <button id="download" disabled>Download PNG</button>
  <canvas id="canvas"></canvas>
  <script>
    const input = document.querySelector('#file');
    const size = document.querySelector('#size');
    const download = document.querySelector('#download');
    const canvas = document.querySelector('#canvas');
    const ctx = canvas.getContext('2d', { willReadFrequently: true });
    let image = null;

    function render() {
      if (!image) return;
      canvas.width = image.naturalWidth;
      canvas.height = image.naturalHeight;
      ctx.imageSmoothingEnabled = false;
      const block = Number(size.value);
      for (let y = 0; y < canvas.height; y += block) {
        for (let x = 0; x < canvas.width; x += block) {
          const w = Math.min(block, canvas.width - x);
          const h = Math.min(block, canvas.height - y);
          ctx.drawImage(image, x, y, w, h, x, y, w, h);
          const pixel = ctx.getImageData(x, y, 1, 1).data;
          ctx.fillStyle = `rgba(${pixel[0]},${pixel[1]},${pixel[2]},${pixel[3] / 255})`;
          ctx.fillRect(x, y, w, h);
        }
      }
      download.disabled = false;
    }

    input.addEventListener('change', () => {
      const file = input.files[0];
      if (!file) return;
      const url = URL.createObjectURL(file);
      image = new Image();
      image.onload = () => { URL.revokeObjectURL(url); render(); };
      image.src = url;
    });
    size.addEventListener('input', render);
    download.addEventListener('click', () => {
      const link = document.createElement('a');
      link.download = 'pixelated.png';
      link.href = canvas.toDataURL('image/png');
      link.click();
    });
  </script>
</body>
</html>
How the Canvas example works
- The file input creates a local object URL, so the source image need not be uploaded to a server.
- The canvas keeps the image’s natural dimensions, preserving the export resolution.
- Each block is drawn into a temporary reduced rectangle, then expanded with smoothing disabled. The first pixel in the block supplies its flat color.
- The final canvas is saved with
toDataURL(). For large images, usetoBlob()instead to reduce memory pressure.
canvas.toBlob(blob => {
  const link = document.createElement('a');
  link.download = 'pixelated.webp';
  link.href = URL.createObjectURL(blob);
  link.click();
  setTimeout(() => URL.revokeObjectURL(link.href), 1000);
}, 'image/webp', 0.9);
Pixelate only part of an image
A localized effect needs two decisions: the region and the algorithm. A rectangle is easiest to implement; a freehand brush requires a mask. Store coordinates in the image’s natural pixel space rather than CSS display space so the selection remains correct when the preview is resized.
- Display the image and map pointer coordinates from the element’s bounding rectangle to natural dimensions.
- Record a rectangle or brush mask.
- Pixelate only covered blocks. Leave pixels outside the mask untouched.
- Render the result to a new canvas and export it.
For a rectangular region, clip the canvas before applying the block loop:
ctx.save();
ctx.beginPath();
ctx.rect(region.x, region.y, region.width, region.height);
ctx.clip();
// Run the same block-pixelation loop here.
ctx.restore();
When a block crosses the edge of the selection, clipping prevents the effect from spilling outside it. For a brush mask, use a second canvas containing the mask and test mask pixels before filling each block.
Transparency, formats, and export checks
- Transparency: preserve the alpha channel when sampling RGBA data. A JPEG export removes transparency and may add a background.
- PNG: lossless and reliable for sharp pixel blocks or transparent images.
- WebP: often smaller, with quality controlled by the encoder.
- JPEG: useful for photographs but can soften block edges through compression.
- Color: keep the source color space and inspect gradients; a single sampled color per block intentionally discards detail.
Reopen the exported file, zoom to 100%, and inspect selection edges, transparency, metadata, and any unmodified copies included in a download bundle. Never assume that a preview proves the saved file is correct.
Pixelation is not guaranteed anonymization
The reviewed sources do not establish a universally safe block size or prove that sensitive information cannot be inferred from a pixelated image. Pixelation can leave silhouettes, colors, context, or enough structure to guess text. For serious disclosure risk, cover the area with an opaque shape or crop it out, then inspect the exported copy. Treat this as cautious workflow advice, not a security guarantee.
Performance and reliability
- Canvas work scales with image area and block count. Downscale very large photos before interactive previews, then apply the final effect at export time.
- Use
requestAnimationFrameor debounce the slider if rendering causes typing or dragging to stutter. - Prefer
toBlob()overtoDataURL()for large files. - A canvas becomes “tainted” when it draws an image without appropriate cross-origin permission. Host the image on the same origin or configure CORS before calling pixel APIs or export methods.
- Check memory limits on mobile devices. Release object URLs after images load and avoid keeping multiple full-size canvases.
- For repeatable server jobs, record source dimensions, block size, selected coordinates, output format, and a content hash with the exported asset.
Troubleshooting
| Problem | Cause | Fix |
|---|---|---|
| CSS looks smooth | The image is not being enlarged, or another rule overrides rendering. | Inspect computed styles, set image-rendering: pixelated, and test at a larger integer scale. |
| Download throws a security error | The canvas contains a cross-origin image without CORS permission. | Serve the asset with suitable CORS headers or process it on the same origin. |
| Only part of the photo is pixelated | Selection coordinates use CSS pixels while the canvas uses natural pixels. | Multiply pointer coordinates by naturalWidth/displayWidth and naturalHeight/displayHeight. |
| Edges look uneven | The image dimensions are not divisible by the block size. | Accept smaller edge blocks, pad the image, or choose a divisor of its dimensions. |
| Transparent areas become black | Alpha was discarded or the output format does not support it. | Preserve RGBA values and export PNG or WebP with transparency. |
| Export is blurry | JPEG compression or smoothing was applied after pixelation. | Disable smoothing and use PNG/WebP; inspect the saved file rather than the preview. |
| Mobile browser freezes | The source is too large for repeated full-resolution processing. | Preview a reduced copy, debounce controls, and process once on export. |
Or skip the browser setup
If your goal is to capture a website after applying your own CSS or JavaScript, ScreenshotNeo can return a screenshot or PDF from one request. Read the ScreenshotNeo API documentation for all options.
curl -G "https://api.screenshotneo.com/v1/shot" -d access_key=YOUR_API_KEY --data-urlencode url=https://stripe.com -o shot.webpimport requests
r = requests.get("https://api.screenshotneo.com/v1/shot", params={"access_key": "YOUR_API_KEY", "url": "https://stripe.com"}, timeout=90)
open("shot.webp", "wb").write(r.content)const q = new URLSearchParams({ access_key: 'YOUR_API_KEY', url: 'https://stripe.com' });
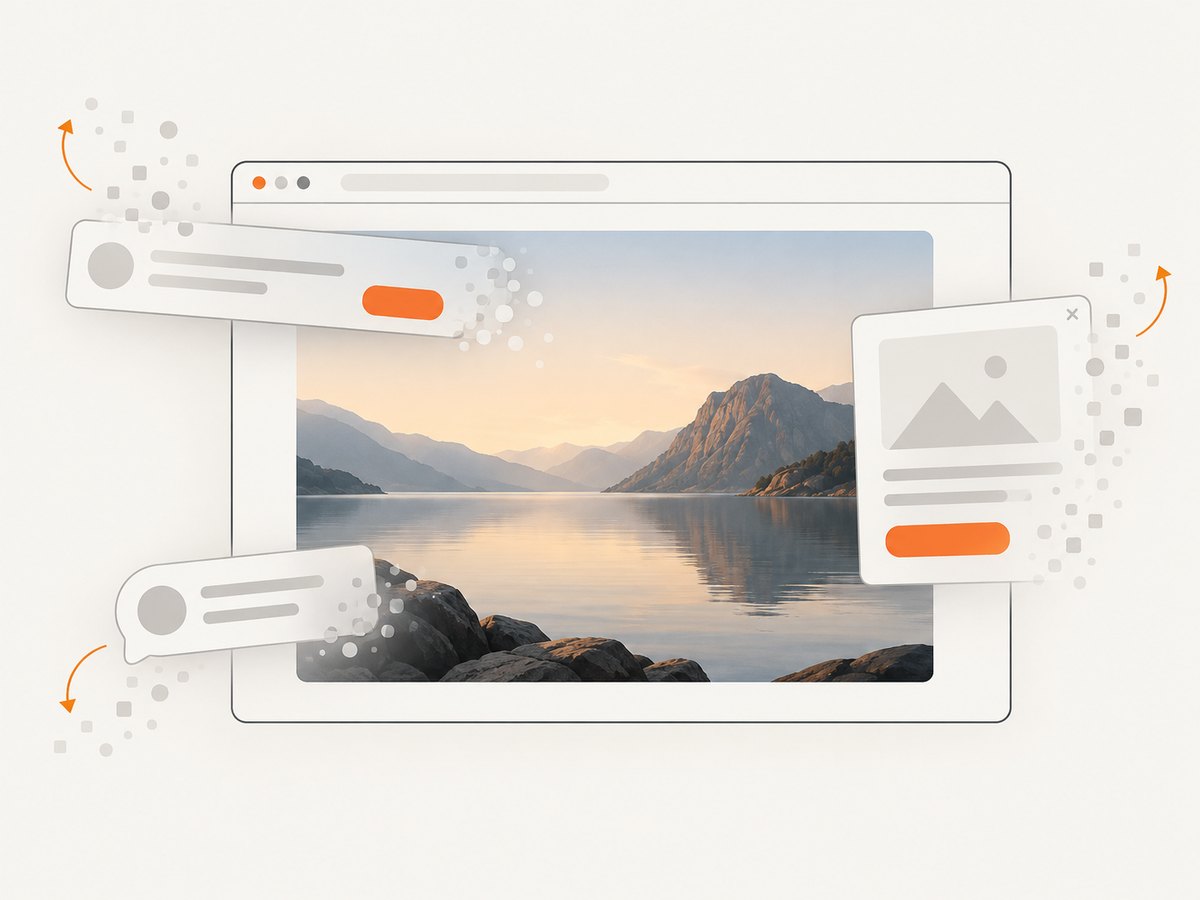
const res = await fetch(`https://api.screenshotneo.com/v1/shot?${q}`);ScreenshotNeo removes cookie banners, newsletter popups, and chat widgets before the shot. Bot checks, blank pages, failed loads, timeouts, and cache hits are not billed, and response headers identify the page verdict and billing result. Its MCP server lets AI agents use take_screenshot, get_page_info, and capture_pdf. The free plan includes 1,000 screenshots a month with no card; paid plans start at $5 for 3,000.
Create your free ScreenshotNeo account.
FAQ
Can I pixelate an image for free?
Yes. A browser editor or the Canvas code above can process a local file without a paid application. Check the editor’s terms before uploading confidential material.
Does image-rendering: pixelated edit the file?
No. It changes how the browser displays enlarged content. Use Canvas or an image-processing service for a downloadable transformed image.
What block size should I use?
There is no universally safe value. Choose it by viewing the exported image at its real publication size, and use an opaque mask or crop when disclosure consequences are high.
Why does my Canvas export fail only for remote images?
Cross-origin images without CORS permission taint the canvas. Host the file on the same origin or configure the server to permit the requesting origin before drawing it.
Can I pixelate a video?
The same Canvas approach can process video frames, but continuous processing is substantially more expensive. Draw the current video frame to a canvas, apply a region mask, and schedule work carefully with requestAnimationFrame.


