How to Take Playwright Screenshots in Docker
Set up Playwright in Docker, save viewport or full-page screenshots, capture elements, and retain useful artifacts in CI.
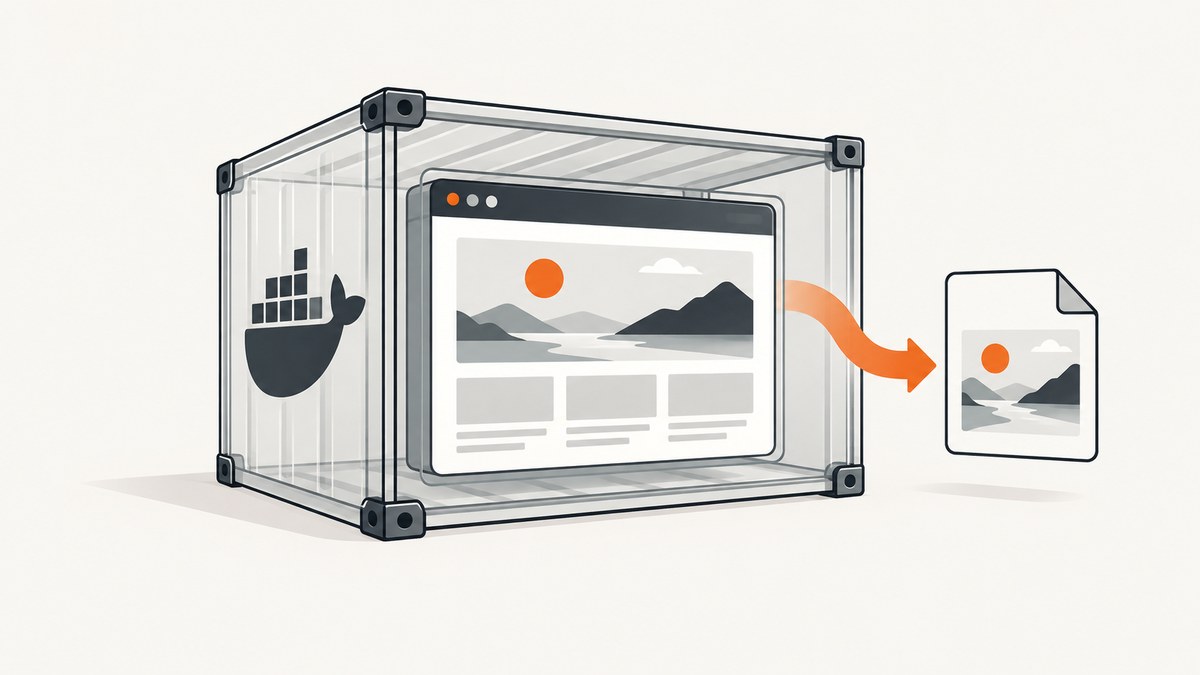
To take a Playwright screenshot in Docker, run Node.js with the Playwright package, matching browser binaries, and the browser’s operating-system dependencies in the container. Navigate to a page, then call page.screenshot({ path: 'screenshot.png' }). Add fullPage: true for the scrollable document, or call locator.screenshot() to capture one element. In CI, Playwright Test can save screenshots automatically on failure.
1. Choose a Docker setup
You can start with the official Playwright image, which bundles browser binaries and system dependencies, or use a Node base image and install those dependencies yourself. In both cases, your project must include the Playwright package. The official image does not include it. Keep the image version and package version aligned: browsers are tied to Playwright versions, and a mismatch can prevent Playwright from locating the expected executable. Check the current Playwright Docker documentation for supported image tags and current guidance.
Option A: official Playwright image
Pin a specific image tag that matches the Playwright version in your package manifest. The tag below is a placeholder; replace it with the corresponding current release shown in the official Docker documentation.
# Dockerfile
FROM mcr.microsoft.com/playwright:v<matching-version>-noble
WORKDIR /app
COPY package*.json ./
RUN npm ci
COPY . .
CMD ["node", "screenshot.js"]
Install Playwright as an application dependency, for example with npm install --save-dev playwright, and commit the generated lockfile. Select the image tag and npm package version from the same Playwright release. The image supplies browsers and operating-system libraries, while npm ci installs your project’s JavaScript dependency.
Option B: custom Node image
A custom image gives you control over the base image and installed browser. Use Playwright’s CLI to install the browser and its operating-system dependencies. This command installs Chromium; substitute the browser your project needs.
# Dockerfile
FROM node:22-bookworm
WORKDIR /app
COPY package*.json ./
RUN npm ci
RUN npx playwright install --with-deps chromium
COPY . .
CMD ["node", "screenshot.js"]
Pin your base image according to your deployment policy, and keep the Playwright package locked. Reinstall browser binaries after changing the Playwright version if the required executable is missing. For Firefox and WebKit, use a glibc-based environment: the Playwright Docker guidance says those browser builds are unsupported on Alpine and other musl-based distributions.
2. Write a runnable screenshot script
This script launches Chromium, navigates to a target page, waits for the page load event, saves a viewport PNG, and closes the browser even if navigation or capture fails. Save it as screenshot.js in the project root.
const { chromium } = require('playwright');

(async () => {
  const browser = await chromium.launch();
  try {
    const page = await browser.newPage({ viewport: { width: 1440, height: 900 } });
    await page.goto('https://example.com', { waitUntil: 'load' });
    await page.screenshot({ path: 'artifacts/page.png' });
  } finally {
    await browser.close();
  }
})().catch((error) => {
  console.error(error);
  process.exitCode = 1;
});
Create the output directory before running because screenshot APIs do not create a missing parent directory:
mkdir -p artifacts
docker build -t playwright-shot .
docker run --rm -v "$PWD/artifacts:/app/artifacts" playwright-shot
The bind mount makes the container’s /app/artifacts directory available on the host. Without a mount, a file saved in the container may disappear when the container is removed. A relative screenshot path resolves from the process working directory, which is why the Dockerfile sets WORKDIR /app.
3. Pick the right capture scope and output
| Need | Playwright call | Notes |
|---|---|---|
| Current viewport | page.screenshot({ path: 'view.png' }) |
Captures the visible page area. |
| Whole scrollable page | page.screenshot({ path: 'full.png', fullPage: true }) |
Captures the full document height. |
| One component | page.locator('.header').screenshot({ path: 'header.png' }) |
Waits for the locator’s element and captures it. |
| Image bytes in memory | const bytes = await page.screenshot() |
Attach, upload, or process the buffer without first saving a file. |
Choose the file type through the path extension or the screenshot type option. PNG is lossless and useful for visual comparisons; JPEG uses a quality setting and can reduce file size for photographic content. WebP is also available. Quality applies to lossy formats. Check the Page screenshot API for current option behavior.
Screenshot scale is another tradeoff. CSS scale gives one output pixel per CSS pixel; device scale uses device pixels and can make a high-DPI image larger. Set the viewport explicitly when predictable dimensions matter. Full-page screenshots can be tall and memory-intensive on long pages; capture a specific locator or viewport when that meets the task.
Handle lazy content and dynamic pages
A successful navigation does not guarantee every image or asynchronous widget has finished rendering. If the important content has a known selector, wait for it:
await page.goto('https://example.com', { waitUntil: 'domcontentloaded' });
await page.locator('main article').waitFor({ state: 'visible' });
await page.screenshot({ path: 'artifacts/article.png', fullPage: true });
For pages that load images only while scrolling, full-page capture may cause content to appear as the page is traversed, but site-specific behavior varies. If a screenshot must be repeatable, wait for the meaningful content and consider whether animations or rotating content need to be controlled. Locator screenshot options support disabling animations and injecting screenshot-only CSS. Use masking or CSS only when it is clear what content is being changed; otherwise the image can hide a real regression.
4. Keep screenshots as Playwright Test artifacts
If screenshots are evidence from automated tests, configure Playwright Test to retain them on failure instead of adding capture code to every test. In playwright.config.js:
const { defineConfig } = require('@playwright/test');

module.exports = defineConfig({
  use: {
    screenshot: 'only-on-failure',
  },
});
Screenshot modes include on, only-on-failure, and on-first-failure. The failure modes reduce stored artifacts for successful runs. Configure your CI job to preserve the test output directory as an artifact; Docker by itself does not publish files after the job ends.
For visual regression checks, use the test runner’s screenshot assertion rather than simply saving an image:
const { test, expect } = require('@playwright/test');

test('landing page visual stays stable', async ({ page }) => {
  await page.goto('https://example.com');
  await expect(page).toHaveScreenshot('landing.png', {
    fullPage: true,
    animations: 'disabled',
  });
});
toHaveScreenshot waits for two consecutive screenshots to match before comparing, which helps avoid capturing a page while it is still changing. It supports full-page capture, masking dynamic regions, and comparison thresholds. This assertion requires Playwright Test and its configured snapshot workflow. See the official PageAssertions documentation.
5. Run safely and reliably in CI
The official Playwright Docker image runs as root by default, which disables Chromium’s sandbox. Playwright says that can be acceptable for trusted end-to-end test code, but explicitly does not recommend the image for visiting untrusted websites. Treat pages under test as executable browser input, and follow the current official security guidance if your workflow visits arbitrary URLs.
- Pin the Playwright image and npm package to compatible versions.
- Install only the browser engines your test suite needs.
- Mount the output directory or configure CI artifact collection.
- Set navigation and test timeouts appropriate to the application, and wait for a meaningful selector rather than relying on an arbitrary long sleep.
- Close browsers in a
finallyblock so failures do not leave browser processes running. - Keep secrets out of image layers and screenshot output; pages can display authenticated data.
More browsers and larger images increase container setup and storage requirements. Reusing a built image avoids reinstalling browser dependencies on every run. Retaining only failure screenshots, and choosing viewport rather than full-page capture when possible, can reduce artifact volume. No fixed runtime or memory figure applies across sites and CI machines: page complexity, browser engine, image size, and parallel test count all affect resource use.
6. Troubleshooting common failures
| Error or symptom | Likely cause | Fix |
|---|---|---|
| Executable doesn’t exist or browser cannot launch | The package and image versions differ, or the browser binary was not installed for this version. | Align the versions, rebuild the image, and run npx playwright install chromium (or the selected browser). |
| Missing shared library | Browser OS dependencies are absent from a custom image. | Install with npx playwright install --with-deps chromium on a supported base image. |
| Firefox or WebKit fails on Alpine | The browser build requires glibc; Alpine uses musl. | Use a glibc-based image for those engines. |
| Screenshot file is missing on the host | The path is inside the container and was not mounted or collected. | Bind-mount the output directory or configure CI artifact upload; verify the working directory and path. |
| ENOENT when saving a screenshot | The parent output directory does not exist. | Create it first with mkdir -p artifacts or create it in the script. |
| Image is blank or content is absent | Navigation completed before the relevant client-rendered content appeared, or a selector was wrong. | Wait for the expected visible locator and inspect page errors before capture. |
| Screenshot differs across runs | Animations, timestamps, rotating content, or asynchronous requests changed the page. | Stabilize the page, disable animations selectively, mask intentionally variable regions, and set an appropriate assertion threshold. |
| Capture times out | The site or a request did not settle within the configured limit. | Choose a narrower readiness condition, inspect network-dependent behavior, and set a suitable timeout rather than waiting indefinitely. |
7. Or skip the browser setup
For a one-off website capture, ScreenshotNeo returns an image or PDF from one request, without installing browser binaries in your container. It is a website screenshot API and MCP server for developers. See the ScreenshotNeo API documentation for request options.
curl -G "https://api.screenshotneo.com/v1/shot" -d access_key=YOUR_API_KEY --data-urlencode url=https://example.com -o shot.webpimport requests
r = requests.get("https://api.screenshotneo.com/v1/shot", params={"access_key": "YOUR_API_KEY", "url": "https://example.com"}, timeout=90)
open("shot.webp", "wb").write(r.content)const q = new URLSearchParams({ access_key: 'YOUR_API_KEY', url: 'https://example.com' });
const res = await fetch(`https://api.screenshotneo.com/v1/shot?${q}`);
if (!res.ok) throw new Error(`Screenshot request failed: ${res.status}`);
await Bun.write('shot.webp', new Uint8Array(await res.arrayBuffer()));The Node example uses Bun’s file-writing API to save the returned bytes; in Node.js, replace the final two lines with import { writeFile } from 'node:fs/promises'; await writeFile('shot.webp', Buffer.from(await res.arrayBuffer()));. Supply an API key and encode the target URL as a query parameter.
- Cookie banners are accepted and removed before the shot, along with known newsletter popups and chat widgets; each step can be turned off.
- Bot checks, blank pages, timeouts, and failed loads are never billed, and response headers identify the page verdict and billing status. Cache hits also cost nothing.
- An MCP server lets Claude, Cursor, and other MCP clients use screenshot, page-info, and PDF-capture tools.
- 1,000 screenshots a month are free with no card; paid plans start at $5 for 3,000 screenshots.
Learn about ScreenshotNeo or sign up free for 1,000 screenshots a month, no card required.
8. FAQ
Can I use Docker Compose?
Yes. Build the same Dockerfile from a Compose service and mount a host output directory as a volume. The key requirements remain the matching package and image versions, installed browser dependencies, and a persistent destination for artifacts.
Can I capture a screenshot without writing a file?
Yes. Omit path and page.screenshot() returns image bytes. You can attach those bytes to a test report, upload them to object storage, or process them in memory.
Should I use a screenshot or a visual assertion?
Use page.screenshot() when your script needs an image artifact. Use toHaveScreenshot() when a Playwright Test should compare the rendered page against a baseline.
Does full-page capture include content behind overlays?
It captures the document page, but overlays and fixed elements are part of the rendered page. Dismiss or handle them deliberately if they obscure content you need to inspect.


