How to Point a SiteGround Website to Cloudflare
Move DNS authority for a SiteGround-hosted site to Cloudflare without losing your website, email, or verification records. Follow the checklist before changing nameservers.

To point a SiteGround-hosted website to Cloudflare using Cloudflare’s standard full setup, add your current website and email DNS records to Cloudflare, then replace the domain’s nameservers at its registrar with the two nameservers Cloudflare assigns to your zone. SiteGround remains the web host; Cloudflare becomes the authoritative DNS provider and can proxy eligible web traffic. The nameserver change happens at the registrar, which may be SiteGround or another company.
The two details most likely to cause an outage are using the wrong destination IP for your SiteGround site and forgetting records that Cloudflare’s automatic scan missed. Gather and compare your records before switching nameservers. Keep the old hosting setup available during propagation, then verify the website, email, and important subdomains.
1. Understand which settings change
Hosting and DNS authority are separate. SiteGround serves your website files and supplies account-specific connection details. Cloudflare holds the authoritative DNS zone after activation. Your registrar—the company where the domain is registered—controls which nameservers the domain delegates to.
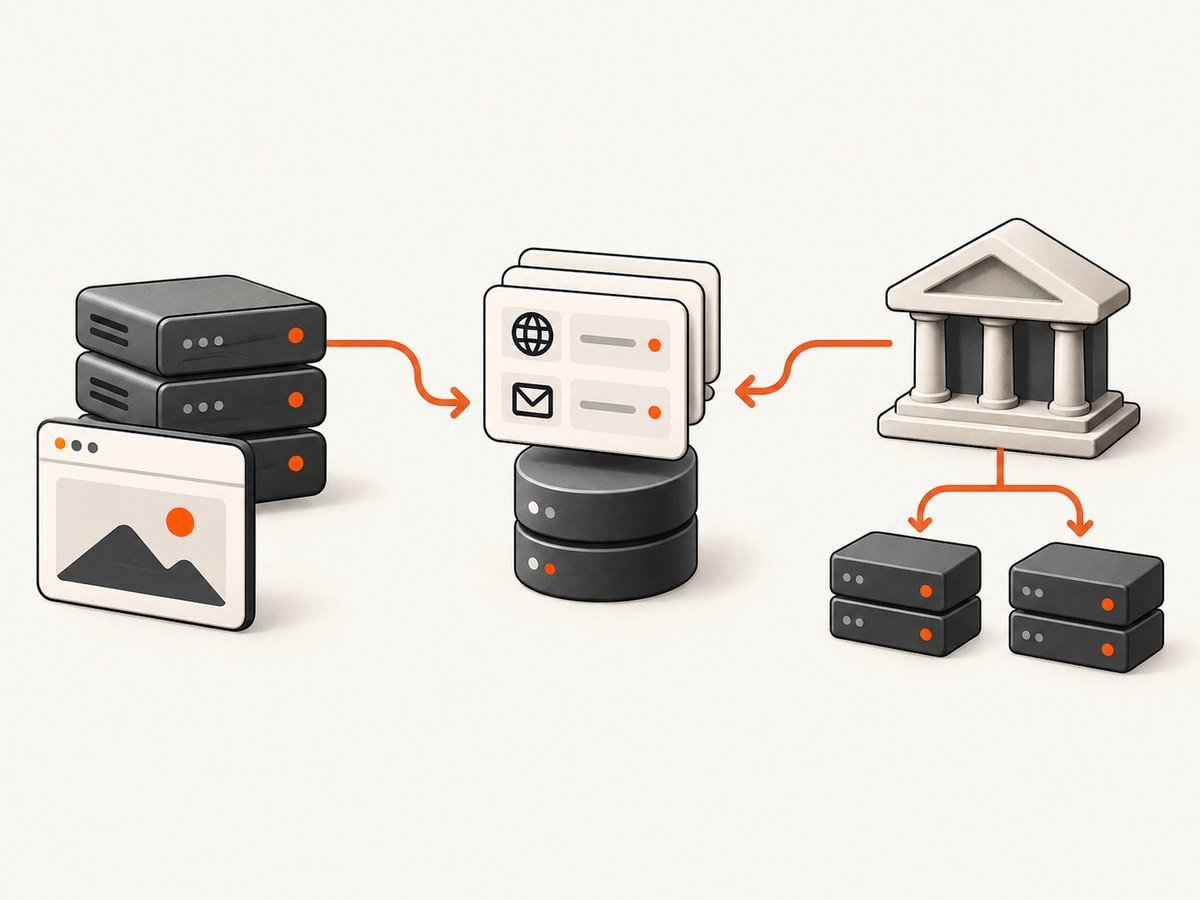
This guide covers Cloudflare’s full setup, where Cloudflare becomes authoritative. If you leave nameservers at SiteGround or another DNS provider, you are using a different arrangement: changing a record there may point traffic to a Cloudflare service, but Cloudflare will not be authoritative for the whole zone. Follow the full-setup path below if you want Cloudflare to manage the zone and use its proxy for eligible records.
| Item | Where to get or change it | What it controls |
|---|---|---|
| Website destination, such as its IP address | SiteGround account | Where the website record sends requests |
| DNS records and proxy status | Cloudflare DNS dashboard | How each hostname resolves and whether eligible traffic is proxied |
| Authoritative nameservers | Your domain registrar | Which provider answers authoritative DNS queries for the domain |
Do not copy SiteGround’s nameservers into the registrar when switching to Cloudflare. Cloudflare assigns two nameservers for your zone; use those exact values.
2. Record your current DNS configuration
Before editing anything, inventory the active records at the provider currently hosting your DNS. Save or export the zone if that option is available, and take a screenshot or written copy of the record list. Cloudflare can scan for existing records during onboarding, but its documentation warns that the scan is not guaranteed to find everything. Review the imported zone against the original.
Make sure your inventory covers:
- The apex or root domain, commonly written as
example.comor@. wwwand any other active subdomains, such asshop,app, orapi.- MX records and any related mail records required by your email provider.
- TXT records for email authentication, domain ownership, and third-party service verification.
- Any CNAME, SRV, or other records used by services beyond the website and email.
Record each entry’s name, type, content or destination, priority where applicable, and current proxy status. Do not assume a record is unneeded because it does not look website-related; a TXT verification record or mail hostname can support a separate service.
If you do not have access to the current DNS dashboard, ask its administrator or use the available DNS export before changing nameservers. A DNS lookup can show records visible to resolvers, but it may not reveal every record in the zone, especially records that are not publicly queried.
3. Find your SiteGround website’s destination
Use the values for the specific website and account. SiteGround’s documented routes include Client Area > Websites, then Website Settings > Server Details, and Site Tools > Site Information. The Server Details panel shows the website IP and nameservers. Follow SiteGround’s current instructions for the record type and connection values applicable to your hosting setup. There is no universal SiteGround A-record IP that should be copied for every site.
Write down the website IP or other required destination. If your existing DNS uses a CNAME or another setup, do not replace it with an A record based on guesswork; confirm the right target for your site. SiteGround’s DNS Zone Editor is for records in zones using SiteGround nameservers. It does not switch a primary domain’s authoritative nameservers to Cloudflare.
4. Add and review records in Cloudflare
- Add the domain to your Cloudflare account and choose the full setup option.
- Review the records Cloudflare imports against your saved inventory. Correct the apex record to use the SiteGround destination you retrieved.
- Check
wwwand every active subdomain. Preserve records for services that must continue working. - Recreate mail MX and related records using the exact values from your existing zone or email provider. Their values depend on the provider.
- Recreate verification and authentication TXT records. Retain priority values on MX records and any other relevant fields.
- Review proxy status individually before proceeding.
Cloudflare’s orange cloud means a record is proxied: eligible web traffic passes through Cloudflare’s network. A gray cloud means DNS-only: DNS returns the configured value without proxying the traffic. Use proxying only for records and services that should pass through Cloudflare and are supported by that arrangement.

Do not proxy mail records. Cloudflare also says CNAME records used to verify a domain for a third-party service should be DNS-only. Check the requirements for each service rather than applying one proxy setting to every row. When uncertain about a record, preserve its existing purpose and verify the provider’s instructions before enabling the proxy.
5. Check DNSSEC and change nameservers
If DNSSEC is enabled at your registrar, turn it off there before replacing nameservers. Cloudflare warns that changing nameservers while DNSSEC remains active can make the domain unreachable. After Cloudflare activates the zone, you can enable DNSSEC through Cloudflare and apply any registrar-side settings Cloudflare provides.
- In Cloudflare’s setup flow or zone overview, find the two nameservers assigned to your domain and copy them exactly.
- Sign in to the registrar for the domain. If the domain is registered at SiteGround, its documented route is Client Area > Services > Domains > Settings > Manage Nameservers. If it is registered elsewhere, use that registrar’s domain settings.
- Replace the current authoritative nameservers with Cloudflare’s two assigned nameservers. Do not use SiteGround’s
ns1.siteground.netandns2.siteground.netfor this Cloudflare setup. - Save the change and return to Cloudflare to check the zone’s activation status.
Nameserver changes are made at the registrar, not in SiteGround’s DNS Zone Editor. SiteGround’s nameserver tutorial describes its controls for domains registered there and directs customers with externally registered domains to their registrar.
6. Verify the website, email, and other services
Once the nameserver change is visible and Cloudflare reports the zone active, check the root domain, www, and each business-critical subdomain. Test from a browser and, if you use them, check application endpoints and scheduled integrations. Confirm that HTTPS works and that the site displays the expected content.
Send and receive a test email using the domain. Check that mail routing still works and that the relevant MX and TXT records are present. Also test any service that depends on a verification, CNAME, or other DNS record. If a record was omitted, add it to Cloudflare: once Cloudflare is authoritative, edits in the old DNS zone do not update the active zone.
SiteGround estimates nameserver changes can take up to 72 hours to propagate and recommends keeping the previous hosting service active until that period is over. That is provider guidance, not a guarantee that every resolver will take the full time. Keep the previous setup available during the transition and avoid removing required services before you have verified the new configuration.
Common errors and how to fix them
| Symptom | Likely cause | What to check |
|---|---|---|
DNS_PROBE_FINISHED_NXDOMAIN or domain does not resolve |
Cloudflare is authoritative but the zone lacks a required record, or the nameserver change is incomplete. | Confirm the registrar has Cloudflare’s assigned nameservers. In Cloudflare, check the apex and requested hostname records. Cloudflare warns that activating without correct DNS records can produce this error. |
| Website opens at one hostname but not the other | The root and www records differ or one is missing. |
Review both hostnames in Cloudflare and compare their targets with the intended SiteGround configuration. |
| Website resolves to the wrong destination | An incorrect or outdated SiteGround IP or target was entered. | Recheck the account-specific value in SiteGround Server Details or Site Tools > Site Information, then update the corresponding Cloudflare record. |
| Email stops arriving or sending | MX or supporting mail records were omitted, altered, or proxied. | Compare Cloudflare’s zone with the email provider’s required records. Keep mail records DNS-only and restore exact values and priorities. |
| Third-party service verification fails | A verification CNAME is missing or proxied. | Restore the provider’s exact record and set verification CNAMEs to DNS-only as Cloudflare directs. |
| Domain is unreachable after nameserver change | DNSSEC was still enabled at the registrar, or the delegation/records are not correct. | Check DNSSEC state and nameserver spelling at the registrar, then review the zone and Cloudflare activation status. |
| SiteGround DNS edits no longer affect public lookups | Cloudflare is now authoritative, so the old SiteGround zone is not the active zone. | Make active DNS changes in Cloudflare. Use the registrar only to manage delegation and domain settings. |
Performance, reliability, and cost considerations
Moving DNS authority does not move the website’s files or change the hosting account. The DNS record still needs to direct the hostname to the correct SiteGround destination. Proxying is a per-record choice that changes how eligible web requests travel; DNS-only records resolve directly to their configured values.
Reliability during the transition depends on having a complete Cloudflare zone and keeping the previous setup available while nameserver changes propagate. The most useful precaution is a record-by-record comparison before delegation. Keep email and third-party records in scope, not just the website A or CNAME record.
This procedure does not require a screenshot API. If you need to document how the site appears before and after a DNS change, ScreenshotNeo can capture a URL as an image or PDF. A screenshot documents the rendered page; it does not confirm DNS propagation, mail routing, or DNSSEC configuration.
Or skip the browser setup
If you need a rendered screenshot of the site after pointing it to Cloudflare, ScreenshotNeo makes the capture with one GET request. This is for checking how a page looks; use DNS and email checks above to verify the actual configuration. See the ScreenshotNeo API documentation.
curl -G "https://api.screenshotneo.com/v1/shot" -d access_key=YOUR_API_KEY --data-urlencode url=https://your-domain.example -o shot.webpimport requests
r = requests.get(
"https://api.screenshotneo.com/v1/shot",
params={"access_key": "YOUR_API_KEY", "url": "https://your-domain.example"},
timeout=90,
)
open("shot.webp", "wb").write(r.content)const q = new URLSearchParams({
access_key: 'YOUR_API_KEY',
url: 'https://your-domain.example'
});
const res = await fetch(`https://api.screenshotneo.com/v1/shot?${q}`);
if (!res.ok) throw new Error(`Screenshot request failed: ${res.status}`);
await Bun.write('shot.webp', res);Replace your-domain.example with your actual HTTPS hostname. ScreenshotNeo accepts cookie or consent banners before capture and removes more than 60 known consent platforms, newsletter popups, and chat widgets; each of those steps can be turned off. Bot checks and CAPTCHAs, blank pages, timeouts, failed loads, and cache hits cost nothing, and response headers report the page verdict and billing status. Its MCP server provides take_screenshot, get_page_info, and capture_pdf tools for AI agents. The free plan includes 1,000 screenshots per month with no card; paid plans start at $5 for 3,000. Sign up for 1,000 free screenshots a month, no card required.
Options to consider after the move
- Full setup: Cloudflare is authoritative and manages the zone. This is the path covered here.
- Leave authority elsewhere: Keep nameservers at the current DNS provider and change only the records that provider supports. Cloudflare will not be authoritative for the complete zone in this arrangement.
- Proxy or DNS-only: Choose per record. Proxy appropriate web traffic; leave mail and third-party verification records DNS-only where required.
Cloudflare’s full-setup documentation covers record review, nameserver assignment, proxy status, and DNSSEC. SiteGround’s website IP and nameserver guide explains how to find account-specific server details; its nameserver tutorial describes the registrar-side change for SiteGround domains. For the primary workflow, see Cloudflare’s full setup guide and its SiteGround pointing and propagation guidance.
FAQ
Will my website still be hosted by SiteGround?
Yes. This workflow changes DNS authority to Cloudflare; it does not transfer your site files or hosting account. The relevant Cloudflare website record must still point to the destination for your SiteGround site.
Do I change nameservers at SiteGround if my domain is registered elsewhere?
No. Change them in the account of the domain’s registrar. The registrar can be different from the web host.
Can I use one Cloudflare proxy setting for every DNS record?
Review records individually. Proxy eligible website traffic when appropriate; mail records and certain third-party verification records should be DNS-only.
How long should I wait before considering the change complete?
SiteGround publishes an estimate of up to 72 hours for nameserver propagation and recommends keeping the previous hosting service available during that period. Verify the site, email, and critical services rather than relying only on elapsed time.


