How to Take Screenshots with System.Drawing in PowerShell
Capture a Windows screen or selected rectangle in PowerShell with System.Drawing, then save it as PNG, JPEG, or another supported image format.

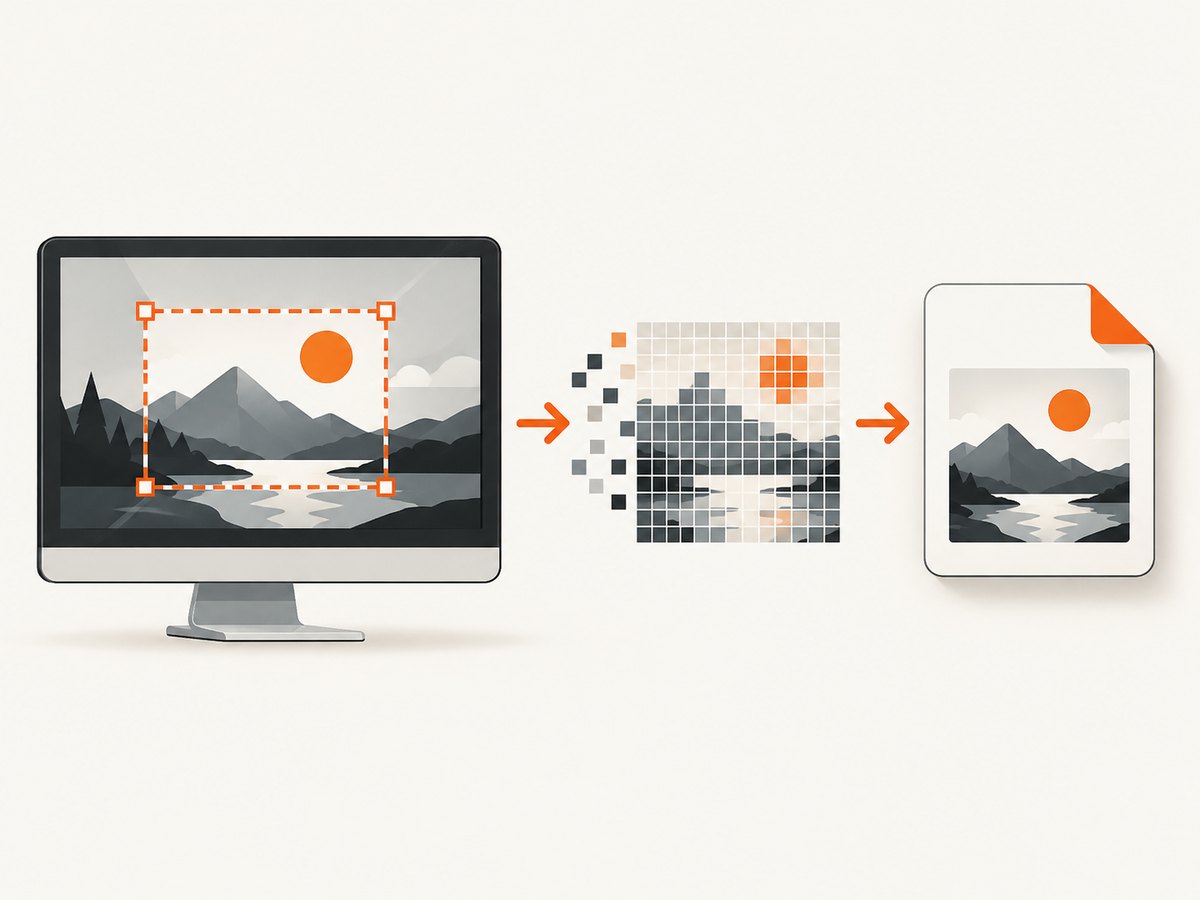
To take a screenshot with System.Drawing in PowerShell on Windows, create a Bitmap the size of the area you want, create a Graphics surface from that bitmap, copy the screen pixels into it with CopyFromScreen, and save the bitmap. Dispose of both objects when finished. The script below captures the primary display as a PNG; a second example captures a rectangle.
CopyFromScreen transfers a rectangular area of screen color data to a drawing surface. It does not choose the output filename or write an image file by itself; saving is a separate operation on the bitmap. See Microsoft’s CopyFromScreen API reference and Bitmap documentation.
1. Capture the primary screen and save a PNG
Save this as Capture-Screen.ps1, then run it from an interactive Windows session. Pass an optional output path as the first argument, or use the default path shown.
param(
    [string]$Path = (Join-Path (Get-Location) 'screenshot.png')
)

Add-Type -AssemblyName System.Drawing
Add-Type -AssemblyName System.Windows.Forms

$bounds = [System.Windows.Forms.Screen]::PrimaryScreen.Bounds
$bitmap = [System.Drawing.Bitmap]::new($bounds.Width, $bounds.Height)
$graphics = [System.Drawing.Graphics]::FromImage($bitmap)

try {
    $graphics.CopyFromScreen(
        $bounds.Location,
        [System.Drawing.Point]::Empty,
        $bounds.Size
    )
    $bitmap.Save($Path, [System.Drawing.Imaging.ImageFormat]::Png)
    Write-Output "Saved screenshot to $Path"
}
finally {
    $graphics.Dispose()
    $bitmap.Dispose()
}
Run it with powershell.exe -File .\Capture-Screen.ps1 in Windows PowerShell 5.1, or pwsh -File .\Capture-Screen.ps1 in PowerShell 7 on Windows. To choose a path, append it, for example pwsh -File .\Capture-Screen.ps1 C:\Temp\desktop.png. Ensure the destination directory exists and that the process can write there.
What each part does
Add-Typeloads the drawing and Windows Forms assemblies. Windows Forms provides the display bounds throughScreen.PrimaryScreen.Boundsgives the primary display’s location and dimensions.- The bitmap is created with the same width and height as the source area.
Graphics.FromImagecreates a drawing surface backed by the bitmap.CopyFromScreencopies from the display location to the bitmap’s origin, represented byPoint.Empty.Savewrites the bitmap to disk, andfinallydisposes both native-backed drawing objects even if capture or saving throws an error.
2. Capture a selected rectangle
The source point is the upper-left screen coordinate; width and height define the rectangle. The destination starts at (0, 0) in the output bitmap. This function checks positive dimensions and saves the selected area as PNG.
param(
    [int]$X = 100,
    [int]$Y = 100,
    [int]$Width = 800,
    [int]$Height = 600,
    [string]$Path = (Join-Path (Get-Location) 'region.png')
)

Add-Type -AssemblyName System.Drawing

if ($Width -le 0 -or $Height -le 0) {
    throw 'Width and Height must both be greater than zero.'
}

$rectangle = [System.Drawing.Rectangle]::new($X, $Y, $Width, $Height)
$bitmap = [System.Drawing.Bitmap]::new($Width, $Height)
$graphics = [System.Drawing.Graphics]::FromImage($bitmap)

try {
    $graphics.CopyFromScreen(
        $rectangle.Location,
        [System.Drawing.Point]::Empty,
        $rectangle.Size
    )
    $bitmap.Save($Path, [System.Drawing.Imaging.ImageFormat]::Png)
    Write-Output "Saved region to $Path"
}
finally {
    $graphics.Dispose()
    $bitmap.Dispose()
}
For example, pwsh -File .\Capture-Region.ps1 -X 200 -Y 150 -Width 640 -Height 480 -Path .\panel.png captures a 640 by 480 area starting at screen coordinate 200,150. This uses physical coordinates expected by the display API. Validate coordinates on the target machine, especially with multiple displays or non-default scaling. A rectangle outside the visible desktop can fail or yield a result different from the intended area; CopyFromScreen documents Win32Exception when the operation fails.
3. Capture a display or use another image format
The primary-screen example deliberately captures one display. To capture the full virtual desktop across monitors, use the virtual screen bounds instead. The virtual bounds can begin at negative X or Y coordinates when a monitor is positioned to the left or above the primary display.
Add-Type -AssemblyName System.Drawing
Add-Type -AssemblyName System.Windows.Forms

$bounds = [System.Windows.Forms.SystemInformation]::VirtualScreen
$bitmap = [System.Drawing.Bitmap]::new($bounds.Width, $bounds.Height)
$graphics = [System.Drawing.Graphics]::FromImage($bitmap)

try {
    $graphics.CopyFromScreen(
        $bounds.Location,
        [System.Drawing.Point]::Empty,
        $bounds.Size
    )
    $bitmap.Save('.\virtual-desktop.png', [System.Drawing.Imaging.ImageFormat]::Png)
}
finally {
    $graphics.Dispose()
    $bitmap.Dispose()
}
For a specific monitor, select it from [System.Windows.Forms.Screen]::AllScreens and use that screen’s Bounds with the same bitmap and copy steps. Monitor array order should not be treated as a durable identity; inspect each screen’s bounds and choose by the desired location or dimensions. If coordinates do not match expectations, log the chosen bounds before capturing.
PNG is a sensible default for a screenshot. To save JPEG instead, change both the extension and encoder: use [System.Drawing.Imaging.ImageFormat]::Jpeg. Microsoft’s Bitmap documentation lists formats including PNG, BMP, GIF, JPEG, and TIFF. Make the filename extension and selected format agree so other tools can identify the output correctly.
4. Runtime and platform considerations
This is a Windows desktop capture method. Windows PowerShell 5.1 runs on .NET Framework; PowerShell 7.x is built on modern .NET. PowerShell 7 being cross-platform does not make this specific API a portable screen-capture solution: Microsoft documents System.Drawing.Common as supported only on Windows in .NET 6 and later. See Microsoft’s PowerShell 5.1 and 7.x differences.
| Environment or need | Practical choice |
|---|---|
| Windows PowerShell 5.1 | Load the assemblies and use the examples in an interactive desktop session. |
| PowerShell 7 on Windows | The same general workflow may be used; check assembly availability and runtime behavior on the installed version. |
| PowerShell 7 on macOS or Linux | Do not assume this recipe works. Choose a capture library supported by that operating system. |
| Primary monitor only | Use Screen.PrimaryScreen.Bounds. |
| All attached displays | Use virtual-screen bounds and account for negative origin coordinates. |
| One area only | Supply a source point and size, and make the output bitmap that same size. |
System.Drawing captures pixels from the current screen surface. It does not navigate to a website, wait for page rendering, scroll a long page, or capture a browser page independent of what is visible on the desktop. If the goal is a repeatable website screenshot, browser automation or a screenshot service is a better fit than copying desktop pixels.
5. Options, edge cases, and resource handling
Source, destination, and size
The CopyFromScreen overload accepts the upper-left source point, the destination point in the drawing surface, and the area size. The examples set the destination to Point.Empty, which places the captured region at the top-left of the bitmap. The numeric overload takes source X/Y, destination X/Y, and size. Use an output bitmap large enough for the destination rectangle.

Capture mode
Most screenshot scripts should use the standard overload shown above. There is also an overload with a CopyPixelOperation value for controlling how source and destination colors are combined. The ordinary bitmap capture does not need blending; use that overload only when the destination surface should combine pixels according to a specific operation. Microsoft documents an invalid-enum error for an unsupported operation value.
Disposal and output paths
Bitmap and Graphics hold drawing resources. Always dispose them, including on failures; the try/finally structure ensures cleanup. Create the destination directory before saving, and use an absolute path in scheduled scripts so output does not depend on the process’s current directory.
Desktop context and unattended execution
A process must have access to the intended active Windows desktop for the result to represent the user’s screen. Scheduled tasks, service accounts, remote sessions, locked sessions, and multiple user sessions can behave differently from an interactive run. The API documentation does not promise that an unattended process sees an interactive user’s desktop. Validate capture in the actual deployment context rather than assuming a successful script invocation means the desired screen was captured.
6. Troubleshooting
| Symptom | Likely cause | Fix |
|---|---|---|
Add-Type cannot load System.Drawing or Windows Forms |
The assembly is unavailable in the selected PowerShell runtime or platform. | Run on Windows and confirm whether the shell is Windows PowerShell 5.1 or PowerShell 7. For modern .NET, System.Drawing.Common support is Windows-only. |
CopyFromScreen throws Win32Exception |
The screen copy failed; the source area or desktop context may not be usable. | Print the source bounds and size, confirm the rectangle is on the active desktop, and run from the intended interactive session. Catch and log the exception details. |
| The screenshot is blank or shows the wrong display | The process sees a different desktop context, or the script selected primary rather than virtual/specific monitor bounds. | Log Bounds and choose the desired screen explicitly. Check the session in which the script runs. |
| The captured area is offset or clipped | Coordinates or dimensions do not describe the intended rectangle, or the monitor arrangement includes a non-zero or negative origin. | Inspect Screen.AllScreens bounds and account for virtual-screen origin. Confirm width and height are positive and the bitmap has matching dimensions. |
| The file is missing after a successful capture | The relative path resolved in another working directory or the destination directory does not exist. | Use an absolute path, create the parent directory, and check write permissions. |
| Image opens incorrectly or has the wrong type | The filename extension and selected encoder do not match. | Use matching pairs such as .png with ImageFormat.Png or .jpg with ImageFormat.Jpeg. |
| It works locally but not as a scheduled task | The task may not run in the same interactive desktop context as the manual session. | Test under the task’s account, session, and login conditions. If the goal is a website page rather than the desktop, use a browser capture workflow instead. |
During debugging, wrap the copy and save operations in try/catch while retaining disposal in finally:
try {
    $graphics.CopyFromScreen($bounds.Location, [System.Drawing.Point]::Empty, $bounds.Size)
    $bitmap.Save($Path, [System.Drawing.Imaging.ImageFormat]::Png)
}
catch {
    Write-Error "Screenshot capture failed: $($_.Exception.Message)"
    throw
}
finally {
    $graphics.Dispose()
    $bitmap.Dispose()
}
7. Performance, reliability, and cost
The bitmap dimensions determine the amount of image data the script must hold and write. Capturing a larger virtual desktop uses a larger bitmap than capturing a small rectangle. When only a region matters, allocate a bitmap for that region rather than for every monitor. Dispose objects after each capture, particularly in a loop. The supplied sources give no benchmark, so actual capture time and memory use depend on screen dimensions, system, and output format.
For reliability, make the capture context explicit, log bounds and output paths, catch failures, and use a cleanup block. A successful API call is evidence that pixels were copied, but it does not prove that those pixels came from the intended user session or browser state. There is no per-capture service cost for this local method described by the cited sources; operational costs depend on the Windows machine and how the script is run.
8. Or skip the browser setup
If the job is capturing a website page rather than the local desktop, ScreenshotNeo provides a one-request screenshot API. It is a website screenshot API and MCP server from ScreenshotNeo. This example saves a website capture as WebP; see the ScreenshotNeo documentation for the API details.
curl -G "https://api.screenshotneo.com/v1/shot" -d access_key=YOUR_API_KEY --data-urlencode url=https://stripe.com -o shot.webpEquivalent Python request:
import requests

r = requests.get(
    "https://api.screenshotneo.com/v1/shot",
    params={"access_key": "YOUR_API_KEY", "url": "https://stripe.com"},
    timeout=90,
)
r.raise_for_status()
open("shot.webp", "wb").write(r.content)
Equivalent Node.js request:
const q = new URLSearchParams({ access_key: 'YOUR_API_KEY', url: 'https://stripe.com' });
const res = await fetch(`https://api.screenshotneo.com/v1/shot?${q}`);
if (!res.ok) throw new Error(`Screenshot request failed: ${res.status}`);
await import('node:fs/promises').then(fs => fs.writeFile('shot.webp', Buffer.from(await res.arrayBuffer())));
ScreenshotNeo accepts cookie and consent banners like a visitor and removes more than 60 known consent platforms, newsletter popups, and chat widgets before the shot; each step can be turned off. Bot checks and CAPTCHAs, blank pages, timeouts, failed loads, and cache hits are not billed, and response headers report the page verdict and billing status. Its MCP server gives AI agents tools including take_screenshot, get_page_info, and capture_pdf. The free plan includes 1,000 screenshots each month with no card; paid plans start at $5 for 3,000 screenshots.
Create a free ScreenshotNeo account for 1,000 screenshots a month with no card.
9. Frequently asked questions
Can PowerShell capture a screenshot without installing a module?
On Windows, the examples use .NET drawing and Windows Forms types that ship with the applicable Windows runtime; no third-party PowerShell module is used in the code.
Does this capture a full web page?
No. It copies pixels from a screen rectangle. A long page extending below the visible browser viewport requires a browser-aware capture method.
Can I save the screenshot as JPEG?
Yes. Change the filename extension and pass [System.Drawing.Imaging.ImageFormat]::Jpeg to Save.
Why might an image differ between my desktop and a scheduled run?
The process may run in a different desktop session or see different display bounds. Validate in the exact account and session used for the scheduled run.


