How to Prevent Text Overflow in Image Templates
Keep variable titles, names, and localized copy inside image templates with a deliberate fit policy, worst-case testing, and final-render checks.
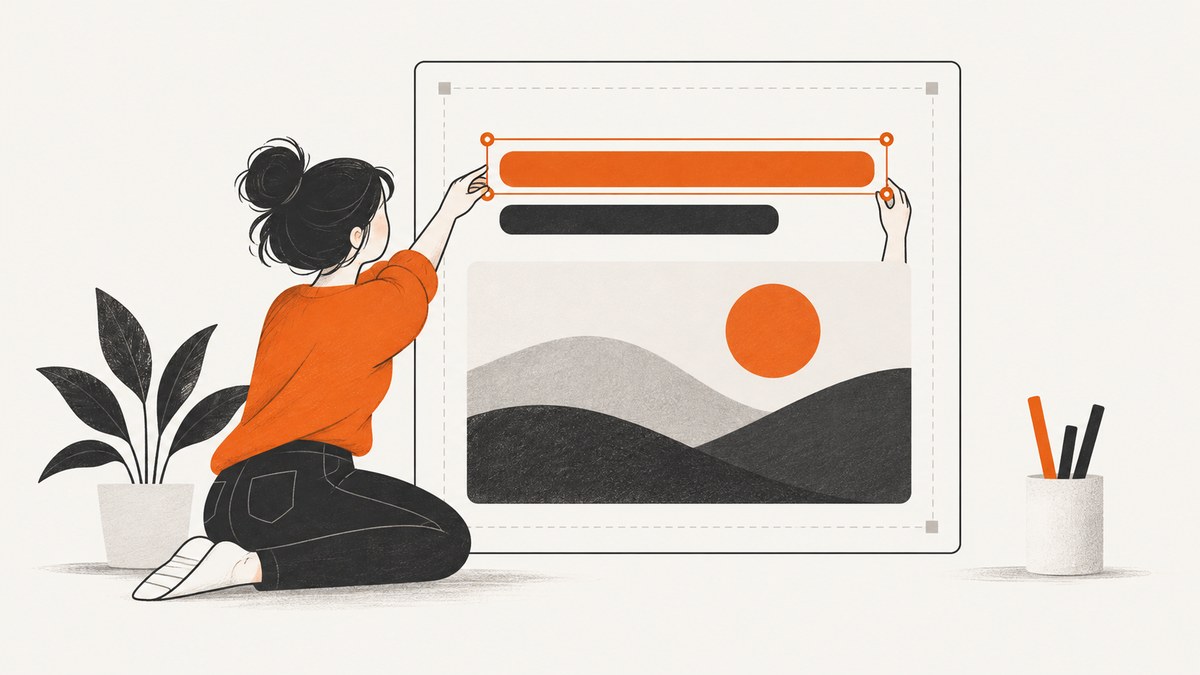
To prevent text overflow in an image template, give text a defined area, decide what should happen when copy is too long, and test the longest realistic content in the final export. Use automatic fitting when available, with a minimum font size and a line limit; otherwise adjust the text box or line spacing, allow another line, or deliberately truncate the copy. There is no universal font-size reduction that works for every font, language, box, or renderer.
This applies to social graphics, banners, product cards, generated thumbnails, and any image whose text changes at runtime. A template that looks right with a short sample title can still clip a longer title, overlap neighboring elements, or place text outside the safe area when exported.
1. Choose an overflow policy before styling
First decide whether every word must remain visible. That decision determines the layout and fitting behavior.
| Policy | Use when | Implementation | Tradeoff |
|---|---|---|---|
| Keep all copy | Names, legal text, or meaningful headlines must remain complete. | Wrap, expand the box, add lines, or shrink text to a defined minimum. | Long copy can make the text smaller or change the composition. |
| Bounded copy | The template needs a stable composition and copy can be edited. | Set a character or line limit and revise content before rendering. | Requires a content rule and a fallback for exceptions. |
| Truncate | The full text is available elsewhere and the image is a preview. | Clamp to a documented line count and append an ellipsis. | Readers may miss important information; truncation must be intentional. |
Do not rely on clipping at the box boundary as an overflow policy. It hides the symptom while silently removing content. If you truncate, make the ellipsis visible and use the same maximum-line rule in previews and exports.
2. Build a layout that can absorb real copy
Define the text area and safe area
Give each text layer a clear maximum width and height. Keep it away from the image edge and from nearby elements that should not move. A margin or safe-area guide helps reveal when text is too close to the export boundary; Canva’s margins feature, for example, guides layout and flags elements close to the edge (Canva Help Center: margins, bleed, and crop marks).
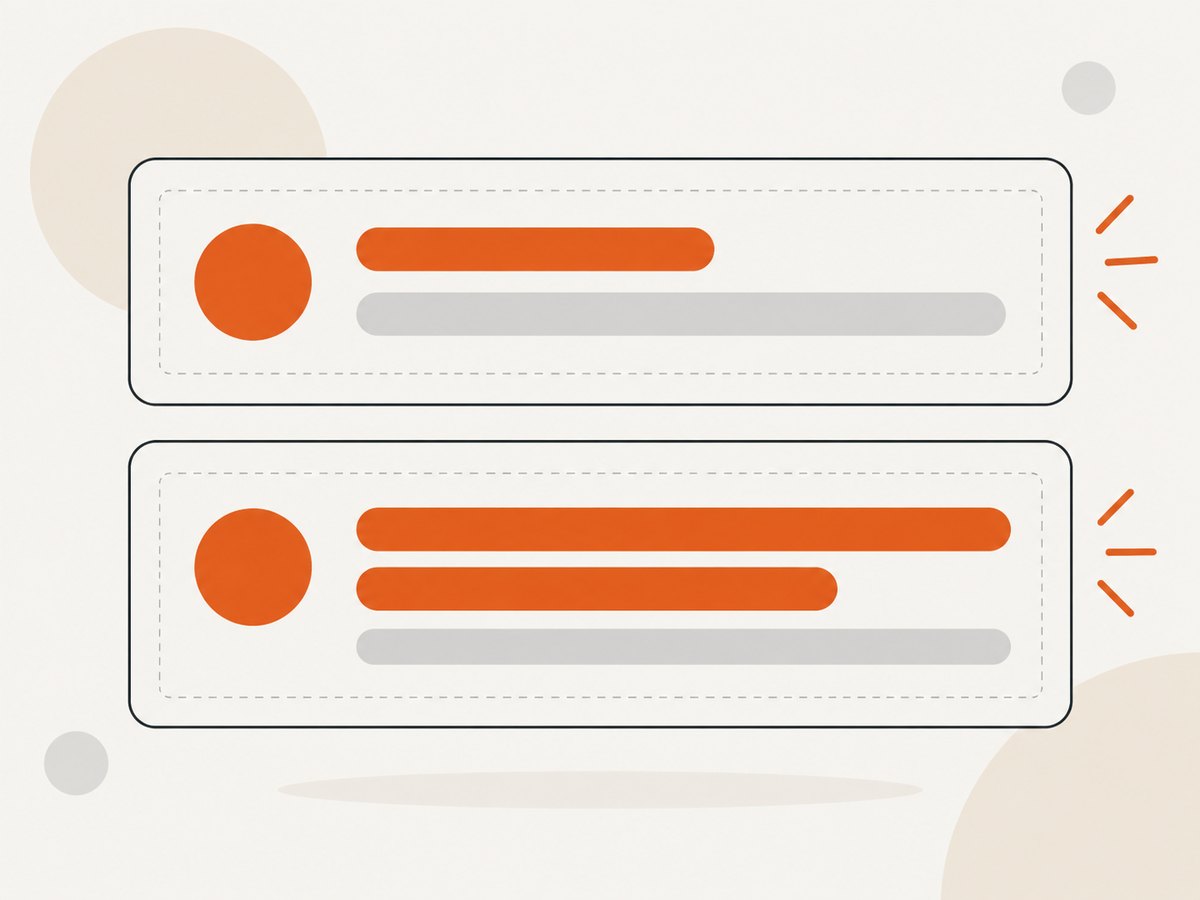
Reserve room for the longest expected title and the largest expected line count, not just for the placeholder. For a title beside a logo, decide whether the logo stays fixed while the title wraps, or whether the entire group moves or resizes together. Without that rule, a longer string can collide with other elements even if the text itself remains inside its box.
Understand auto width and fixed size
In Figma, an auto-width text layer grows horizontally with its content. A fixed-size layer has bounded dimensions and can wrap, but may overflow. Figma describes fixed size as allowing longer strings to wrap and overflow onto a new line (Figma Help Center: explore text properties). Wrapping is useful only if the surrounding layout has space for the additional lines.
Pay particular attention to fixed-size text inside Auto Layout. A layer can overlap another layer as its content grows, depending on the frame and sizing configuration. Set the resizing behavior deliberately, inspect the parent layout, and test with long text rather than assuming the component will expand correctly. See Figma’s Auto Layout properties for the relevant sizing controls.
Keep font and line spacing within bounds
Choose a minimum readable font size before enabling auto-fit. A fitting algorithm that is allowed to shrink indefinitely can technically avoid clipping while producing unusably small text. Set line spacing and letter spacing as part of the design; changing either affects the space the text occupies, and overly tight spacing can make multi-line copy hard to read.
Test the actual font files used in production. A substitute font can have different glyph widths and line metrics, so a string that fits in the editor may wrap or clip in the exported image.
3. Use automatic fitting where it is available
Some publishing systems offer copy-fitting that adjusts type to fill an area while avoiding overflow. Adobe Dynamic Media Smart Text Resize uses a copy-fitting algorithm to fit text into a text area, and its controls include minimum and maximum font sizes and line-count limits (Adobe Experience League: text commands; Adobe Image Serving reference).
Use the controls as constraints, not as a replacement for a design decision. Specify a minimum size that remains readable, cap the number of lines, and decide what happens when the content still does not fit. Depending on the workflow, the fallback could be a wider or taller text area, a shorter content variant, or an explicit rendering error that prompts review.
In Photoshop, Dynamic Text resizes and reflows text inside shapes and paths, and Dynamic fit recalibrates as letters change. That shape-aware behavior is useful for text intended to stay within a particular shape (Adobe Help Center: Dynamic Text; Adobe Help Center: working with type). Verify the result at the export size and in your delivery pipeline: the design canvas, preview, and delivered output can differ slightly in text position or size.
Figma workflows can use manual resizing, conditional variants, or content limits where automatic fitting is not part of the template. Its text controls also support truncation and maximum lines as deliberate choices (Figma text properties). Pick one behavior for each component and document it so content authors know whether long copy wraps, shrinks, or ends with an ellipsis.
4. Test worst-case strings and every output shape
A useful test set reflects real content variation, not just a long string of repeated characters. Include the longest realistic title, a long person or product name, the longest call to action, punctuation, numbers, and the languages the template will support. Accented characters, wide glyphs, and different scripts can occupy space differently from the sample copy.
- List variable fields. Identify every string that can change, including labels, subtitles, names, and calls to action.
- Collect edge cases. Use real longest examples where possible. Include the expected localizations and strings with unusual punctuation or numerals.
- Render each target aspect ratio. A square graphic, portrait story, and wide banner have different available text space. Do not assume a fit in one layout proves a fit in another.
- Inspect the final image. Check the exported PNG, JPEG, or WebP at its delivery dimensions, rather than relying only on the editor canvas or preview.
- Check nearby elements and margins. Confirm the title does not overlap a logo, button, or image subject and remains inside the safe area.
- Record the fallback. If a string exceeds the bounds, know whether the system shrinks, adds a line, truncates, or rejects the render.
Repeat these checks after changing the font, text box, line spacing, template dimensions, export scale, or rendering engine. Adobe cautions that canvas, preview, and delivery output may show minor differences in text position or size, so a final-render review is part of validation (Adobe Experience League).
5. Troubleshooting: common overflow problems
| Symptom | Likely cause | Fix |
|---|---|---|
| Text is cut off at the bottom | The box is fixed-height, wrapping added a line, or line spacing is larger than expected. | Increase the box height, allow another line, reduce line spacing within readable bounds, or apply a documented fit policy. |
| Text overlaps a logo or another layer | The text grew but the parent layout or neighboring element remained fixed. | Review Auto Layout or grouping behavior, reserve a maximum text region, and test the longest string in the actual component. |
| Text fits in the editor but not in the exported image | Font substitution, export dimensions, or rendering differences changed text metrics or position. | Use the production font and inspect the final rendered file at delivery size. Validate each export path. |
| Auto-fit makes the headline too small | The fitting range has no useful minimum or the text area is too constrained. | Set a readable minimum size. Expand the area, allow another line, or shorten the copy when that minimum is reached. |
| Only some languages clip | Localized strings differ in length and glyph widths; the original sample did not cover those cases. | Test the longest realistic localization for each target shape and define per-language variants if the layout needs them. |
| Ellipsis appears unexpectedly or the last line disappears | A line limit or truncation rule is active, possibly in a component variant. | Inspect the text properties and component settings. Decide whether to raise the line limit, resize, or retain intentional truncation. |
| Elements sit too close to the crop edge | The design lacks an export safe margin or a crop changed the visible region. | Use margin guides, move critical text inward, and review the image after the actual crop and export. |
6. If you render image templates in a browser
When HTML and CSS generate the graphic, treat the browser as part of the typography pipeline. Set the intended viewport and device scale, load the production font before capture, and wait until the template has laid out the content. Use CSS constraints to make the overflow policy explicit. For example, a fixed box can wrap and expose a line limit; the application should still decide what to do if content exceeds that limit.
<div class="card">
  <h1 class="title">A variable title goes here</h1>
</div>

<style>
.card {
  width: 1200px;
  height: 630px;
  box-sizing: border-box;
  padding: 64px;
  overflow: hidden;
}
.title {
  max-width: 900px;
  max-height: 3.2em;
  overflow: hidden;
  display: -webkit-box;
  -webkit-box-orient: vertical;
  -webkit-line-clamp: 2;
  line-height: 1.6em;
  overflow-wrap: anywhere;
}
</style>
This example intentionally limits the title to two lines. It does not create a visible ellipsis in every browser and CSS combination, so inspect the output and implement a suitable truncation rule if an ellipsis is required. If all text must remain visible, do not use clipping as the fallback: measure the rendered content and enlarge the area, add lines, or reduce the font only down to a defined minimum.
For automated rendering, wait for web fonts before measuring or capturing. A capture made before the font loads can use fallback metrics, then differ after the intended font appears. Keep the browser viewport, device scale, font assets, and CSS consistent between preview and production. Test both the generated page and the final screenshot, because a successful capture does not prove the text fits.
7. Or skip the browser setup
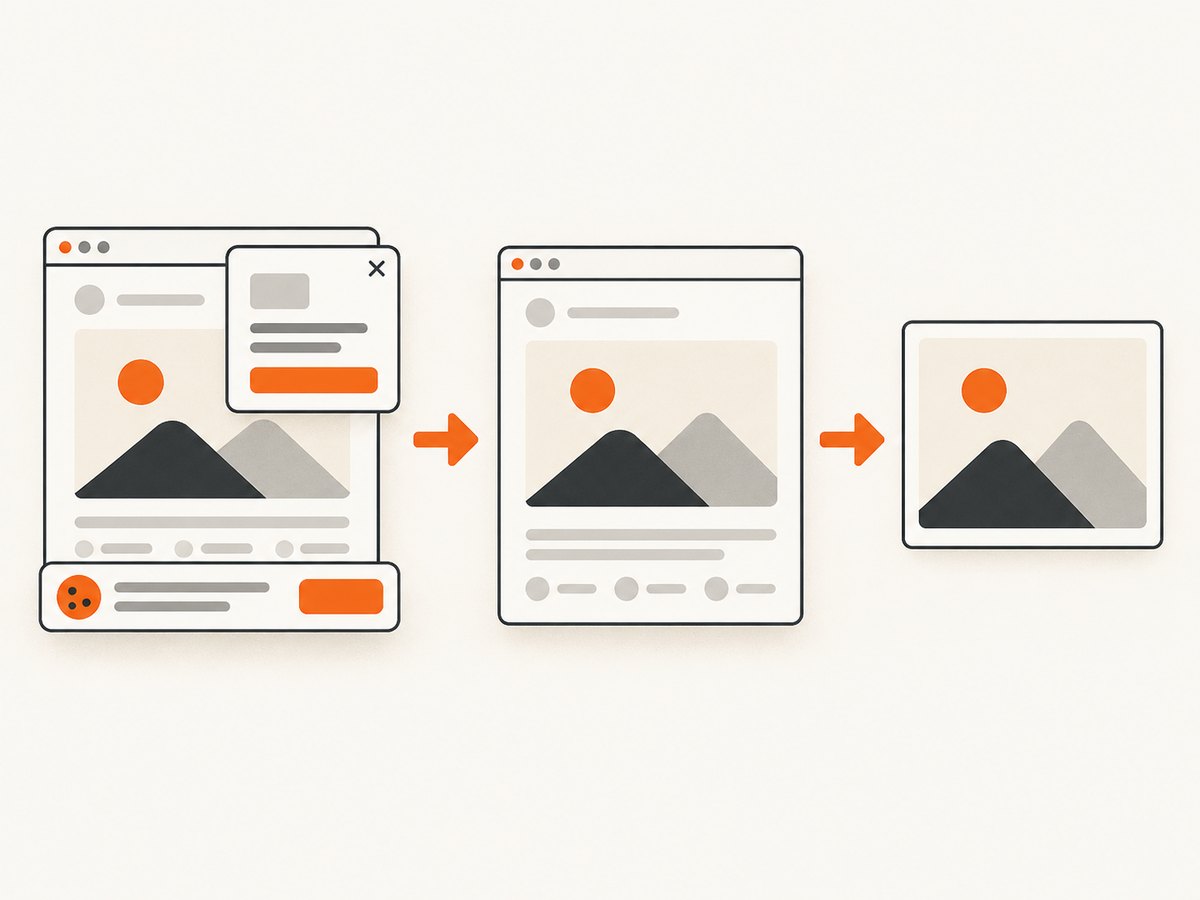
If your template already renders as a web page, ScreenshotNeo can return a screenshot with one GET request. Its API can capture full pages or a CSS-selected element, set a viewport or device preset, wait for a selector, delay, or network idle, and apply custom CSS or JavaScript. The API parameter names used by other screenshot APIs also work, which can simplify switching. See the ScreenshotNeo API documentation for configuration details.
curl -G "https://api.screenshotneo.com/v1/shot" \
  -d access_key=YOUR_API_KEY \
  --data-urlencode url=https://example.com/template \
  -o template.webp
import requests
r = requests.get(
"https://api.screenshotneo.com/v1/shot",
params={"access_key": "YOUR_API_KEY", "url": "https://example.com/template"},
timeout=90,
)
r.raise_for_status()
open("template.webp", "wb").write(r.content)const q = new URLSearchParams({
access_key: 'YOUR_API_KEY',
url: 'https://example.com/template'
});
const res = await fetch(`https://api.screenshotneo.com/v1/shot?${q}`);
if (!res.ok) throw new Error(`Screenshot request failed: ${res.status}`);
await Bun.write('template.webp', new Uint8Array(await res.arrayBuffer()));For a real template, replace the example URL with its published page and configure the capture to match the intended output dimensions. ScreenshotNeo removes cookie or consent banners, newsletter popups, and chat widgets before capture; each cleanup step can be turned off. Bot checks or CAPTCHAs, blank pages, timeouts, failed loads, and cache hits cost nothing, and response headers report the page verdict and billing status. Its MCP server gives AI agents tools to take screenshots, get page information, and capture PDFs.
The free plan includes 1,000 screenshots a month with no card. Paid plans start at $5 for 3,000 shots; all features are on every plan, and yearly billing gives two months free. Sign up for 1,000 free screenshots a month, with no card.
8. Performance, reliability, and cost
For a design workflow, the cheapest check is often a focused set of representative renders rather than exporting every possible string and size manually. Automate rendering when templates change or when content is generated in volume, and keep the edge-case strings as a repeatable review set. A screenshot can show clipping or overlap, but it does not decide whether the copy is semantically acceptable or readable; keep a content rule and visual review for those decisions.
Browser captures depend on page load behavior. Slow fonts, animations, lazy-loaded content, or network requests can make output inconsistent. Wait for the relevant font and template state, use a defined viewport, and avoid capturing while the layout is still changing. If the page is public, caching with a chosen TTL can reduce repeated capture work; if content changes often, select a TTL that matches how fresh the image must be. ScreenshotNeo also supports asynchronous jobs, signed webhooks, bulk capture of up to 100 URLs per call, and a usage API for workflows that need to process many pages.
Keep API credentials private in server-side code. A browser-visible request can expose an access key; for public image embedding, use signed links instead. Monitor response verdict and billing headers so your pipeline can distinguish a valid page capture from a bot check, blank page, or failed load. Pricing depends on plan volume: Free is 1,000 per month, then Starter is $5 for 3,000, Growth $15 for 15,000, Pro $39 for 60,000, Scale $99 for 250,000, and Business $249 for 1,000,000. Every feature is included on every plan; yearly billing gives two months free.
9. Production checklist
- Each variable text field has a bounded area and a documented overflow policy.
- The longest realistic title, name, call to action, and localization have been rendered.
- Minimum font size and maximum line count preserve readability.
- Auto Layout, grouped elements, and neighboring layers behave correctly as copy grows.
- Safe margins are checked after crop and export.
- Final output is inspected for every target aspect ratio and renderer.
- A fallback exists for content that exceeds the tested bounds.
10. FAQ
Should I always shrink the font to make text fit?
No. Shrinking can make a headline hard to read. Set a minimum size and use a different fallback when the text still does not fit, such as another line, a larger area, or shorter approved copy.
Is truncation acceptable in a social image?
It can be, when the image is a preview and the complete text appears elsewhere. Set a visible line limit and make truncation deliberate so readers are not misled.
Why does a title fit in one language but not another?
Translations can differ in length, word boundaries, and glyph widths. Validate realistic strings for every supported language instead of estimating fit from the source-language copy.
Can a screenshot tool fix overflow by itself?
No. A screenshot captures the rendered page; the page’s layout and overflow policy determine whether its text fits. Use captures to inspect the final result and catch regressions.


