How to Capture an Element Screenshot with Protractor Using a Locator
Use a Protractor locator to find an element, then capture its visible bounds with Selenium’s element screenshot API. Here’s the version-aware code and troubleshooting guide.
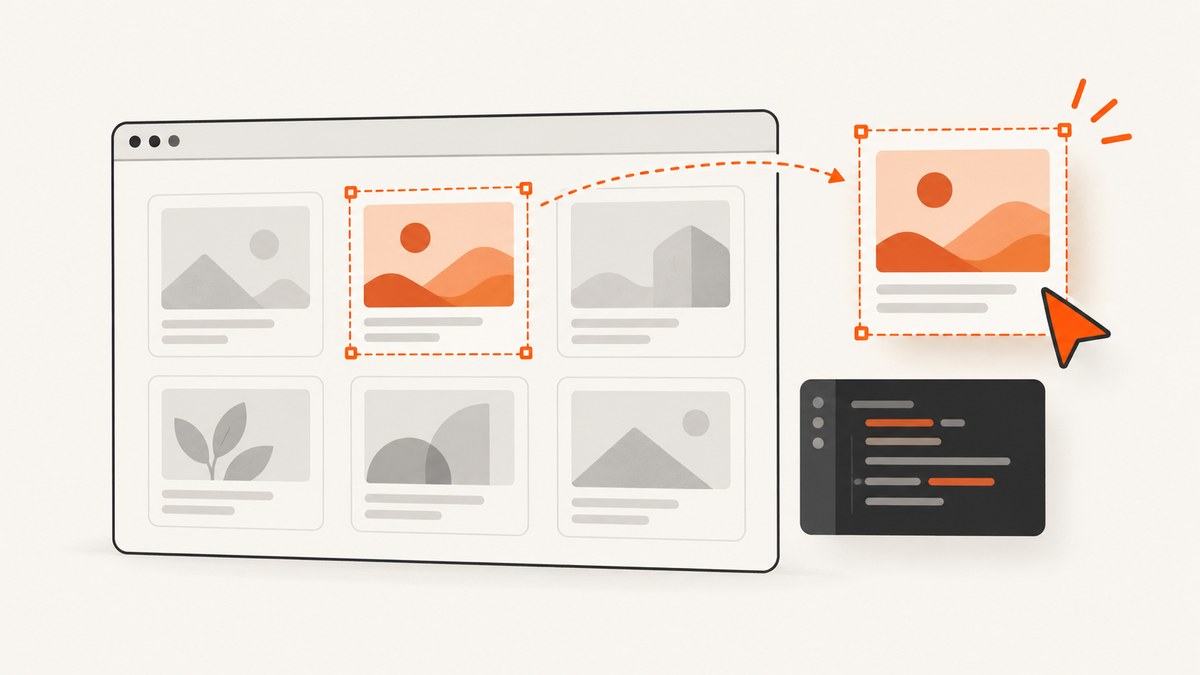
To capture one element with Protractor, use a locator to find it, resolve the resulting ElementFinder to the underlying WebDriver element, and call that element’s screenshot method if your installed Selenium and browser-driver versions support it. Current Selenium JavaScript documentation names the method WebElement.takeScreenshot(); it returns a promise with a base64-encoded PNG of the visible region inside the element’s bounding rectangle. Protractor’s old dependency stacks do not all expose the same method, so check your installed versions instead of assuming a snippet works across every project.
This distinction matters: the locator identifies the element; WebDriver performs the element-level capture. The examples below show the flow and a Node.js file-writing pattern, but the exact Protractor unwrapping call depends on your project’s version. A version check is part of the implementation, not an optional compatibility detail.
1. Understand what the locator and screenshot API do
Protractor’s element(locator) helper returns an ElementFinder, which is a wrapper used to find and interact with page elements. Selenium’s current JavaScript API documents WebElement.takeScreenshot() as a promise that resolves to base64 PNG data. The API describes the captured area as the visible region encompassed by the element’s bounding rectangle. These are two different layers: Protractor locates; the Selenium WebElement API captures. See the [Protractor element guide](https://github.com/angular/protractor/blob/master/docs/locators.md) and [Selenium JavaScript WebElement API](https://www.selenium.dev/selenium/docs/api/javascript/WebElement.html).
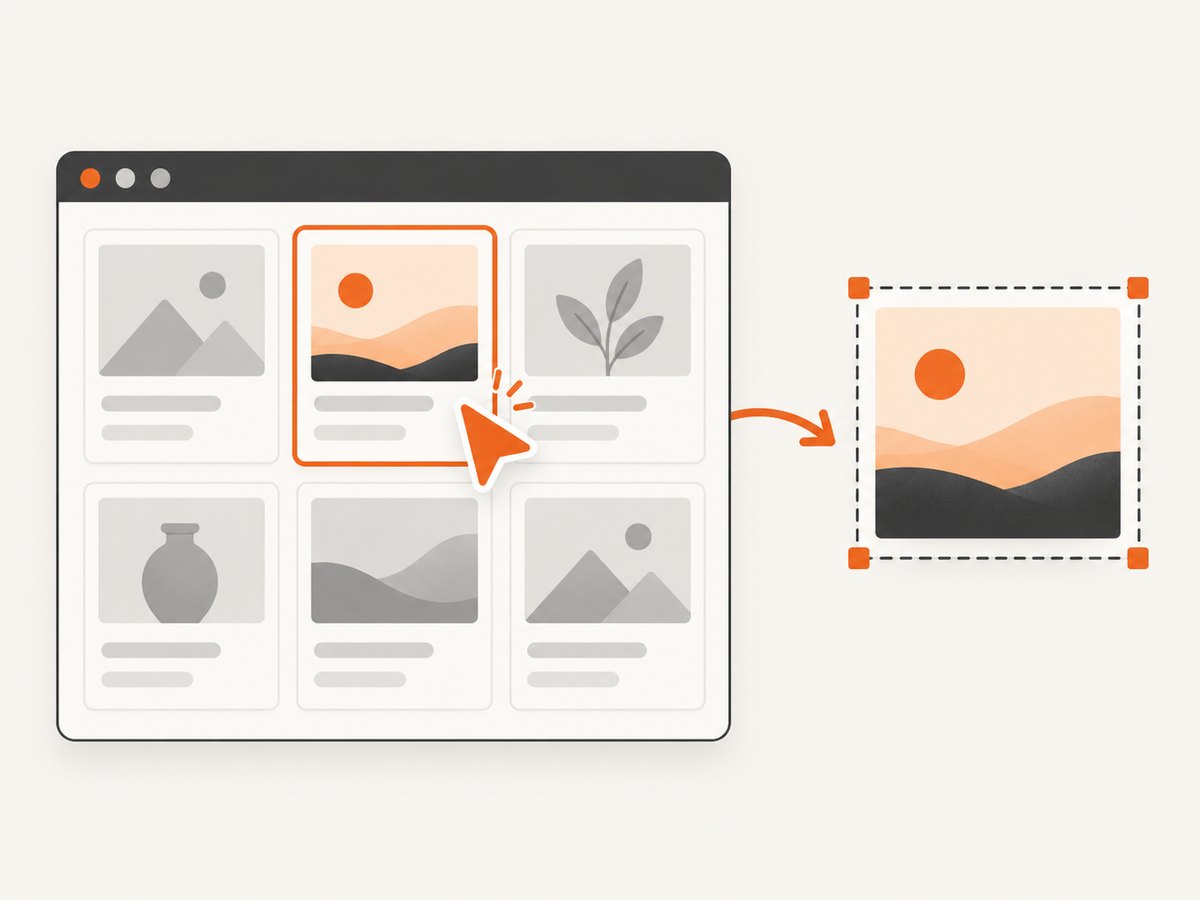
Do not confuse this with a full-page or full-viewport screenshot. An element screenshot is a crop around one element’s visible bounds. It does not promise to reveal content outside the viewport or content obscured by another element. Selenium also documents that behavior can depend on implementation for non-W3C-conformant drivers; browser and driver support need to be verified in the environment where the suite runs.
2. Check your installed versions first
Before changing a test, inspect the versions already pinned in the project and determine which Selenium JavaScript API they provide. Protractor is archived, and old projects can combine different Protractor, Selenium, Node.js, browser, and driver versions. Current Selenium documentation is a reference for present API behavior; it does not prove that an older dependency set supports the same method.
- Inspect the project’s dependency manifest and lockfile for
protractorandselenium-webdriver. - Check the API documentation corresponding to those installed packages, not only the current Selenium API page.
- Run a small capture against the same browser and driver versions used in CI.
- If the underlying element has no screenshot method, stop and investigate the binding and driver combination. Do not silently substitute a different API or assume a universal workaround.
The Protractor repository is archived as of July 29, 2024. The Angular project had proposed ending development at the end of 2022 and end of life in August 2023. That makes this guidance most appropriate for maintaining an existing suite. [Protractor repository](https://github.com/angular/protractor) · [Angular project discussion](https://github.com/angular/protractor/issues/5502)
3. Capture a located element
Here is the API shape to use once your installed Protractor version can resolve an ElementFinder to a WebDriver WebElement that exposes takeScreenshot(). The research does not establish one unwrapping expression that is correct across Protractor versions. Keep the version-specific resolution in one helper, and verify that helper against the installed API documentation.
// Protractor test, with the ElementFinder-to-WebElement resolution
// supplied by the API supported in your pinned Protractor version.
const fs = require('fs');
const path = require('path');

describe('element screenshot', () => {
  it('captures the visible bounds of a located element', async () => {
    await browser.get('https://example.com');

    const target = element(by.css('.target'));
    await target.waitForAngularEnabled; // See note below: use your suite's normal readiness checks.

    // Replace this line with the documented ElementFinder resolution
    // for your installed Protractor version.
    const webElement = await resolveWebElementForInstalledProtractor(target);

    if (typeof webElement.takeScreenshot !== 'function') {
      throw new Error('This Selenium WebElement does not expose takeScreenshot()');
    }

    const base64Png = await webElement.takeScreenshot();
    const output = path.join(__dirname, 'target.png');
    fs.writeFileSync(output, Buffer.from(base64Png, 'base64'));
  });
});
Important: resolveWebElementForInstalledProtractor is an intentional placeholder, not a built-in function. The available primary references do not establish a single cross-version unwrapping expression. Replace it with the documented method for your pinned Protractor version. Likewise, remove the illustrative await target.waitForAngularEnabled line: readiness is suite-specific, and that property is not an element wait. A better minimal example is below, with the same explicit version boundary.
const fs = require('fs');
const path = require('path');

async function saveLocatedElementPng(elementFinder, outputPath) {
  // Implement this using the ElementFinder API for your installed version.
  const webElement = await resolveWebElementForInstalledProtractor(elementFinder);

  if (!webElement || typeof webElement.takeScreenshot !== 'function') {
    throw new Error('Element screenshot is unavailable in this installed stack');
  }

  const base64Png = await webElement.takeScreenshot();
  fs.writeFileSync(outputPath, Buffer.from(base64Png, 'base64'));
}

const card = element(by.css('.target'));
await saveLocatedElementPng(card, path.join(__dirname, 'target.png'));
This helper separates three responsibilities: the locator, version-specific element resolution, and conversion from base64 PNG to file bytes. Selenium documents the returned data as base64; Node’s Buffer.from(value, 'base64') decodes those bytes. If your own binding returns a different representation, follow that installed API’s documentation.
Choosing a locator
Use the same Protractor locator strategies as for other element interactions. A CSS selector is often concise for an element with a stable class or attribute:
const card = element(by.css('[data-testid="account-summary"]'));Prefer selectors tied to stable application attributes over positional selectors such as :nth-child(), which can point to a different element when the page structure changes. The locator must identify one intended element. If a selector matches multiple nodes, use the project’s standard strategy for selecting the correct one and assert the expected count or identity before capture.
4. Save the PNG or use the returned data
The Selenium JavaScript method returns base64 PNG data, not a file path. Decode it before writing binary image bytes. Avoid writing the base64 string as ordinary UTF-8 text: that produces a text file containing encoded data rather than a PNG image.
// Save as binary PNG.
fs.writeFileSync('target.png', Buffer.from(base64Png, 'base64'));

// Or return the base64 string to another part of your test/reporting code.
return base64Png;
Use a unique output name when tests run concurrently, for example by incorporating a test case identifier. Ensure the destination directory exists, and keep screenshot artifacts out of source control unless the project intentionally tracks visual baselines.
5. Make the capture reliable
A screenshot captures the page state at a moment in time. Make that state deterministic before calling the screenshot method:
- Navigate to the intended route and wait for the application’s meaningful ready condition.
- Wait for the target element to exist and be displayed using the wait mechanism supported by the suite.
- Wait for asynchronous content inside the element to finish loading, especially images and fonts relevant to the visual result.
- Keep animations and rotating content stable if they cause flaky visual output.
- Use a selector that identifies the desired element after the page has rendered.
- Run the capture with the same browser and driver versions in local development and CI.
Do not equate “element exists” with “the desired pixels are ready.” A chart may exist before its data is drawn, and an image element may exist before its image has loaded. Add application-level readiness signals where possible rather than relying on arbitrary sleeps.
6. Know the capture boundaries
Element screenshots are useful for focused visual checks, but their boundaries have consequences:
- Visible region: the documented JavaScript API describes the area within the element’s bounding rectangle. Do not assume it captures content outside that region.
- Viewport and scrolling: behavior can differ by driver implementation. Confirm whether the driver scrolls the element into view and what happens when it is partly offscreen.
- Overlays: a modal, sticky header, or other overlay can cover the target. A crop does not make covered pixels visible.
- Nested scrolling: content in a scrollable panel may have parts outside the visible area. An element screenshot is not automatically a full capture of all scrollable descendants.
- Dynamic dimensions: responsive layout, fonts, and content length can change the element’s bounding rectangle. Fix viewport and test data when comparing output.
- Driver differences: Selenium documents implementation-dependent behavior for non-W3C-conformant implementations. Record browser and driver versions when diagnosing inconsistent images. [Selenium screenshot interface notes](https://www.selenium.dev/selenium/docs/api/java/org/openqa/selenium/TakesScreenshot.html)
If your test needs an entire long page, compare the full-page screenshot capabilities of your chosen stack; a single element capture should not be presented as a full-page capture.
7. Troubleshooting common failures
| Symptom | Likely cause | What to do |
|---|---|---|
takeScreenshot is not a function |
The resolved object is not the expected Selenium WebElement, or the installed Selenium binding does not expose element screenshots. | Confirm the object type and inspect the API docs matching the lockfile versions. Check driver support before changing the capture approach. |
| The locator cannot find the element | The page is not ready, the selector is stale, or it does not match the rendered DOM. | Inspect the selector against the live page and wait for the application’s actual ready condition. |
| The saved file is corrupt or unreadable | Base64 data was written as text or decoded incorrectly. | Write Buffer.from(base64Png, 'base64') as binary bytes and confirm the returned value is base64 PNG data. |
| The screenshot is blank | The target has no visible content yet, is hidden, is covered, or the driver’s element screenshot behavior differs. | Check visibility, overlays, rendering readiness, and the exact browser-driver combination. |
| The capture is clipped unexpectedly | The method captures the visible bounding region rather than every descendant or offscreen portion, or driver behavior differs. | Check scroll position and element bounds. Use a capture method suited to the required region, and verify its documented semantics. |
| Works locally but fails in CI | Different browser, driver, Selenium, Node.js, or viewport configuration. | Compare pinned versions and viewport settings; reproduce CI’s combination before attributing the issue to the locator. |
| Intermittent visual differences | Unsettled images, fonts, animations, data, or responsive layout. | Wait for deterministic readiness signals, control viewport and data, and disable or stabilize animation in the test environment. |
8. Maintenance and alternatives for new tests
Protractor is archived. Angular’s 2021 project discussion said fewer than 20% of close to 1,000 survey respondents used Protractor in their project; this is a dated survey result, not a current adoption estimate. The discussion listed Cypress, Playwright, Puppeteer, Selenium WebDriver, TestCafe, and WebdriverIO as non-exhaustive alternatives. [Angular Protractor project discussion](https://github.com/angular/protractor/issues/5502)

If you are starting a new locator-centric test, Playwright’s official Locator API includes a locator screenshot method. Its documentation says it scrolls the element into view and clips the image to that element; covered content still will not actually be visible. This is a comparison point, not a required migration choice. [Playwright Locator screenshot API](https://playwright.dev/docs/api/class-locator#locator-screenshot)
9. Performance, reliability, and cost
A local WebDriver element screenshot adds browser work and file I/O to the test. Keep captures focused: save them for assertions, debugging artifacts, or reporting that needs them. Capturing every element in every test can increase run time and artifact storage. Reuse the browser session already managed by the suite rather than starting a separate browser solely for a single crop.
Reliability depends on deterministic page state and the exact package-driver-browser combination. Pin compatible versions, keep CI aligned with local development, and make the version-specific resolution helper explicit. Since Protractor is archived, teams should consider the maintenance cost of retaining that stack when planning new tests. There is no universal compatibility matrix established by the sources cited here.
The DIY method has no screenshot API fee, but it consumes test infrastructure time and requires browser setup, drivers, dependency maintenance, and artifact handling. A hosted screenshot service shifts capture execution to an API and has its own plan limits and behavior; compare those costs with your volume and workflow.
Or skip the browser setup
ScreenshotNeo is a website screenshot API and MCP server from [Yorker Media](https://screenshotneo.com). One GET request returns an image or PDF, and it can capture pages without maintaining a local browser and driver stack. See the [ScreenshotNeo API documentation](https://screenshotneo.com/docs/) for options and response details.
curl -G "https://api.screenshotneo.com/v1/shot" -d access_key=YOUR_API_KEY --data-urlencode url=https://stripe.com -o shot.webpimport requests
r = requests.get("https://api.screenshotneo.com/v1/shot", params={"access_key": "YOUR_API_KEY", "url": "https://stripe.com"}, timeout=90)
open("shot.webp", "wb").write(r.content)const q = new URLSearchParams({ access_key: 'YOUR_API_KEY', url: 'https://stripe.com' });
const res = await fetch(`https://api.screenshotneo.com/v1/shot?${q}`);ScreenshotNeo removes cookie and consent banners, newsletter popups, and chat widgets before capture; each cleanup step can be turned off. Bot checks, blank pages, failed loads, timeouts, and cache hits are not billed, with response headers indicating the page verdict and billing status. Its MCP server gives AI agents tools for screenshots, page information, and PDF capture. The free plan includes 1,000 screenshots per month with no card; paid plans start at $5 for 3,000. Sign up for 1,000 free screenshots a month with no card.
FAQ
Does Protractor itself take the element screenshot?
The locator finds the element. The screenshot operation is on the underlying WebDriver element when the installed Selenium API and driver support it.
What format does Selenium return?
The current Selenium JavaScript API documents a base64-encoded PNG. Decode the base64 value to bytes when saving a PNG file.
Can an element screenshot include content outside the viewport?
Do not assume so. The documented region is the visible area within the element’s bounding rectangle, and driver behavior can vary.
Should I use Protractor for a new test suite?
Protractor’s repository is archived. Compare actively maintained options against your project’s needs; Playwright is one locator-centric example with a documented locator screenshot method.


