Puppeteer Browser Screenshots: A Complete Guide
Capture viewport, full-page, clipped, and element screenshots with Puppeteer. Learn how to wait for page content, choose output formats, and fix common failures.

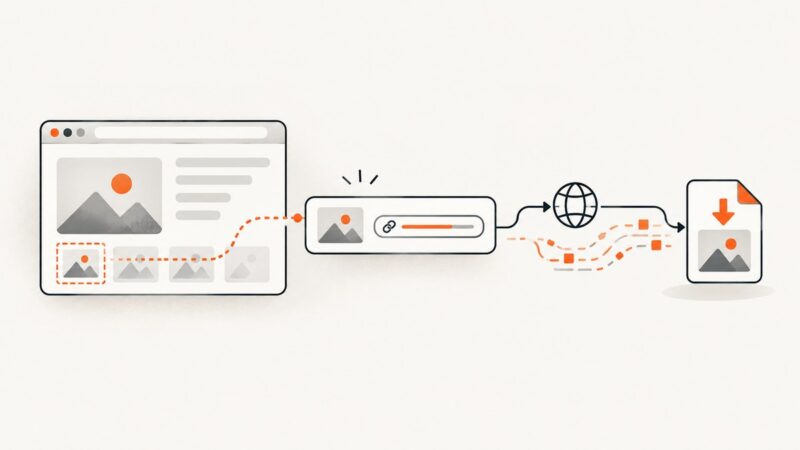
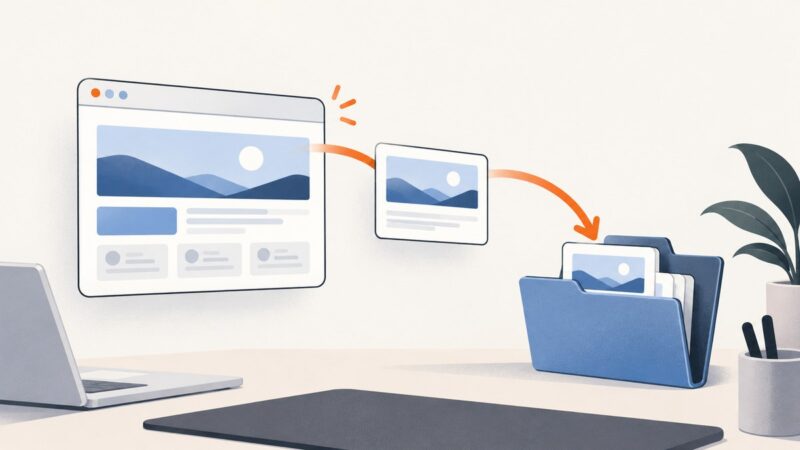
Puppeteer screenshots are made with page.screenshot(). Navigate to a page, wait until the content you need is ready, then capture the viewport, the full scrollable page, a rectangular clip, or one DOM element. Puppeteer can save the image to a file or return its bytes. Use page.pdf() instead when the deliverable must be a PDF.
This guide covers a complete Node.js setup, runnable examples for the common capture types, format and framing options, readiness for lazy-loaded content, troubleshooting, and practical performance and reliability choices. Puppeteer provides a high-level API for automating Chrome and Firefox through the Chrome DevTools Protocol and WebDriver BiDi. Chrome for Developers overview.
1. Install Puppeteer and capture a page
The standard Puppeteer package downloads a compatible Chrome for Testing browser during installation. Create a project and install it:
mkdir puppeteer-shots
cd puppeteer-shots
npm init -y
npm install puppeteer
Save this as screenshot.mjs. It opens a browser, navigates, takes a PNG screenshot, and closes the browser even if navigation or capture fails:
import puppeteer from 'puppeteer';

const browser = await puppeteer.launch({ headless: true });

try {
  const page = await browser.newPage();
  await page.setViewport({ width: 1440, height: 900, deviceScaleFactor: 1 });
  await page.goto('https://example.com', { waitUntil: 'networkidle2', timeout: 30000 });
  await page.screenshot({ path: 'page.png' });
} finally {
  await browser.close();
}
Run it with node screenshot.mjs. The official guide demonstrates navigation with waitUntil: 'networkidle2' and saving the result using path. Network idle is a useful starting point, not a universal definition of “ready”: applications that poll, stream, or load content after navigation may need an application-specific signal. See the Puppeteer screenshot guide.
2. Choose the capture area
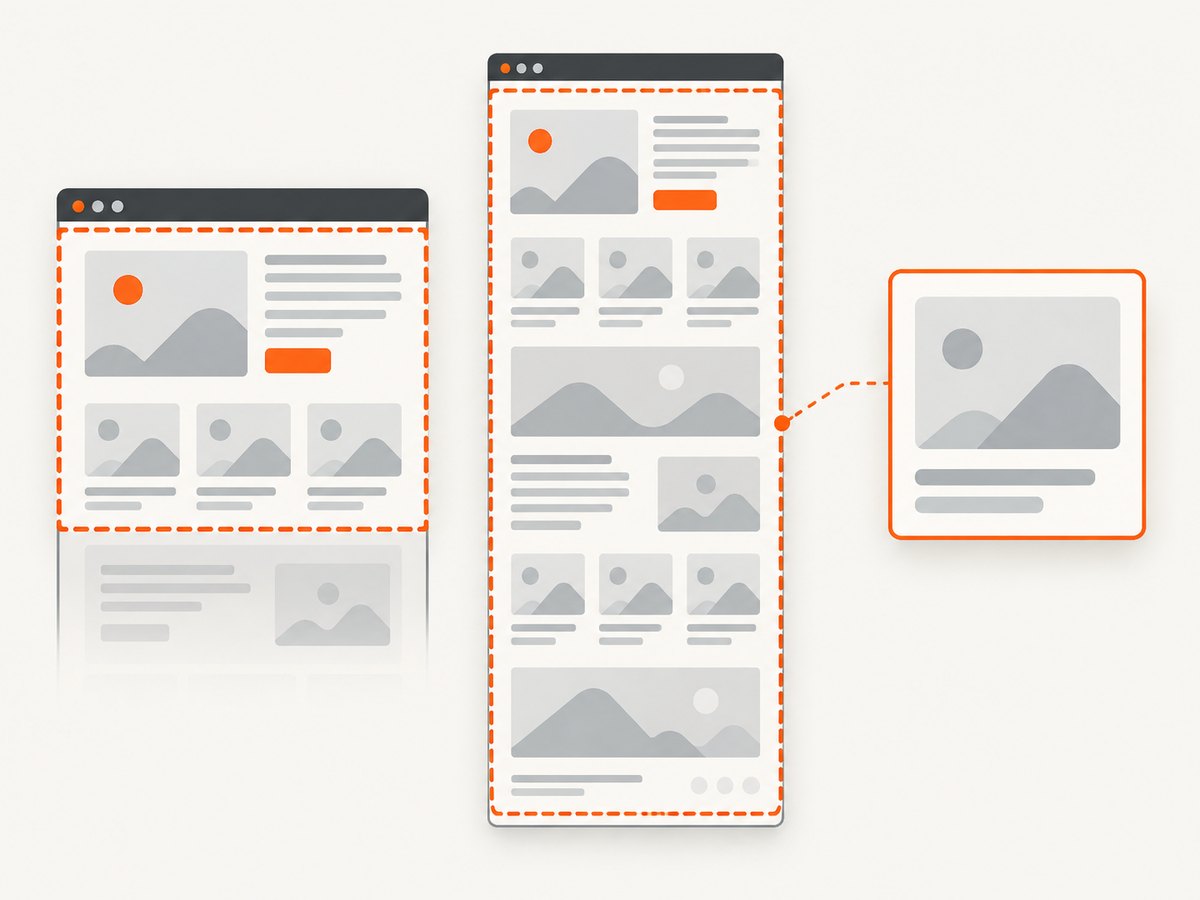
Three options cover most framing requirements. A viewport screenshot captures what is visible; fullPage captures the scrollable page; and clip captures a rectangle. For a DOM element, use its element handle’s screenshot method.
Viewport and full-page images
The default is the current viewport. Set fullPage: true to capture the full page:
await page.screenshot({ path: 'viewport.png' });
await page.screenshot({ path: 'whole-page.png', fullPage: true });
“Full page” describes the capture extent. It does not guarantee every image or widget below the fold has loaded. Lazy-loaded images may only start loading after their region approaches the viewport; wait for the page’s own readiness conditions before capture. A practical approach is to scroll through the document, pause briefly for lazy content, return to the top, and then capture. The exact delay depends on the site and is not a Puppeteer guarantee.
Capture one element
Wait for the target selector, get its element handle, and screenshot that node. This example fails clearly if the selector never appears:
const selector = '.product-card';
await page.waitForSelector(selector, { timeout: 10000 });
const card = await page.$(selector);
if (!card) throw new Error(`Could not find ${selector}`);
await card.screenshot({ path: 'product-card.png' });
Element screenshots are useful for cards, charts, avatars, and embedded components. If the element is outside the current viewport, Puppeteer may scroll it into view as part of element capture. Ensure overlays, animations, and fonts have settled if they affect the result.
Clip a rectangle
Use clip to define a region with page-relative coordinates and dimensions:
await page.screenshot({
  path: 'header.png',
  clip: { x: 0, y: 0, width: 1440, height: 180 },
});
A clip is distinct from a full-page capture: it limits the output to a chosen rectangle. Keep the dimensions within the area you intend to capture and use a viewport large enough for the coordinate system. The captureBeyondViewport option controls capture outside the viewport; its default depends on whether a clip is supplied. Check the ScreenshotOptions API when combining clipping with unusual viewport dimensions.
3. Readiness: avoid missing or unstable content
Choose a navigation wait condition based on the page. Puppeteer’s documented example uses networkidle2, but an app with recurring network requests may never reach the quiet period you expect. In that case, navigate to a less restrictive lifecycle point and wait for a meaningful selector or app signal.

await page.goto('https://example.com/dashboard', {
  waitUntil: 'domcontentloaded',
  timeout: 30000,
});
await page.waitForSelector('[data-page-ready="true"]', { timeout: 15000 });
await page.screenshot({ path: 'dashboard.png', fullPage: true });
If you own the page, a stable readiness marker is usually clearer than guessing with a long fixed sleep. If you do not control the page, wait for a selector that signals the content you need, then verify that expected images or charts are present. For lazy content, scroll through the page before capture and wait for the relevant assets to load.
Avoid overlapping navigation, page closure, or context changes with an active screenshot. The API documents that some BrowserContext operations wait for the screenshot to finish, which helps avoid interference during capture. Keep the sequence simple: navigate, wait, prepare the page, capture, then close. BrowserContext API.
4. Formats, quality, transparency, and output
The documented screenshot format default is PNG. Choose an explicit type when consumers expect a particular format. quality accepts 0–100 and does not apply to PNG. Use omitBackground: true when you want transparency instead of the default white background.
await page.screenshot({ path: 'page.jpg', type: 'jpeg', quality: 82 });
await page.screenshot({ path: 'page.png', type: 'png', omitBackground: true });
When setting type, make the filename extension match so downstream tools and people do not mistake the file format. Use PNG for sharp text and lossless output; JPEG is suitable when smaller photographic images matter more than lossless edges. Puppeteer’s screenshot options document the supported settings and their defaults in the API reference.
With path, Puppeteer writes to disk. Relative paths resolve from the current working directory. Without a path, the normal screenshot overload returns binary Uint8Array data, which you can send to storage or an HTTP response:
const bytes = await page.screenshot({ type: 'png' });
await import('node:fs/promises').then(({ writeFile }) => writeFile('page.png', bytes));
To get a base64 string, set encoding: 'base64'. Base64 adds encoding overhead, so prefer bytes for file writes and binary transfers unless the receiving interface specifically requires a string.
const base64 = await page.screenshot({ encoding: 'base64' });5. Complete reusable capture script
This example uses environment variables for the URL and output path, applies a viewport, waits for a configurable selector, and supports viewport or full-page output. Set READY_SELECTOR to a selector that appears when the desired content is ready; leave it unset to use the navigation lifecycle wait.
import puppeteer from 'puppeteer';

const targetUrl = process.env.TARGET_URL ?? 'https://example.com';
const outputPath = process.env.OUTPUT_PATH ?? 'capture.png';
const readySelector = process.env.READY_SELECTOR;
const fullPage = process.env.FULL_PAGE === 'true';

const browser = await puppeteer.launch({ headless: true });
try {
  const page = await browser.newPage();
  await page.setViewport({ width: 1440, height: 900, deviceScaleFactor: 1 });
  await page.goto(targetUrl, {
    waitUntil: readySelector ? 'domcontentloaded' : 'networkidle2',
    timeout: 30000,
  });
  if (readySelector) {
    await page.waitForSelector(readySelector, { timeout: 15000 });
  }
  await page.screenshot({ path: outputPath, fullPage });
  console.log(`Saved ${outputPath}`);
} finally {
  await browser.close();
}
Example invocations:
TARGET_URL=https://example.com node screenshot.mjs
TARGET_URL=https://example.com FULL_PAGE=true OUTPUT_PATH=whole.png node screenshot.mjs
TARGET_URL=https://example.com READY_SELECTOR='main h1' node screenshot.mjs
For a production service, validate the target URL, constrain navigation time, and keep browser cleanup in a finally block. Do not accept arbitrary URLs from untrusted users without controls: a browser can access network resources available to its host. Avoid putting secrets in page scripts or logging full URLs if they may contain tokens.
6. PDF output is a separate method
Use page.pdf() when you need a PDF, rather than saving a screenshot under a PDF extension. Puppeteer generates PDFs using print CSS media by default. To render with screen media, call page.emulateMediaType('screen') first:
await page.emulateMediaType('screen');
await page.pdf({ path: 'page.pdf', format: 'A4', printBackground: true });
For exact print colors, Puppeteer’s PDF documentation points to -webkit-print-color-adjust. Print styles can change layout, hide elements, or paginate content differently from a screenshot. Read the PDF API and choose the media type that matches the intended document.
7. Troubleshooting common failures
| Symptom | Likely cause | Fix |
|---|---|---|
| Screenshot is blank or mostly empty | Navigation completed before the app rendered, or the page failed to load. | Wait for a page-specific selector or readiness marker. Check the response and browser console when diagnosing the target. |
| Content below the fold is missing | Full-page extent does not force every lazy asset to load. | Scroll through the page, wait for target images or sections, return to the top, then capture. |
Navigation timeout |
The page is slow or ongoing requests prevent the selected wait condition. | Set a deliberate timeout, use a less restrictive lifecycle condition, then wait for the actual content you need. |
Waiting for selector failed |
The selector is wrong, the element is inside a frame or shadow root, or the app never reached that state. | Inspect the rendered DOM and selector. For frame content, query the relevant frame; for shadow DOM, use a locator strategy that can access it. |
| Element screenshot throws or captures the wrong region | The node is absent, hidden, detached, or changes size during capture. | Wait for the selector, verify visibility and dimensions, then capture after layout settles. |
| Image format and extension disagree | type and path specify different formats. |
Align the extension with the selected type and inspect the file format rather than relying on its name. |
| Browser executable cannot launch | Browser installation is missing or the environment lacks required runtime dependencies. | Install Puppeteer as documented, ensure its browser download completed, and follow the official guidance for the deployment environment. |
| Screenshot differs between runs | Animations, changing data, fonts, or layout shifts alter the rendered frame. | Wait for app readiness, use stable test data where possible, and disable or finish page animations in a controlled capture setup. |
8. Performance, reliability, and cost choices
Browser startup and page loading are part of capture time. If taking several screenshots in one process, reusing a browser can avoid repeatedly starting Chrome; create a fresh page for each independent capture and close pages when finished. Keep concurrency within the memory and CPU capacity of the host. Very tall pages and high-resolution output require more image memory than a small viewport capture.
Reliability comes from explicit boundaries: set navigation and selector timeouts, validate the response, wait for the right content, and close browser resources on both success and failure. A network-idle condition may be unsuitable for pages with persistent activity; a page-specific readiness condition gives the script a more relevant signal. Capture failures should be reported separately from successful files so a blank or partial result is not silently treated as valid.
Self-hosted Puppeteer has no per-screenshot API fee from the library, but running a browser consumes compute, memory, storage, and engineering time. Your costs depend on infrastructure, capture volume, browser maintenance, and how much retrying slow or failed pages requires; the dossier supplies no benchmark or fixed cost figure. Reduce unnecessary work by choosing the smallest capture area and output size that meets the use case.
9. Or skip the browser setup
If you need screenshots without installing and operating a browser, ScreenshotNeo is a website screenshot API and MCP server. One GET request returns an image or PDF. Cookie banners are accepted like a visitor and removed along with 60+ known consent platforms, newsletter popups, and chat widgets; each step can be turned off. Bot checks, blank pages, timeouts, failed loads, and cache hits are not billed, and response headers report the page verdict and billing status. AI agents can use the MCP tools take_screenshot, get_page_info, and capture_pdf.
Here is the cURL call; replace the example URL with the page you need. See the ScreenshotNeo docs for the API options.
curl -G "https://api.screenshotneo.com/v1/shot" \
  -d access_key=YOUR_API_KEY \
  --data-urlencode url=https://stripe.com \
  -o shot.webp
Python:
import requests

r = requests.get(
    "https://api.screenshotneo.com/v1/shot",
    params={"access_key": "YOUR_API_KEY", "url": "https://stripe.com"},
    timeout=90,
)
r.raise_for_status()
open("shot.webp", "wb").write(r.content)
Node.js:
const q = new URLSearchParams({ access_key: 'YOUR_API_KEY', url: 'https://stripe.com' });
const res = await fetch(`https://api.screenshotneo.com/v1/shot?${q}`);
if (!res.ok) throw new Error(`Screenshot request failed: ${res.status}`);
await import('node:fs/promises').then(async ({ writeFile }) =>
  writeFile('shot.webp', new Uint8Array(await res.arrayBuffer()))
);
ScreenshotNeo has a free plan with 1,000 screenshots per month and no card; paid plans start at $5 for 3,000. Every feature is on every plan. Sign up for the free plan.
10. Frequently asked questions
Can Puppeteer take a screenshot of a specific CSS selector?
Yes. Wait for the selector, obtain its element handle, then call elementHandle.screenshot(). Use a clip instead when you need a fixed rectangle rather than the element’s bounds.
Does fullPage: true include lazy images?
It expands the capture to the full scrollable page. It does not ensure lazy-loaded assets have finished loading. Trigger and wait for those assets before capture.
Can I get screenshot bytes without writing a file?
Yes. Omit path and the normal screenshot call returns binary data. Set encoding: 'base64' only when a base64 string is needed.
Should I use page.screenshot() or page.pdf()?
Use page.screenshot() for a raster image. Use page.pdf() for a paginated PDF, considering its print-media behavior.