How to Capture a Clipped Screenshot with Puppeteer
Capture an exact rectangle or DOM element with Puppeteer using clip, element screenshots, reliable waits, output controls, and practical troubleshooting.
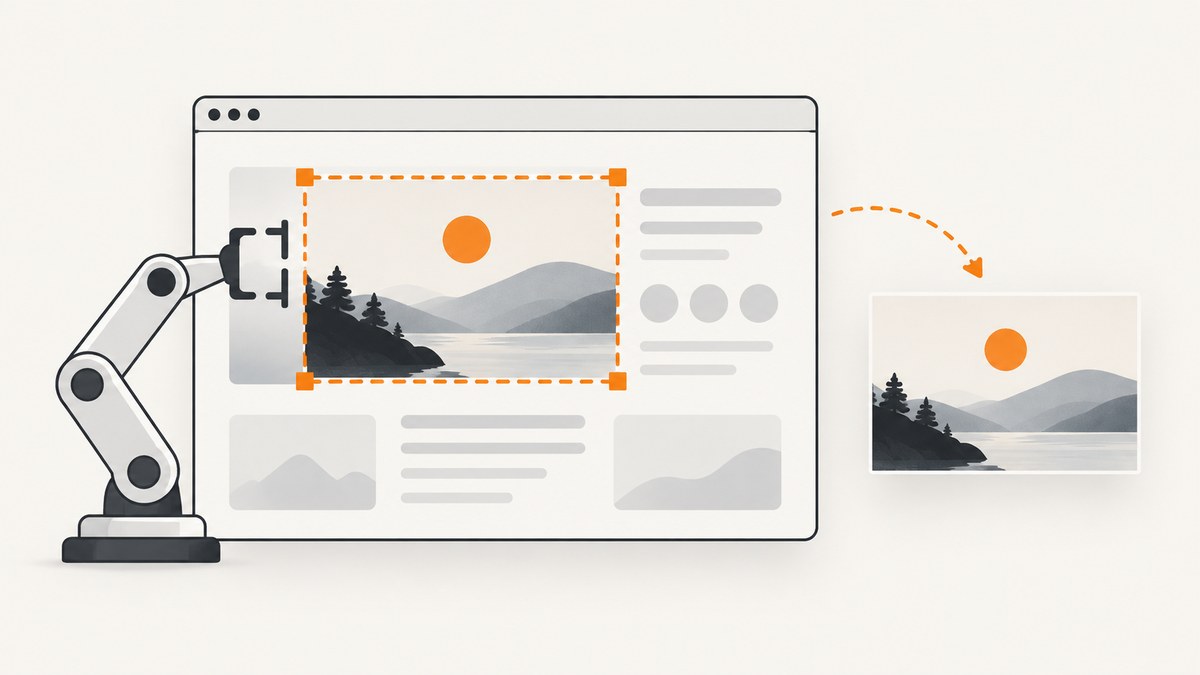
Use Puppeteer’s Page.screenshot() method with a clip object. The object defines the rectangle with x, y, width, and height. This captures only that region instead of the whole viewport:
await page.screenshot({
  path: 'clip.png',
  clip: { x: 100, y: 80, width: 500, height: 300 },
});
Puppeteer’s official guide identifies Page.screenshot() as the screenshot API, and the API reference defines clip as a ScreenshotClip that extends BoundingBox. See the official screenshots guide and the matching ScreenshotOptions reference for the version installed in your project.
What a clipped screenshot does
A clipped screenshot is a rectangular crop in the page’s rendered coordinate space. Puppeteer renders the page, then captures the area described by the clip. It is useful for cards, charts, product panels, invoices, maps, or any other fixed region where a full-page image contains unnecessary content.
The four required dimensions are:
| Property | Meaning | Example |
|---|---|---|
x |
Horizontal position of the crop’s top-left corner | 100 |
y |
Vertical position of the crop’s top-left corner | 80 |
width |
Crop width | 500 |
height |
Crop height | 300 |
The clip can also include scale; the documented default is 1. Keep the rectangle inside the content you intend to capture and use positive width and height values.
Complete runnable example
Install Puppeteer, create a script, and run it with Node.js:
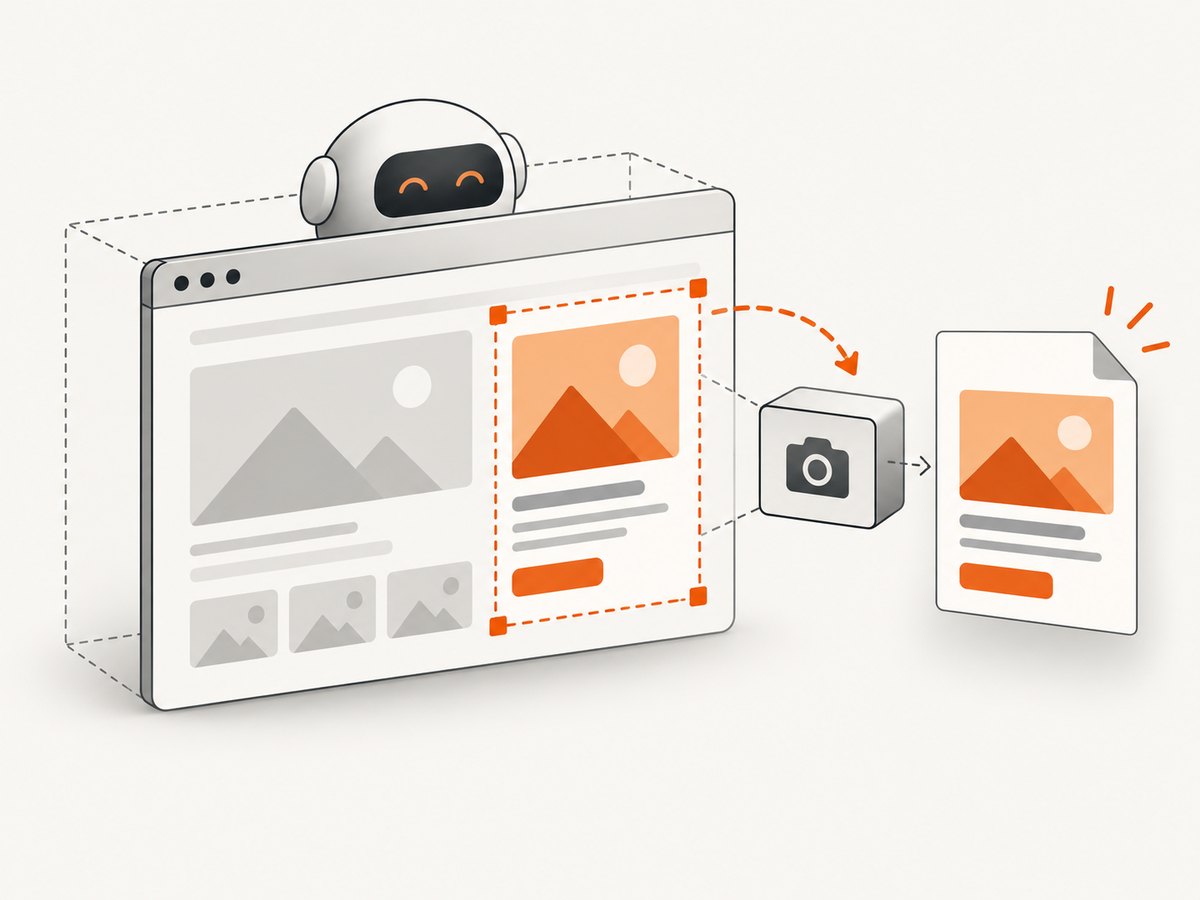
npm install puppeteerconst puppeteer = require('puppeteer');
(async () => {
const browser = await puppeteer.launch({
headless: true,
});
try {
const page = await browser.newPage();
await page.setViewport({ width: 1440, height: 900, deviceScaleFactor: 1 });
await page.goto('https://example.com', {
waitUntil: 'networkidle2',
timeout: 60000,
});
await page.screenshot({
path: 'example-clip.png',
type: 'png',
clip: {
x: 100,
y: 80,
width: 700,
height: 350,
},
});
} finally {
await browser.close();
}
})();Save it as capture-clip.js and run node capture-clip.js. The path makes Puppeteer write the bytes to disk. Without a path, consume the returned image bytes in your application instead.
Wait for the state you want to capture
A crop is only as accurate as the page state at the moment of capture. Navigate first, then wait for the content, fonts, animations, and data that belong in the image.
Wait for navigation
await page.goto('https://example.com/dashboard', {
  waitUntil: 'networkidle2',
  timeout: 60000,
});
The official guide uses networkidle2 in its example. It is a useful starting point, but it is not a universal guarantee that every application is visually complete. Pages with polling, analytics, WebSockets, or long-lived requests may never reach the state you expect.
Wait for a selector
await page.waitForSelector('#report-card', {
  visible: true,
  timeout: 30000,
});
Wait for a custom condition
await page.waitForFunction(() => {
  const card = document.querySelector('#report-card');
  return card && card.getAttribute('data-ready') === 'true';
}, { timeout: 30000 });
Wait for fonts and a short animation
await page.evaluate(async () => {
  if (document.fonts) await document.fonts.ready;
});
await new Promise(resolve => setTimeout(resolve, 250));
Use a deterministic application state where possible. A fixed selector or readiness flag is usually more reliable than adding an arbitrary multi-second delay.
Capture a DOM element instead of measuring coordinates
If the target is an element, elementHandle.screenshot() is often safer than manually calculating a rectangle. Puppeteer documents that it scrolls the element into view when needed, then calls the page screenshot method. It throws if the element has been detached from the DOM; the ElementHandle.screenshot() reference describes this behavior.
const card = await page.waitForSelector('.invoice-card', {
  visible: true,
  timeout: 30000,
});

if (!card) throw new Error('Invoice card was not found');

await card.screenshot({
  path: 'invoice-card.png',
  type: 'png',
});
Element capture follows the element’s current bounding box. It avoids hard-coding page coordinates, so it survives layout changes that move the card. Re-query the selector immediately before capture if a client-rendered application replaces nodes during loading.
Measure an element and build a custom clip
Use getBoundingClientRect() when you need padding around an element, a neighboring region, or a crop that combines several elements.
const box = await page.$eval('.chart', element => {
  const rect = element.getBoundingClientRect();
  return {
    x: rect.left + window.scrollX,
    y: rect.top + window.scrollY,
    width: rect.width,
    height: rect.height,
  };
});

const padding = 16;
await page.screenshot({
  path: 'chart-with-padding.png',
  clip: {
    x: Math.max(0, box.x - padding),
    y: Math.max(0, box.y - padding),
    width: box.width + padding * 2,
    height: box.height + padding * 2,
  },
});
For a fixed viewport region, omit the scroll offsets. For a document-positioned element, include them as shown. Confirm the coordinate behavior against the documentation for your installed Puppeteer version before depending on it across browsers or release upgrades.
Screenshot options that matter
| Option | Use | Notes |
|---|---|---|
clip |
Capture a rectangle | Requires x, y, width, and height. |
captureBeyondViewport |
Allow capture outside the visible viewport | Documented default is false without a clip and true when a clip is supplied. |
fullPage |
Capture the full page | Default is false; it is not a substitute for a crop. |
path |
Write an image to disk | File extension can infer the image type. |
type |
Select png, jpeg, or webp where supported |
PNG is the documented default. |
quality |
Control lossy output size | Applies to formats other than PNG. |
encoding |
Return binary data or base64 | Binary is the default; base64 returns a base64 string. |
omitBackground |
Make the default page background transparent | Default is false. |
Return bytes or base64
const bytes = await page.screenshot({
  clip: { x: 0, y: 0, width: 400, height: 200 },
});

require('fs').writeFileSync('clip.png', bytes);
const base64 = await page.screenshot({
encoding: 'base64',
clip: { x: 0, y: 0, width: 400, height: 200 },
});
const dataUrl = `data:image/png;base64,${base64}`;JPEG, WebP, and transparency
await page.screenshot({
  path: 'clip.webp',
  type: 'webp',
  quality: 82,
  clip: { x: 100, y: 80, width: 700, height: 350 },
});

await page.screenshot({
  path: 'transparent.png',
  omitBackground: true,
  clip: { x: 100, y: 80, width: 700, height: 350 },
});
Use PNG for sharp text or lossless output, JPEG for photographic content where a smaller file is more important, and WebP when your consumers support it and you want a modern compressed format.
Viewport, device scale, and responsive layouts
The viewport determines responsive breakpoints and therefore the geometry you measure. Set it before navigation and before querying the element:
await page.setViewport({
  width: 1280,
  height: 800,
  deviceScaleFactor: 2,
  isMobile: false,
});
Changing the viewport after layout has loaded can move the target. Keep viewport settings, fonts, locale, and user agent stable for repeatable captures. A larger device scale factor produces more physical pixels; choose it intentionally because it also increases memory and output size. Puppeteer’s screenshot references document the clip shape and scale option, but do not establish a general device-pixel-ratio conversion rule. Avoid assuming one without verifying your installed version.
Clips, scrolling, and lazy content
A clipped capture can include content outside the currently visible area when the supplied clip permits it. Element screenshots scroll the target into view automatically. Lazy-loaded images may not exist until their scroll position is reached, so trigger the relevant scroll and wait for the image to finish before capturing:
await page.$eval('.chart', element => {
  element.scrollIntoView({ block: 'center', inline: 'nearest' });
});

await page.waitForFunction(() => {
  const image = document.querySelector('.chart img');
  return image && image.complete;
});
For content that changes height after fonts or images load, measure the element after those resources are ready. Otherwise, the lower edge of the crop can cut off content.
Common errors and fixes
| Symptom | Likely cause | Fix |
|---|---|---|
Node is detached from document |
A framework replaced the element after you obtained its handle. | Wait for readiness, then query the selector again immediately before element.screenshot(). |
| Blank or partially rendered crop | Capture ran before data, fonts, images, or animations completed. | Wait for a meaningful selector or application readiness flag; await document.fonts.ready and image completion. |
Protocol error about clip dimensions |
A dimension is zero, negative, NaN, or otherwise invalid. | Log the measured box, validate all four values, and clamp coordinates and dimensions. |
| Wrong responsive layout | Viewport was not set, or it was changed after navigation. | Call setViewport before goto and before measuring. |
| Crop misses an element | Coordinates describe the viewport while the element measurement includes document scroll, or vice versa. | Use elementHandle.screenshot(), or make the coordinate space consistent and re-measure after scrolling. |
| Transparent output appears white | The default background was retained. | Set omitBackground: true and use a format that preserves transparency, such as PNG. |
| Navigation timeout | The page keeps requests open or is slow to respond. | Raise the timeout, use a selector-based readiness check, and avoid treating networkidle2 as the only completion signal. |
| Screenshot process crashes | Too many large pages or high-resolution captures are open at once. | Close pages, reuse a browser where appropriate, limit concurrency, and reduce viewport or scale when quality permits. |
Reliability checklist
- Pin or review the Puppeteer version and read its matching screenshot reference.
- Set viewport, device scale, locale, and user agent explicitly.
- Wait for application state, not only elapsed time.
- Re-query dynamic elements immediately before capture.
- Validate the measured rectangle before calling
screenshot. - Use stable test data when screenshots are part of a build or visual regression job.
- Close the browser in a
finallyblock. - Record URL, viewport, clip, format, and readiness condition with each artifact.
Performance and cost considerations
Browser startup is usually more expensive than the screenshot call itself. In a service, reuse a browser process when safe, create isolated pages per job, and cap concurrency so memory pressure does not cause failures. Full-page captures and high device scale factors consume more memory and produce larger files than a small clip. JPEG or WebP can reduce transfer size when their quality is acceptable.
Wait conditions affect throughput. A selector that becomes ready quickly is generally more predictable than a long fixed delay. Avoid waiting for global network idle on applications with analytics, polling, or streaming connections; use a page-specific readiness signal instead. Cache stable assets and avoid repeatedly launching Chromium for a batch of URLs.
For production workloads, account for browser binaries, sandbox configuration, cold starts, retries, storage, and image delivery. Retrying a failed navigation is useful, but do not blindly duplicate side effects from pages that perform writes during loading.
Or skip the browser setup
ScreenshotNeo provides a one-call website screenshot API when you do not want to maintain Chromium, navigation waits, or crop code. It supports full-page capture, capture of one element by CSS selector, custom viewports and device presets, retina scale, dark mode, custom CSS and JavaScript, click actions, selector or network-idle waits, request blocking, headers, cookies, user agents, timezone, geolocation, resizing, caching, PDFs, async jobs, bulk capture, signed links, and a usage API. The parameter names used by other screenshot APIs also work, which can simplify a migration.
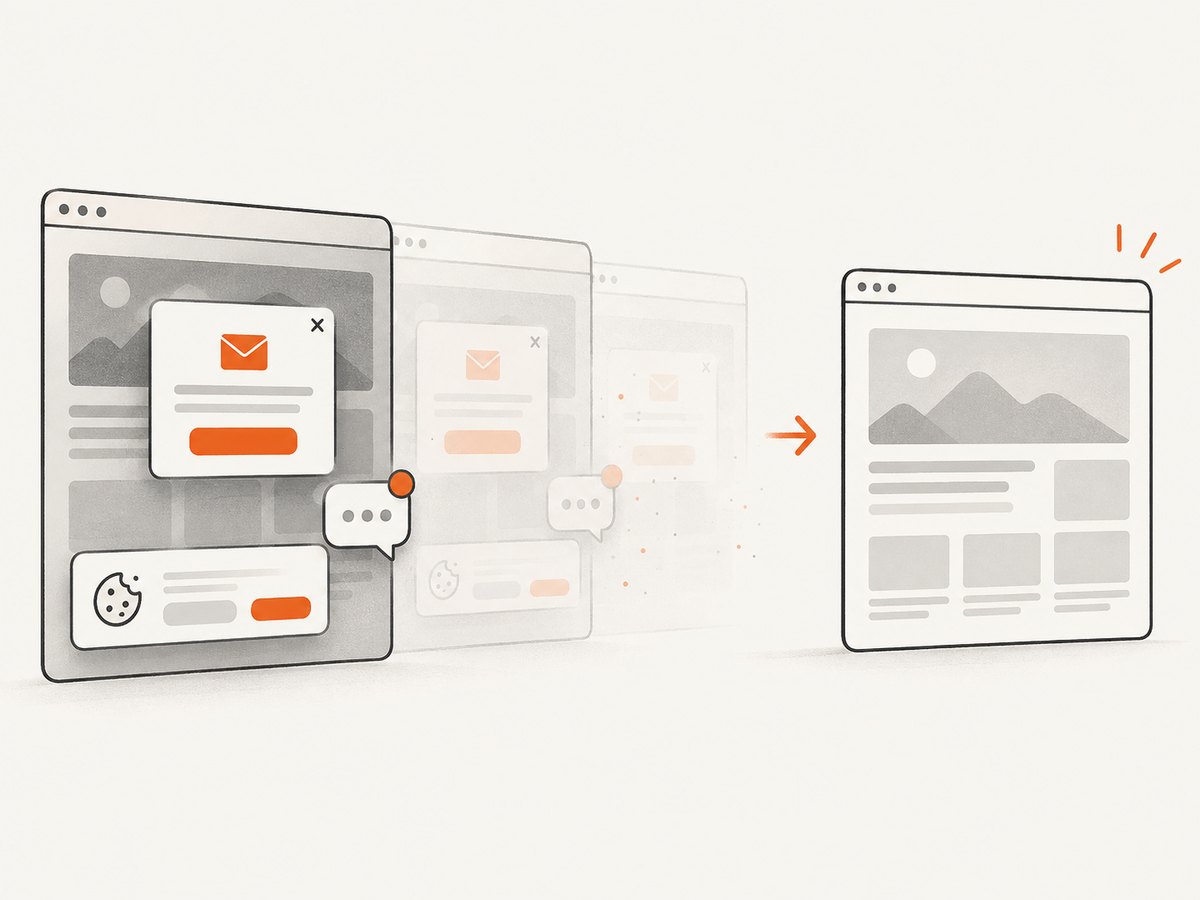
Clean shots are handled before capture: cookie and consent banners are accepted where possible, and more than 60 known consent platforms, newsletter popups, and chat widgets can be removed. Each cleanup step can be turned off. Bot checks or CAPTCHAs, blank pages, timeouts, failed loads, and cache hits cost nothing; response headers report the page verdict and whether the request was billed.
curl -G "https://api.screenshotneo.com/v1/shot" \
  -d access_key=YOUR_API_KEY \
  --data-urlencode url=https://stripe.com \
  -o shot.webp
See the ScreenshotNeo API documentation for all options and response details.
import requests

r = requests.get(
    "https://api.screenshotneo.com/v1/shot",
    params={"access_key": "YOUR_API_KEY", "url": "https://stripe.com"},
    timeout=90,
)
r.raise_for_status()
open("shot.webp", "wb").write(r.content)
const q = new URLSearchParams({ access_key: 'YOUR_API_KEY', url: 'https://stripe.com' });
const res = await fetch(`https://api.screenshotneo.com/v1/shot?${q}`);
if (!res.ok) throw new Error(`Screenshot failed: ${res.status}`);
const buffer = Buffer.from(await res.arrayBuffer());
require('fs').writeFileSync('shot.webp', buffer);ScreenshotNeo also includes an MCP server with take_screenshot, get_page_info, and capture_pdf tools for Claude, Cursor, and other MCP clients. The Free plan includes 1,000 shots each month with no card; paid plans start at $5 for 3,000 shots, and every feature is available on every plan. Create a free ScreenshotNeo account.
FAQ
Should I use clip or an element screenshot?
Use clip for explicit coordinates or a custom rectangle. Use elementHandle.screenshot() when a DOM element defines the target and you want Puppeteer to scroll it into view.
Can a clip capture below the viewport?
When a clip is supplied, captureBeyondViewport defaults to true according to the screenshot options reference. Verify behavior against your installed Puppeteer version when upgrading.
What is the default image format?
PNG is the documented default. Set type explicitly when you need JPEG or WebP, and set quality for lossy formats.
How do I return an image without writing a file?
Omit path. Puppeteer returns image bytes, or a base64 string when you set encoding: 'base64'.
Why is my crop inconsistent between runs?
Fonts, asynchronous data, animations, responsive breakpoints, and lazy resources can change geometry. Fix the viewport and environment, wait for a deterministic readiness condition, and measure immediately before capture.


