Puppeteer Core Screenshots: A Complete Guide
Learn how to set up Puppeteer Core, choose a compatible browser, and capture viewport, full-page, clipped, and transparent screenshots.
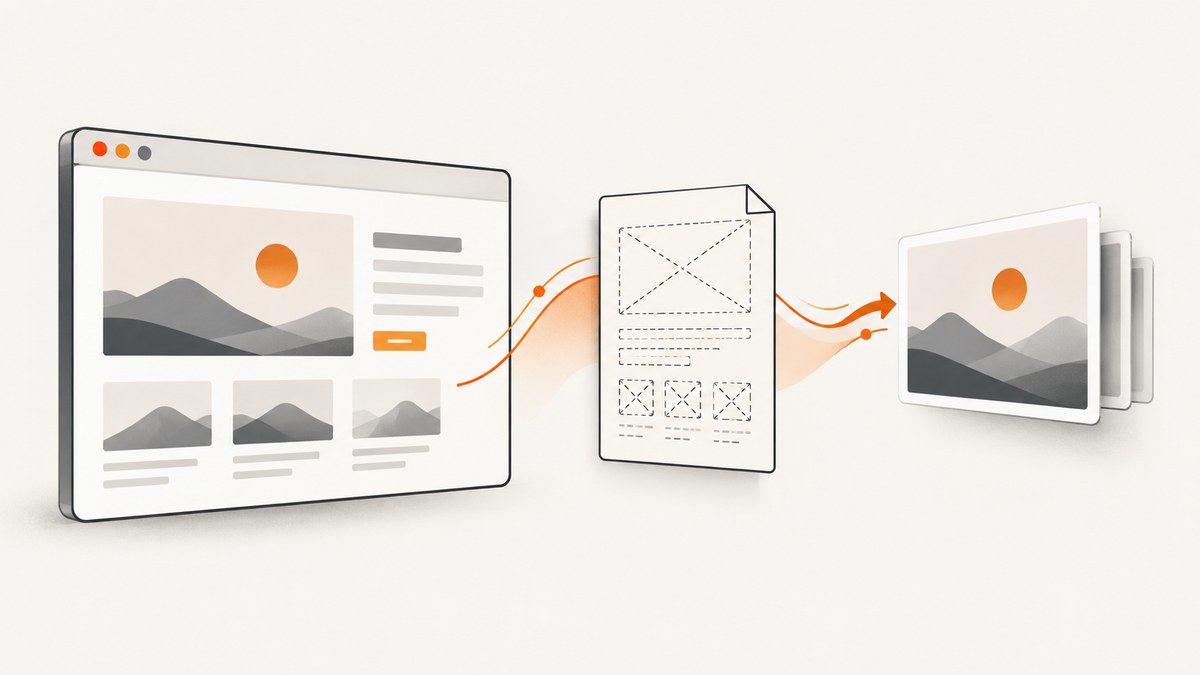
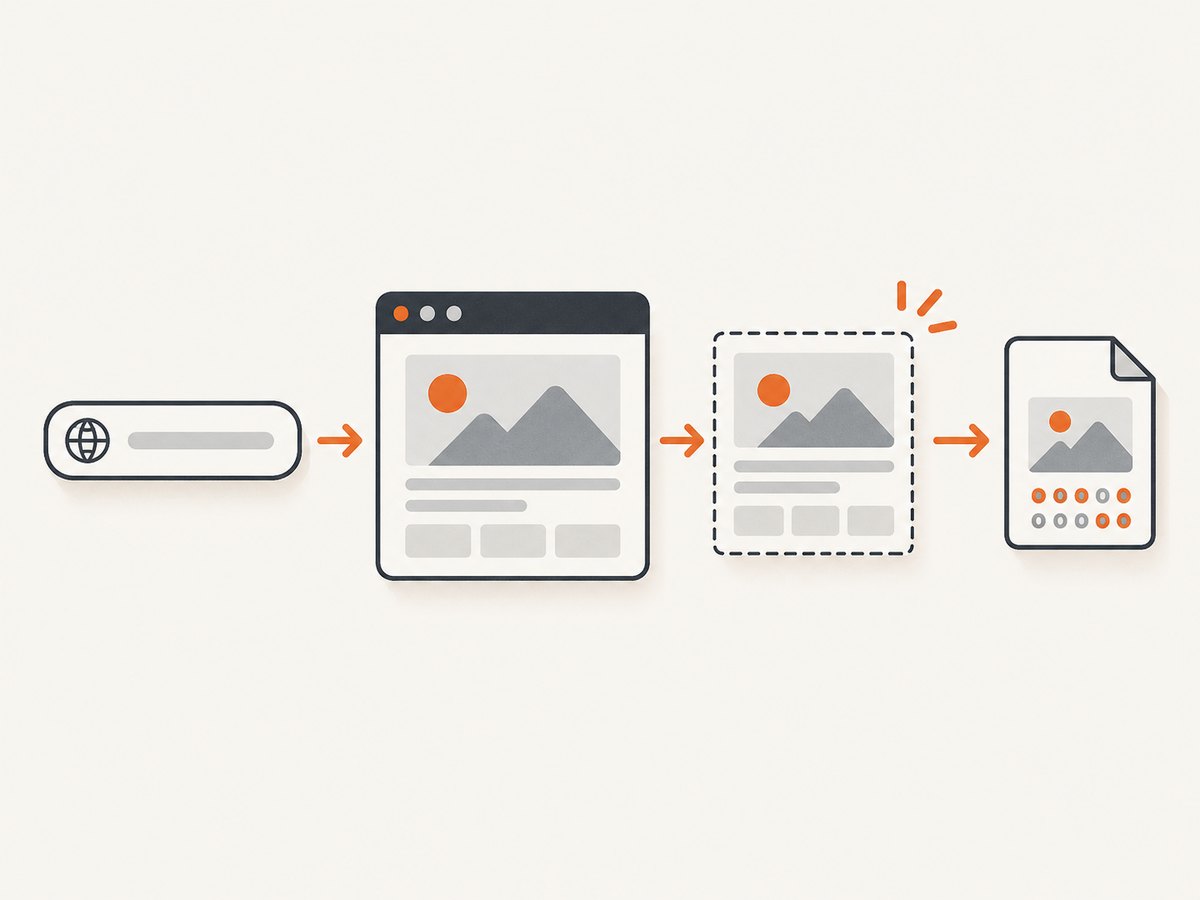
Puppeteer Core can take screenshots with page.screenshot(). The main setup difference from the full puppeteer package is that Core does not select a browser for you: when launching it, supply either executablePath or channel. Then open a page, navigate to your URL, and call screenshot(). The returned value is image bytes by default; you can also save directly to a file or request base64 output.
This guide covers a local Node.js setup, browser selection, screenshot options, page readiness, common failures, and a hosted alternative. Puppeteer documents its API behavior in the launch reference, screenshot reference, and screenshot options.
1. Install Puppeteer Core and choose a browser
Install the Core package in your Node.js project:
npm install puppeteer-coreUnlike the full Puppeteer package, puppeteer-core does not download and manage its default browser as part of the package setup. Locate a compatible Chrome or Chromium executable on your machine, or provide a supported Chrome channel. Puppeteer’s launch documentation says Core requires executablePath or channel. It also says Puppeteer works best with its corresponding Chrome for Testing build and does not guarantee compatibility with other browser versions.
If you want Puppeteer to manage browser installation, the official @puppeteer/browsers documentation describes installation and launch tools. Browser acquisition has platform details: for example, the documentation lists unzip for Chrome archives on Linux and macOS, and tar.exe on Windows. Treat binary names, installation behavior, and platform requirements as version-sensitive; check the current documentation for your version.
For an executable you manage yourself, pass its path explicitly. Puppeteer’s general launch options warn that using a non-bundled executable carries risk and recommend also setting the browser option. In production, pin and update the browser and Puppeteer versions together where practical, and verify the chosen pair in the environment where the job runs.
2. Take and save a basic screenshot
This complete Node.js example uses an environment variable for the browser path, waits for navigation, and saves a PNG. Set CHROME_PATH to the actual executable on your system before running it.
import puppeteer from 'puppeteer-core';

const executablePath = process.env.CHROME_PATH;
if (!executablePath) {
  throw new Error('Set CHROME_PATH to a Chrome or Chromium executable');
}

const browser = await puppeteer.launch({
  browser: 'chrome',
  executablePath,
  headless: true,
});

try {
  const page = await browser.newPage();
  await page.setViewport({ width: 1440, height: 900 });
  await page.goto('https://example.com', { waitUntil: 'load' });

  await page.screenshot({ path: 'screenshot.png' });
} finally {
  await browser.close();
}
Save the file as screenshot.mjs and run CHROME_PATH=/path/to/chrome node screenshot.mjs on a POSIX shell. On Windows, set the environment variable using the syntax of your shell. If your installed browser is not Chrome, choose the appropriate documented browser value for that executable and Puppeteer version. The example’s browser: 'chrome' is for Chrome.
The try/finally ensures the browser closes even if navigation or capture throws. A screenshot is taken after the page has reached the selected navigation condition; for a page that continues changing after load, add a target-specific readiness condition as described below.
3. Choose the screenshot output
By default, page.screenshot() returns a Uint8Array of image data. Set path to write the result to disk. The filename extension can determine the output image type when the type is not explicitly supplied. For example:
await page.screenshot({ path: 'page.jpg', type: 'jpeg', quality: 85 });For image bytes in memory, omit path and use the returned buffer-like value:
const imageBytes = await page.screenshot({ type: 'png' });
// Pass imageBytes to your storage client or HTTP response.
Base64 is available through the encoding option. In that case the documented return is a string rather than the default byte array:
const imageBase64 = await page.screenshot({
  type: 'png',
  encoding: 'base64',
});
Use bytes for file writes, uploads, or binary HTTP responses. Base64 is convenient when an interface explicitly needs a data string, but it adds encoding overhead and makes the representation larger than the underlying bytes.
4. Capture the viewport, full page, or a region
The default capture covers the visible viewport. Set fullPage: true to capture the entire page length:
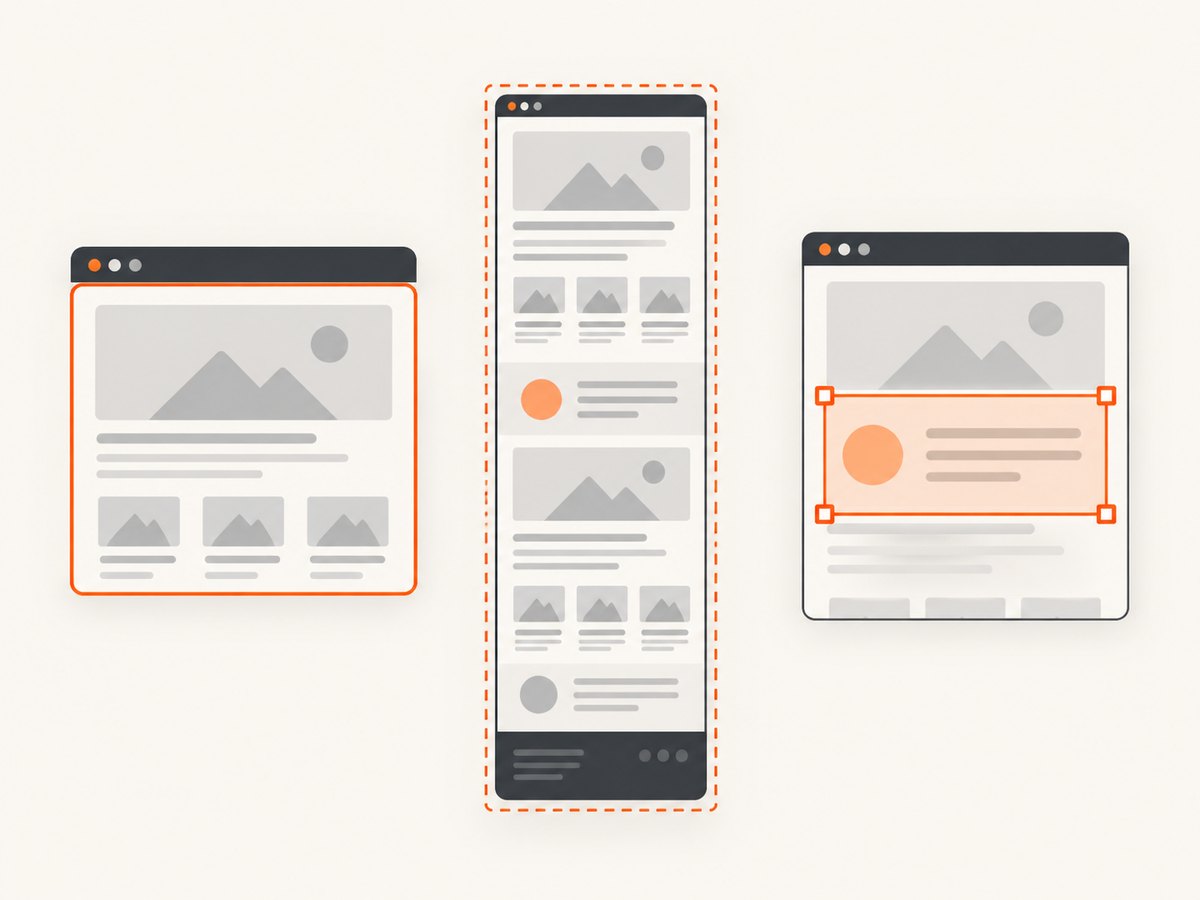
await page.screenshot({ path: 'full-page.png', fullPage: true });Full-page capture is useful for a long article or landing page, but the resulting image can be very tall and consume more memory than a viewport shot. Pages with lazy-loaded images may not have loaded content below the fold yet. If those assets matter, scroll through the relevant areas before capture and wait for them using page-specific checks; full-page capture itself is not a guarantee that every lazy resource has finished loading.
To capture a specific rectangle, use clip with coordinates and dimensions. Coordinates are in CSS pixels relative to the page:
await page.screenshot({
  path: 'region.png',
  clip: { x: 80, y: 120, width: 640, height: 360 },
});
Check that the clip has positive dimensions and lies within the page area you intend to capture. A clip and fullPage express different capture scopes; choose the one that matches the output you need rather than combining options without checking the API’s behavior for your installed version.
5. Configure dimensions, format, and transparency
Set the viewport before navigation or capture when you need consistent responsive layout. A viewport is the browser’s visible content area, not a promise about the final full-page image height.
await page.setViewport({ width: 1280, height: 800, deviceScaleFactor: 2 });
await page.goto('https://example.com', { waitUntil: 'load' });
await page.screenshot({ path: 'retina.png' });
Use the screenshot’s type to choose PNG, JPEG, or WebP where supported by the API and browser version. PNG is lossless and can preserve transparency; JPEG is lossy and does not preserve transparency; WebP can be a smaller web-friendly output, depending on image content and quality settings. Check the options documentation for the supported values and format-specific parameters in your Puppeteer version. A path extension can infer the type, but explicitly setting type makes the desired format clearer.
For JPEG, quality controls compression quality where applicable. The option does not apply to lossless PNG in the same way. Compare output visually if artifacts matter, and avoid assuming one quality value will produce the same file size across pages.
By default the page background is opaque. Set omitBackground: true to hide the default white background and allow transparency:
await page.screenshot({
  path: 'transparent.png',
  omitBackground: true,
});
Transparency only helps when the page content and chosen image format support it. A page that paints its own background remains painted; omitting the browser’s default background does not remove CSS backgrounds.
6. Wait for the page state you need
Navigation completion and visual readiness are separate concerns. The example uses waitUntil: 'load', which waits for the page load event. Some sites render data afterward, animate content, or load assets on demand. For those pages, wait for a known selector or application condition after navigation:
await page.goto('https://example.com/dashboard', { waitUntil: 'domcontentloaded' });
await page.waitForSelector('[data-report-ready="true"]');
await page.screenshot({ path: 'report.png' });
Choose the readiness condition based on the site. A selector can be more precise than waiting for all network activity to stop on pages with analytics, long polling, or continuously open connections. If the page uses a known loading indicator, wait for it to disappear, or wait for a stable element that appears only after the content is ready.
For lazy content, scroll as needed and allow the page to update before capture. For animation-heavy pages, capture at a deliberate point in the animation or disable animations with page-specific CSS if that is appropriate to your output. None of these choices is universally correct; they depend on whether the screenshot should show the initial state, final state, or a particular interaction state.
7. Handle browser and page lifecycle reliably
Each browser launch has startup and memory costs. If your application captures multiple URLs, consider reusing a browser process while creating a fresh page or context for each independent capture. Close pages and browsers when finished, and set limits in your own job runner so a burst of screenshot requests does not create an uncontrolled number of browser processes.
Keep per-capture state isolated where the pages may contain cookies, authentication, or other user data. Do not reuse a page across unrelated users without clearing state. Set timeouts appropriate to your workload and handle navigation and capture errors at the job boundary so one failed URL does not silently prevent later work. Puppeteer documents that screenshot operations coordinate with certain page and browser operations until the capture finishes; avoid assuming that a screenshot and page teardown can safely proceed independently.
Full-page images and high device scale factors increase the amount of pixel data the browser must render and encode. Keep the viewport and output size to what the downstream use requires. For large batches, bound concurrency and monitor process memory in your deployment environment rather than assuming a particular throughput or memory figure.
8. Troubleshoot common Puppeteer Core screenshot errors
| Symptom | Likely cause | Fix |
|---|---|---|
| Launch fails because an executable path or channel is missing | Puppeteer Core does not have a browser selection at launch. | Set executablePath to the installed browser or provide a supported channel. Confirm the path exists in the runtime environment. |
| Browser executable cannot be found or started | The configured path is wrong, the binary is absent from the container, or the runtime lacks a required platform dependency. | Check the resolved path and permissions, install the required browser and platform dependencies, and launch the same binary manually in that environment. Review the browser-management docs for platform-specific installation details. |
| Browser starts but page operations fail | The executable may be incompatible with the Puppeteer version or the selected browser does not match. |
Prefer the corresponding Chrome for Testing build. If using another executable, set the correct browser option and verify the pairing against the current launch documentation. |
| Screenshot is blank or misses content | The capture may happen before application rendering, data loading, or lazy loading finishes. | Wait for a meaningful selector or application condition; scroll to trigger lazy resources where needed, then capture. |
| Output format is unexpected | The type may be inferred from the path extension, or the requested type may not match the extension. | Set type explicitly and use a matching filename extension. Check support and format options for your installed version. |
| Transparent output still has a colored area | The page itself may paint a CSS background, or the selected format may not preserve transparency. | Use a transparency-capable output such as PNG and inspect the page’s CSS background. omitBackground only omits the browser’s default background. |
| Capture consumes too much memory or takes too long | The page is very long, the viewport scale is high, or too many captures run concurrently. | Capture a viewport or clip when sufficient, reduce the scale or dimensions, and bound concurrency. |
When investigating a failure, log the target URL, browser version, Puppeteer version, launch configuration (excluding secrets), navigation outcome, and the screenshot options. This makes it easier to distinguish a browser setup issue from a page-specific readiness issue.
9. Cost and deployment considerations
Puppeteer Core is a library, so the screenshot workflow runs on infrastructure you provide. Account for browser downloads or installation, runtime dependencies, memory, storage for output, and the engineering work of keeping browser and package versions compatible. The research sources do not specify universal time, memory, or cost figures; those depend on page complexity and deployment conditions. Measure representative pages in your own environment before setting concurrency or capacity limits.
A locally controlled browser is useful when you need browser automation alongside screenshots, or when you must control the environment and page state yourself. A hosted screenshot API can reduce the browser installation and maintenance work, although it changes the integration and control model.
Or skip the browser setup
If your task is simply to turn a URL into an image, ScreenshotNeo provides a website screenshot API and MCP server. Its API accepts one GET request and returns an image or PDF. See the ScreenshotNeo API documentation for request options.
curl -G "https://api.screenshotneo.com/v1/shot" \
  -d access_key=YOUR_API_KEY \
  --data-urlencode url=https://stripe.com \
  -o shot.webp
import requests
r = requests.get(
"https://api.screenshotneo.com/v1/shot",
params={"access_key": "YOUR_API_KEY", "url": "https://stripe.com"},
timeout=90,
)
r.raise_for_status()
open("shot.webp", "wb").write(r.content)const q = new URLSearchParams({
access_key: 'YOUR_API_KEY',
url: 'https://stripe.com',
});
const res = await fetch(`https://api.screenshotneo.com/v1/shot?${q}`);
if (!res.ok) throw new Error(`Screenshot request failed: ${res.status}`);
await Bun.write('shot.webp', res);For standard Node.js runtimes with global fetch, save the response body using your preferred file API, for example by converting await res.arrayBuffer() to a Node Buffer and writing it with node:fs/promises. The request above follows ScreenshotNeo’s documented Node request shape; Bun.write is a Bun-specific file-saving example.
- Cookie banners, popups, and chat widgets are removed before the shot; each cleanup step can be turned off.
- Bot checks, blank pages, and failed loads are never billed; response headers report the page verdict and billing status.
- An MCP server provides
take_screenshot,get_page_info, andcapture_pdffor AI agents and MCP clients. - The free plan includes 1,000 screenshots a month with no card; paid plans start at $5 for 3,000.
Sign up for ScreenshotNeo’s free 1,000 screenshots a month, with no card required.
FAQ
Does Puppeteer Core include Chrome?
Core requires you to select a browser at launch with executablePath or channel. Browser installation and selection are separate from taking the screenshot.
Does fullPage: true scroll the page?
It requests a full-page screenshot rather than limiting capture to the current viewport. It does not by itself guarantee that lazy-loaded content has been triggered or finished loading.
Can page.screenshot() return a base64 string?
Yes. Set encoding: 'base64'; otherwise the documented default return is image bytes.
Which browser should I use?
Puppeteer recommends its corresponding Chrome for Testing build for the strongest compatibility expectation. Other browser versions may work, but the project does not guarantee them.


