How to Run Puppeteer on a Dedicated GPU
Configure Puppeteer for a dedicated GPU, verify hardware acceleration, troubleshoot drivers and containers, and choose the right headless mode.
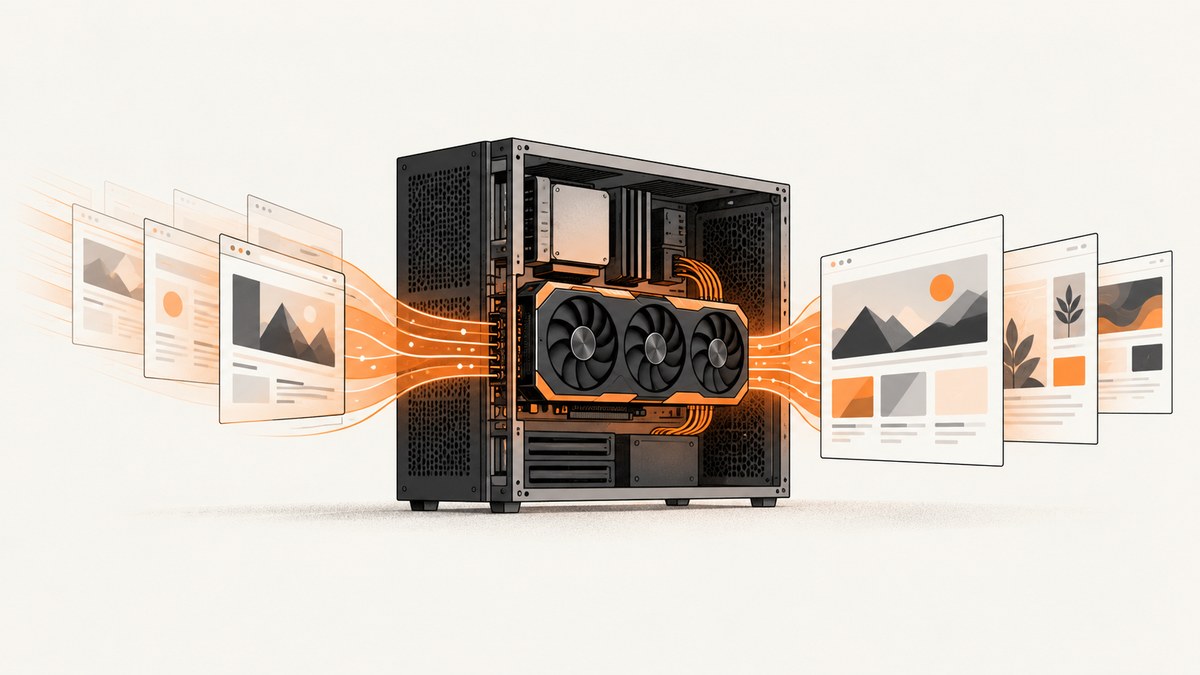
Direct answer: Puppeteer can use a dedicated GPU when Chrome can access the host graphics stack and detect the intended device. For chrome-headless-shell, launch with headless: 'shell' and --enable-gpu. That flag only requests GPU acceleration; it does not install drivers, pass a GPU into a container, or prove that the dedicated card is being used.
This guide shows a complete setup, verification workflow, browser-mode choices, custom executable configuration, container considerations, troubleshooting, and operational guidance for running Puppeteer on a machine with a dedicated GPU.
1. Install Puppeteer and a compatible browser
The puppeteer package normally downloads a compatible Chrome for Testing and chrome-headless-shell during installation. Start with a new project:
mkdir puppeteer-gpu
cd puppeteer-gpu
npm init -y
npm install puppeteer
If your package manager blocks install scripts, the browser download may not happen. Install the browser explicitly with:
npx puppeteer browsers installPuppeteer documents puppeteer-core for teams that manage Chrome themselves. With that package, you are responsible for installing a compatible browser and supplying its path. Puppeteer only guarantees compatibility with its bundled browser, so independently managed versions need a deliberate upgrade and rollback process. See the installation guide and LaunchOptions API.
2. Choose a headless mode
Puppeteer runs headless by default, but current headless Chrome and chrome-headless-shell are separate modes:
| Mode | Use when | GPU configuration |
|---|---|---|
headless: true |
You need browser behavior and features close to regular Chrome. | Chrome decides whether to enable the available GPU; verify the renderer on the host. |
headless: 'shell' |
Your automation fits the shell’s reduced feature set and you want its potentially lower overhead. | Add --enable-gpu, as required by Puppeteer’s troubleshooting documentation. |
headless: false |
You are debugging with a visible browser session. | Useful for diagnosis, but requires a display server or virtual display in many Linux environments. |
The modes are not interchangeable for every workload. Test the mode against the APIs your pages use, especially WebGL, video, canvas, WebGPU, and browser extensions. Read the headless modes guide.
3. Launch chrome-headless-shell with the dedicated GPU flag
This is the documented launch shape for GPU acceleration in the shell:
import puppeteer from 'puppeteer';

const browser = await puppeteer.launch({
  headless: 'shell',
  args: ['--enable-gpu'],
});

try {
  const page = await browser.newPage();
  await page.goto('https://example.com', { waitUntil: 'networkidle2' });
  console.log(await page.title());
} finally {
  await browser.close();
}
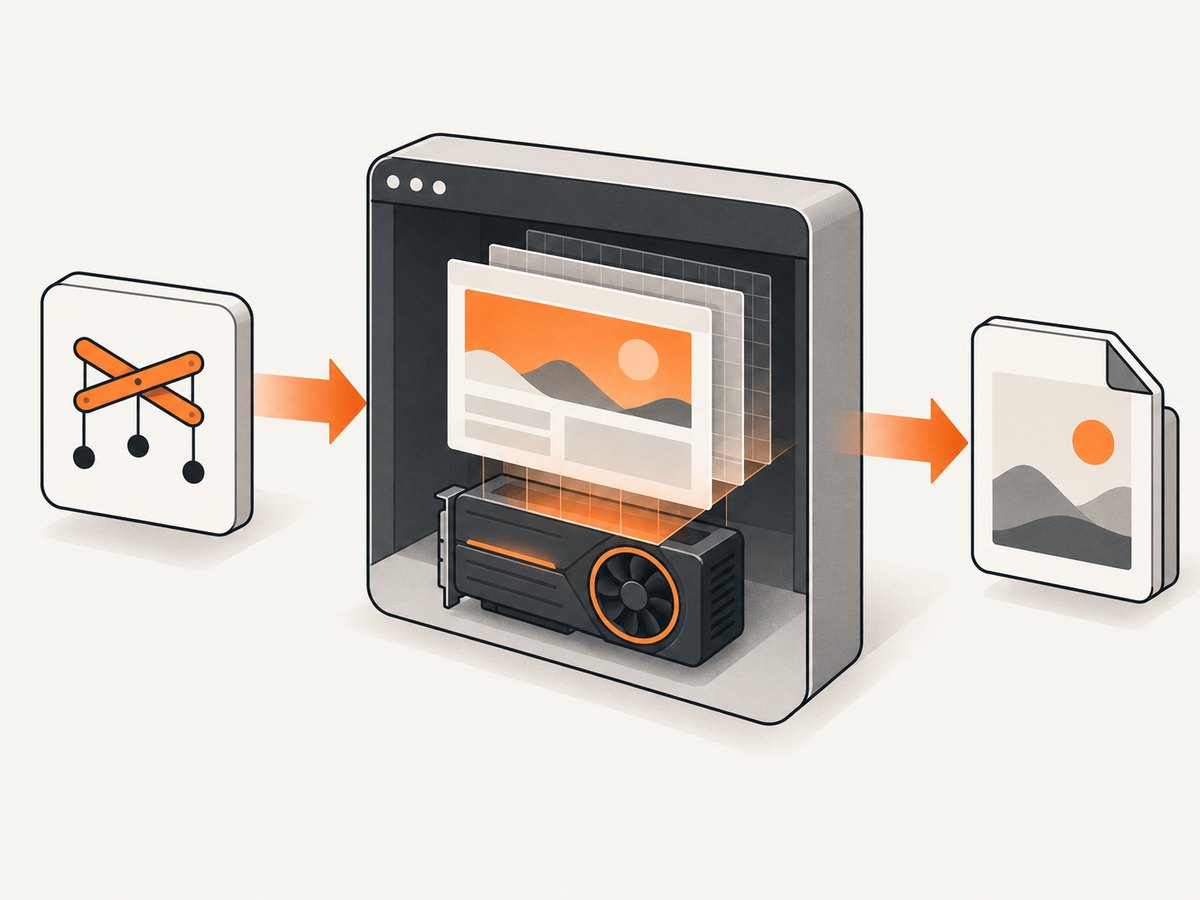
Save this as gpu-shot.mjs and run node gpu-shot.mjs. The important setting is --enable-gpu. It asks the shell to enable acceleration; it does not force Chrome to use a particular physical adapter.
Use a custom Chrome executable
If Chrome is installed outside Puppeteer’s cache, set executablePath. Use puppeteer-core when your deployment explicitly owns the browser binary:
import puppeteer from 'puppeteer-core';

const browser = await puppeteer.launch({
  executablePath: process.env.CHROME_PATH,
  headless: 'shell',
  args: ['--enable-gpu'],
});

const page = await browser.newPage();
await page.goto('https://example.com', { waitUntil: 'domcontentloaded' });
await page.screenshot({ path: 'example.png' });
await browser.close();
Keep the browser version, Puppeteer version, and operating-system image together in a tested release. A custom executable gives you control, but also transfers browser installation and compatibility work to your team.
4. Confirm that Chrome sees the intended GPU
A launch flag is not proof of hardware use. Verify the renderer on the actual machine where Puppeteer runs.
- Check that the host has a supported graphics device and a working driver stack.
- Make the device accessible to the process. In a container, this includes the runtime’s device mapping and the required driver libraries.
- Run Chrome with the same user, container image, flags, and executable used by production.
- Inspect Chrome’s GPU status, including
chrome://gpuwhen that page is available. - Confirm that the reported renderer names the intended physical GPU rather than a software renderer.
- Repeat the check after changing Chrome, drivers, the container image, device access, or runtime settings.
Chrome for Developers has shown a Linux example in which default drivers caused Vulkan problems and an NVIDIA T4 was not detected at the GL_RENDERER level. The example demonstrates why host configuration matters; it is not a universal driver recipe or a claim that a T4 is required. See the Chrome GPU example.
Read the renderer from a page
For a quick WebGL check, evaluate the renderer string inside the same browser process:
import puppeteer from 'puppeteer';

const browser = await puppeteer.launch({
  headless: 'shell',
  args: ['--enable-gpu'],
});

try {
  const page = await browser.newPage();
  await page.goto('about:blank');
  const result = await page.evaluate(() => {
    const canvas = document.createElement('canvas');
    const gl = canvas.getContext('webgl') || canvas.getContext('experimental-webgl');
    if (!gl) return { available: false, renderer: null };
    const ext = gl.getExtension('WEBGL_debug_renderer_info');
    return {
      available: true,
      renderer: ext ? gl.getParameter(ext.UNMASKED_RENDERER_WEBGL) : 'masked',
      vendor: ext ? gl.getParameter(ext.UNMASKED_VENDOR_WEBGL) : 'masked',
    };
  });
  console.log(result);
} finally {
  await browser.close();
}
A masked or software renderer means you need to inspect the host and browser logs before assuming the dedicated card is active. Renderer reporting can vary with sandboxing, drivers, and browser policy.
5. Make the capture workload GPU-relevant
A dedicated GPU does not automatically make every Puppeteer task faster. Plain HTML and text screenshots can remain CPU, network, or disk bound. GPU access is most relevant when pages use compositing, WebGL, canvas, video, animation, or other graphics-heavy work.
- Wait for the visual state you need instead of capturing immediately after navigation.
- Use a fixed viewport and device scale factor when comparing runs.
- Separate browser startup time, navigation time, rendering time, and image encoding time in your measurements.
- Reuse a browser process when safe; launching Chrome for every URL adds substantial overhead.
- Limit concurrent pages to the capacity of the CPU, memory, GPU, and target websites.
Do not claim a speedup without measuring your own pages. The cited Puppeteer and Chrome sources provide configuration and detection guidance, not a general benchmark.
6. Common deployment patterns
Dedicated host
Install the browser and graphics drivers on the host, run the process under a service account, and verify the renderer from that account. This is the simplest environment because there is no device-passthrough layer.
Container
The container must be able to see the GPU device and load compatible user-space libraries. The exact commands depend on the operating system, container runtime, driver, and orchestration platform. Treat the image, browser build, driver stack, and device mapping as one versioned deployment unit. If the host can use the GPU but the container reports software rendering, compare device visibility and library loading inside the container.
Remote browser
If Puppeteer connects to Chrome running elsewhere, GPU verification must happen on the remote Chrome host. Local Node.js settings cannot repair a missing GPU on that machine. Record the remote browser build and renderer as part of diagnostics.
7. Troubleshooting
| Symptom | Likely cause | Fix |
|---|---|---|
Could not find Chrome |
Install scripts were skipped or the browser cache is empty. | Run npx puppeteer browsers install, or provide a valid executablePath. |
| Renderer is SwiftShader or another software backend | Chrome cannot access the device, drivers are incompatible, or the runtime blocks hardware acceleration. | Check device visibility, driver libraries, browser logs, and chrome://gpu on the actual runtime. |
--enable-gpu changes nothing |
The flag enables the request but cannot create a usable graphics stack. | Fix host or container GPU access first, then repeat renderer verification. |
| Vulkan initialization errors | Driver or Vulkan support is unsuitable for the selected environment. | Inspect the distribution’s driver documentation and Chrome logs for that exact host; do not copy a different platform’s commands blindly. |
| Browser exits immediately in Linux | Sandbox, permissions, shared-memory, or missing runtime dependencies. | Read Puppeteer’s Linux troubleshooting guidance, run as the intended service user, and fix the dependency or permission reported by the logs. |
| Visible mode fails on a server | No display server is available. | Use a supported headless mode for production or provide the display environment required by your host. |
| GPU works locally but not in production | Different browser build, user, image, driver, device mapping, or security policy. | Compare those inputs and run the renderer probe in production. |
| Pages remain slow | The workload is network, JavaScript, CPU, or encoding bound rather than GPU bound. | Measure each phase and reduce unnecessary navigation, concurrency, and image work. |
Puppeteer’s troubleshooting guide also covers Linux sandbox requirements and the documented GPU setting for the shell.
8. Reliability, security, and cost considerations
Reliability
- Pin compatible versions of Puppeteer and Chrome, then upgrade them together.
- Expose browser startup, navigation, renderer detection, and capture failures as separate metrics.
- Use timeouts and always close pages and browsers in
finallyblocks. - Recycle long-lived browser processes if memory usage grows over time.
- Keep a software-rendering fallback only if your product can accept its behavior and performance.
Security
Automation pages can execute untrusted JavaScript. Isolate browser workers, restrict network access where possible, protect credentials passed as headers or cookies, and avoid disabling the sandbox unless the deployment is designed around that risk. GPU access adds another host capability, so keep the browser image and driver stack patched.
Cost
A dedicated GPU adds infrastructure cost and operational work. It is justified when the workload benefits from graphics acceleration or when throughput requirements outweigh the added complexity. For ordinary static screenshots, benchmark a CPU-only configuration before adding a GPU. Include browser downloads, image storage, egress, observability, and idle GPU capacity in the total cost.
9. Or skip the browser setup
If your goal is dependable website screenshots rather than operating Chrome and GPU drivers, ScreenshotNeo provides a GET API that returns PNG, JPEG, WebP, or PDF output. It handles the browser environment for you.

See the ScreenshotNeo API documentation for all options. A basic call is:
curl -G "https://api.screenshotneo.com/v1/shot" -d access_key=YOUR_API_KEY --data-urlencode url=https://stripe.com -o shot.webpimport requests
r = requests.get(
"https://api.screenshotneo.com/v1/shot",
params={"access_key": "YOUR_API_KEY", "url": "https://stripe.com"},
timeout=90,
)
r.raise_for_status()
open("shot.webp", "wb").write(r.content)const q = new URLSearchParams({ access_key: 'YOUR_API_KEY', url: 'https://stripe.com' });
const res = await fetch(`https://api.screenshotneo.com/v1/shot?${q}`);
if (!res.ok) throw new Error(`HTTP ${res.status}`);
const bytes = new Uint8Array(await res.arrayBuffer());
await import('node:fs/promises').then(fs => fs.writeFile('shot.webp', bytes));ScreenshotNeo removes cookie and consent banners, newsletter popups, and chat widgets before capture. Bot checks, blank pages, timeouts, failed loads, and cache hits are not billed, and response headers identify the page verdict and billing status. Its MCP server lets Claude, Cursor, and other MCP clients call take_screenshot, get_page_info, and capture_pdf. The free plan includes 1,000 screenshots per month with no card; paid plans start at $5 for 3,000 shots. Create a free ScreenshotNeo account.
10. Checklist before production
- Choose
headless: true,headless: 'shell', or visible mode based on required browser features. - For the shell, include
--enable-gpu. - Confirm the host or container exposes the intended GPU and driver libraries.
- Probe the WebGL renderer and inspect Chrome GPU status.
- Test with the production browser binary, user, image, and runtime.
- Measure whether the workload is actually GPU bound.
- Set timeouts, cleanup handlers, concurrency limits, and logging.
- Pin browser and Puppeteer versions and document the upgrade path.
FAQ
Does --enable-gpu guarantee that Puppeteer uses my dedicated card?
No. It enables GPU acceleration for chrome-headless-shell, but Chrome still needs a usable driver stack and access to the device. Verify the renderer.
Should I use headless Chrome or chrome-headless-shell?
Use current headless Chrome when feature fidelity matters. Use the shell when its reduced feature set fits and you want its automation-oriented performance characteristics. Test graphics APIs used by your pages.
Is an NVIDIA T4 required?
No. The T4 appears in a Chrome example; hardware suitability depends on your workload and host configuration.
When should I use puppeteer-core?
Use it when your team installs and manages Chrome separately. Supply executablePath and own browser-version compatibility.
Why does a screenshot workload show little GPU utilization?
Static pages may be limited by network, JavaScript, CPU layout, or image encoding. Measure each phase before changing infrastructure.


