How to Set Element Screenshot Width and Height in Puppeteer
Learn when Puppeteer uses an element’s natural bounds, when to use clip, and how viewport and device scale affect screenshot pixels.
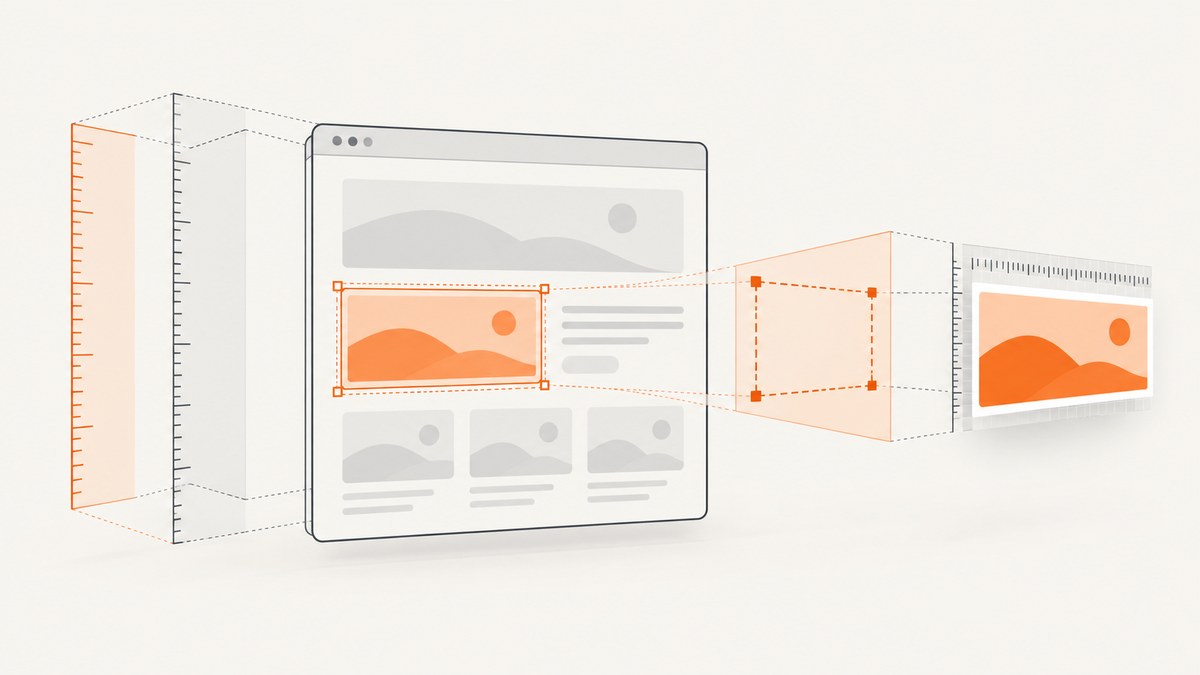
Puppeteer has three separate controls that developers often confuse when setting an element screenshot’s width and height:
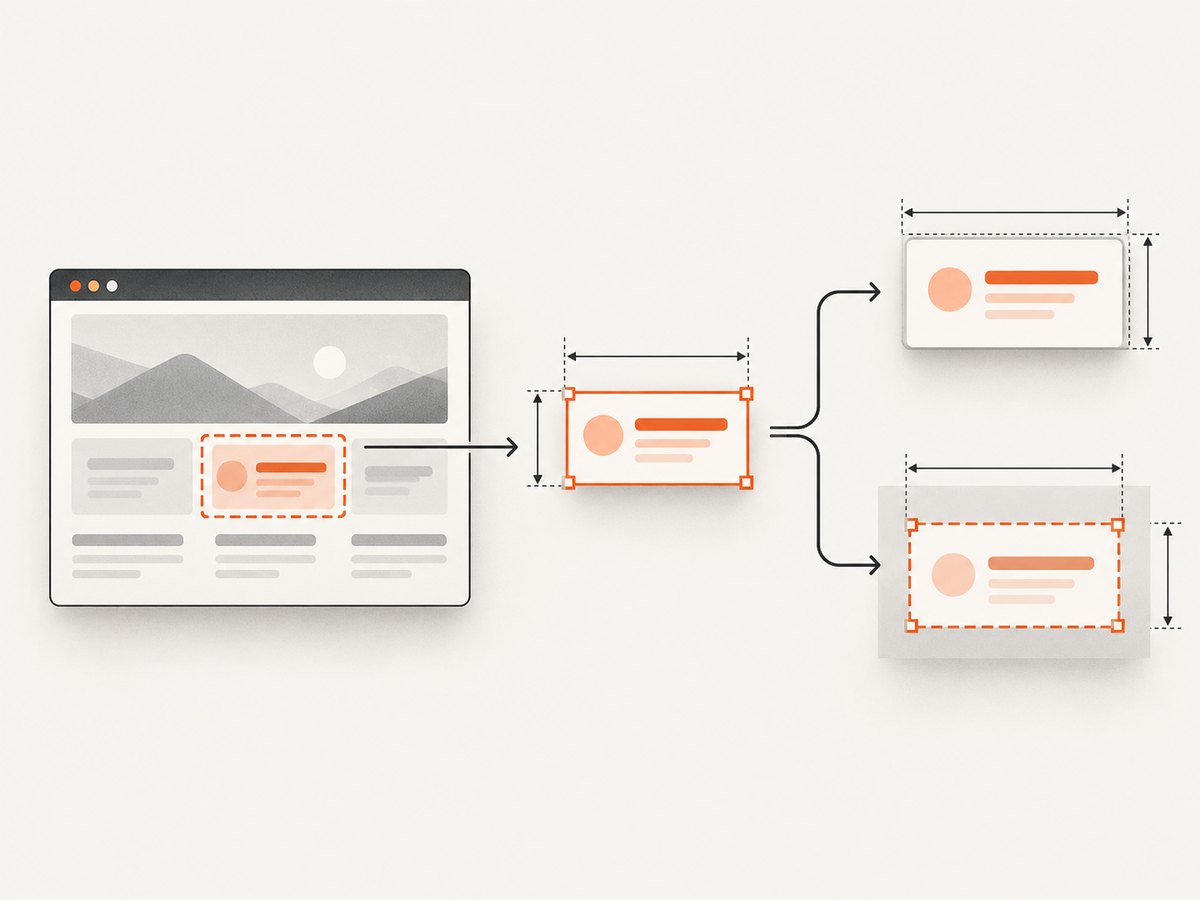
- ElementHandle.screenshot() captures the selected element at its rendered bounds.
- ScreenshotOptions.clip captures a rectangle with explicit x, y, width, and height.
- page.setViewport() changes the browser viewport and can change responsive layout before capture.
Use the first option when you want the element as it appears on the page. Use clip when you need a deliberately sized crop. Use the viewport when the page must render at a particular responsive breakpoint. Setting an element’s CSS width or changing the viewport does not, by itself, guarantee a particular output image size because layout, device scale, borders, transforms, and other rendering details affect the result.
Choose the dimension you actually need
| Goal | Use | What determines the output |
|---|---|---|
| Capture one element as laid out | elementHandle.screenshot() |
The element’s rendered bounding box |
| Capture a fixed rectangle | page.screenshot({ clip }) |
The clip rectangle’s coordinates and dimensions |
| Change responsive layout | page.setViewport() |
The page viewport, which can affect CSS media queries and layout |
| Capture the document | page.screenshot({ fullPage: true }) |
The full page, rather than one selected element |
The official Puppeteer ElementHandle.screenshot() documentation says that the method scrolls the element into view if needed and then uses Page.screenshot() to capture it. That behavior makes it the correct starting point for most element screenshots.
Capture an element at its rendered width and height
This example waits for a visible element, captures its natural rendered bounds, and writes a PNG file:
import puppeteer from 'puppeteer';

const browser = await puppeteer.launch();
const page = await browser.newPage();

await page.goto('https://example.com', { waitUntil: 'networkidle2' });

const element = await page.waitForSelector('#target', { visible: true });
if (!element) throw new Error('Target element was not found');

await element.screenshot({ path: 'element.png' });

await browser.close();
The image normally follows the element’s current rendered bounds. If the element is 420 CSS pixels wide and 180 CSS pixels high at the time of capture, those bounds are the starting point for the screenshot. The final pixel dimensions can differ when the page uses a device scale factor, transforms, fractional layout values, or a different rendering configuration.
Use a stable readiness condition
Navigation completion does not always mean that the target has finished rendering. Wait for the selector, its visible state, and any application-specific condition that means the content is ready:
await page.goto(url, { waitUntil: 'domcontentloaded' });

await page.waitForSelector('.chart', { visible: true });
await page.waitForFunction(() => {
  const chart = document.querySelector('.chart');
  return chart && chart.getAttribute('data-rendered') === 'true';
});

const chart = await page.$('.chart');
if (!chart) throw new Error('Chart was not found');
await chart.screenshot({ path: 'chart.png' });
For images and fonts that affect the bounds, wait for the page’s own loading signal or inspect the element’s geometry before capturing. A fixed delay can help with a known animation, but a meaningful readiness condition is usually more reliable.
Set an exact crop with clip
If the requirement is “produce a 320 by 180 image from this page region,” use a clip rectangle:
await page.screenshot({
  path: 'crop.png',
  clip: { x: 40, y: 80, width: 320, height: 180 },
});
x and y identify the page-coordinate origin of the crop. width and height define its dimensions. The rectangle is a screenshot instruction; it does not change the selected element’s CSS width or height.
To crop around an element while retaining explicit dimensions, read its bounding box and construct a clip:
const element = await page.waitForSelector('#target', { visible: true });
if (!element) throw new Error('Target element was not found');

const box = await element.boundingBox();
if (!box) throw new Error('Target has no visible bounding box');

await page.screenshot({
  path: 'fixed-element-crop.png',
  clip: {
    x: Math.round(box.x),
    y: Math.round(box.y),
    width: 320,
    height: 180,
  },
});
Make sure the crop remains inside the page and that its dimensions are positive. A clip that starts outside the visible content or covers an unpainted region can produce unexpected or blank output. The independent Puppeteer guide used in the research advises treating clip and fullPage as separate modes; do not combine them when you need a fixed local crop.
Change the viewport before navigation
The viewport controls the page’s available layout space. It can activate media queries, change text wrapping, alter lazy-loading behavior, and change the selected element’s rendered size. Set it before navigation when the site responds to the initial viewport:
await page.setViewport({
  width: 1280,
  height: 800,
  deviceScaleFactor: 1,
});

await page.goto(url, { waitUntil: 'networkidle2' });
const element = await page.waitForSelector('#target', { visible: true });
if (!element) throw new Error('Target element was not found');
await element.screenshot({ path: 'desktop-element.png' });
At a narrower viewport, the same element may wrap, collapse, or use different CSS. That is why changing page.setViewport() is not an alternative to setting a screenshot clip. It changes the page; clip changes the captured region.
CSS pixels versus output pixels
CSS dimensions describe layout. Output pixels also depend on the browser’s device scale factor and screenshot encoding. Set deviceScaleFactor: 1 when you want a straightforward one-to-one baseline. Use a higher value for a denser image, then verify the resulting file dimensions in your pipeline instead of assuming that CSS width equals file width.
Useful screenshot options
Element screenshots use the page screenshot machinery, so the relevant options include:
path: write the image to a file. Omit it when you want a buffer.type: choose PNG, JPEG, or WebP where supported by your Puppeteer version.quality: set lossy JPEG or WebP quality; it has no useful effect for PNG.clip: capture a fixed page rectangle withx,y,width, andheight.fullPage: capture the whole page. It is a page-level document capture, not an element-size control.omitBackground: make the default background transparent where the browser can do so.encoding: request a base64 string instead of the default binary buffer when you are not writing a file.
Check the current ScreenshotOptions reference for the version installed in your project. Puppeteer APIs change over time, and the research reviewed version 25.12.0 documentation on September 29, 2026.
Full-page capture, scrolling, and lazy content
fullPage: true captures the document, not just the selected element. It also does not automatically make an infinite-scroll application load every item. If the page adds content while scrolling, scroll it deliberately and wait for the application to finish before taking the screenshot:
await page.evaluate(async () => {
  await new Promise((resolve) => {
    let lastHeight = 0;
    const timer = setInterval(() => {
      window.scrollTo(0, document.body.scrollHeight);
      const height = document.body.scrollHeight;
      if (height === lastHeight) {
        clearInterval(timer);
        resolve();
      }
      lastHeight = height;
    }, 250);
  });
});

await page.screenshot({ path: 'full-page.png', fullPage: true });
For one element below the fold, you usually do not need manual scrolling: ElementHandle.screenshot() scrolls it into view. You still need to ensure that content inside it has loaded.
Make the element itself a known size
If your real requirement is a component with a predictable layout, set its CSS dimensions before taking the screenshot. This changes layout; it does not replace a clip when the output file must have exact pixel dimensions.
await page.setContent(`
  <style>
    #card { width: 480px; height: 240px; overflow: hidden; }
  </style>
  <div id="card">Content</div>
`);

const card = await page.waitForSelector('#card', { visible: true });
if (!card) throw new Error('Card was not found');
await card.screenshot({ path: 'card.png' });
Remember that padding, borders, box sizing, transforms, and responsive rules can change the rendered outer bounds. Use getBoundingClientRect() or Puppeteer’s boundingBox() to inspect what the browser actually laid out.
Common errors and fixes
| Symptom | Likely cause | Fix |
|---|---|---|
| “Target element was not found” | The selector is wrong, the page has not rendered it, or it is inside a different frame. | Verify the selector, wait for the application state, and use the correct frame when needed. |
| Detached element error | The framework replaced the node after you obtained the handle. | Wait for rendering to settle, then query the element again immediately before capture. |
| Image is blank | The element is hidden, has no box, is transparent, or its content has not painted. | Use { visible: true }, inspect boundingBox(), wait for content, and check computed styles. |
| Width or height is not what you requested | You changed CSS or viewport dimensions but needed a fixed crop, or device scale changed output pixels. | Use clip for fixed dimensions and set deviceScaleFactor intentionally. |
| Responsive layout changed | The viewport was set after navigation or differs from production. | Set the viewport before navigation and use the same dimensions for every run. |
| Below-fold element is missing | Lazy content only loads after scrolling. | Scroll to the element or trigger the application’s lazy-load condition, then wait for it. |
| Full-page image omits items | The page uses infinite scrolling. | Load the content first; fullPage captures what exists at capture time. |
Reliability and performance practices
- Reuse a browser process. Launching Chromium for every image is expensive. Keep one browser process and create isolated pages for concurrent jobs.
- Use bounded waits. A selector wait, application readiness signal, and a navigation timeout prevent jobs from hanging forever.
- Keep selectors specific. Prefer a stable ID or data attribute over a fragile CSS path.
- Control animations. Disable or pause transitions when deterministic pixels matter, and wait for fonts and images that affect layout.
- Limit full-page captures. They require more memory and encoding time than a small element crop.
- Measure the result. Record the selector, viewport, device scale, clip rectangle, and output dimensions with each artifact so visual differences are explainable.
- Clean up pages. Close pages after a job and close the browser during shutdown so failed jobs do not accumulate resources.
For reproducible output, pin Puppeteer and Chromium versions, use a consistent operating environment, and avoid relying on a short arbitrary delay. Exact pixels can still vary when fonts, remote images, animations, or third-party scripts change.
Or skip the browser setup
ScreenshotNeo provides a website screenshot API when you do not want to maintain Chromium, selectors, waits, and capture workers. It can capture a selected element, full pages, custom viewports, dark mode, retina scale, custom CSS and JavaScript, clicks, waits, blocked resources, headers, cookies, user agents, time zones, geolocation, resizing, caching, PDFs, asynchronous jobs, bulk requests, and signed links. See the ScreenshotNeo documentation for the current parameter names and response behavior.
cURL:
curl -G "https://api.screenshotneo.com/v1/shot" -d access_key=YOUR_API_KEY --data-urlencode url=https://stripe.com -o shot.webpPython:
import requests

r = requests.get(
    "https://api.screenshotneo.com/v1/shot",
    params={"access_key": "YOUR_API_KEY", "url": "https://stripe.com"},
    timeout=90,
)
r.raise_for_status()
open("shot.webp", "wb").write(r.content)
Node.js:
const q = new URLSearchParams({ access_key: 'YOUR_API_KEY', url: 'https://stripe.com' });
const res = await fetch(`https://api.screenshotneo.com/v1/shot?${q}`);
if (!res.ok) throw new Error(`Screenshot failed: ${res.status}`);
const body = Buffer.from(await res.arrayBuffer());
await import('node:fs/promises').then(fs => fs.writeFile('shot.webp', body));
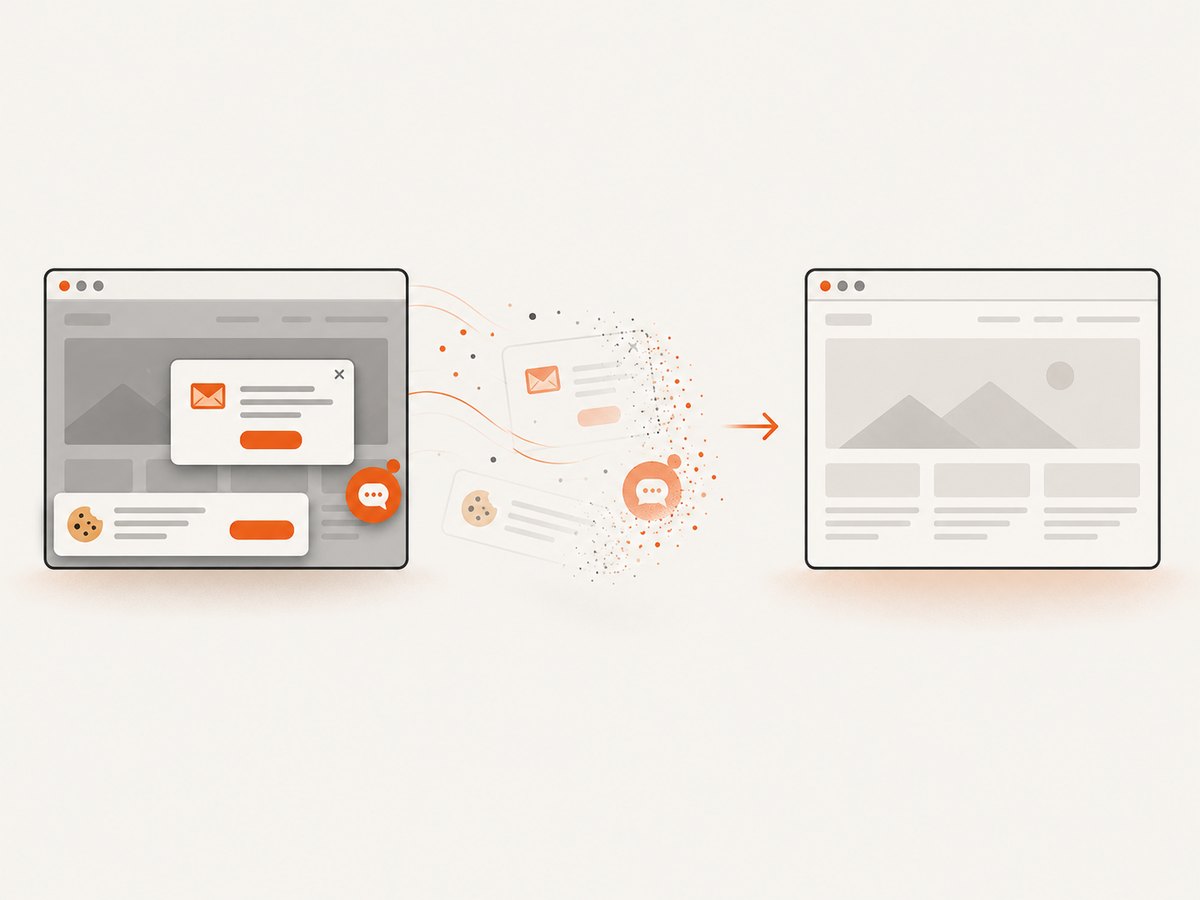
ScreenshotNeo removes cookie and consent banners, newsletter popups, and chat widgets before the shot. Bot checks, blank pages, failed loads, timeouts, and cache hits are not billed, and the response identifies the result with X-Page-Verdict and X-Billed headers. Its MCP server gives AI agents tools named take_screenshot, get_page_info, and capture_pdf. The Free plan includes 1,000 screenshots per month with no card; paid plans start at $5 for 3,000 shots. Start with a free ScreenshotNeo account.
Cost and operational considerations
Self-hosted Puppeteer costs the compute time and maintenance of Chromium processes, fonts, browser updates, networking, storage, and retry handling. A hosted API trades that setup for request pricing and service-specific limits. Whichever approach you use, cache identical captures, avoid unnecessary full-page images, and retry only transient failures. With ScreenshotNeo, cache hits are not billed, and you can choose a cache TTL; inspect the verdict and billing headers rather than counting every HTTP response as a paid clean capture.
FAQ
Can I set width and height directly in element.screenshot()?
For a fixed rectangle, use page.screenshot({ clip: ... }). The element method captures the element’s rendered bounds; change CSS to change layout, or use a clip to control the crop.
Does fullPage work with an element handle?
fullPage is a page screenshot option for the document. It is not a way to make one element screenshot full page.
Why does a 300 CSS pixel element produce a different file width?
Device scale, fractional layout, transforms, borders, and image encoding can affect output pixels. Set the device scale deliberately and inspect the actual file.
Should I use networkidle0 for every page?
No. Applications with analytics, websockets, or polling may never become idle. Prefer the page’s meaningful readiness condition, with a bounded timeout.
How do I capture only a component with rounded corners?
Capture the element handle if its rendered bounds are sufficient. If you need exact output dimensions, use a clip and preserve transparency with the appropriate background option.


