How to Capture an Entire Element with a Puppeteer Screenshot
Capture a selected DOM element at its rendered size with Puppeteer. Learn the complete Node.js setup, output options, reliable waits, and fixes for common failures.
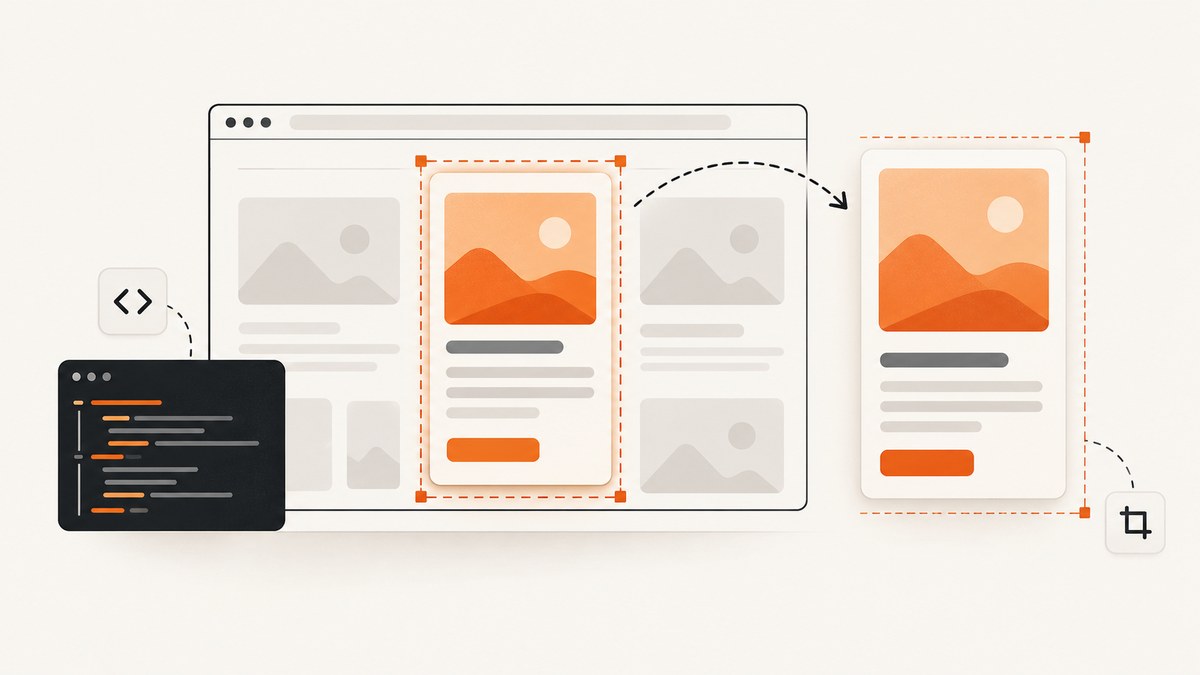
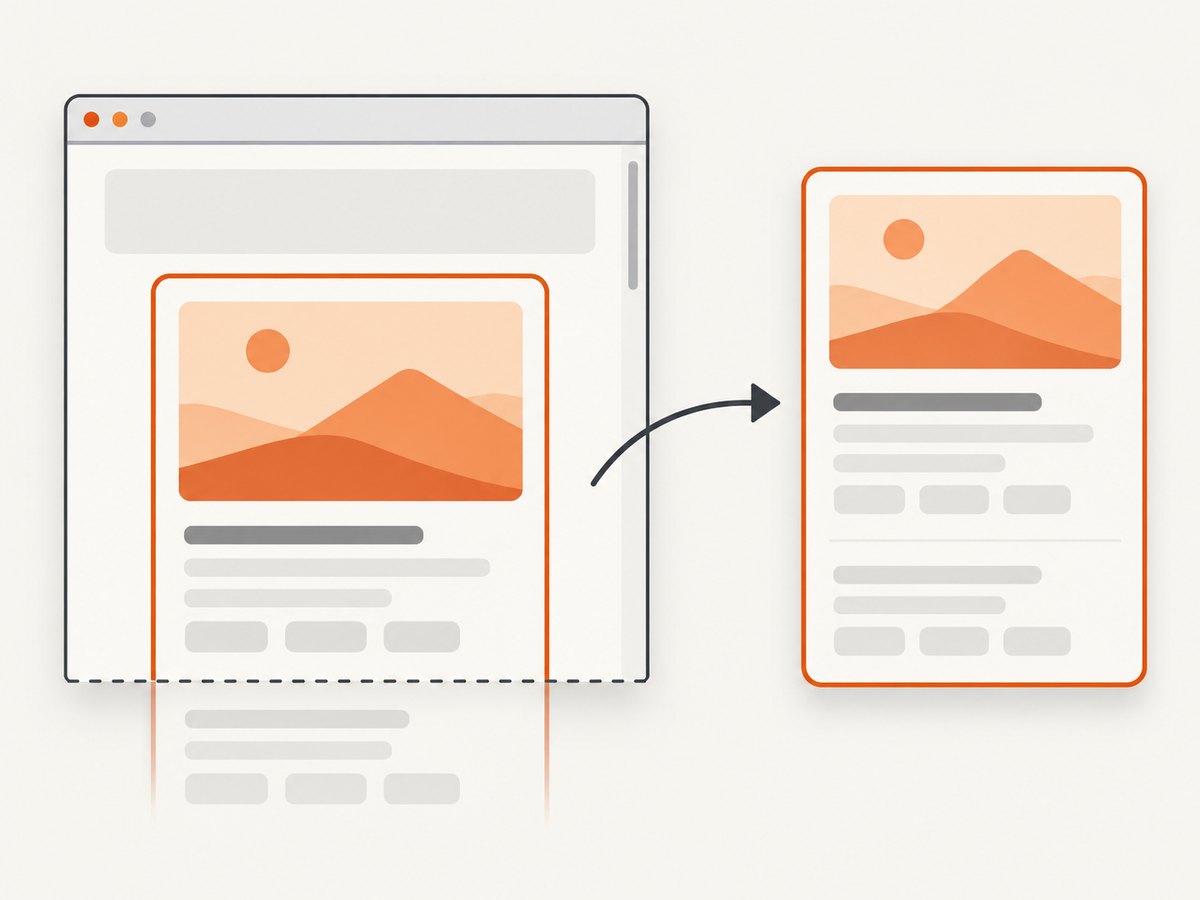
To capture an entire element in Puppeteer, select it and call ElementHandle.screenshot(). This captures the selected node at its rendered size, including the part that extends below the current viewport. Puppeteer scrolls the element into view if needed. See the ElementHandle API.
const element = await page.waitForSelector('#target');
if (!element) throw new Error('Target element was not found');
await element.screenshot({ path: 'element.png' });
page.screenshot({ fullPage: true }) is a different operation: it captures the full scrollable document, not the full size of one selected element. The code below is a complete Node.js example, followed by options, rendering considerations, and troubleshooting.
1. Install Puppeteer and capture the element
In a new project, install Puppeteer. The puppeteer package downloads a compatible browser during installation. Save the following as screenshot-element.mjs and run it with Node.js.
npm install puppeteerimport puppeteer from 'puppeteer';
const browser = await puppeteer.launch();
try {
const page = await browser.newPage();
await page.goto('https://example.com', { waitUntil: 'networkidle2' });
const element = await page.waitForSelector('#target', {
visible: true,
timeout: 15_000,
});
if (!element) {
throw new Error('Could not find a visible element matching #target');
}
await element.screenshot({ path: 'target.png' });
await element.dispose();
} finally {
await browser.close();
}Replace https://example.com and #target with the page and selector you want. The selector is a CSS selector. waitForSelector avoids trying to capture before the node exists; the visibility check is useful when hidden duplicate elements match the same selector. Puppeteer’s screenshots guide demonstrates the same element-handle pattern. Puppeteer screenshots guide.
Run a capture repeatedly or save the bytes
When no path is provided, screenshot returns image bytes rather than writing a file. This is useful for an upload or an HTTP response.
const imageBytes = await element.screenshot({ type: 'png' });
// For example: await storageClient.put('target.png', imageBytes);
Use encoding: 'base64' if the next step specifically requires a base64 string:
const base64 = await element.screenshot({ encoding: 'base64', type: 'png' });In production code, wrap browser creation and page work in try/finally, as above, so failures do not leave a browser process running. For a batch, consider reusing one browser and opening pages as needed instead of launching a new browser for every image.
2. Choose the right capture scope
| Goal | Use | What it captures |
|---|---|---|
| One card, chart, panel, or other node | element.screenshot() |
The selected element’s rendered bounds |
| The whole document | page.screenshot({ fullPage: true }) |
The page’s full scrollable content |
| A specific rectangle | page.screenshot({ clip: ... }) |
A manually specified page-coordinate region |
Use the element method for a node. The page-level fullPage option means the full page, and defaults to false; it does not make an element screenshot larger. Page.screenshot API.
Capture one of several matching elements
waitForSelector returns the first match. If a page has multiple matching cards, query all of them and choose by index, or use a more specific selector.
const cards = await page.$$('.product-card');
if (cards.length < 2) throw new Error('Second product card was not found');
try {
  await cards[1].screenshot({ path: 'second-product.png' });
} finally {
  await Promise.all(cards.map(card => card.dispose()));
}
Prefer a stable, unique selector when possible. A selector based on a generated class name may stop matching after a frontend rebuild. If the element lives inside an iframe, select it from the corresponding frame rather than the top-level page; the top page’s selector search does not cross into a frame automatically.
3. Wait for the pixels you actually need
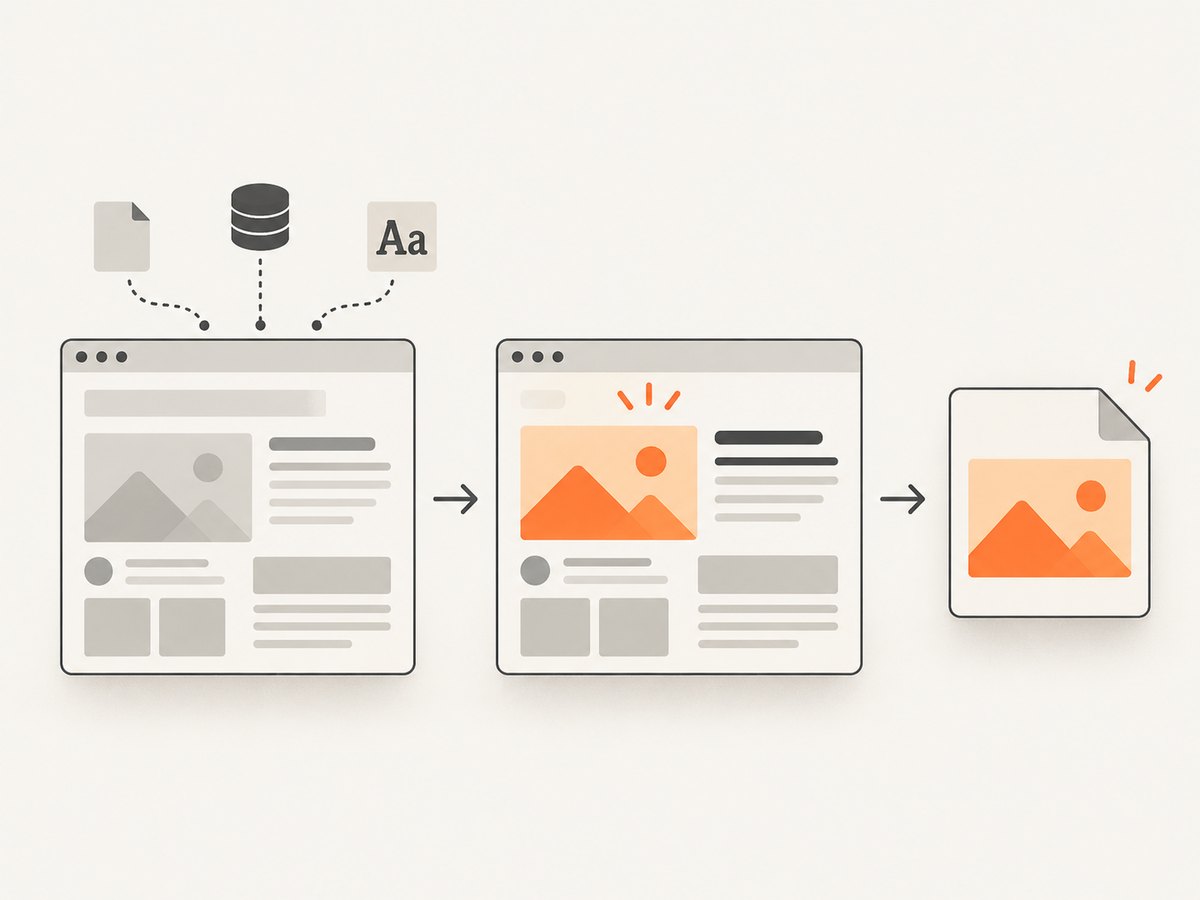
Finding the DOM node is not always the same as waiting for its final appearance. A chart may render after data arrives; an image may still be loading; a web font can change line breaks; an animation can be mid-frame. Choose a readiness condition based on the application, then capture.
await page.goto('https://example.com/dashboard', { waitUntil: 'domcontentloaded' });
await page.waitForSelector('#chart', { visible: true });

// Application-specific readiness signal is usually best:
await page.waitForFunction(() => window.chartReady === true);

// Wait for fonts before capturing text-heavy content.
await page.evaluate(() => document.fonts.ready);

const chart = await page.waitForSelector('#chart', { visible: true });
if (!chart) throw new Error('Chart is missing');
await chart.screenshot({ path: 'chart.png' });
Use a readiness signal your page actually provides; window.chartReady above is an example that the application must define. For a simpler static page, waiting for the selector and fonts may be enough. Network-idle navigation can be convenient, but pages with long polling or analytics requests may never become network-idle. A selector or application signal is often more targeted.
If animation causes inconsistent frames, disable it for the capture using page CSS, provided that changing animation state is appropriate for your output:
await page.addStyleTag({ content: `
  *, *::before, *::after {
    animation: none !important;
    transition: none !important;
    caret-color: transparent !important;
  }
` });
For lazy-loaded images within a long element, scrolling the target into view can trigger nearby loading, but it does not guarantee every lazy image anywhere inside has loaded. If the page requires scrolling to load content inside a container, scroll that container to its end and wait for the images or content to finish before capturing. Then return it to the intended scroll position if the captured state depends on that position.
4. Configure format, path, transparency, and clipping
ElementHandle.screenshot() accepts screenshot options. The common choices are summarized here; see the ScreenshotOptions reference for the current option details.
| Option | Effect | Use or caveat |
|---|---|---|
path |
Saves to a file | Relative paths resolve from the current working directory; without it, bytes are returned. |
type |
Selects png or jpeg |
PNG is the default. Match the extension if you specify a path. |
quality |
Sets JPEG quality from 0 to 100 | Does not apply to PNG. |
encoding |
Returns binary bytes or base64 | Base64 is useful only when a text representation is required. |
omitBackground |
Hides the default white background | Use for transparency-capable output such as PNG. |
clip |
Specifies a rectangle to capture | Useful for manual crops; element capture normally uses element bounds. |
captureBeyondViewport |
Controls capture beyond viewport | Relevant when using a clip; documented defaults depend on whether a clip is present. |
optimizeForSpeed |
Requests speed-optimized capture | May affect encoding behavior; use only when it fits your output needs. |
await element.screenshot({
  path: 'transparent-card.png',
  type: 'png',
  omitBackground: true,
});
Element screenshots use the element’s bounding box; a CSS transform, border, shadow, overflow rule, or sticky/fixed descendant can affect the pixels you see. If you need an exact page rectangle rather than the node’s normal bounds, inspect its bounding box and use a page-level clip. Be mindful that clipping uses page coordinates and can become stale after layout changes.
5. Handle dynamic pages and edge cases
- Node rerendered: frameworks may replace a node after data updates. A handle to the old node is detached and screenshot throws. Query the selector again immediately before capture.
- Node outside the viewport: Puppeteer scrolls it into view by default. Element screenshot options also expose
scrollIntoView; if disabling it, ensure the page state and capture geometry still meet your needs. - Zero-size or hidden node:
display: none, a collapsed container, or a zero-sized element cannot produce the expected image. Wait for visibility or expand the relevant UI first. - Very tall element: a huge image can consume substantial memory and may exceed browser or image-processing limits. Capture smaller child sections or adjust the application layout if possible.
- Shadow DOM: standard page selectors do not always address nested shadow content as expected. Puppeteer supports selector syntax for some cross-shadow-root queries; verify your chosen selector resolves to the intended node.
- Cross-origin iframe: use the frame’s Puppeteer handle and selector. Browser security prevents page JavaScript from freely reading another origin’s document, while Puppeteer frame targeting is the appropriate automation route.
- Sticky elements inside the target: sticky positioning is relative to its scroll context and may look different after Puppeteer scrolls the target into view. Inspect the resulting state and adjust scroll position or styles if necessary.
- Canvas or WebGL: the screenshot captures rendered pixels, not an exportable chart data structure. Make sure drawing has completed before capture.
6. Troubleshoot common failures
| Symptom | Likely cause | Fix |
|---|---|---|
element is null |
The selector did not match before timeout, or matched in another frame. | Check the selector, wait for the app state, and search the correct frame. |
| Detached element error | A rerender replaced the selected DOM node. | Reacquire the handle with waitForSelector right before screenshot. |
| Screenshot is blank or incomplete | The target has not rendered, loaded images, or populated data. | Wait for a specific application-ready signal, image decode, or fonts before capture. |
| It captured the wrong size | Page-level fullPage or a clip was used instead of the element handle. |
Call screenshot() on the selected element handle. |
| Timeout at navigation | The page keeps connections open, so network idle is not reached. | Use a less restrictive navigation condition, then wait for the target selector or app signal. |
| Output file has the wrong format | File suffix and explicit screenshot type disagree. | Set matching type and extension; JPEG quality has no effect on PNG. |
| Browser process hangs after error | Browser closure was skipped by an exception. | Put browser.close() in a finally block. |
| Transparent area appears white | Default background was included or the format does not preserve transparency. | Use PNG and omitBackground: true. |
7. Performance, reliability, and cost
Screenshot work costs browser time and memory. Launching Chromium for every capture adds startup work; for a service that processes multiple jobs, a managed browser lifecycle can reduce repeated startup overhead, but isolate pages and close resources reliably. Avoid capturing very large regions when a smaller component is sufficient. JPEG can reduce output size for photographic content, while PNG is generally suitable for sharp UI text and transparency. There is no universal best format or performance figure; measure on your own pages and workload.
Make captures reproducible by fixing the viewport, waiting on application readiness, disabling unstable animation where suitable, and choosing a stable selector. Set explicit navigation and selector timeouts, log the target URL and failure stage, and close pages and browsers even after errors. Treat the page as untrusted input if URLs are user-supplied: browser automation can access network resources, so restrict destinations in your own service architecture.
Self-hosted Puppeteer does not charge per screenshot, but you pay in compute, browser maintenance, storage, and engineering time. Runtime varies with page complexity, network, browser startup, image size, and synchronization. For one-off or production screenshot workflows where maintaining browser infrastructure is undesirable, a hosted API is another option.
8. Or skip the browser setup
ScreenshotNeo is a website screenshot API and MCP server from Yorker Media. One GET request returns an image or PDF. Its clean-shot flow accepts cookie and consent banners like a visitor and removes more than 60 known consent platforms, newsletter popups, and chat widgets; each step can be turned off. Bot checks and CAPTCHAs, blank pages, timeouts, failed loads, and cache hits cost nothing, and response headers say which page verdict and billing status applied. It also provides an MCP server for AI agents, with take_screenshot, get_page_info, and capture_pdf tools. Plans include 1,000 shots per month free with no card, then paid options starting at $5 for 3,000. Every feature is on every plan. See the ScreenshotNeo site and API documentation.
This title asks for an element-only capture. ScreenshotNeo’s supplied API facts describe page screenshots and do not establish an element-selector capture parameter, so use Puppeteer above when the exact requirement is one DOM element. For a full page screenshot, the one-call API pattern is:
curl -G "https://api.screenshotneo.com/v1/shot" -d access_key=YOUR_API_KEY --data-urlencode url=https://stripe.com -o shot.webpimport requests
r = requests.get(
"https://api.screenshotneo.com/v1/shot",
params={"access_key": "YOUR_API_KEY", "url": "https://stripe.com"},
timeout=90,
)
r.raise_for_status()
open("shot.webp", "wb").write(r.content)const q = new URLSearchParams({ access_key: 'YOUR_API_KEY', url: 'https://stripe.com' });
const res = await fetch(`https://api.screenshotneo.com/v1/shot?${q}`);
if (!res.ok) throw new Error(`Screenshot request failed: ${res.status}`);
await import('node:fs/promises').then(fs => fs.writeFile('shot.webp', Buffer.from(await res.arrayBuffer())));With ScreenshotNeo, cookie banners, popups, and chat widgets are removed before the shot; bot checks, blank pages, and failed loads are never billed; an MCP server lets AI agents take screenshots; and 1,000 screenshots a month are free with no card, with paid plans starting at $5 for 3,000. Create a free ScreenshotNeo account.
9. FAQ
Does an element screenshot include content below the viewport?
Yes. The element handle captures the element at its rendered size and scrolls it into view if needed. It is not the same as a viewport crop.
Can I capture the entire page and one element in the same script?
Yes. Call page.screenshot({ fullPage: true }) for the document and element.screenshot() for the node, saving each result separately.
Can Puppeteer return the screenshot without writing a file?
Yes. Omit path to receive bytes, or set encoding: 'base64' when a base64 string is needed.
Why does the element move before it is captured?
The method scrolls it into view by default. If scroll position matters to the page, account for this behavior or configure the element screenshot’s scroll behavior deliberately.


