Puppeteer Element Screenshots: A Developer’s Guide
Capture one DOM element with Puppeteer, save or process the image, and handle timing, formats, detached nodes, and common errors.

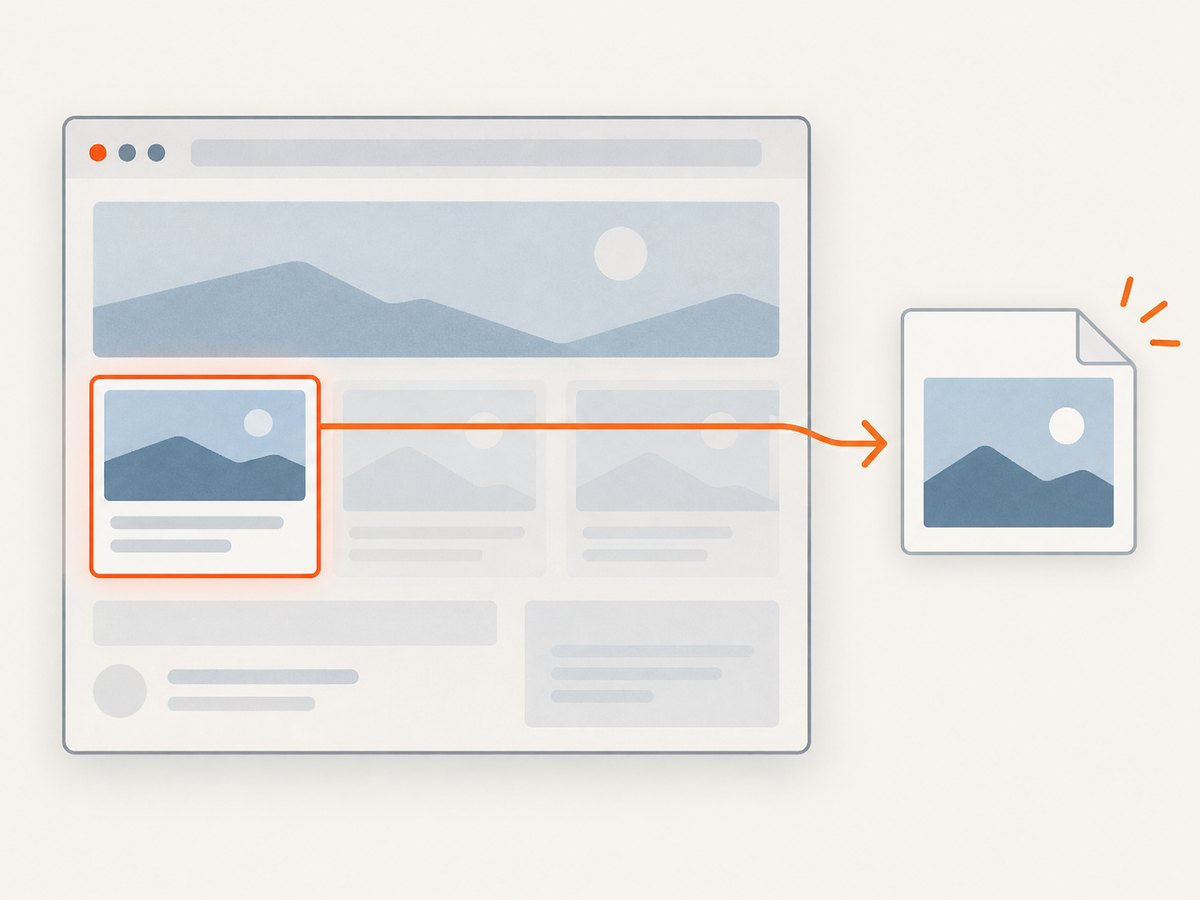
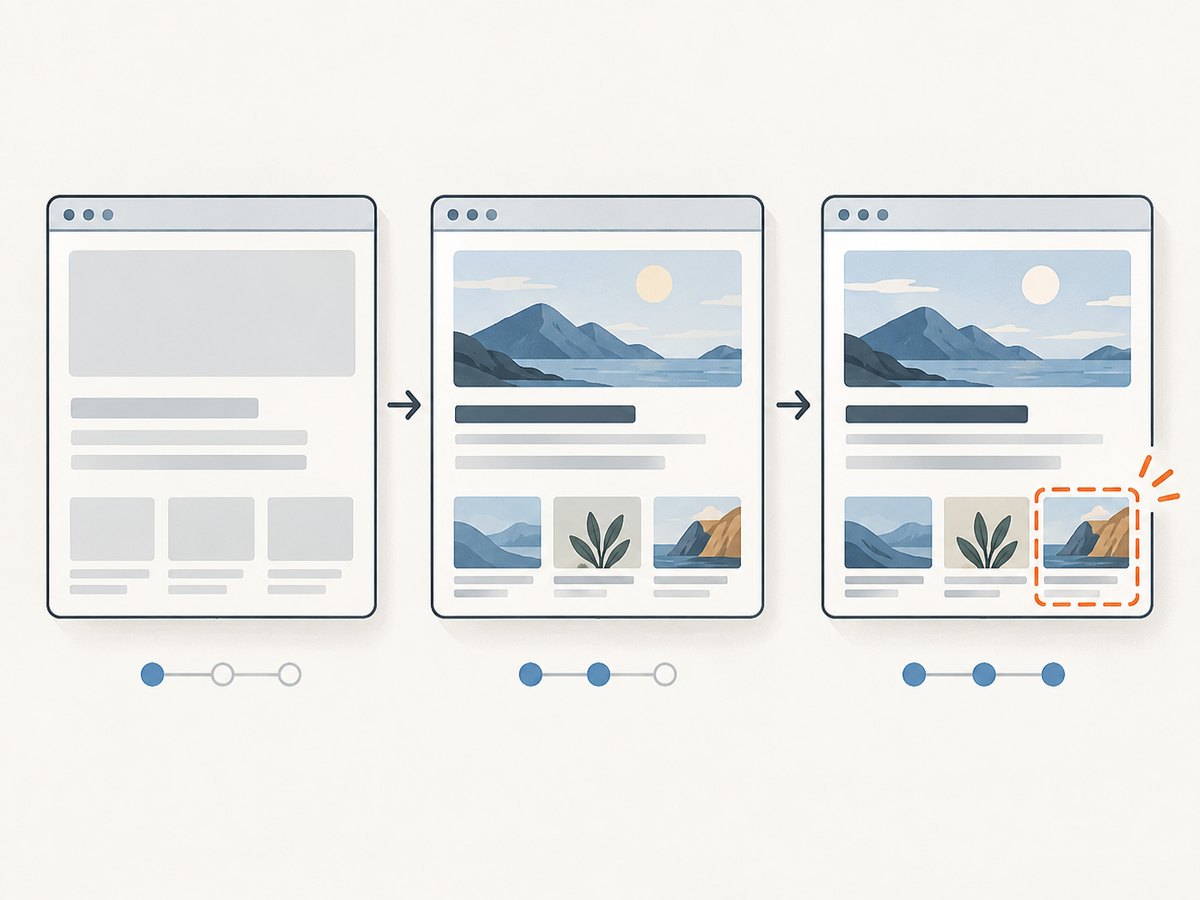
Use Puppeteer’s ElementHandle.screenshot() to capture one rendered DOM element. Query the element, check that it exists, then call screenshot(); Puppeteer scrolls it into view if needed. The method throws if the element has been detached from the DOM. The examples below use JavaScript with Puppeteer’s documented API; install Puppeteer in your project before running them. See the ElementHandle.screenshot() reference and ScreenshotOptions reference for version-specific details.
const element = await page.$('#target');
if (!element) {
  throw new Error('Target element not found');
}
try {
  await element.screenshot({ path: 'element.png' });
} finally {
  await element.dispose();
}
Page.$() returns an element handle or null when there is no match. The handle refers to a particular DOM node; if the application replaces or removes that node before capture, the screenshot fails. Dispose of handles when finished if they are still in use. Navigation or destruction of the parent execution context also disposes them automatically. This guide uses documented Puppeteer APIs and does not claim the examples were executed.
1. Install Puppeteer and capture an element
In a new Node.js project, install Puppeteer using your package manager:
npm install puppeteerThe following complete script opens a page, waits for a target selector, captures it to a PNG file, and closes the browser even if capture fails. Save it as capture-element.js and run node capture-element.js. Replace the example URL and selector with the page and element you need.
const puppeteer = require('puppeteer');

async function main() {
  const browser = await puppeteer.launch();
  try {
    const page = await browser.newPage();
    await page.goto('https://example.com', { waitUntil: 'domcontentloaded' });
    await page.waitForSelector('#target');

    const element = await page.$('#target');
    if (!element) {
      throw new Error('Target element not found after waiting');
    }

    try {
      await element.screenshot({ path: 'element.png' });
    } finally {
      await element.dispose();
    }
  } finally {
    await browser.close();
  }
}

main().catch((error) => {
  console.error(error);
  process.exitCode = 1;
});
waitForSelector() waits for a DOM match, not necessarily for the page’s data, fonts, images, or animations to finish. Choose a readiness condition that fits the site. For a single-page application, it may be a selector that appears only after data is loaded, or an application-specific condition checked with page.waitForFunction(). Avoid a fixed sleep unless the page offers no better signal.
2. Choose an output format and destination
With no encoding option, ElementHandle.screenshot() returns a Uint8Array. Supply path to save the image directly; Puppeteer infers the screenshot type from the file extension when the type is not explicitly set. A relative path is resolved from the process’s current working directory. If neither a path nor another output handler is used, the returned bytes remain in memory.
const bytes = await element.screenshot();
// bytes is a Uint8Array; pass it to a library or write it to a file.
You can instead ask for base64 output, useful when another interface expects a data string. Keep in mind that base64 adds encoding overhead compared with the binary bytes.
const base64 = await element.screenshot({ encoding: 'base64' });
const dataUrl = `data:image/png;base64,${base64}`;
The documented screenshot formats include PNG, JPEG, and WebP. PNG is lossless and supports transparency; JPEG and WebP may be suitable when lossy compression is acceptable. This is format guidance, not a measured size or speed comparison. JPEG and WebP quality can be set from 0 to 100; quality does not apply to PNG.
await element.screenshot({ path: 'element.webp', type: 'webp', quality: 80 });3. Set capture and page conditions
An element screenshot is scoped to the selected element. It is usually the right choice for a card, chart, product image, or component preview. Use Page.screenshot() when the desired result is the viewport or the full page instead. Puppeteer’s page screenshot options include fullPage, which defaults to false. The element method itself scrolls its target into view if needed; it does not promise that content has finished rendering.
| Need | Option or method | Notes |
|---|---|---|
| Save to disk | path |
Extension can determine image type; relative paths use the current working directory. |
| Select format | type |
PNG is the documented default; JPEG and WebP are also documented. |
| Adjust lossy output | quality |
0–100; it does not apply to PNG. |
| Transparent page background | omitBackground |
Hides the default white background; default is false. |
| Capture a rectangle | clip |
Use page screenshot options when you need a fixed rectangle rather than an element’s bounds. |
| Capture a full document | fullPage: true |
Use page screenshot for full-page scope rather than an element handle. |
The screenshot options reference documents captureBeyondViewport; its default is false when no clip is provided and true otherwise. Review the current option reference for the exact behavior and types in the Puppeteer version installed in your project.
For deterministic output, prepare the page before capture: wait for the relevant application state, let required images and fonts load if they affect the result, and disable or finish transitions if animation makes the output unstable. These are application-specific steps, not guarantees made by ElementHandle.screenshot(). When the target can be rerendered, query it close to capture time and be ready to handle detachment.
4. Reuse bytes, type selectors, and clean up
When a downstream function accepts binary data, omit path and use the returned bytes directly. The example shows a generic handoff point; replace it with the image storage or processing library used by your application.
async function captureBytes(page, selector) {
  await page.waitForSelector(selector);
  const element = await page.$(selector);
  if (!element) throw new Error(`No element matches ${selector}`);

  try {
    return await element.screenshot({ type: 'png' });
  } finally {
    await element.dispose();
  }
}

const bytes = await captureBytes(page, '.chart');
await storeImage(bytes); // Your application-specific storage function.
For TypeScript, Puppeteer’s ElementHandle accepts an element type parameter, which can make DOM-specific operations more precise:
const canvas = await page.$<HTMLCanvasElement>('canvas#plot');
if (!canvas) throw new Error('Plot canvas not found');
try {
  await canvas.screenshot({ path: 'plot.png' });
} finally {
  await canvas.dispose();
}
The generic type helps with compile-time typing; it does not verify that the selector matched a canvas at runtime. Continue to check for a missing handle.
5. Troubleshoot common failures
| Symptom | Likely cause | Fix |
|---|---|---|
| Element is null | The selector does not match, the page has not rendered it, or the wrong frame was queried. | Check the selector and URL, wait for the appropriate selector, and query the frame that owns the element. |
| Detached element error | The framework rerendered or removed the node after the handle was obtained. | Reacquire the element immediately before capture; synchronize with the application’s stable state. Do not assume Puppeteer retries automatically. |
| Screenshot shows loading state | The selector existed before its data or assets were ready. | Wait for a meaningful application condition and any important image or font readiness. |
| Output file is missing | path was omitted, or a relative path points to a different working directory. |
Set an explicit path and check the process working directory; without a path, handle returned bytes yourself. |
| Unexpected format | The filename extension or explicit type differs from what the consumer expects. |
Set both a matching extension and type explicitly when format matters. |
| Transparency appears white | omitBackground was not enabled, or the element itself paints an opaque background. |
Set omitBackground: true and inspect the element’s own CSS background. |
| Blank or clipped-looking result | The selected node has zero or unexpected dimensions, is hidden, or layout has not settled. | Inspect its computed size and visibility, confirm the intended node, and wait for layout-affecting content. |
| Browser process remains open | An error path skipped browser cleanup. | Put browser.close() in a finally block, as in the complete script. |
6. Performance, reliability, and cost
One element capture is generally simpler than capturing a full page and cropping it afterward: it expresses the target directly and avoids transferring an unnecessarily large full-page image in workflows that only need the component. Actual time and memory depend on page complexity, rendering work, image dimensions, and the browser environment; the cited API documentation gives no benchmark. Keep the browser process alive when taking multiple captures in one job, but close it reliably when the job ends. Reuse a page only when the application state and isolation requirements allow it.
For reliability, make capture conditional on application readiness, reacquire dynamic elements close to the screenshot call, and treat a detached-node failure as a recoverable application timing issue only if your workflow can safely repeat the query. Do not retry blindly when the page is consistently removing the target; fix the readiness condition. If capturing many pages, bound concurrency to the resources available to your runtime and handle each page’s errors separately.
Self-hosted Puppeteer has no per-screenshot API charge described by these references, but it does require a Node.js runtime, browser setup, compute, storage, and maintenance. Estimate cost from your own deployment and workload; the documentation supplies no universal price or resource benchmark. For a managed API option, see ScreenshotNeo’s website screenshot service and its API documentation.
7. Or skip the browser setup
ScreenshotNeo takes a website URL in one GET request and returns an image or PDF. Here is the cURL form; replace the target URL and provide your API key:
curl -G "https://api.screenshotneo.com/v1/shot" -d access_key=YOUR_API_KEY --data-urlencode url=https://stripe.com -o shot.webpThere are also ready-to-adapt examples in Python and Node.js:
import requests
r = requests.get("https://api.screenshotneo.com/v1/shot", params={"access_key": "YOUR_API_KEY", "url": "https://stripe.com"}, timeout=90)
open("shot.webp", "wb").write(r.content)
const q = new URLSearchParams({ access_key: 'YOUR_API_KEY', url: 'https://stripe.com' });
const res = await fetch(`https://api.screenshotneo.com/v1/shot?${q}`);ScreenshotNeo removes cookie banners, newsletter popups, and chat widgets before the shot. Bot checks, blank pages, and failed loads are never billed. Its MCP server gives AI agents tools to take screenshots, get page information, and capture PDFs. The free plan includes 1,000 screenshots a month with no card; paid plans start at $5 for 3,000. Every feature is available on every plan. See the ScreenshotNeo docs for request options, then sign up for 1,000 free screenshots a month, with no card.
8. Frequently asked questions
Does Puppeteer scroll the element into view?
Yes. The official method description says it scrolls the element into view if needed, then uses the page screenshot method.
Can I capture a canvas or SVG?
If it is represented by a DOM element, you can select its handle and capture the rendered element. Confirm that the resulting dimensions and rendering match what your consumer needs.
Does element screenshot wait for images and fonts?
The method documents scrolling and capture, not application-specific readiness. Wait for content important to your output before calling it.
When should I use a page screenshot instead?
Use Page.screenshot() for the viewport, full page, or a fixed clipped rectangle. Use the element method when the desired bounds belong to one DOM node.
What does the screenshot call return?
By default it returns a Uint8Array. With encoding: 'base64' it returns a base64 string; with path it saves to that file.


