How to Use Puppeteer in a JHipster Monolithic Application
Run Puppeteer against a JHipster monolith with reliable waits, authentication, and a Docker or CI setup that can find Chrome.
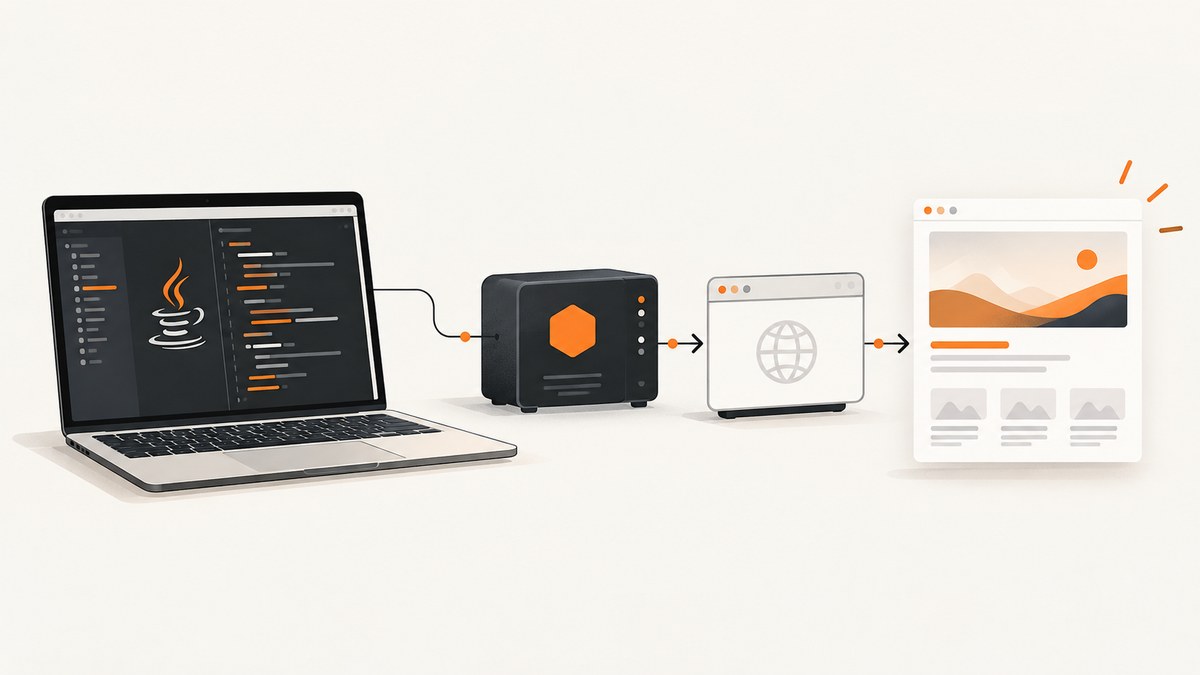
Use Puppeteer from a separate Node.js script that connects to your running JHipster monolith over HTTP. Install puppeteer when you want it to download a compatible Chrome for Testing browser; use puppeteer-core when your Docker image or CI runner supplies Chrome. Start the app, wait for a real page condition, capture the screenshot, and close the browser in a finally block. This keeps browser startup and artifacts outside the Spring Boot request thread.
This guide covers local setup, runnable smoke-test code, authentication, stable waits, the Chrome ownership choice, Docker and CI configuration, failure diagnosis, and an API alternative. For prerequisites and JHipster installation, see the JHipster installation guide.
1. Choose where Puppeteer runs
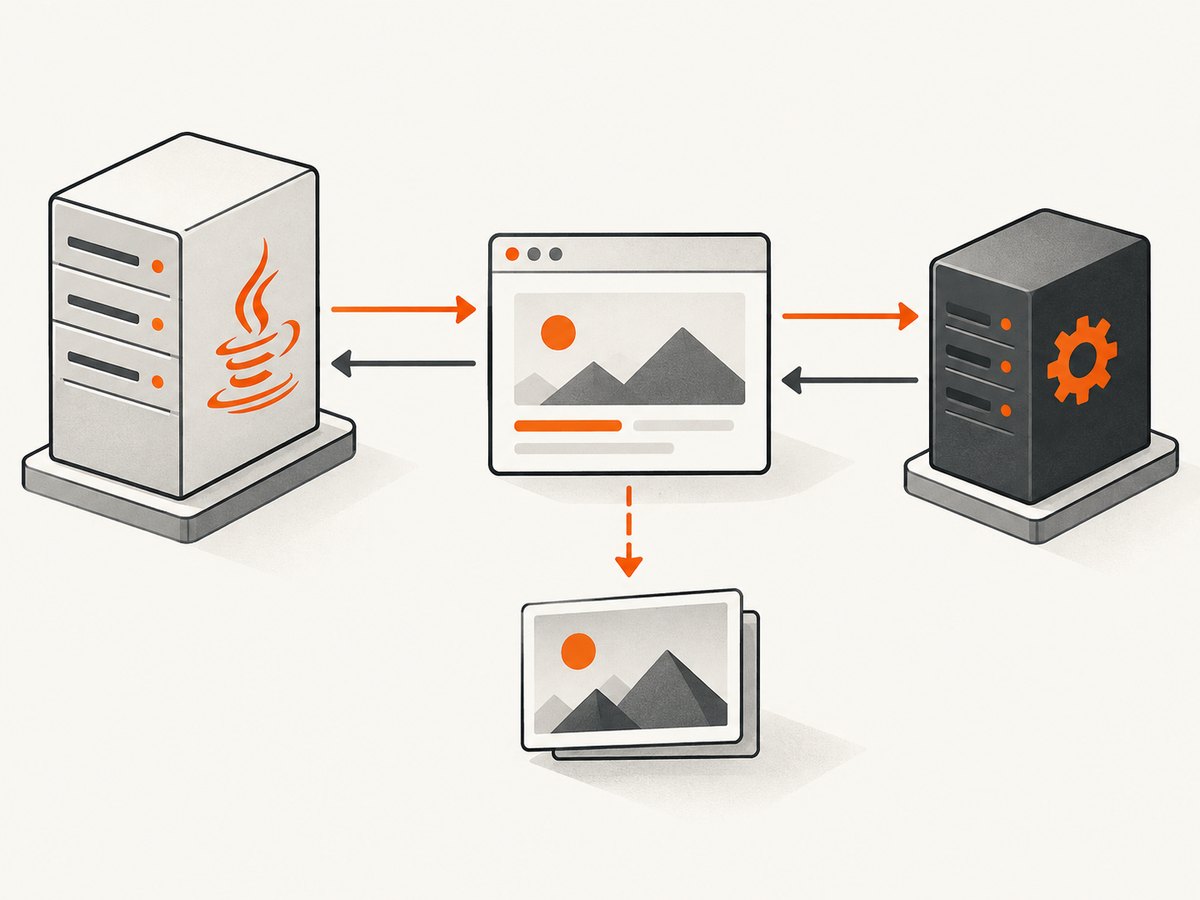
A JHipster monolith can be automated by a Node.js runner outside the application, or by a server-side job that launches a browser. For browser-based smoke tests and screenshot artifacts, the separate runner is generally the simplest arrangement: it targets the same URL a user would visit and can run on a developer machine or in CI. Puppeteer is a Node.js library for controlling Chrome or Firefox through DevTools Protocol or WebDriver BiDi, and it runs headless by default. See the Puppeteer documentation.
| Approach | Browser owner | Best fit | Things to plan for |
|---|---|---|---|
| Separate Node.js runner | puppeteer downloads a compatible browser, or your environment supplies one to puppeteer-core. |
Smoke tests, end-to-end checks, and screenshots in CI. | App readiness, browser install, and network access to the JHipster URL. |
| Server-side job | The service or its job runner launches and manages the browser. | Application-specific work initiated by a queued job. | Browser resource limits, process cleanup, concurrency, and job timeouts. |
| Screenshot API | A remote service manages browser capture. | Capturing a URL without installing and maintaining Chrome locally. | Network request, API key handling, and service options. |
For a typical monolith smoke test, keep browser lifecycle and artifacts in the separate runner. Launching Chrome inside a Spring Boot request handler couples request latency and server capacity to browser work. If a server-side workflow is required, consider queueing it, setting resource and time limits, and guaranteeing cleanup after failures.
2. Install Puppeteer in a small automation project
JHipster’s installation guide recommends Java 21 LTS or later, an LTS 64-bit Node.js release, npm, and the Maven or Gradle wrapper generated with the application. Use the repository’s existing Node toolchain where practical, or isolate automation dependencies in a directory such as test-tools/puppeteer.
mkdir -p test-tools/puppeteer
cd test-tools/puppeteer
npm init -y
npm install puppeteer
The puppeteer package normally downloads a compatible Chrome for Testing browser during installation. If the package manager or CI policy blocks install scripts, install the package and then run Puppeteer’s browser installation command explicitly:
npm install puppeteer
npx puppeteer browsers install
Use puppeteer-core instead when the image or runner intentionally owns Chrome. It does not manage the browser installation for you, so pass a valid executable path or channel and keep browser and Puppeteer versions compatible. The Puppeteer installation guide lists approximate browser download sizes of 170 MB for macOS, 282 MB for Linux, and 280 MB for Windows; these are download sizes, not memory requirements. See Puppeteer installation and Puppeteer configuration.
3. Start JHipster and capture a page
Start the monolith using its normal Maven or Gradle command and confirm its HTTP address and port. For example, if it serves at http://127.0.0.1:8080, create scripts/smoke.mjs in the repository root:
import puppeteer from 'puppeteer';

const baseUrl = process.env.JHIPSTER_URL ?? 'http://127.0.0.1:8080';
const browser = await puppeteer.launch({ headless: true });

try {
  const page = await browser.newPage();
  page.setDefaultNavigationTimeout(30_000);
  page.setDefaultTimeout(10_000);
  await page.setViewport({ width: 1440, height: 900 });

  await page.goto(baseUrl, { waitUntil: 'networkidle0' });
  await page.locator('[data-testid="home-page"]').wait();

  console.log({ title: await page.title(), url: page.url() });
  await page.screenshot({
    path: 'artifacts/jhipster-home.png',
    fullPage: true,
  });
} finally {
  await browser.close();
}
Create the artifacts directory before running the script. Add a stable data-testid to the home page component if the generated frontend does not already expose a suitable selector; adapt the example to the actual Angular or React markup. A test ID is an implementation choice, not a JHipster-wide convention.
The script follows Puppeteer’s core lifecycle: launch a browser, create a page, navigate, interact, capture, close. Its screenshot option produces a full-page PNG. Puppeteer also supports PDF output and DOM interactions. See Puppeteer screenshots, PDF generation, and the Page API.
Run it repeatedly
From the project root, add scripts to package.json. If Puppeteer is installed in the root project, use:
{
  "scripts": {
    "e2e:smoke": "node scripts/smoke.mjs",
    "e2e:ci": "npm run e2e:smoke"
  }
}
Keep the script and dependency together: either install Puppeteer in the root project, or put the script and its package.json in test-tools/puppeteer and run it there. A script cannot resolve a dependency installed only in a sibling directory without additional module configuration.
4. Wait for the application, not a guessed delay
networkidle0 waits for network activity to settle, but a page with long polling or persistent requests may never reach that state. Conversely, the network can become quiet before the UI has rendered its meaningful content. Pick a readiness condition that reflects what the check needs:
- Stable locator: wait for a page landmark, heading, or test ID that appears after the relevant render.
- Expected response: wait for a specific API response when the test depends on server data, and then verify the rendered result too.
- Application health: before launching Puppeteer, wait for the service health endpoint or a known page to respond.
Set navigation and locator timeouts explicitly. Avoid arbitrary sleeps as the primary synchronization method: they either waste time or fail when the app is slower than expected. When the page uses background requests, try a different navigation condition such as domcontentloaded and then wait for the locator that represents readiness.
5. Handle login and browser state
For a protected route, establish state in the same browser context before navigating to the page under test. The exact login flow depends on the application; JHipster does not define one universal authentication API for every generated app.
- Open the login page and complete the application’s supported test login flow, or use a test authentication mechanism the app explicitly provides.
- Alternatively, set a test account’s cookies or storage through Puppeteer, using the format and lifecycle required by your app.
- Navigate to the protected route and assert that its page-specific locator appears. This catches redirects to login pages that can otherwise produce a plausible but incorrect screenshot.
Store credentials in CI secret storage. Do not print them, include them in URLs, or capture them in screenshots and logs. Use a dedicated test account with only the permissions required by the check.
6. Pick puppeteer or puppeteer-core
| Package | Browser installation | Choose it when |
|---|---|---|
puppeteer |
Normally downloads a compatible Chrome for Testing build. | You want the automation package to manage its browser revision. |
puppeteer-core |
You install and maintain the browser yourself. | Your Docker image, CI runner, or remote environment owns Chrome. |
For puppeteer-core, configure the executable explicitly, for example:
import puppeteer from 'puppeteer-core';

const browser = await puppeteer.launch({
  executablePath: process.env.CHROME_PATH,
  headless: true,
});
Set CHROME_PATH to the real browser executable in that environment. Do not copy a path from a developer machine into Linux CI. If you use a supported browser channel instead, configure the channel deliberately and verify the installed browser version against the Puppeteer version. Record both versions in CI logs to make upgrade failures easier to diagnose.
7. Make Docker and CI able to launch Chrome
A browser that launches locally can fail in a container because the image lacks required system libraries, the runtime user cannot write to its cache or profile directory, or the installed executable differs from the configured path. The exact Linux package list varies with distribution and Chrome revision; follow the troubleshooting guide for the image and browser you actually use: Puppeteer troubleshooting.
- Use a base image with the same CPU architecture expected by the browser binary.
- Install the system libraries required by the selected Chrome build.
- Prefer a non-root runtime user where possible; make the Puppeteer cache and profile directories writable by that user.
- If Puppeteer downloads Chrome during build, preserve its cache in the final runtime image. If Chrome is preinstalled, pass its actual executable path.
- Run the same container image in CI that you intend to deploy or test.
- Save screenshots, PDFs, console output, and browser logs as CI artifacts when a check fails.
Start the JHipster service in a CI step, wait for a health endpoint or known page, then run the smoke script from a network context that can reach it. When the app runs in another container, 127.0.0.1 points to the Puppeteer container itself; use the service’s Docker network name and port instead. On a developer machine, 127.0.0.1 is appropriate only when the app is listening on that machine and port.
8. Troubleshoot common failures
| Symptom | Likely cause | Fix |
|---|---|---|
Could not find Chrome |
Install scripts were blocked, or the browser cache is missing at runtime. | Run npx puppeteer browsers install during setup and preserve the cache, or use puppeteer-core with an installed browser path. |
| Browser starts locally but not in CI | Missing Linux libraries, architecture mismatch, permissions, or different cache/profile paths. | Compare the runner image and user, install the libraries required by that Chrome build, and make its cache/profile writable. |
| Executable path error | CHROME_PATH is unset, stale, or points to a non-executable file. |
Check the file in the actual runtime image and configure its absolute path; verify the browser and package versions. |
| Navigation timeout | The app is unreachable, still starting, or the chosen network-idle condition never occurs. | Check the URL from the runner, wait for service readiness first, use a suitable navigation condition, and then wait for an app-specific locator. |
| Locator timeout or flaky selector | The selector is absent, changes with generated CSS, or appears only after another request. | Inspect the rendered DOM, add a stable test ID or accessible name, and wait for the relevant data/render condition. |
| Blank or incomplete screenshot | Capture happened before app data rendered, or fonts, images, or API calls were inaccessible. | Assert the page’s ready state, check browser console/network errors, and confirm dependent resources are reachable from the browser container. |
| Cannot write screenshot or profile | The process user lacks permission to the output, cache, or temporary directory. | Create the directory and assign it to the runtime user before launch; write artifacts to a known writable path. |
9. Performance, reliability, and cost
Browser startup and browser downloads are separate costs. In CI, downloading a browser for every run adds setup time and network use; a managed cache or a deliberate browser image can reduce repeated downloads, but the cache must match the runtime user and browser revision. The documented download sizes are substantial, so plan image and cache storage accordingly. They say nothing about the memory Chrome will require during your workload.

For repeated captures in one process, reuse a browser and create a fresh page or context per independent task, then close pages and the browser when the job ends. Avoid launching unbounded concurrent browsers: each consumes system resources, and overloaded runners can cause timeouts that look like application failures. Use bounded concurrency and per-navigation timeouts. For screenshot comparisons, keep viewport, browser revision, fonts, and app data stable; otherwise visual differences may come from the environment rather than a code change.
In a self-managed setup, budget for runner CPU and memory, browser downloads or image storage, and CI minutes. The dossier provides no JHipster-specific benchmark or Puppeteer runtime-memory figure, so size the runner against the actual pages and concurrency you need.
Or skip the browser setup
If your goal is a website screenshot rather than browser interaction or an end-to-end assertion, ScreenshotNeo provides a website screenshot API and MCP server. See the API documentation for request options. One GET request returns an image or PDF:
curl -G "https://api.screenshotneo.com/v1/shot" -d access_key=YOUR_API_KEY --data-urlencode url=https://stripe.com -o shot.webpimport requests
r = requests.get(
"https://api.screenshotneo.com/v1/shot",
params={"access_key": "YOUR_API_KEY", "url": "https://stripe.com"},
timeout=90,
)
open("shot.webp", "wb").write(r.content)const q = new URLSearchParams({ access_key: 'YOUR_API_KEY', url: 'https://stripe.com' });
const res = await fetch(`https://api.screenshotneo.com/v1/shot?${q}`);
if (!res.ok) throw new Error(`Screenshot request failed: ${res.status}`);
await Bun.write('shot.webp', res);Replace the example URL with your JHipster URL if it is publicly reachable by the service; a private localhost URL is not reachable from an external API. ScreenshotNeo removes cookie banners, popups, and chat widgets before the shot. Bot checks, blank pages, and failed loads are never billed; response headers report the page verdict and billing status. Its MCP server lets AI agents take screenshots. The free plan includes 1,000 screenshots a month with no card; paid plans start at $5 for 3,000. Create a free ScreenshotNeo account.
10. Frequently asked questions
Can Puppeteer run inside the JHipster frontend?
Puppeteer is a Node.js automation library, so run it in a Node.js process such as a test runner or job, not in browser code shipped to visitors.
Can I use this for PDFs as well as screenshots?
Yes. Puppeteer supports PDF generation from a page; use its PDF API and configure page format and print behavior for your report or document.
Does the script require the app to be public?
No. A local runner can reach a local JHipster app. A remote runner needs network access to the app, and an external screenshot API cannot access a private loopback address.
Which browser should I use in CI?
Use the browser revision paired with Puppeteer when you want Puppeteer to manage installation. If CI supplies Chrome, use puppeteer-core and explicitly manage the path and compatibility.


