How to Take Named Element Screenshots with Puppeteer
Capture one reliable DOM element with Puppeteer: selectors, waiting, dynamic pages, output options, troubleshooting, and a browser-free API alternative.

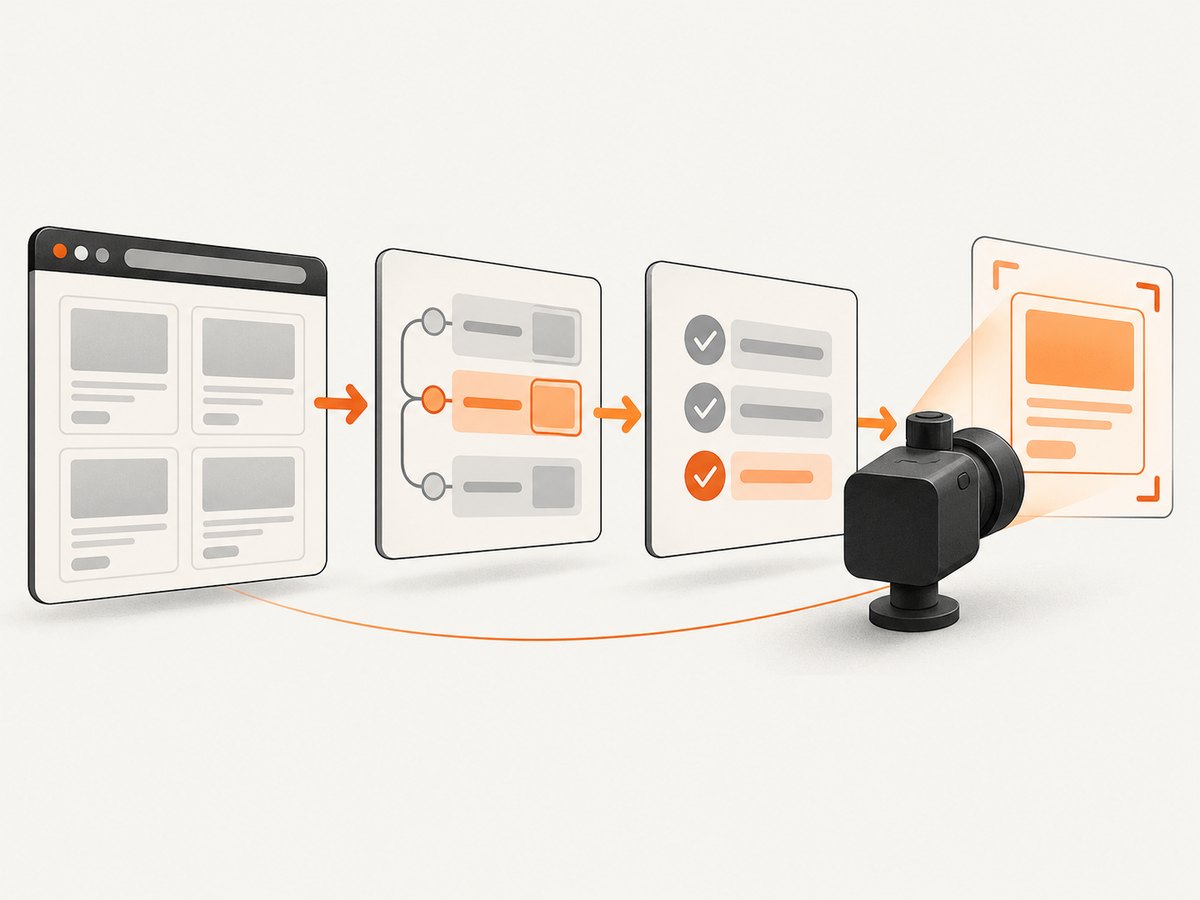
Direct answer: use page.waitForSelector() to wait for a stable element, then call ElementHandle.screenshot() on the returned handle. The element method scrolls the element into view and captures its bounds. A complete example is:
import puppeteer from 'puppeteer';

const browser = await puppeteer.launch();
const page = await browser.newPage();
await page.goto('https://example.com', { waitUntil: 'networkidle2' });

const element = await page.waitForSelector('[data-testid="profile-card"]', {
  visible: true,
});
if (!element) throw new Error('profile card was not found');

await element.screenshot({ path: 'profile-card.png' });
await browser.close();
This follows Puppeteer’s documented element screenshot pattern: wait for a selector, obtain an element handle, and call ElementHandle.screenshot() (official screenshot guide). The rest of this guide explains selector design, readiness, dynamic rendering, output formats, failure modes, and production operation.
1. Choose a stable name for the element
A named screenshot is only as reliable as the selector that identifies the element. Prefer an identity that belongs to the component rather than to its current layout:
- ID:
#profile-cardwhen the ID is stable and unique. - Test or data attribute:
[data-testid="profile-card"]or[data-component="profile-card"]. These are usually the best choice for automated captures. - Component-specific CSS:
article.profile-cardwhen the class is part of the component contract. - ARIA accessible name: useful when the element is exposed as a named control.
- Text or XPath: useful for legacy markup, but text selectors can break when copy changes.
CSS selectors work by default. Puppeteer also supports text, XPath, ARIA accessible-name selectors, open shadow-DOM combinators, and custom query handlers. See the page interactions guide for the supported selector syntax.
CSS and data-attribute examples
const byId = await page.waitForSelector('#profile-card', { visible: true });
const byData = await page.waitForSelector('[data-testid="profile-card"]', {
  visible: true,
});
const nested = await page.waitForSelector('main article.profile-card', {
  visible: true,
});
Avoid selectors based on generated class names such as .css-1a2b3c. If you control the page, add a durable data-testid or component attribute specifically for automation.
2. Wait until the element is ready
waitForSelector(selector, { visible: true }) resolves when the selector exists and the element is visible. Its documented default timeout is 30 seconds. Set a shorter or longer timeout for your page, or use timeout: 0 to disable the timeout when you manage cancellation yourself (API reference).
const card = await page.waitForSelector('[data-testid="profile-card"]', {
  visible: true,
  timeout: 15_000,
});
if (!card) throw new Error('profile card did not become visible');
Visibility means the node is present and not hidden. It does not prove that fonts, images, client-side data, or animations have finished. Add a readiness condition that matches your page.
Wait for data, images, and layout
await page.waitForSelector('[data-testid="profile-card"]', { visible: true });
await page.waitForFunction(() => {
  const card = document.querySelector('[data-testid="profile-card"]');
  return card?.getAttribute('data-state') === 'loaded';
});
await page.evaluate(async () => {
  const images = Array.from(document.images);
  await Promise.all(images.map((img) => img.complete
    ? undefined
    : new Promise((resolve) => {
        img.addEventListener('load', resolve, { once: true });
        img.addEventListener('error', resolve, { once: true });
      })));
});
For a page that settles through network activity, use waitUntil: 'networkidle2' in goto. Treat this as a useful baseline rather than a universal guarantee: analytics, long polling, advertisements, and WebSockets can keep a page active indefinitely. A selector-specific state flag is often more precise.
3. Capture the element
Once you have a handle, call its screenshot method. Puppeteer scrolls the element into view if needed, then uses the page screenshot machinery to capture the element’s box (ElementHandle.screenshot API).
await card.screenshot({
  path: 'profile-card.png',
  type: 'png',
});
If you omit path, Puppeteer returns binary data that you can upload or process:
const bytes = await card.screenshot({ type: 'png' });
await writeFile('profile-card.png', bytes);
An element handle represents a particular DOM node. Framework hydration, list updates, and conditional rendering can replace that node. Calling a method on the old handle can produce a detached-element error. Reacquire the handle after the final render condition:
await page.waitForFunction(() => document.querySelector('[data-testid="profile-card"]')?.dataset.state === 'loaded');
const freshCard = await page.waitForSelector('[data-testid="profile-card"]', { visible: true });
if (!freshCard) throw new Error('card disappeared during render');
await freshCard.screenshot({ path: 'profile-card.png' });
4. Use locators when their operation fits
Puppeteer recommends locators for selecting and interacting with elements because they wait for presence and action readiness. A locator can be clearer for a control identified by its accessible name:
const button = page.locator('::-p-aria([name="Download report"][role="button"])');
await button.screenshot({ path: 'download-button.png' });
Locator APIs vary by Puppeteer version and operation. If your installed version does not expose the screenshot operation you need, use waitForSelector and an ElementHandle, which remains the direct documented approach. Locators are particularly useful when an interaction must occur immediately before capture, such as opening a menu or selecting a tab.
5. Configure image output
Screenshot options control the file and the captured pixels. The main options documented in ScreenshotOptions are:
| Option | Use | Notes |
|---|---|---|
path |
Save a file | Omit it to receive binary data. |
type |
png, jpeg, or webp |
Choose explicitly when the extension is ambiguous. |
quality |
JPEG/WebP compression | Not applicable to PNG. |
encoding |
Binary or base64 output | Use binary for files and uploads. |
omitBackground |
Transparent background | Useful for cards and overlays. |
fullPage |
Whole page capture | Usually a page-level concern; an element handle already scopes the capture. |
clip |
Capture a rectangle | Use when you need a region rather than a complete element. |
captureBeyondViewport |
Capture outside the viewport | Behavior depends on the installed Puppeteer/Chromium version. |
await card.screenshot({
  path: 'profile-card.webp',
  type: 'webp',
  quality: 82,
  omitBackground: false,
});
Set the viewport and device scale factor before navigation when pixel dimensions matter:
await page.setViewport({
  width: 1440,
  height: 900,
  deviceScaleFactor: 2,
});
Changing the viewport can change responsive layout, line wrapping, and therefore the element’s dimensions. Keep capture settings fixed for visual comparisons.
6. Capture elements inside shadow DOM and frames
Open shadow roots can be addressed with Puppeteer’s shadow-DOM selector combinators. Closed shadow roots cannot be queried from page JavaScript unless the application provides an exposed hook.
const price = await page.waitForSelector('my-product-card>>>[data-testid="price"]', {
  visible: true,
});
if (!price) throw new Error('price was not found');
await price.screenshot({ path: 'price.png' });
For an element inside an iframe, first obtain the frame and query within it:
const frame = page.frames().find((item) => item.url().includes('/checkout'));
if (!frame) throw new Error('checkout frame was not found');
const total = await frame.waitForSelector('[data-testid="total"]', { visible: true });
if (!total) throw new Error('total was not found');
await total.screenshot({ path: 'checkout-total.png' });
7. Make screenshots deterministic
- Disable or freeze animations before capture.
- Set a known viewport, device scale factor, timezone, and locale where your page supports them.
- Wait for the exact data state required by the component.
- Use a stable test account and fixed seed data.
- Hide timestamps, rotating banners, cursor indicators, and personalized recommendations with CSS when they are irrelevant.
- Use a consistent color scheme if the page supports light and dark modes.
await page.addStyleTag({ content: `
  *, *::before, *::after {
    animation-duration: 0s !important;
    animation-delay: 0s !important;
    transition: none !important;
    caret-color: transparent !important;
  }
` });
Do this after navigation and before the final readiness wait so late-created nodes inherit the page’s capture conditions where possible.
8. Troubleshoot blank, clipped, or stale captures
| Symptom | Likely cause | Fix |
|---|---|---|
| Timeout waiting for selector | Wrong selector, delayed render, iframe, or hidden node | Verify the selector in DevTools, select the correct frame, wait for a data state, and set an appropriate timeout. |
| Element screenshot is blank | Element has zero dimensions, content is still loading, or it is covered by a state transition | Check getBoundingClientRect(), wait for loaded data and images, and disable transitions. |
| Detached element error | Hydration or a re-render replaced the node | Wait for the final state, then reacquire the handle immediately before screenshot(). |
| Only part of a card appears | Overflow clipping, a collapsed container, or an element whose size changes after scrolling | Inspect computed dimensions, wait for layout, and adjust CSS or capture the intended wrapper. |
| Fonts differ or text shifts | Web fonts have not loaded | Wait for document.fonts.ready before capturing. |
| Images are missing | Lazy loading is triggered by visibility or requests fail | Scroll the target into view, wait for image completion, and inspect network errors. |
| Screenshot is unexpectedly dark | Color-scheme or dark-mode preference changed the page | Set the page preference deliberately and capture under a fixed theme. |
| Selector matches the wrong node | Repeated cards or a broad class selector | Scope the selector to a parent, use a data attribute, or filter by text/state. |
For diagnostics, inspect the target before capture:
const box = await card.boundingBox();
console.log('box:', box);
const state = await card.evaluate((node) => ({
  text: node.textContent,
  rect: node.getBoundingClientRect().toJSON(),
  display: getComputedStyle(node).display,
  visibility: getComputedStyle(node).visibility,
}));
console.log(state);
9. Performance, reliability, and cost
Launching Chromium is expensive compared with reusing a browser process. For batches, launch one browser, create isolated pages or contexts, and close each page when finished. Limit concurrency to what your CPU, memory, and target site can support. A large full-page or high device-scale-factor capture consumes more memory than a small element.
Use a bounded navigation and selector timeout, close pages in a finally block, and retry only transient failures. Retrying a deterministic selector error wastes time and can duplicate side effects if your page performs actions. Record the URL, selector, viewport, Puppeteer version, and error type with each failed capture.
let browser;
try {
  browser = await puppeteer.launch();
  const page = await browser.newPage();
  page.setDefaultTimeout(15_000);
  await page.goto('https://example.com', { waitUntil: 'domcontentloaded', timeout: 30_000 });
  await page.waitForSelector('[data-testid="profile-card"]', { visible: true });
  const handle = await page.$('[data-testid="profile-card"]');
  if (!handle) throw new Error('target vanished');
  await handle.screenshot({ path: 'profile-card.png' });
} finally {
  await browser?.close();
}
Self-hosted Puppeteer costs include the machine running Chromium, bandwidth, storage, proxy or residential-network services if required, and engineering time for browser updates and page-specific fixes. The target site can also block automation, require authentication, or present consent and bot challenges.
10. Or skip the browser setup
ScreenshotNeo provides a website screenshot API and MCP server. It can capture one element by CSS selector, load lazy images, wait for a selector, delay, or network idle, and apply custom CSS or JavaScript. Cookie and consent banners, newsletter popups, and chat widgets are removed before capture, with each step configurable. Bot checks, blank pages, timeouts, failed loads, and cache hits are not billed; the response includes X-Page-Verdict and X-Billed headers.

See the ScreenshotNeo API documentation for all options. A basic request is:
curl -G "https://api.screenshotneo.com/v1/shot" -d access_key=YOUR_API_KEY --data-urlencode url=https://example.com -o shot.webpimport requests
r = requests.get(
"https://api.screenshotneo.com/v1/shot",
params={"access_key": "YOUR_API_KEY", "url": "https://example.com"},
timeout=90,
)
r.raise_for_status()
open("shot.webp", "wb").write(r.content)const q = new URLSearchParams({ access_key: 'YOUR_API_KEY', url: 'https://example.com' });
const res = await fetch(`https://api.screenshotneo.com/v1/shot?${q}`);
if (!res.ok) throw new Error(`Screenshot failed: ${res.status}`);
const bytes = await res.arrayBuffer();
await Bun.write('shot.webp', bytes);For named elements, pass the CSS selector option shown in the documentation. ScreenshotNeo also supports custom headers, cookies, user agents, authorization, timezone, geolocation, dark mode, retina scale, hiding selectors, request blocking, caching with a chosen TTL, signed image links, PDFs, asynchronous jobs with signed webhooks, bulk capture of up to 100 URLs per call, a usage API, and an OpenAPI specification. Its MCP server exposes take_screenshot, get_page_info, and capture_pdf for Claude, Cursor, and other MCP clients.
The Free plan includes 1,000 shots per month with no card. Paid plans start at $5 for 3,000 shots; yearly billing gives two months free, and every feature is available on every plan. Create a free ScreenshotNeo account to try the API.
11. FAQ
Can I screenshot an element by ID?
Yes. Use page.waitForSelector('#element-id', { visible: true }), then call screenshot() on the returned handle.
Does element screenshot capture content outside the viewport?
The method scrolls the element into view and captures its element bounds. For unusual overflow or viewport cases, inspect the element’s layout and use the documented capture options.
Should I use fullPage: true for an element?
Usually no. ElementHandle.screenshot() already scopes the capture to that element. Use full-page capture when the page, rather than one component, is the subject.
Why does my locator not support screenshots?
Locator capabilities depend on the Puppeteer version and operation. Fall back to waitForSelector plus an element handle when needed.
How do I capture a hidden element?
Make it visible in the page state first, or omit visible: true only when a hidden node has meaningful rendered dimensions. A truly hidden or zero-size element cannot produce a useful image.
What is the best selector for long-term maintenance?
A stable, component-owned data attribute is usually the clearest contract. Keep it unchanged when visual layout classes or framework-generated names change.


