How to Take a Puppeteer Screenshot After Calling an Exposed Function
Await your exposed Puppeteer function, confirm the page has rendered its result, then capture a reliable screenshot with page.screenshot().
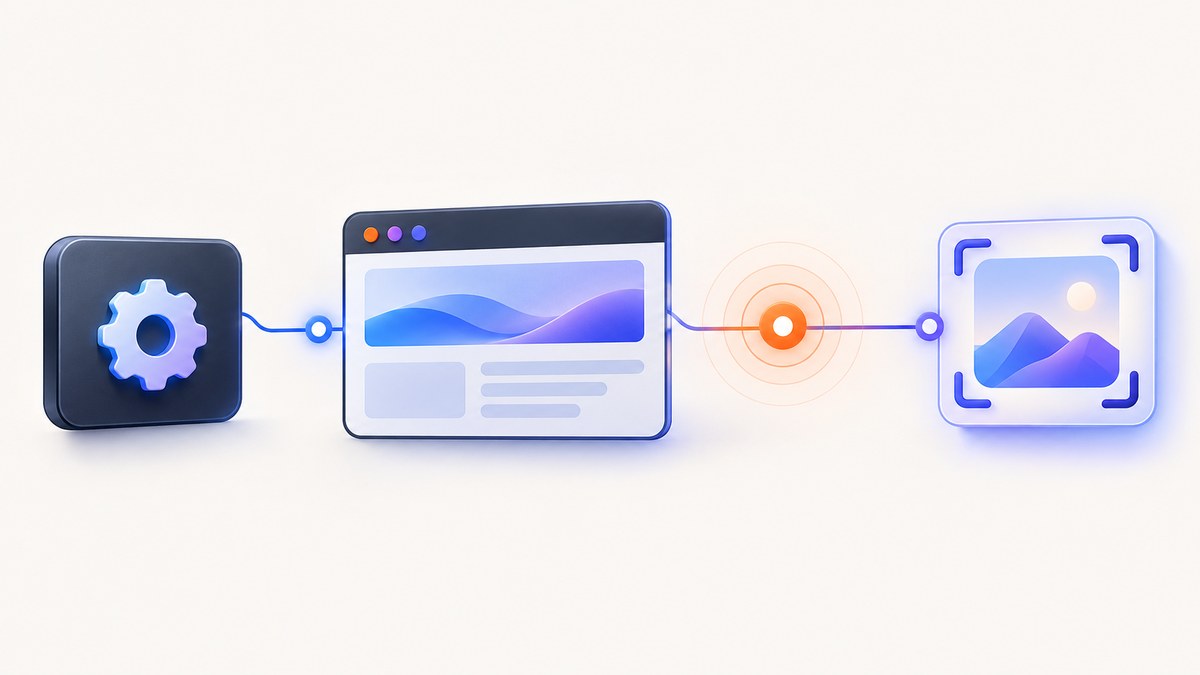
Direct answer: await the exposed function from an awaited page.evaluate(), make the browser page show a concrete readiness signal, wait for that signal if rendering continues, and only then call await page.screenshot() in Node.js. The exposed callback’s promise tells Puppeteer that the Node-side work finished; it does not automatically guarantee that a framework render, image decode, layout pass, or animation has painted.
This sequence is the reliable pattern:
const result = await page.evaluate(async (value) => {
  const output = await window.finishVisualUpdate(value);
  document.body.dataset.exposedResult = String(output);
  return output;
}, 'ready');

await page.waitForFunction(
  expected => document.body.dataset.exposedResult === expected,
  {},
  'ready'
);

await page.screenshot({ path: 'after-exposed-function.png', fullPage: true });
page.exposeFunction(name, callback) adds a function to window. Calls from the page are routed to the Node.js callback, and Puppeteer waits for a promise returned by that callback. page.evaluate() likewise waits when the page function returns a promise. See the exposeFunction API, evaluate API, and screenshot API.
1. Complete runnable example
The following script uses an exposed function to load data in Node.js, renders that data in the page, marks the report ready, and captures the result. Replace the example URL or data source with your application.
import puppeteer from 'puppeteer';

async function getReportFromNode() {
  // Replace this with a database query, file read, or API request.
  await new Promise(resolve => setTimeout(resolve, 250));
  return { title: 'Weekly report', total: 42 };
}

const browser = await puppeteer.launch({ headless: true });
const page = await browser.newPage();

try {
  await page.setViewport({ width: 1440, height: 900, deviceScaleFactor: 1 });

  await page.exposeFunction('loadReportData', async () => {
    const report = await getReportFromNode();
    return report;
  });

  await page.setContent(`
    <main id="report">
      <h1>Loading…</h1>
      <p id="total"></p>
    </main>
  `);

  await page.evaluate(async () => {
    const report = await window.loadReportData();
    document.querySelector('#report h1').textContent = report.title;
    document.querySelector('#total').textContent = `Total: ${report.total}`;
    document.querySelector('#report').setAttribute('data-ready', 'true');
  });

  await page.waitForFunction(() => {
    return document.querySelector('#report')?.getAttribute('data-ready') === 'true';
  });

  await page.screenshot({
    path: 'report.png',
    fullPage: true,
    type: 'png'
  });
} finally {
  await browser.close();
}
Run it with:
npm install puppeteer
node screenshot.mjs
The important boundary is that page.screenshot() is a Node.js call. It cannot be called inside the function passed to page.evaluate(), because the browser context does not contain Puppeteer’s page object.
2. How the synchronization works
- Install the bridge. Call
page.exposeFunction()before page code needs it. The function remains available across navigations, although a navigation replaces the DOM and its readiness markers. - Start the page-side operation. Inside
page.evaluate(), callawait window.yourFunction(). The await crosses from browser JavaScript into Node.js and back. - Apply the visual update. Set text, attributes, classes, or application state after the callback returns.
- Represent readiness. Add a selector, attribute, text marker, or state flag that means the pixels needed for the capture are ready.
- Wait for that condition. Use
page.waitForSelector()orpage.waitForFunction()instead of guessing with a fixed delay. - Capture in Node.js. Call
await page.screenshot(options)only after the condition is true.
The callback promise proves callback completion. The DOM marker proves your render code ran. A further image or animation check may be needed when those assets affect the screenshot.
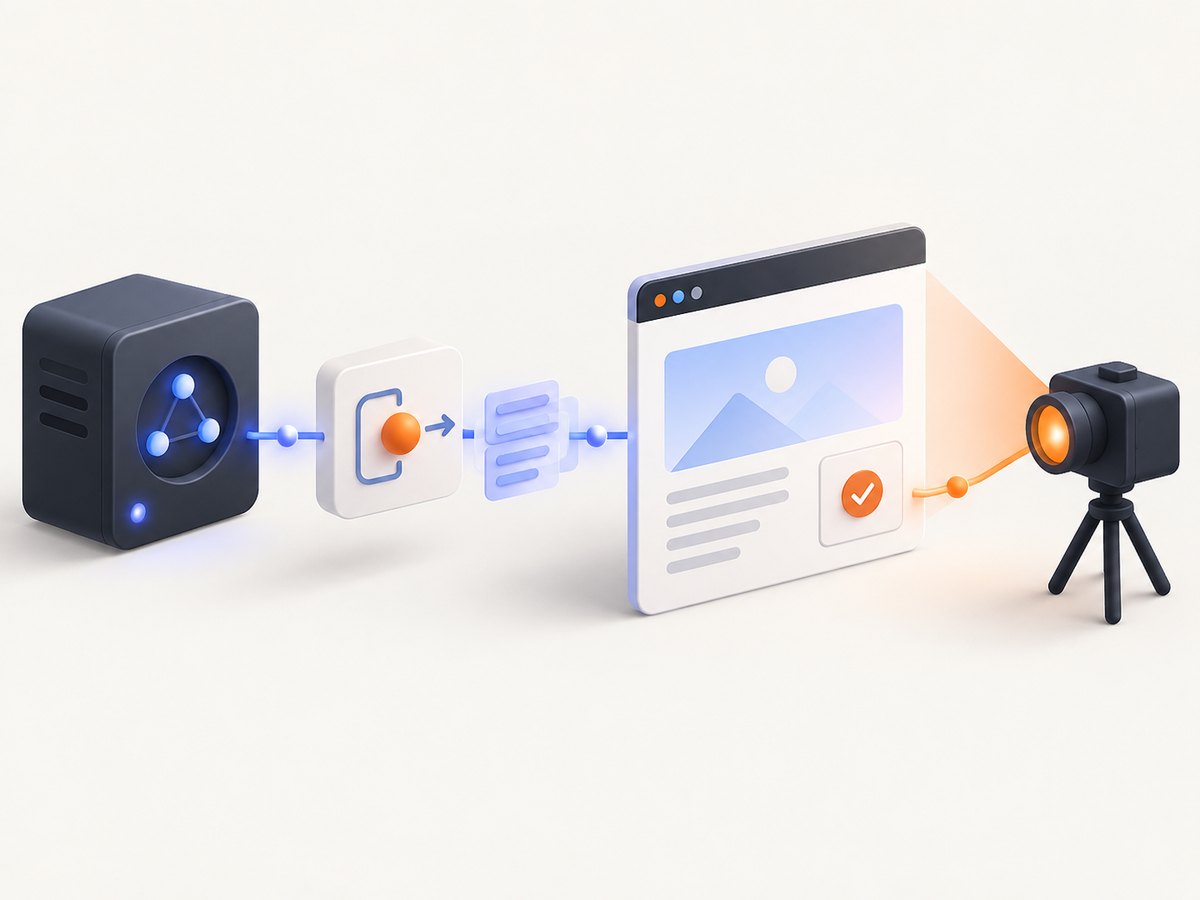
3. Waiting for the actual pixels
Wait for an element or attribute
await page.evaluate(async () => {
  const data = await window.loadReportData();
  renderReport(data);
  document.querySelector('#report')?.setAttribute('data-ready', 'true');
});

await page.waitForSelector('#report[data-ready="true"]');
await page.screenshot({ path: 'report.png' });
Wait for application state
await page.waitForFunction(() => window.app?.status === 'rendered');waitForFunction polls until the supplied page function returns a truthy value. Keep the predicate narrow: it should describe the state represented by the screenshot, not merely that the request started.
Wait for images
await page.waitForFunction(() => {
  const images = [...document.images];
  return images.every(img => img.complete && img.naturalWidth > 0);
});
For one known image, wait for its decode() promise:
await page.evaluate(async () => {
  const image = document.querySelector('#chart-image');
  if (image instanceof HTMLImageElement) await image.decode();
});
Wait for a frame or animation
await page.evaluate(() => new Promise(resolve => {
  requestAnimationFrame(() => requestAnimationFrame(resolve));
}));
Two frames can allow style and layout changes to reach paint, but a semantic readiness marker is still preferable. For a known transition, wait for its transitionend event or disable transitions in capture mode.
4. Exposed-function patterns and options
Return structured data
await page.exposeFunction('getUser', async id => {
  const user = await database.users.findById(id);
  return { name: user.name, avatarUrl: user.avatarUrl };
});

await page.evaluate(async () => {
  const user = await window.getUser('user-123');
  document.querySelector('#name').textContent = user.name;
  document.querySelector('#avatar').src = user.avatarUrl;
  document.querySelector('#profile').dataset.ready = 'true';
});
Return values should be serializable between Node.js and the page. Handle errors in the callback or let them reject the page.evaluate() promise so the capture fails clearly.
Pass arguments to evaluate
await page.evaluate(async recordId => {
  const record = await window.getRecord(recordId);
  render(record);
}, 'abc-123');
Use a timeout deliberately
await page.waitForFunction(
  () => document.querySelector('#report')?.dataset.ready === 'true',
  { timeout: 30_000 }
);
Set the timeout according to the slowest legitimate data request. A timeout should expose a failed readiness condition, not hide it with an arbitrary sleep.
Capture formats and layout
await page.screenshot({ path: 'page.jpeg', type: 'jpeg', quality: 85 });
await page.screenshot({ path: 'viewport.webp', type: 'webp' });
await page.screenshot({ path: 'clip.png', clip: { x: 0, y: 0, width: 800, height: 600 } });
await page.screenshot({ path: 'element.png', fullPage: false });
Use fullPage: true for a document capture, a clip for a fixed region, and a viewport screenshot when you need exactly what a user sees. Set the viewport and device scale factor before rendering so layout and pixel density are deterministic.
5. Navigation, reloads, and repeated captures
Exposed functions survive navigation, but the page’s DOM does not. Install the bridge once, then re-establish page state after every navigation:
await page.exposeFunction('getData', getData);

await page.goto('https://example.com/dashboard', { waitUntil: 'domcontentloaded' });
await page.evaluate(async () => {
  const data = await window.getData();
  renderDashboard(data);
  document.body.dataset.ready = 'true';
});
await page.waitForSelector('body[data-ready="true"]');
await page.screenshot({ path: 'dashboard.png', fullPage: true });
For repeated captures, clear or replace the readiness marker before starting the next operation. Otherwise, a stale data-ready="true" can let the next screenshot run before new content is rendered.
6. Common errors and fixes
| Error or symptom | Cause | Fix |
|---|---|---|
| Screenshot contains “Loading…” | The evaluate call or exposed function was not awaited. | Use await page.evaluate(async () => await window.fn()), then wait for a readiness condition. |
window.myFunction is not a function |
The function was called before exposeFunction, or a navigation occurred before setup. |
Expose it before page code runs and verify the bridge after creating a new page. |
page is not defined inside evaluate |
Puppeteer’s Node object was referenced in browser JavaScript. | Return from evaluate; call page.screenshot() in Node.js. |
| Callback finished but pixels are old | React/Vue/Svelte rendering, image decode, layout, or animation continued. | Set a post-render marker and wait for it; add image or frame waits when required. |
Timeout from waitForFunction |
The marker is never set, the selector changed, or the callback rejected. | Log callback errors, inspect the selector, and make the predicate match the real application state. |
| Works once, fails after navigation | The DOM marker was replaced by navigation. | Re-run the page-side update and wait for readiness after each navigation. |
| Blank or partially loaded images | Capture happened before resources completed. | Wait for document.images, call decode(), or wait for an application image-ready event. |
7. Reliability and performance checklist
- Use one explicit readiness signal per visual operation.
- Await the real promise returned by Node.js work; do not start asynchronous work and return immediately.
- Prefer event, selector, and state waits over fixed sleeps.
- Use a bounded timeout and include the URL, operation name, and current marker in error logs.
- Set viewport, timezone, locale, and user agent when reproducible pixels matter.
- Disable nonessential animations and blinking cursors in capture mode.
- Reuse a browser process for batches, but create an isolated page per capture when cookies or application state differ.
- Keep full-page captures and high device scale factors for cases that need them; both increase memory and encoding work.
- Close pages and browsers in
finallyblocks so failures do not leak Chromium processes. - Hash or version your readiness marker if a page can render multiple revisions.
A screenshot is deterministic only when the condition you wait for corresponds to the pixels you need. “The callback resolved” is one checkpoint; “the report has its final data and all required images are decoded” is the capture contract.
8. Or skip the browser setup
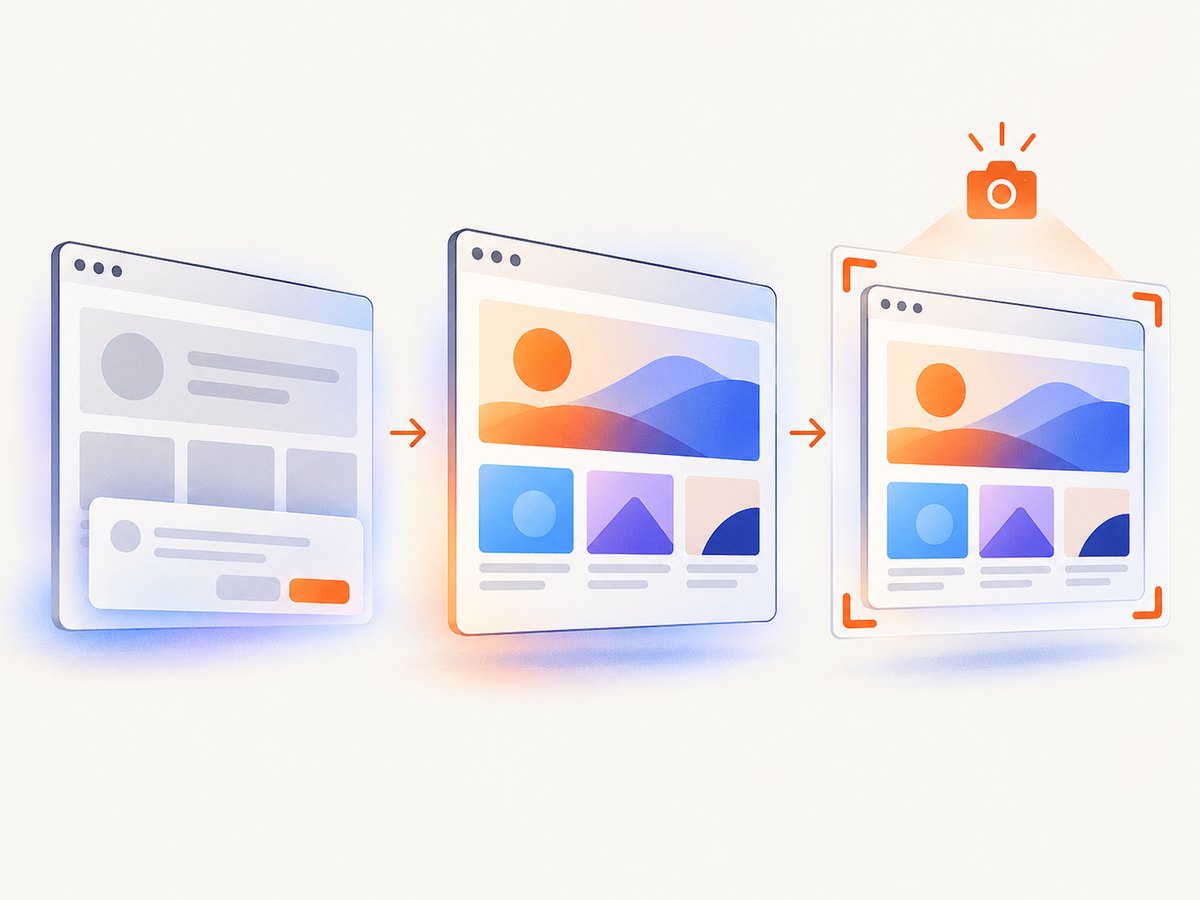
If you only need a clean image or PDF from a URL, ScreenshotNeo provides a single HTTP request. Its capture can accept cookie banners and remove more than 60 known consent platforms, newsletter popups, and chat widgets before the shot. Bot checks, blank pages, timeouts, failed loads, and cache hits are not billed, and response headers identify the page verdict and billing result. It also offers an MCP server so Claude, Cursor, and other MCP clients can take screenshots with take_screenshot, inspect pages with get_page_info, or create PDFs with capture_pdf.
See the ScreenshotNeo API documentation for all options. The basic call is:
cURL
curl -G "https://api.screenshotneo.com/v1/shot" -d access_key=YOUR_API_KEY --data-urlencode url=https://stripe.com -o shot.webpPython
import requests
r = requests.get("https://api.screenshotneo.com/v1/shot", params={"access_key": "YOUR_API_KEY", "url": "https://stripe.com"}, timeout=90)
open("shot.webp", "wb").write(r.content)
Node.js
const q = new URLSearchParams({ access_key: 'YOUR_API_KEY', url: 'https://stripe.com' });
const res = await fetch(`https://api.screenshotneo.com/v1/shot?${q}`);
ScreenshotNeo includes full-page and element captures, dark mode, device presets and custom viewports, retina scale, custom CSS and JavaScript, click and wait controls, ad and tracker blocking, headers, cookies, user agents, authorization, timezone and geolocation, transparent backgrounds, resizing, configurable caching, signed links, asynchronous jobs with signed webhooks, bulk capture for up to 100 URLs, usage reporting, and an OpenAPI specification. Parameter names used by other screenshot APIs also work, which can simplify migration.
The Free plan includes 1,000 shots per month with no card. Paid plans start at $5 for 3,000 shots; every feature is available on every plan. Create a free ScreenshotNeo account and start with the included 1,000 screenshots.
9. FAQ
Does exposeFunction wait for an async callback?
Yes. Puppeteer waits for a promise returned by the exposed callback. Return or await the complete Node.js operation.
Can I screenshot directly inside page.evaluate?
No. page.screenshot() is a Puppeteer Node.js method. Use evaluate to update the page, return to Node.js, then capture.
Is network idle enough?
Not always. A framework may render after network activity is idle, and an already cached resource may not create a request. A page-specific readiness marker is stronger.
Why did navigation remove my readiness flag?
Navigation creates a new document. The exposed function remains installed, but DOM attributes, selectors, and application state must be recreated and checked.
Should I use a delay before every screenshot?
Use a delay only for a known animation or external timing requirement. For normal rendering, wait for a selector, state flag, image decode, or other condition that directly represents the desired pixels.


