Puppeteer Screenshot API: Complete Guide to Page and Element Captures
Capture viewport, full-page, clipped, or individual-element screenshots with Puppeteer. Learn output options, readiness, troubleshooting, and a hosted API alternative.
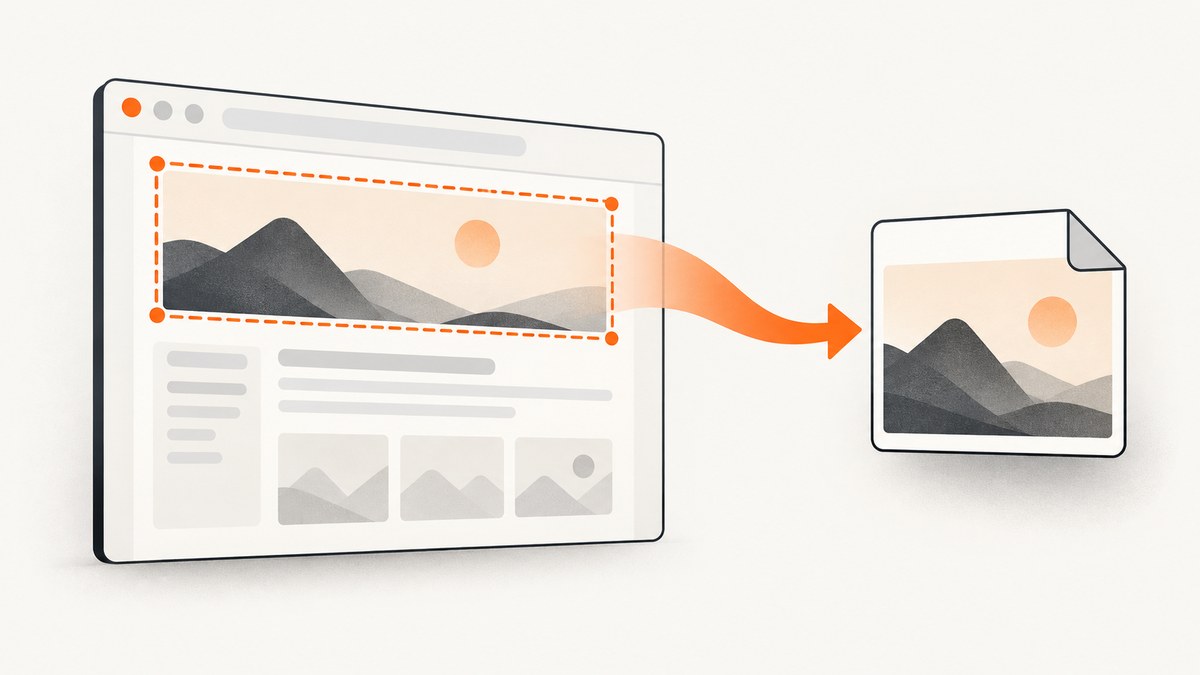
Puppeteer’s screenshot API is page.screenshot(). Use it for the visible page or set fullPage: true to capture the whole document. To capture one DOM element, select it and call elementHandle.screenshot(). Screenshots can be written to a file, returned as binary image data, or returned as a base64 string. Puppeteer’s screenshot guide demonstrates the core workflow.
This guide covers a runnable Node.js script, scope and format options, dynamic-page readiness, errors, and when to use a hosted screenshot service instead of managing Chromium yourself.
1. Install Puppeteer and capture a page
In a new project, install Puppeteer. The puppeteer package downloads a compatible browser during installation; if your environment already supplies Chrome or Chromium, the puppeteer-core package is an option, but you must provide a browser executable or connection.
npm init -y
npm install puppeteer
Save this as screenshot.mjs and run it with node screenshot.mjs. It writes a PNG to the current working directory. The finally block closes Chromium even if navigation or capture fails.
import puppeteer from 'puppeteer';

const url = process.argv[2] ?? 'https://example.com';
const browser = await puppeteer.launch();

try {
  const page = await browser.newPage();
  await page.setViewport({ width: 1440, height: 900, deviceScaleFactor: 1 });
  await page.goto(url, {
    waitUntil: 'networkidle2',
    timeout: 45_000,
  });
  await page.screenshot({ path: 'page.png' });
  console.log('Saved page.png');
} finally {
  await browser.close();
}
networkidle2 is the wait condition used in Puppeteer’s guide example. It is a starting point, not a universal guarantee that a page’s content is ready: applications can continue rendering after network activity settles, and some keep network connections open. For a page with known content, wait for a selector or application-specific signal, as shown below.
2. Choose the capture area
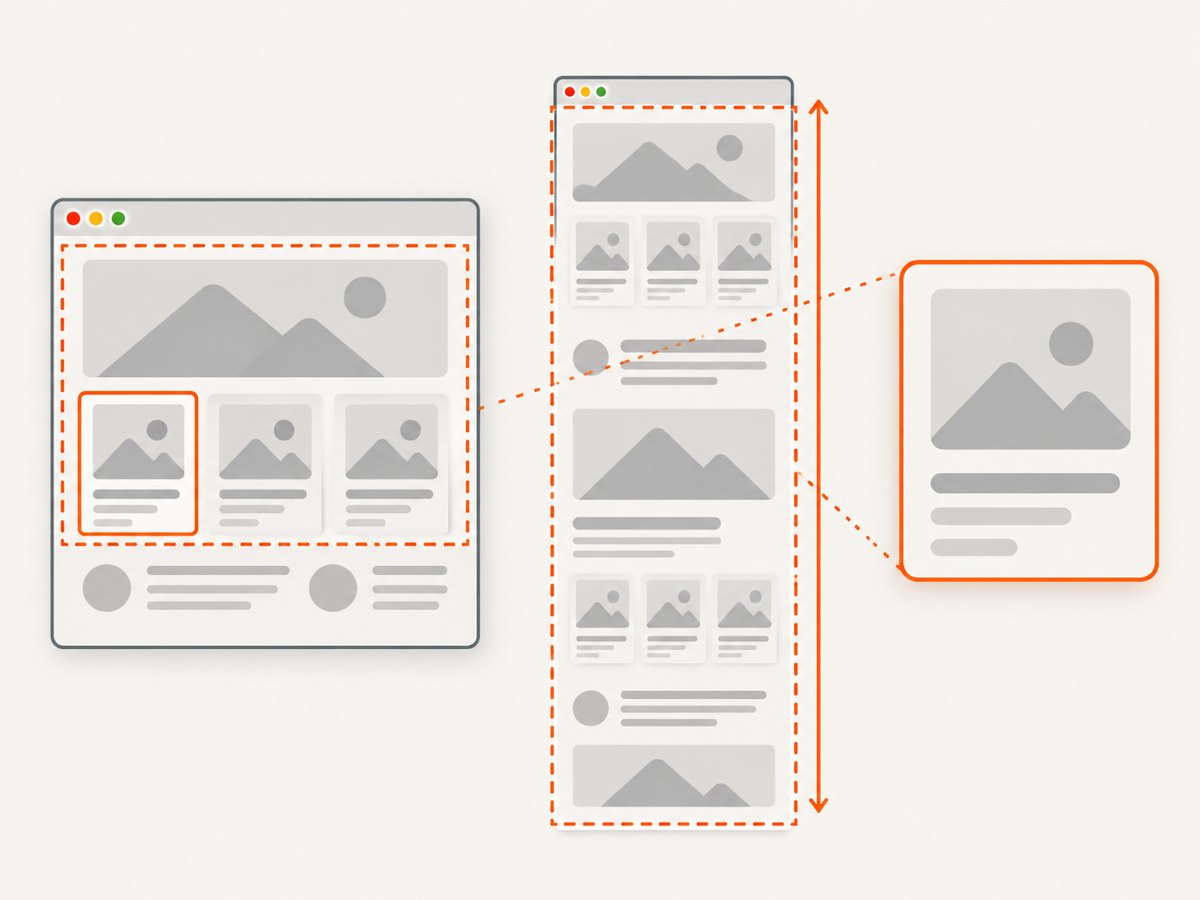
| Need | Use | What it captures |
|---|---|---|
| Visible browser content | page.screenshot() |
The current viewport by default |
| Entire document | page.screenshot({ fullPage: true }) |
The full page height |
| Fixed rectangle | page.screenshot({ clip: { x, y, width, height } }) |
A region in page coordinates |
| One component | element.screenshot() |
The selected element’s bounds |
Full-page capture
await page.screenshot({ path: 'full-page.png', fullPage: true });A full-page image can be very tall. Consider whether the downstream use needs the full document or just a viewport or component: very large captures consume more memory and take longer to encode and transfer. Some pages load images as you scroll, so a full-page capture alone might not trigger every lazy-loaded asset. If completeness matters, scroll through the page and wait for images or other content before taking the screenshot.
Clip a rectangle
await page.screenshot({
  path: 'hero-region.png',
  clip: { x: 0, y: 0, width: 1200, height: 700 },
});
The clip uses page coordinates, so choose values that fit the intended layout. Puppeteer documents captureBeyondViewport as defaulting to false without a clip and true when a clip is supplied. If you set it explicitly, check the resulting bounds and viewport behavior for your use case. The details are in the ScreenshotOptions reference.
Capture one element
const card = await page.waitForSelector('[data-testid="product-card"]', {
  timeout: 10_000,
});
if (!card) throw new Error('Product card was not found');
await card.screenshot({ path: 'product-card.png' });
ElementHandle.screenshot() scrolls the element into view if needed, then captures it. It throws if the element has been detached from the DOM, which can happen when a framework replaces a component during rendering. Select the element after the page reaches the relevant state and avoid retaining its handle across navigation or a rerender. See the official ElementHandle screenshot reference.
3. Wait for the right page state
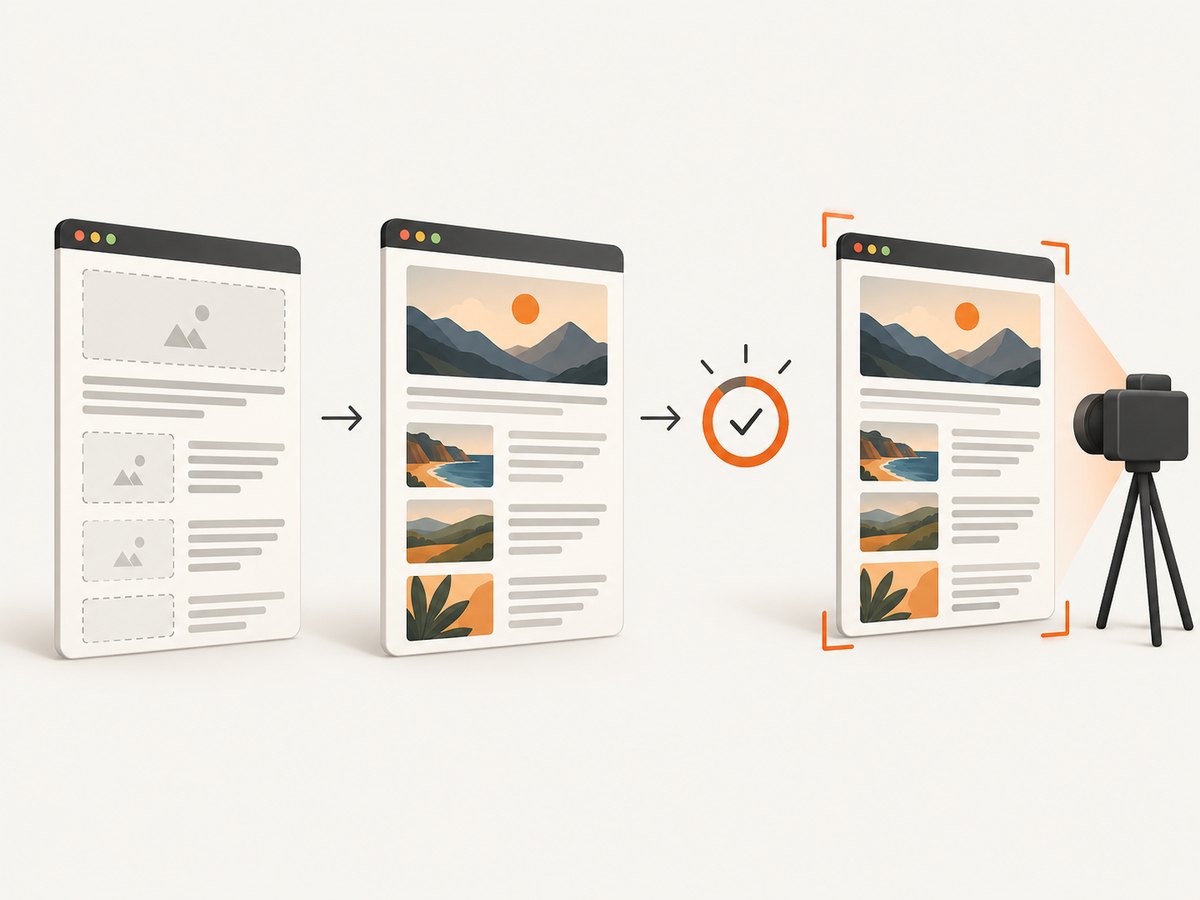
Navigation completion and visual readiness are different. A navigation wait can finish while fonts, images, animations, or client-rendered content are still changing. Prefer a readiness condition tied to what you need to capture.
await page.goto('https://example.com/dashboard', {
  waitUntil: 'domcontentloaded',
  timeout: 45_000,
});
await page.waitForSelector('[data-testid="dashboard-ready"]', {
  timeout: 15_000,
});
await page.screenshot({ path: 'dashboard.png' });
Other approaches include waiting for a known application state with page.waitForFunction() or adding a short delay for a known transition. Avoid relying on an arbitrary long delay as the only readiness check: it wastes time on fast responses and can still be too short on slow ones.
For pages with lazy-loaded images, scroll through the document before capture. Example helper:
await page.evaluate(async () => {
  const step = Math.max(200, window.innerHeight);
  for (let y = 0; y < document.body.scrollHeight; y += step) {
    window.scrollTo(0, y);
    await new Promise(resolve => setTimeout(resolve, 100));
  }
  window.scrollTo(0, 0);
});
await page.screenshot({ path: 'loaded-page.png', fullPage: true });
The delay here is a simple scroll pacing example, not proof that every asset has loaded. For controlled sites, also wait for expected image completion or a site-specific ready marker.
4. Output format, bytes, and screenshot options
By default Puppeteer returns binary image data as a Uint8Array, and the default image type is PNG. With path, Puppeteer saves the file; it infers the image format from the extension unless you specify type. With no path, it does not save a file automatically: keep or write the returned bytes yourself. Setting encoding: 'base64' returns a string instead. See the option reference for documented defaults.
// Save the returned bytes yourself
const bytes = await page.screenshot({ type: 'png' });
await import('node:fs/promises').then(fs => fs.writeFile('memory-output.png', bytes));

// Request base64 text
const base64 = await page.screenshot({ encoding: 'base64' });
console.log(base64.slice(0, 32));| Option | Purpose and note |
|---|---|
path |
Writes to a path; extension determines format if type is omitted. A relative path resolves from the process working directory. |
type |
Selects an image format such as PNG, JPEG, or WebP where supported by the installed Puppeteer/browser version. |
quality |
Number from 0 to 100 for formats that support quality settings. It does not apply to PNG. |
fullPage |
Captures the whole page rather than just the viewport. |
clip |
Captures a rectangle with position and dimensions. |
omitBackground |
Hides the default white background to allow transparency where the page content supports it. |
captureBeyondViewport |
Controls capture outside the viewport; the documented default depends on whether a clip is supplied. |
encoding |
Binary data by default, or base64 text when requested. |
Choose PNG for sharp text and lossless output. Use a lossy format and appropriate quality when smaller files matter more than pixel-perfect detail. Measure your own output sizes and visual requirements; the documentation gives no universal performance benchmark.
5. cURL, Python, and Node.js when you need an API
Puppeteer itself is a Node.js browser automation library, not an HTTP screenshot endpoint. If you build a small service around it, clients can call your service using cURL, Python, or Node.js. The sample server below accepts a URL and returns PNG bytes. For production, add authentication, validation, request limits, and controls against access to internal network addresses; an unrestricted URL-to-browser endpoint can be abused.
// server.mjs
import express from 'express';
import puppeteer from 'puppeteer';

const app = express();
const browser = await puppeteer.launch();
app.get('/screenshot', async (req, res) => {
  const url = String(req.query.url ?? '');
  try {
    const parsed = new URL(url);
    if (!['http:', 'https:'].includes(parsed.protocol)) {
      return res.status(400).send('Only HTTP and HTTPS URLs are supported');
    }
    const page = await browser.newPage();
    try {
      await page.goto(parsed.href, { waitUntil: 'networkidle2', timeout: 45_000 });
      const png = await page.screenshot({ type: 'png' });
      res.type('png').send(Buffer.from(png));
    } finally {
      await page.close();
    }
  } catch (error) {
    res.status(502).send(`Screenshot failed: ${error.message}`);
  }
});
app.listen(3000, () => console.log('Listening on http://localhost:3000'));

// Install with: npm install express puppeteer
// Start with: node server.mjs
Call that sample endpoint from cURL:
curl --get 'http://localhost:3000/screenshot' \
  --data-urlencode 'url=https://example.com' \
  --output page.png
Or Python:
import requests

response = requests.get(
    'http://localhost:3000/screenshot',
    params={'url': 'https://example.com'},
    timeout=60,
)
response.raise_for_status()
with open('page.png', 'wb') as image:
    image.write(response.content)
Or Node.js calling the same endpoint:
const params = new URLSearchParams({ url: 'https://example.com' });
const response = await fetch(`http://localhost:3000/screenshot?${params}`);
if (!response.ok) throw new Error(`HTTP ${response.status}`);
await import('node:fs/promises').then(fs => fs.writeFile('page.png', Buffer.from(await response.arrayBuffer())));
6. Common errors and fixes
| Symptom | Likely cause | Fix |
|---|---|---|
| Navigation timeout | The page is slow, keeps requests open, or the chosen wait condition never occurs. | Set a reasonable timeout, use a wait condition suited to the site, then wait for a specific selector or state. |
| Blank or incomplete screenshot | Capture ran before client rendering, fonts, images, or an animation finished. | Wait for an app-ready selector; verify the page content before capture; wait for required assets. |
| Element not found | Selector is wrong, content has not rendered, or it is inside a frame. | Confirm the selector in the live DOM, wait for it, and query the correct frame when necessary. |
| Element detached from DOM | The page replaced the selected node between selection and screenshot. | Wait until rerendering completes and query for a fresh handle immediately before capture. |
| Output file missing | No path was supplied, or the relative path points to another working directory. |
Set an explicit path or write the returned bytes; inspect the process working directory. |
| Unexpected format or missing transparency | File extension, type, or page background differs from the intended output. |
Set the desired type explicitly; use omitBackground when transparency is needed. |
| Browser launch fails | Chromium is missing or the runtime/container cannot launch it. | Use the browser installed by Puppeteer or configure a compatible executable; check runtime dependencies and launch permissions. |
7. Performance, reliability, and cost
Each capture needs browser work: start or reuse Chromium, load and render a page, rasterize the chosen area, and encode image bytes. Reusing a browser process can avoid repeated startup work, but create and close pages per job and isolate jobs that handle different users or credentials. Do not let an unbounded queue create unlimited tabs or memory pressure.
Keep screenshots appropriately scoped. Full-page captures and high device pixel ratios produce more pixels and can increase memory, encoding time, and file size. Set the viewport deliberately so results are reproducible. A failed navigation should be handled as a failed job rather than silently returning an old file. In a service, add a job timeout, bounded concurrency, structured error reporting, and cleanup in finally blocks.
Puppeteer is open-source software, but a self-hosted capture system still has infrastructure costs: compute and memory for Chromium, storage and transfer for images, and engineering time to maintain browser versions and runtime dependencies. Cost depends on your workload and deployment; no fixed per-screenshot cost follows from the API alone.
8. Or skip the browser setup
ScreenshotNeo is a website screenshot API and MCP server. Use one GET request to return an image or PDF, with the API documentation for options and setup.
curl -G "https://api.screenshotneo.com/v1/shot" -d access_key=YOUR_API_KEY --data-urlencode url=https://stripe.com -o shot.webpimport requests
r = requests.get("https://api.screenshotneo.com/v1/shot", params={"access_key": "YOUR_API_KEY", "url": "https://stripe.com"}, timeout=90)
open("shot.webp", "wb").write(r.content)const q = new URLSearchParams({ access_key: 'YOUR_API_KEY', url: 'https://stripe.com' });
const res = await fetch(`https://api.screenshotneo.com/v1/shot?${q}`);Cookie banners, popups, and chat widgets are removed before the shot. Bot checks, blank pages, and failed loads are never billed, and response headers identify the page verdict and billing status. Its MCP server lets AI agents take screenshots. The free plan includes 1,000 screenshots a month with no card; paid plans start at $5 for 3,000. Sign up for the free plan.
9. FAQ
Does Puppeteer return a file or data?
It returns binary image data by default. Supply path to save it directly, or request base64 encoding when text representation is more useful.
Can I screenshot only one element?
Yes. Select it as an element handle and call element.screenshot(). Puppeteer scrolls it into view if needed; a detached handle causes an error.
Does fullPage guarantee every lazy image loads?
No. It specifies full-page capture; trigger lazy loading and wait for the assets your use case requires before capture.
Which format should I use?
PNG is the documented default. Choose an alternate format and quality setting when its smaller output is more useful than lossless pixel fidelity.
Where can I check current option behavior?
Refer to Puppeteer’s current screenshots guide and ScreenshotOptions API reference; API details can change between versions.


