How to Capture a Screenshot of Just One Window With Puppeteer
Capture one webpage panel or region with Puppeteer using ElementHandle.screenshot() or a clipped Page.screenshot(), with reliable code and fixes.
“One window” can mean two different things in Puppeteer. If you mean a webpage element such as a modal, card, dialog, or dashboard panel, select that element and call ElementHandle.screenshot(). If you mean an arbitrary rectangle in the page, call Page.screenshot() with a clip bounding box. Puppeteer documents these as webpage captures; they do not capture the native desktop window frame or browser chrome.
The shortest element example is:
const element = await page.waitForSelector('#target-window');
if (!element) throw new Error('Target element was not found');
await element.screenshot({ path: 'element.png' });
For coordinates:
await page.screenshot({
  path: 'region.png',
  clip: { x: 120, y: 80, width: 640, height: 420 },
});
1. Decide what “window” means
Puppeteer controls a browser page. Its screenshot APIs describe the page, an element inside the page, or a rectangular portion of the page. They are not operating-system screenshot APIs. If you need the title bar, browser tabs, or another native application window, use an OS-level capture tool instead.
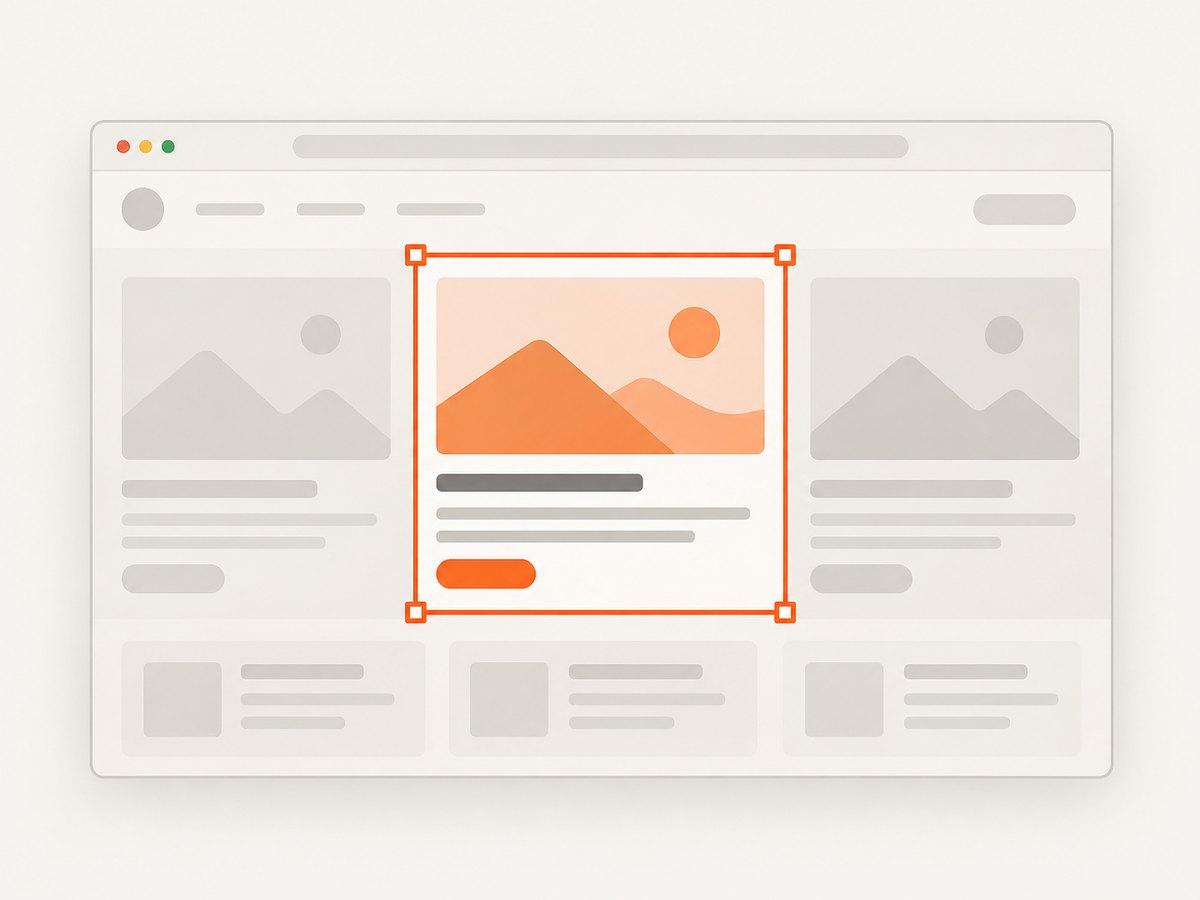
| Target | Recommended API | Why |
|---|---|---|
| Modal, card, panel, or other DOM node | element.screenshot() |
Uses the element’s actual rendered bounds and scrolls it into view when needed. |
| Fixed rectangle | page.screenshot({ clip }) |
Useful when the boundary is defined by page coordinates. |
| Entire document | page.screenshot({ fullPage: true }) |
Captures content beyond the viewport. |
| Native desktop window | OS or desktop capture tooling | Puppeteer’s page screenshot methods do not describe native window chrome. |
2. Complete Puppeteer example for one DOM element
Install Puppeteer, create a page, wait for the target, and save the element image. This example waits for a visible element and creates the output directory before writing the file.
import puppeteer from 'puppeteer';
import { mkdir } from 'node:fs/promises';

const browser = await puppeteer.launch({ headless: true });
try {
  const page = await browser.newPage();
  await page.setViewport({ width: 1440, height: 900, deviceScaleFactor: 1 });
  await page.goto('https://example.com/app', {
    waitUntil: 'networkidle2',
    timeout: 60000,
  });

  const selector = '#target-window';
  const element = await page.waitForSelector(selector, { visible: true, timeout: 30000 });
  if (!element) throw new Error(`Element not found: ${selector}`);

  await mkdir('screenshots', { recursive: true });
  await element.screenshot({ path: 'screenshots/target-window.png' });
} finally {
  await browser.close();
}
ElementHandle.screenshot() scrolls the element into view if necessary. Puppeteer reports an error if the element becomes detached from the DOM before capture completes, so keep the page stable between selecting the node and taking the screenshot. See the ElementHandle screenshot API for the current signature and version-specific details.
Use a stable selector
Prefer an ID, data attribute, or component test hook over a long CSS path tied to layout. For example:
const element = await page.waitForSelector('[data-testid="invoice-preview"]', {
  visible: true,
});
If a page renders several matches, waitForSelector returns the first matching element. Use a more specific selector or query all matches and choose deliberately:
const cards = await page.$$('[data-testid="result-card"]');
if (cards.length < 3) throw new Error('Expected at least three result cards');
await cards[2].screenshot({ path: 'third-card.png' });
3. Capture a coordinate-defined rectangle
Use clip when the target is naturally expressed as x/y coordinates and dimensions. Coordinates are page coordinates in CSS pixels.
await page.screenshot({
  path: 'region.png',
  type: 'png',
  clip: { x: 120, y: 80, width: 640, height: 420 },
});
The Page.screenshot API defines clip as a screenshot region. The clip object contains x, y, width, height, and an optional scale. A clip is measured against the page’s coordinate system, so changing the viewport, zoom, or responsive layout can move the target.
Derive the clip from an element
If you need a crop but want the boundary to follow a DOM node, read its bounding box and pass it as a clip:
const box = await page.locator('#target-window').boundingBox();
if (!box) throw new Error('Target is hidden or has no layout box');
await page.screenshot({
  path: 'region.png',
  clip: { x: box.x, y: box.y, width: box.width, height: box.height },
});
An element screenshot is usually simpler because Puppeteer handles scrolling. A bounding-box clip is useful when you want to combine the rectangle with other page-screenshot options.
4. Screenshot options that affect the result
| Option | Use it for | Practical detail |
|---|---|---|
path |
Saving an image | The extension can determine the image type when one is not specified. |
type |
Choosing png, jpeg, or webp |
Set it explicitly when the filename does not make the format obvious. |
quality |
JPEG or WebP compression | Use with supported lossy formats; it has no useful effect for PNG. |
fullPage |
Capturing beyond the viewport | It is separate from clip; use it when the entire document is needed. |
captureBeyondViewport |
Allowing capture outside the visible viewport | Puppeteer documents a default of false when there is no clip and true when a clip is supplied. Set it explicitly when behavior matters. |
omitBackground |
Transparent output | Useful for PNG overlays when the page background is not wanted. |
encoding |
Buffer versus base64 | By default the screenshot is a Uint8Array; base64 returns a string. |
For an element, these options are passed to element.screenshot(). For a page or clip, pass them to page.screenshot(). Keep the option set explicit in production so an upgrade or filename change does not alter output unexpectedly.
5. Viewport, scale, and responsive layouts
Puppeteer viewport width and height use CSS pixels. deviceScaleFactor controls the relationship between CSS pixels and physical image pixels. A factor of 2 produces a higher-density image while preserving the same CSS layout.
await page.setViewport({
  width: 1280,
  height: 800,
  deviceScaleFactor: 2,
  isMobile: false,
  hasTouch: false,
});
Set the viewport before navigation when the page uses responsive breakpoints during initial rendering. If the target panel changes size at a breakpoint, a coordinate clip that worked at 1440 pixels may be wrong at 768. For deterministic output, set viewport, device scale, color scheme, and locale before loading the page.
await page.emulateMediaFeatures([
  { name: 'prefers-color-scheme', value: 'light' },
  { name: 'prefers-reduced-motion', value: 'reduce' },
]);
6. Wait for the window to be ready
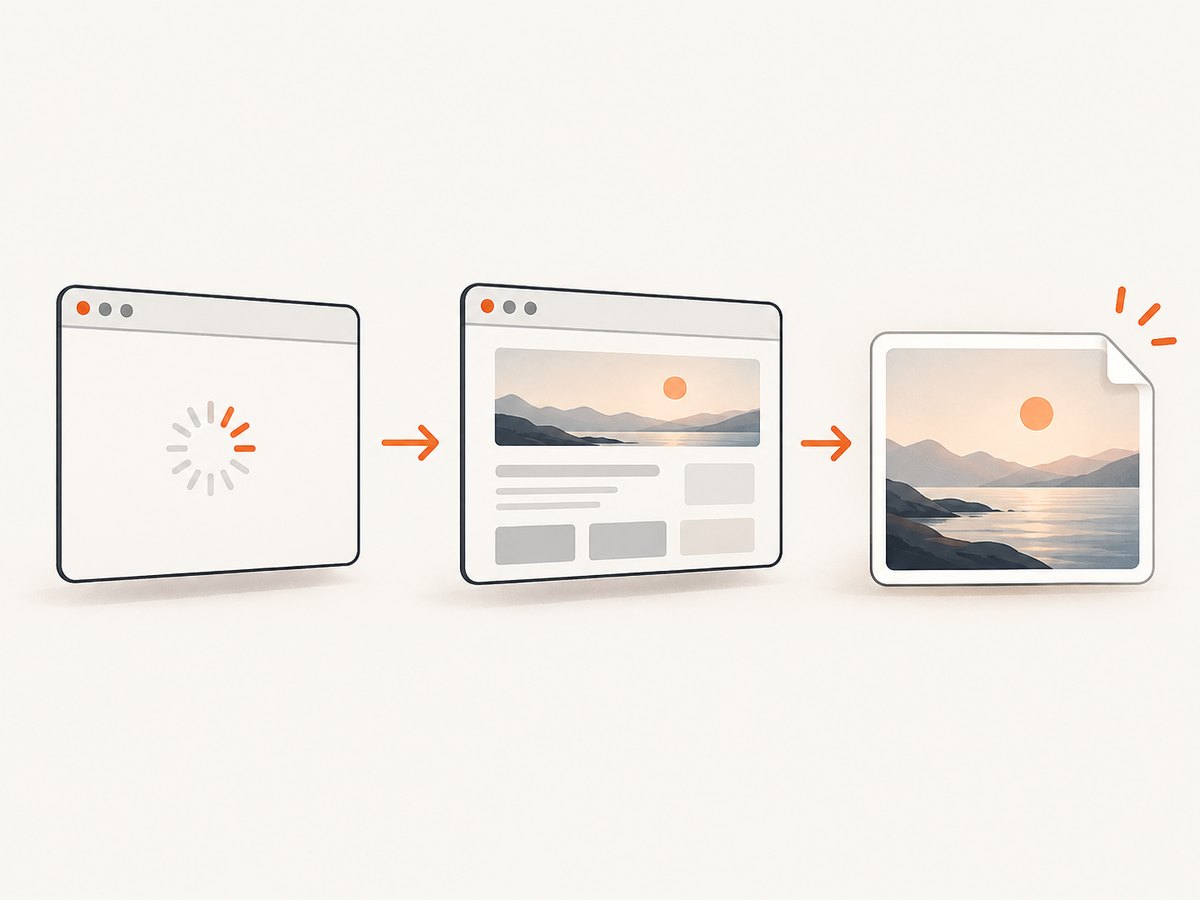
Waiting for the selector only proves that the node exists. A chart, image, font, or animation inside it may still be changing. Combine selector waits with an application-specific readiness signal where possible.
await page.waitForSelector('#target-window', { visible: true });
await page.waitForFunction(() => window.appReady === true);
await page.evaluate(() => document.fonts?.ready);
await page.screenshot({ path: 'stable.png', clip: await page.$eval('#target-window', el => {
  const r = el.getBoundingClientRect();
  return { x: r.x, y: r.y, width: r.width, height: r.height };
}) });
For images, wait until the relevant image elements report completion:
await page.waitForFunction(() =>
  [...document.querySelectorAll('#target-window img')].every(img => img.complete)
);
Disable transitions when they make captures nondeterministic:
await page.addStyleTag({ content: `
  *, *::before, *::after {
    animation: none !important;
    transition: none !important;
    caret-color: transparent !important;
  }
` });
7. Element capture versus clipped page capture
Choose element capture when the target is a semantic component and its dimensions should follow layout. Choose a clip when you need exact coordinates, want to crop a region that is not one node, or need page-level screenshot behavior. A clip can include several adjacent elements, but it is sensitive to scroll position and responsive changes.
Remember that an element screenshot may scroll the page. If your page has a sticky header or scroll-linked effect, the final pixels can differ from what was visible before the call. If that matters, capture a clip after explicitly setting the scroll position and waiting for the layout to settle.
8. Troubleshooting common failures
| Symptom | Cause | Fix |
|---|---|---|
| “Target element was not found” | The selector is wrong, the route is not loaded, or the element appears later. | Inspect the selector, wait for the correct route, and increase the selector timeout only after confirming the page can load. |
| Element handle is detached | A framework rerender replaced the node after selection. | Wait for the final state, then select a fresh handle immediately before screenshot; avoid long work between selection and capture. |
boundingBox() returns null |
The node is hidden, detached, or has no rendered box. | Wait for visibility, check that it is attached, and verify CSS does not set display:none or zero dimensions. |
| Clip is outside the viewport | Coordinates came from a different viewport or scroll position. | Set the viewport first, recalculate the box after layout, and use element capture when possible. |
| Blank or incomplete panel | Capture happened before data, fonts, images, or canvas drawing finished. | Wait for an application-ready state and relevant resources; remove animations. |
| Unexpected mobile layout | Viewport width crossed a responsive breakpoint. | Set width and height explicitly before navigation and record them with the output. |
| Wrong file format | Filename extension and screenshot options disagree. | Set type explicitly and use a matching extension. |
| Authentication redirect | The page requires cookies, headers, or a logged-in session. | Establish the session before capture and verify the final URL and selector. |
9. Reliability and performance practices
- Reuse the browser. Launching Chromium is expensive. Keep one browser process and create or reuse pages for a batch of captures.
- Bound every wait. Set navigation and selector timeouts so one broken route cannot block a worker forever.
- Capture after a clear readiness condition. Network idle alone may never occur on pages with analytics, streaming, or long polling.
- Limit concurrency. Too many simultaneous pages increase memory use and can make rendering less predictable. Start with a small worker pool and measure in your environment.
- Close resources. Close pages after jobs and always close the browser in a shutdown handler.
- Log context. Record URL, viewport, selector, final URL, timing, and error type. This makes intermittent layout failures diagnosable.
- Keep output deterministic. Pin the Puppeteer version, browser revision, fonts, timezone, locale, and viewport when pixel comparisons matter.
Use PNG for lossless UI comparisons. Use JPEG or WebP when smaller files matter and minor compression differences are acceptable. The screenshot itself is usually faster than a cold browser launch, so architecture and reuse matter more than micro-optimizing the API call.
10. Or skip the browser setup
If you need screenshots in a service, scheduled job, or agent workflow, ScreenshotNeo provides a website screenshot API and MCP server. One GET request returns PNG, JPEG, WebP, or a PDF. It can capture a full page or one element with a CSS selector, wait for a selector, delay, or network idle, apply custom CSS and JavaScript, use device presets or a custom viewport, and set cookies, headers, user agent, timezone, and geolocation. See the ScreenshotNeo API documentation for the complete option list.
Cookie banners, newsletter popups, and chat widgets are removed before the shot. Bot checks, blank pages, failed loads, timeouts, and cache hits are not billed, and response headers identify the page verdict and billing status. An MCP server lets Claude, Cursor, and other MCP clients call take_screenshot, get_page_info, and capture_pdf.
curl -G "https://api.screenshotneo.com/v1/shot" -d access_key=YOUR_API_KEY --data-urlencode url=https://stripe.com -o shot.webpimport requests
r = requests.get("https://api.screenshotneo.com/v1/shot", params={"access_key": "YOUR_API_KEY", "url": "https://stripe.com"}, timeout=90)
open("shot.webp", "wb").write(r.content)const q = new URLSearchParams({ access_key: 'YOUR_API_KEY', url: 'https://stripe.com' });
const res = await fetch(`https://api.screenshotneo.com/v1/shot?${q}`);For a single element, add the CSS-selector option shown in the docs and keep the selector stable. ScreenshotNeo offers 1,000 screenshots a month free with no card; paid plans start at $5 for 3,000. Create a free ScreenshotNeo account.
11. FAQ
Can Puppeteer capture the browser tab or title bar?
No. The documented screenshot methods capture webpage content. Use desktop or OS capture tooling for native browser chrome.
Should I use fullPage for a modal?
No. Use an element screenshot for the modal itself. fullPage is for the entire document.
Why does my element image include more or less than expected?
CSS borders, padding, transforms, and device scale affect the rendered bounds. Inspect the element’s bounding rectangle and computed styles.
Can I return the screenshot without writing a file?
Yes. Omit path; Puppeteer returns image bytes by default. Set base64 encoding only when a string transport is required.
Which method is best for visual regression tests?
Use a stable selector for a component, fix viewport and device scale, disable motion, wait for application readiness, and keep browser and font versions consistent.


