How to Create Smooth Videos From Puppeteer Screenshots With FFmpeg
Capture deterministic Puppeteer frames and encode them with FFmpeg for smooth, correctly timed MP4 videos.
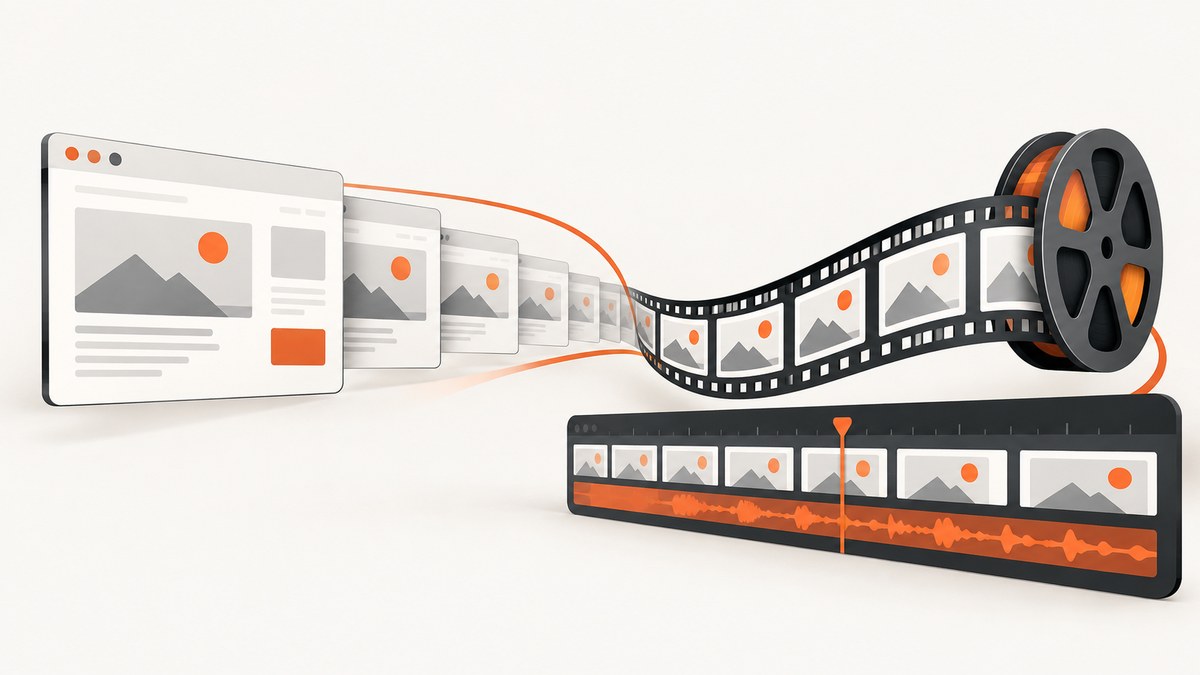
To turn Puppeteer screenshots into a smooth video, capture a deterministic sequence of identically sized PNG frames, name them with gap-free zero-padded numbers, and tell FFmpeg the intended input frame rate:
ffmpeg -framerate 30 -i frames/frame-%06d.png \
  -c:v libx264 -pix_fmt yuv420p -movflags +faststart output.mp4
The critical detail is -framerate 30 before -i. For an image sequence, this establishes the timestamps. Output -r can duplicate or drop frames, but it cannot repair an incorrectly timed capture.
What makes screenshot videos smooth
A video made from screenshots is only as smooth as the timing and visual consistency of the frames. Keep these variables fixed:
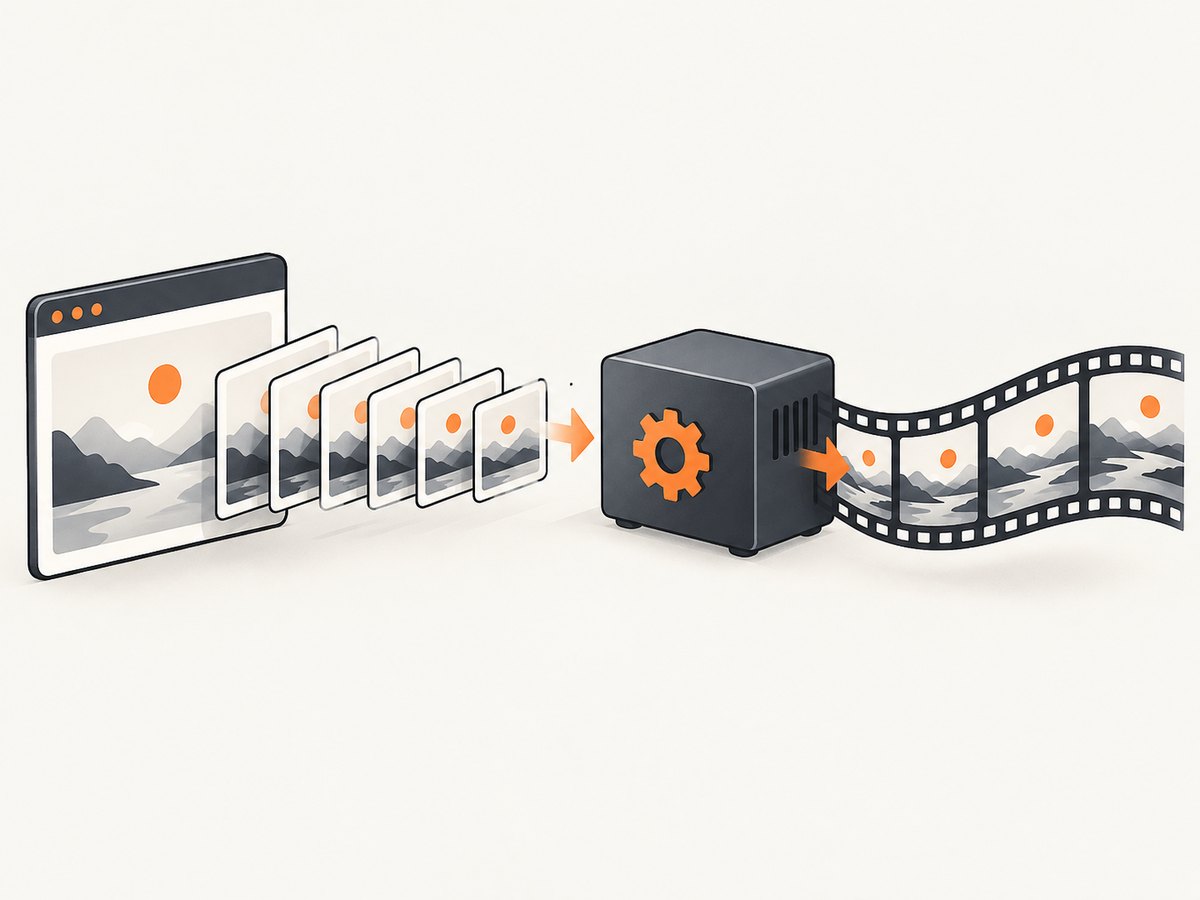
- Viewport: use one width and height for every capture.
- Device scale factor: keep the same value so image dimensions never change.
- Frame rate: choose 24, 30, or 60 FPS before capturing.
- State transitions: advance the page by a known logical amount between frames.
- File sequence: use consecutive names such as
frame-000001.png. - Rendering readiness: wait for fonts, images, and the application state to finish painting.
If a capture occurs while the page is still rendering, adjacent images can contain repeated or partially updated states. The encoded result then looks like stutter, even when the nominal frame rate is high. Puppeteer’s screenshot API supplies the capture primitive; your loop must decide when each visual state is complete.
Choose a capture strategy
Puppeteer screenshots plus FFmpeg
This workflow gives you a PNG archive, frame-level inspection, deterministic reruns, custom overlays, and any output format supported by FFmpeg. It is the best choice when reproducibility or debugging matters.
Puppeteer direct screencast
Puppeteer also documents page.screencast(). Its documented default is WebM using the VP9 codec at 30 FPS, and FFmpeg must be installed. Screencast options expose controls such as ffmpegPath, fps, format, quality, scale, and speed. Use it when you want a quick recording and do not need individual PNGs.
| Axis | Screenshots + FFmpeg | page.screencast() |
|---|---|---|
| Frame control | Every image is available | Recorder controls timing |
| Reproducibility | Strong with logical time | Depends on recorder timing |
| Output | Any FFmpeg-supported target | WebM/VP9 by default, configurable |
| Debugging | Inspect individual PNGs | Inspect the recorded stream |
| Setup | Puppeteer and FFmpeg | Puppeteer recorder and FFmpeg |
Build a deterministic Puppeteer capture loop
The following Node.js script captures a page at 30 logical frames per second. It fixes the viewport and scale factor, waits for the page to become usable, waits for fonts and images, advances an animation through a page function, and writes six-digit frame names.
import puppeteer from 'puppeteer';
import fs from 'node:fs/promises';

const URL = 'https://example.com';
const FPS = 30;
const FRAME_COUNT = 180;
const OUT_DIR = 'frames';

await fs.rm(OUT_DIR, { recursive: true, force: true });
await fs.mkdir(OUT_DIR, { recursive: true });

const browser = await puppeteer.launch({ headless: true });
const page = await browser.newPage();
await page.setViewport({ width: 1280, height: 720, deviceScaleFactor: 1 });

try {
  await page.goto(URL, { waitUntil: 'networkidle2', timeout: 90000 });
  await page.evaluate(async () => {
    if (document.fonts?.ready) await document.fonts.ready;
    await Promise.all(Array.from(document.images).map(img => {
      if (img.complete) return Promise.resolve();
      return new Promise(resolve => {
        img.addEventListener('load', resolve, { once: true });
        img.addEventListener('error', resolve, { once: true });
      });
    }));
  });

  // Freeze wall-clock animation and expose a deterministic frame hook.
  await page.evaluate(() => {
    document.documentElement.dataset.captureMode = 'true';
    window.__setCaptureFrame = frame => {
      document.documentElement.style.setProperty('--capture-frame', frame);
      document.dispatchEvent(new CustomEvent('captureframe', { detail: frame }));
    };
  });

  for (let frame = 0; frame < FRAME_COUNT; frame++) {
    await page.evaluate(async frameNumber => {
      window.__setCaptureFrame?.(frameNumber);
      await new Promise(requestAnimationFrame);
      await new Promise(requestAnimationFrame);
    }, frame);

    const name = `frame-${String(frame + 1).padStart(6, '0')}.png`;
    await page.screenshot({ path: `${OUT_DIR}/${name}`, type: 'png' });
  }
} finally {
  await browser.close();
}
The page must implement the visual state represented by --capture-frame or the captureframe event. For a CSS animation, replace wall-clock animation with a frame-driven value. For a canvas or application state machine, use the frame number to render a known state. This prevents a slow machine from silently changing the motion between runs.
Waiting for a specific application state
networkidle2 only describes network activity. A single-page app may still be rendering after that point. Add an application-specific readiness marker:
await page.goto('https://example.com/dashboard', {
  waitUntil: 'domcontentloaded',
  timeout: 90000
});
await page.waitForSelector('[data-render-ready="true"]', { timeout: 90000 });
await page.evaluate(() => document.fonts.ready);
When the state changes asynchronously, wait for a selector, a promise exposed by the app, or two animation frames after the update. Avoid arbitrary delays unless the page has no better synchronization point.
Encode the frames with FFmpeg
With files named frame-000001.png through frame-000180.png, encode an MP4 like this:
ffmpeg -framerate 30 -i frames/frame-%06d.png \
  -c:v libx264 -crf 18 -preset medium \
  -pix_fmt yuv420p -movflags +faststart output.mp4
FFmpeg’s image2 demuxer uses the input frame rate to assign timestamps. The same pattern is described in the FFmpeg documentation. The duration is approximately the number of frames divided by the input rate: 180 frames at 30 FPS is six seconds.
Quality, size, and compatibility
-crf 18is a useful near-lossless starting point while checking motion. Increase CRF to reduce file size; lower it for higher quality.-preset mediumbalances encoding time and compression. Slower presets can reduce size at the same quality; faster presets finish sooner.-pix_fmt yuv420pis a practical compatibility setting for H.264 playback.-movflags +faststartmoves MP4 metadata so progressive delivery can begin sooner.
Every source image must have identical dimensions. Resize or pad frames before encoding if a responsive layout, device scale factor, or conditional page element changes the image size.
Using glob input
For irregular names, FFmpeg supports glob input:
ffmpeg -pattern_type glob -framerate 30 -i 'frames/*.png' \
  -c:v libx264 -pix_fmt yuv420p output.mp4
Numbered input is easier to audit because missing numbers are obvious. Shell glob expansion can also produce an unintended order, so quote the pattern.
Frame-rate decisions
Pick the playback rate first:
| Target | Use when | Capture implication |
|---|---|---|
| 24 FPS | Film-like motion or smaller files | Advance the page by 1/24 of a second per frame |
| 30 FPS | General product demos and tutorials | Advance by 1/30 of a second |
| 60 FPS | Fast pointer movement or detailed transitions | Requires stable rendering and roughly twice the frame work |
If a capture takes longer than the target interval, lower the target rate or keep advancing logical time by a fixed amount. Do not claim that captures happened in real time when the machine could not produce them at that rate. Output -r may duplicate or drop frames and can hide the original timing problem.
Make animation state reproducible
- Disable random data, rotating ads, and time-dependent content where possible.
- Set a fixed timezone and locale in the browser context.
- Use a fixed viewport and device scale factor.
- Freeze or control CSS transitions and JavaScript timers during capture.
- Advance a known frame counter and wait for the render to settle.
- Save the exact FPS, viewport, URL, and commit or build identifier beside the frames.
A simple contact sheet often reveals the cause of jerkiness before you encode. Inspect several consecutive images for duplicated states, half-painted text, missing images, and layout shifts.
Common errors and fixes
The video is slow or too long
Cause: FFmpeg interpreted the sequence at a lower input rate than intended. Fix: put -framerate N before -i. Check that frame count divided by N equals the desired duration.
The video is jerky at 60 FPS
Cause: duplicate visual states, inconsistent waits, or frames captured while the page is painting. Fix: synchronize state transitions, use deterministic logical time, and inspect the PNGs before encoding. A lower, stable rate is better than a nominal 60 FPS full of duplicates.
FFmpeg stops early or skips frames
Cause: missing numbers, inconsistent zero padding, unexpected filenames, or shell glob expansion. Fix: verify the sequence with ls frames/frame-*.png, ensure numbering starts where your pattern expects, and use a quoted glob only when needed.
The output will not play in a browser
Cause: unsupported pixel format, dimensions, codec, or the installed FFmpeg build. Fix: use H.264 with -pix_fmt yuv420p, make dimensions even, and test the MP4 in the target browser or player.
Frames have different dimensions
Cause: a changed viewport, device scale factor, full-page layout, or responsive breakpoint. Fix: set the viewport before navigation and keep it unchanged. If required, normalize images before encoding:
ffmpeg -i frames/frame-000001.png -vf "scale=1280:720:force_original_aspect_ratio=decrease,pad=1280:720:(ow-iw)/2:(oh-ih)/2" normalized.pngPerformance, reliability, and storage
PNG files are convenient for inspection but can consume substantial disk space. Capture only the required region when possible, remove frames after a successful encode, or use a lossless format appropriate to your pipeline. Keep the original frames when reproducibility or later re-encoding matters.
Browser rendering is usually the slowest part. Reuse one browser process, avoid reloading for every frame, block resources that are irrelevant to the scene, and wait on meaningful readiness signals. Do not block fonts, images, or scripts that define the visual state. For long videos, split capture into batches and record the first and last frame of each batch so a failed job can resume.
Reliability improves when you log the frame number, capture duration, page URL, viewport, and any page errors. Treat a missing frame as a failed capture instead of silently encoding a shortened sequence. Keep a separate manifest:
{
  "url": "https://example.com",
  "fps": 30,
  "viewport": { "width": 1280, "height": 720, "deviceScaleFactor": 1 },
  "firstFrame": 1,
  "lastFrame": 180
}
Or skip the browser setup
ScreenshotNeo provides a one-call website screenshot API when you need clean still images for a video pipeline or do not want to maintain Puppeteer and browser infrastructure. See the ScreenshotNeo API documentation for the request options.
curl -G "https://api.screenshotneo.com/v1/shot" -d access_key=YOUR_API_KEY --data-urlencode url=https://stripe.com -o shot.webpimport requests
r = requests.get("https://api.screenshotneo.com/v1/shot", params={"access_key": "YOUR_API_KEY", "url": "https://stripe.com"}, timeout=90)
open("shot.webp", "wb").write(r.content)const q = new URLSearchParams({ access_key: 'YOUR_API_KEY', url: 'https://stripe.com' });
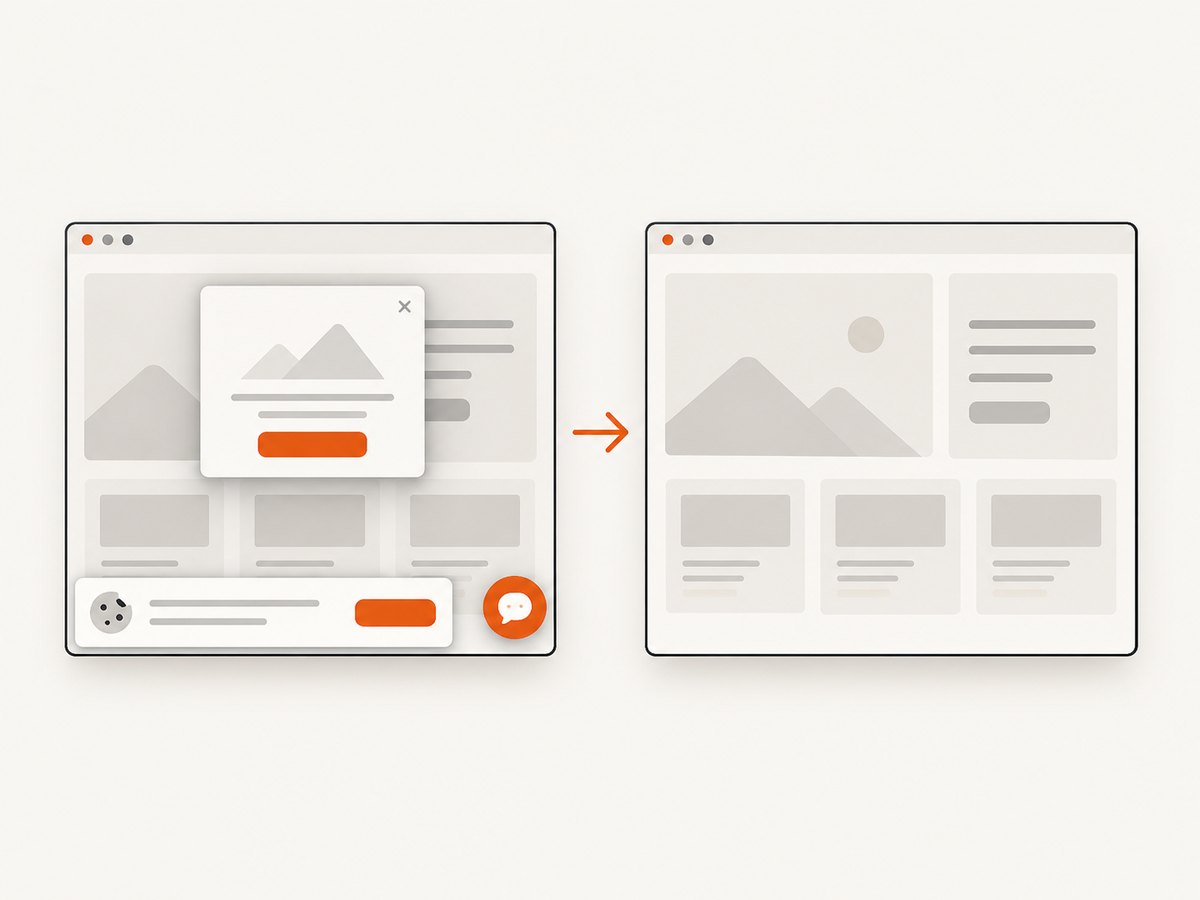
const res = await fetch(`https://api.screenshotneo.com/v1/shot?${q}`);Cookie banners, newsletter popups, and chat widgets are removed before the shot. Bot checks, blank pages, timeouts, failed loads, and cache hits are never billed, and response headers identify the page verdict and billing result. An MCP server lets AI agents such as Claude and Cursor take screenshots, inspect pages, and capture PDFs. The Free plan includes 1,000 screenshots per month with no card; paid plans start at $5 for 3,000 shots. Sign up free for ScreenshotNeo.
FAQ
Can I create an MP4 directly from Puppeteer screenshots?
Yes. Save a numbered image sequence, then use FFmpeg’s image2 input with an explicit input frame rate.
Should I use JPEG instead of PNG?
PNG avoids an additional lossy step and preserves text well. JPEG can reduce storage when small artifacts are acceptable; keep dimensions and numbering identical.
Why does a 30 FPS video contain repeated frames?
The capture loop produced the same visual state more than once. Drive the page with deterministic logical time and wait for each state to render before taking the next screenshot.
When is screencast preferable?
Use page.screencast() for a quick WebM recording when individual frames, custom encoding, and frame-by-frame debugging are unnecessary.
How do I make a video from several page URLs?
Capture each URL into a separate, consistently sized sequence, encode each segment with the same FPS and codec settings, then concatenate the resulting videos with FFmpeg. Keep transitions in their own deterministic frame sequence.


