How to Scroll Inside a Div with Multiple Scrollbars Using Puppeteer
Control the right scrollable div in Puppeteer with scrollTop, wheel events, and scrollIntoView, plus verification and troubleshooting.
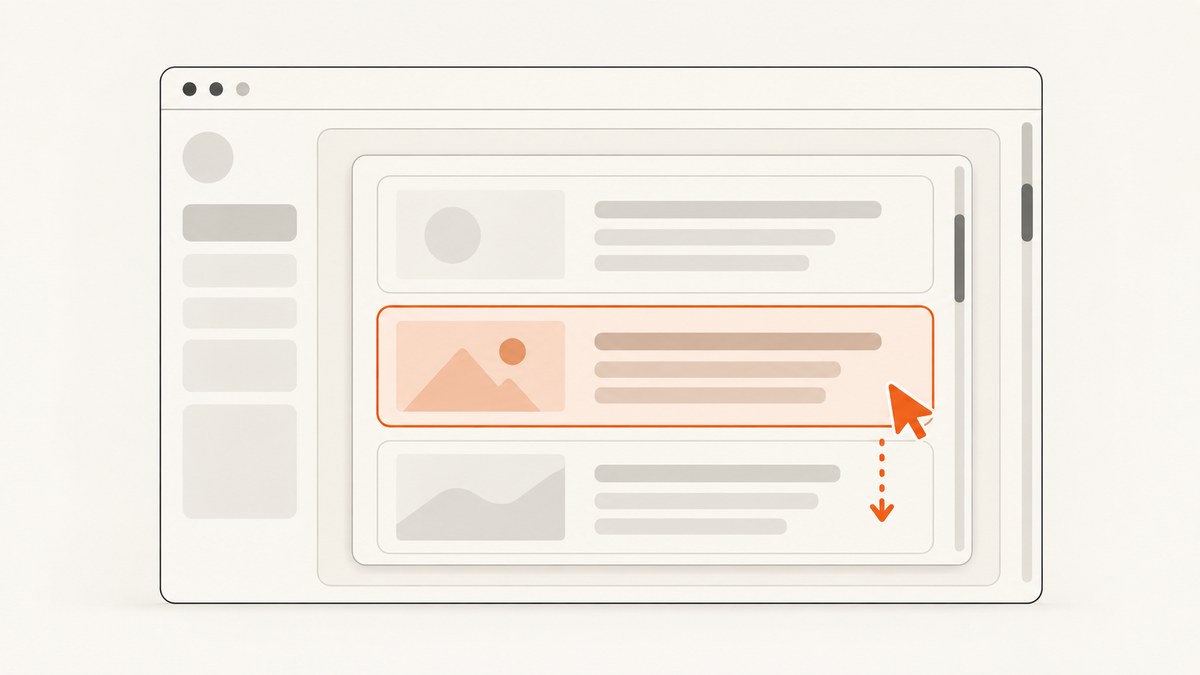
When a page has several scrollbars, scroll the intended element directly instead of scrolling the page and hoping the browser chooses the right container. In Puppeteer, select the div, change its scrollTop for deterministic movement, send a mouse-wheel event over its bounds for user-like behavior, or call scrollIntoView() when a known child must become visible. Always read the element’s scrollTop, scrollHeight, and clientHeight before and after the operation.
This guide shows complete Puppeteer code for each method, explains nested scroll regions and lazy-loaded content, and includes verification, retries, performance guidance, and common fixes.
1. Identify the scrollable div
The first problem is target selection. A page may have a document scrollbar, a sidebar scrollbar, a results list, and an inner code editor. A broad selector such as .panel can match several elements. Use a stable ID, data attribute, relationship to a heading, or another selector that identifies one container.
import puppeteer from 'puppeteer';

const browser = await puppeteer.launch({headless: true});
const page = await browser.newPage();
await page.goto('https://example.com/dashboard', {waitUntil: 'networkidle2'});

const selector = '[data-testid="results-scroll"]';
await page.waitForSelector(selector);

const metrics = await page.$eval(selector, el => ({
  scrollTop: el.scrollTop,
  scrollHeight: el.scrollHeight,
  clientHeight: el.clientHeight,
  canScroll: el.scrollHeight > el.clientHeight,
  overflowY: getComputedStyle(el).overflowY
}));
console.log(metrics);

await browser.close();
scrollHeight is the total height of the content, while clientHeight is the visible height. A vertical container normally has scrollable overflow when scrollHeight > clientHeight and its computed overflow-y permits scrolling. The scrollTop property is the vertical content offset; it is zero for an element that cannot scroll and is bounded by the available distance. See the MDN scrollTop reference.
2. Set scrollTop for precise, repeatable scrolling
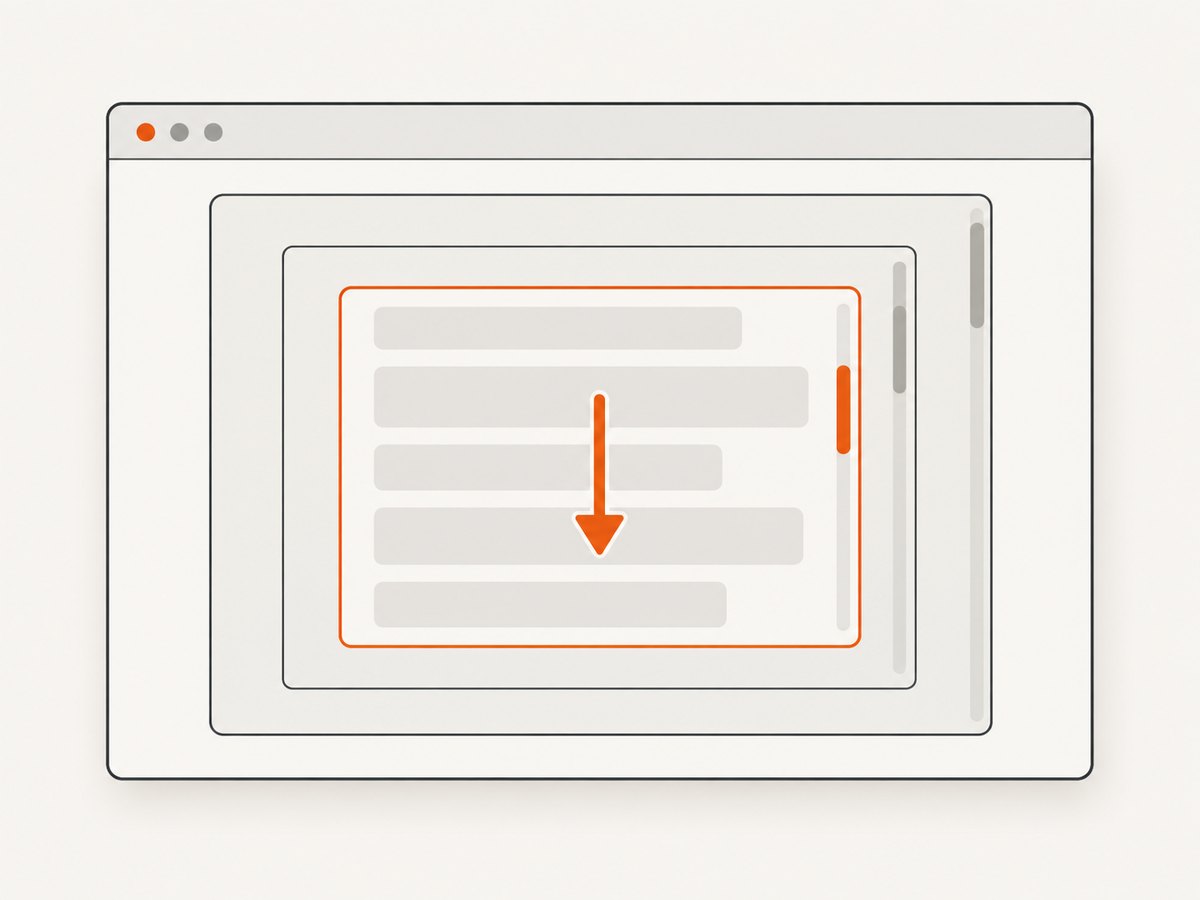
Use direct position changes when you know the container and need a fixed offset. This avoids pointer placement and page event handlers.
const container = await page.waitForSelector('#results');

const before = await container.evaluate(el => el.scrollTop);
await container.evaluate(el => {
  el.scrollTop += 300;
});
const after = await container.evaluate(el => el.scrollTop);

console.log({before, after});
To jump to an exact position, assign instead of adding:
await container.evaluate(el => {
  el.scrollTop = 500;
});
If the requested value exceeds the available range, the browser settles at the maximum. A useful bounded calculation is:
await container.evaluate((el, requested) => {
  const maximum = el.scrollHeight - el.clientHeight;
  el.scrollTop = Math.max(0, Math.min(requested, maximum));
}, 500);
Modern Puppeteer also exposes element scrolling through a locator. The official page interaction guide documents locator.scroll({scrollLeft, scrollTop}):
await page.locator('#results').scroll({scrollTop: 300});Use this when your installed Puppeteer version supports the locator API. The evaluate form works across more versions and lets you inspect metrics in the same operation.
3. Send a wheel event over the intended div
Some interfaces attach behavior to wheel events: virtualized lists, custom momentum scrolling, analytics, or infinite loading. In that case, move the pointer into the target’s visible rectangle and dispatch a wheel delta.
const box = await page.$('#results');
if (!box) throw new Error('Results container was not found');

const rect = await box.boundingBox();
if (!rect) throw new Error('Results container is not visible');

await page.mouse.move(
  rect.x + rect.width / 2,
  rect.y + rect.height / 2
);

const before = await box.evaluate(el => el.scrollTop);
await page.mouse.wheel({deltaY: 300});
await page.waitForTimeout(100);
const after = await box.evaluate(el => el.scrollTop);

console.log({before, after});
Puppeteer’s Mouse.wheel() API sends a mouse-wheel event. Pointer location matters: if the cursor is over a nested scroll region, that child may consume the event. Check the target’s position after the wheel and inspect nearby elements when the value does not change.
Wheel scrolling can be smooth or asynchronous. For a deterministic test, prefer scrollTop. For behavior that must resemble a real user gesture, use the wheel method and wait for the page’s resulting work to finish.
4. Reveal a known descendant with scrollIntoView
If your goal is “make this row visible” rather than “move 300 pixels,” scroll the descendant into view. The browser may scroll one or more ancestor containers.
const target = await page.waitForSelector('[data-row-id="invoice-4821"]');
await target.evaluate(el => {
  el.scrollIntoView({block: 'nearest', inline: 'nearest'});
});

const visible = await target.isIntersectingViewport();
console.log({visible});
Puppeteer’s ElementHandle.scrollIntoView() provides the same purpose through the automation protocol. The DOM API supports start, center, end, and nearest block alignment. Its container option can limit scrolling to the nearest ancestor in browsers that support it; otherwise, the browser chooses the relevant ancestors. See MDN’s scrollIntoView documentation.
await page.$eval('#target-row', el => {
  el.scrollIntoView({
    behavior: 'auto',
    block: 'center',
    inline: 'nearest'
  });
});
5. A complete runnable Puppeteer example
The following script opens a page, finds a specific panel, verifies that it can scroll, advances it, and reports the actual movement. Save it as scroll-div.mjs, install Puppeteer with npm install puppeteer, and run node scroll-div.mjs.
import puppeteer from 'puppeteer';

const url = process.argv[2] || 'https://example.com';
const selector = process.argv[3] || '#results';
const amount = Number(process.argv[4] || 400);

const browser = await puppeteer.launch({headless: true});
try {
  const page = await browser.newPage();
  await page.setViewport({width: 1440, height: 900, deviceScaleFactor: 1});
  await page.goto(url, {waitUntil: 'networkidle2', timeout: 60000});

  const panel = await page.waitForSelector(selector, {timeout: 15000});
  const initial = await panel.evaluate(el => ({
    scrollTop: el.scrollTop,
    scrollHeight: el.scrollHeight,
    clientHeight: el.clientHeight,
    overflowY: getComputedStyle(el).overflowY
  }));

  if (initial.scrollHeight <= initial.clientHeight) {
    throw new Error(`Element is not vertically scrollable: ${JSON.stringify(initial)}`);
  }

  await panel.evaluate((el, delta) => {
    el.scrollTop += delta;
  }, amount);

  await page.waitForFunction(
    (sel, oldTop) => document.querySelector(sel)?.scrollTop !== oldTop,
    {}, selector, initial.scrollTop
  ).catch(() => {});

  const final = await panel.evaluate(el => ({
    scrollTop: el.scrollTop,
    maxScrollTop: el.scrollHeight - el.clientHeight
  }));

  console.log(JSON.stringify({selector, initial, final}, null, 2));
} finally {
  await browser.close();
}
The script intentionally fails when the selected element has no overflow. That turns a silent no-op into an actionable error. On an infinite list, the first read may occur before more rows are appended; wait for a row, network request, or application-specific loading marker before measuring again.
6. Choosing the right method
| Goal | Recommended method | Why | Watch for |
|---|---|---|---|
| Move a known container by an exact amount | scrollTop or locator scroll |
Deterministic and easy to verify | Content may be shorter than expected |
| Trigger wheel-driven application logic | Hover plus page.mouse.wheel() |
Produces an input event | Nested elements can consume the wheel |
| Reveal a known row or control | scrollIntoView() |
Aligns the descendant automatically | Ancestors may move as well |
| Capture a fixed visual state | Direct scroll, then screenshot | Stable offset for repeatable images | Wait for fonts, images, and lazy content |
7. Nested scrollbars, lazy loading, and edge cases
Nested containers
When a panel contains another scrolling panel, select the deepest element that owns the content you need. A wheel event can land on the inner panel even when you intended the outer one. Directly setting the chosen element’s scrollTop avoids that ambiguity.
Sticky headers and overlays
scrollIntoView({block: 'start'}) can place a row underneath a sticky header. Use block: 'center' or nearest, then inspect the element’s bounding box against the header rectangle.
Right-to-left and horizontal scrolling
For a horizontal region, use scrollLeft or scroll({scrollLeft: value}). Right-to-left layouts have browser-specific scrollLeft conventions, so verify the resulting position rather than assuming positive values always move in the same visual direction.
Virtualized lists
A virtualized list may render only visible rows. Setting scrollTop can trigger rendering asynchronously. Wait for the desired row selector after scrolling, with a timeout and a clear failure message.
await panel.evaluate(el => { el.scrollTop = el.scrollHeight; });
await page.waitForSelector('[data-row-id="last-row"]', {timeout: 10000});
Shadow DOM
A selector cannot cross a closed shadow root. For an open root, enter it explicitly:
await page.$eval('my-dashboard', host => {
  const panel = host.shadowRoot.querySelector('.results');
  panel.scrollTop = 300;
});
Frames
Elements inside an iframe belong to that frame’s document. Find the frame first, then select and scroll inside it:
const frame = page.frames().find(f => f.url().includes('/embedded-report'));
if (!frame) throw new Error('Report frame not found');
const panel = await frame.waitForSelector('#results');
await panel.evaluate(el => { el.scrollTop = 300; });
8. Verification checklist
- Use a selector that identifies one intended container.
- Read
scrollHeight,clientHeight, andscrollTopbefore scrolling. - Confirm
scrollHeight > clientHeightfor vertical overflow. - For wheel input, move the pointer to the target’s center.
- Read
scrollTopafterward and compare it with the expected range. - Wait for lazy content, virtualized rows, or loading indicators.
- Take a screenshot or inspect a target bounding box only after the layout settles.
9. Troubleshooting common failures
“The selector was found, but scrollTop stays at zero”
The element may not have overflow, may be the wrong match, or may delegate scrolling to a child. Log all matches and their dimensions:
const matches = await page.$$eval('.panel', els => els.map((el, i) => ({
  i,
  text: el.textContent?.slice(0, 80),
  scrollTop: el.scrollTop,
  scrollHeight: el.scrollHeight,
  clientHeight: el.clientHeight,
  overflowY: getComputedStyle(el).overflowY
})));
console.log(matches);
“Wheel scrolling moves the page instead”
The pointer is outside the panel, the panel is covered by an overlay, or a nested child receives the event. Check boundingBox(), move to the visible center, and compare both the page’s and panel’s scroll positions.
“The target row is still hidden”
The row may not exist yet because data is loading, or a sticky header covers it. Wait for the row, use block: 'center', and verify its viewport intersection.
“The script times out while waiting for a selector”
Confirm that navigation reached the expected page, that the element is inside a frame or shadow root, and that authentication or consent UI has not changed the DOM. Use a specific readiness selector instead of relying only on a long delay.
“The screenshot differs between runs”
Fonts, animations, ads, lazy images, and network responses can change layout after scrolling. Disable animations with CSS, wait for fonts and images, use a fixed viewport, and capture only after the target’s dimensions stop changing.
10. Performance, reliability, and cost
Direct element scrolling is usually the cheapest operation in a browser session because it avoids pointer movement and repeated input events. Reuse one browser and page for related captures, avoid unnecessary full-page screenshots, and wait on meaningful selectors rather than arbitrary multi-second delays. For large lists, scroll in measured increments and stop when scrollTop >= scrollHeight - clientHeight.
Reliability improves when selectors use stable attributes, navigation has an explicit timeout, and every scroll is verified. Treat a missing movement as a diagnostic state, not success. If the page uses infinite loading, add a bounded retry loop so a broken endpoint cannot run forever.
Running Chromium yourself means paying for compute, memory, proxy or bandwidth usage, and maintenance of browser versions. A hosted screenshot API can be simpler when you only need an image or PDF and do not need to manage browser processes.
11. Or skip the browser setup
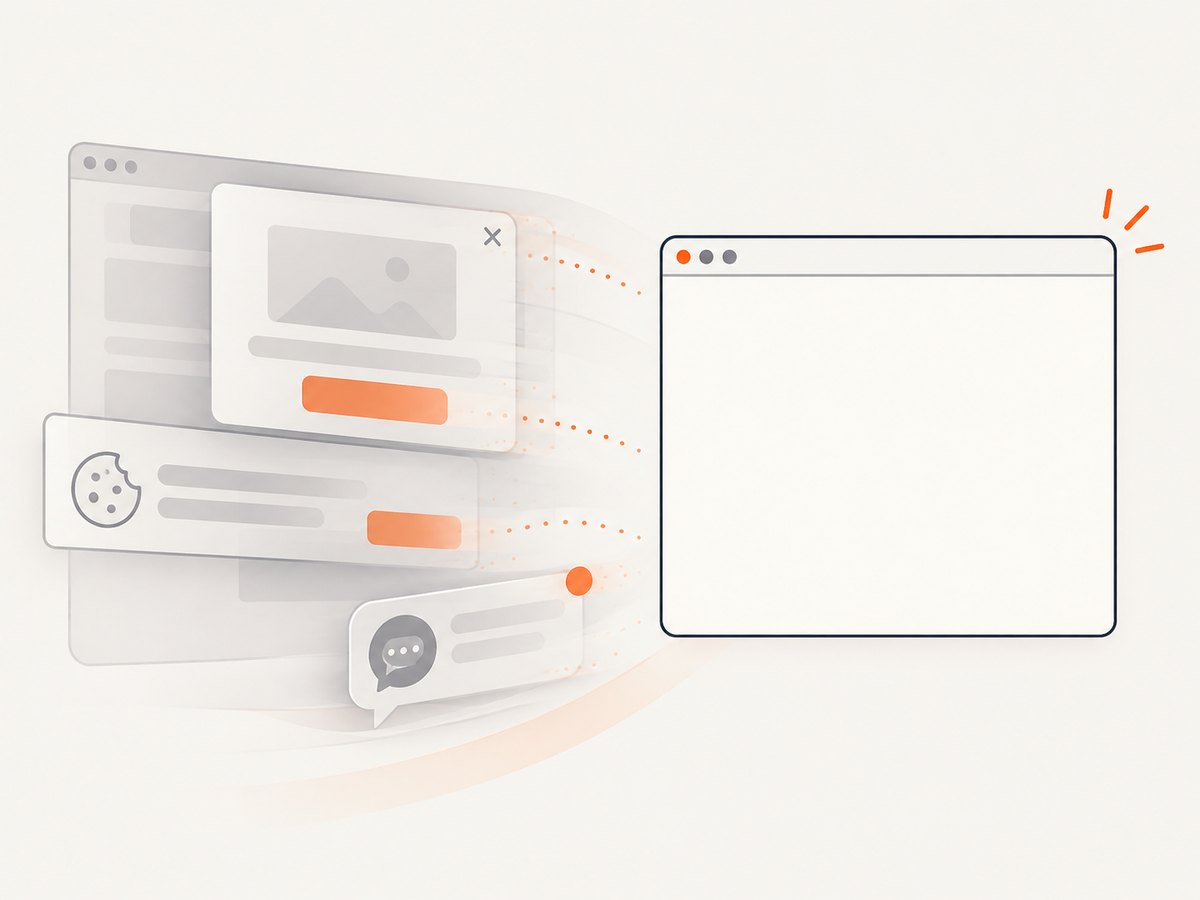
ScreenshotNeo provides a website screenshot API and MCP server. After your page is ready, one GET request returns a PNG, JPEG, WebP, or PDF. Its capture flow accepts cookie and consent banners like a visitor, then removes more than 60 known consent platforms along with newsletter popups and chat widgets before the shot. Each step can be turned off.
Only clean shots are billed. Bot checks or CAPTCHAs, blank pages, timeouts, failed loads, and cache hits cost nothing, and response headers identify the page verdict and whether the request was billed. The MCP server exposes take_screenshot, get_page_info, and capture_pdf for Claude, Cursor, and other MCP clients.
See the ScreenshotNeo API documentation for all options, including full-page capture, element selectors, dark mode, device presets, custom CSS and JavaScript, waits, request blocking, headers, cookies, user agents, timezone, geolocation, resizing, caching, signed links, asynchronous jobs, bulk capture, and usage reporting.
curl -G "https://api.screenshotneo.com/v1/shot" -d access_key=YOUR_API_KEY --data-urlencode url=https://stripe.com -o shot.webpimport requests
r = requests.get("https://api.screenshotneo.com/v1/shot", params={"access_key": "YOUR_API_KEY", "url": "https://stripe.com"}, timeout=90)
open("shot.webp", "wb").write(r.content)const q = new URLSearchParams({ access_key: 'YOUR_API_KEY', url: 'https://stripe.com' });
const res = await fetch(`https://api.screenshotneo.com/v1/shot?${q}`);There are 1,000 free shots each month with no card. Paid plans start at $5 for 3,000 shots; yearly billing gives two months free. Create a free ScreenshotNeo account.
12. FAQ
Can I scroll a div without scrolling the document?
Yes. Set that element’s scrollTop or use its locator scroll method. Verify the element moved afterward.
When should I use wheel events?
Use them when application code depends on real wheel input. Use direct position changes for deterministic automation.
Does scrollIntoView always use the nearest div?
It scrolls relevant ancestors according to browser behavior. Use direct scrollTop when one specific container must move.
How do I know which scrollbar moved?
Record scrollTop for each candidate before and after the action. The changed value identifies the container that consumed the scroll.
Can I capture the result without running Chromium?
Yes. ScreenshotNeo handles the browser session through its API or MCP server and returns the image or PDF response.


