Accessing the Shadow DOM When Taking Screenshots with Puppeteer
Use Puppeteer’s deep selectors to interact with open Shadow DOM, then capture the rendered page with the screenshot options that match your goal.
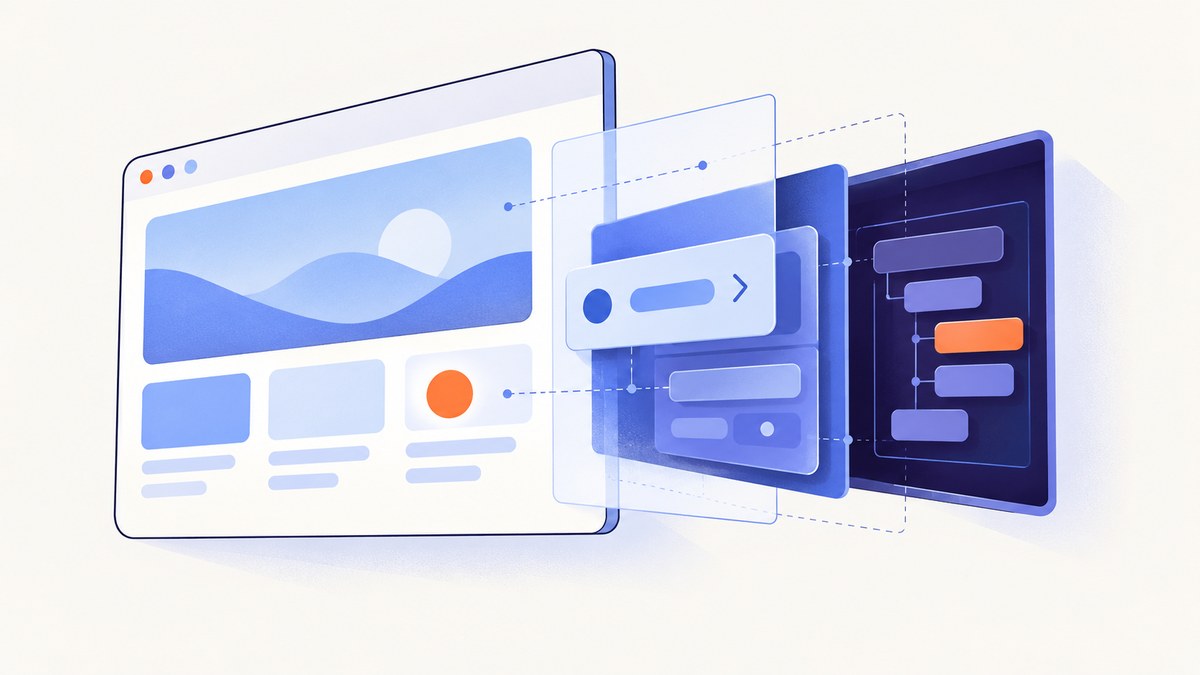
Short answer: Puppeteer takes screenshots of the rendered page with page.screenshot(). If you need to inspect or change an element inside an open shadow root first, use Puppeteer’s deep selector combinators: >>> for any depth and >>>> for the host’s immediate shadow root. Closed shadow roots remain an access boundary for DOM automation, although their rendered appearance can still be captured as part of the page.
Puppeteer’s selector guide explains that ordinary CSS selectors do not cross a shadow boundary, so Puppeteer adds these deep combinators for open roots. The screenshot API then captures the page state you have prepared. See the Puppeteer page-interaction guide and Page.screenshot() API reference.
How do I take a screenshot of a page containing Shadow DOM?
- Launch Chromium and create a page.
- Navigate to the page and wait for the component to render.
- Use a deep selector to locate or interact with a node in an open shadow root.
- Capture the resulting page with
page.screenshot().
import puppeteer from 'puppeteer';

const browser = await puppeteer.launch({
  headless: true
});

try {
  const page = await browser.newPage();
  await page.setViewport({ width: 1440, height: 900, deviceScaleFactor: 1 });
  await page.goto('https://example.com', { waitUntil: 'networkidle2' });

  // Searches through open shadow roots at any depth.
  await page.locator('my-widget >>> button').click();

  // Capture the state after the interaction.
  await page.screenshot({
    path: 'page.png',
    fullPage: true
  });
} finally {
  await browser.close();
}
Replace my-widget and button with selectors from the page you are automating. The locator API waits for an actionable element; if you use lower-level selector methods, add your own wait for the component and its content.
How can I select an element inside a shadow root with Puppeteer?
Use >>> for any open-root depth
const saveButton = page.locator('checkout-app >>> payment-panel >>> button.save');
await saveButton.click();
This searches through open shadow roots at any depth beneath the host. It is useful when a component contains nested web components and you do not want to depend on their exact nesting depth.
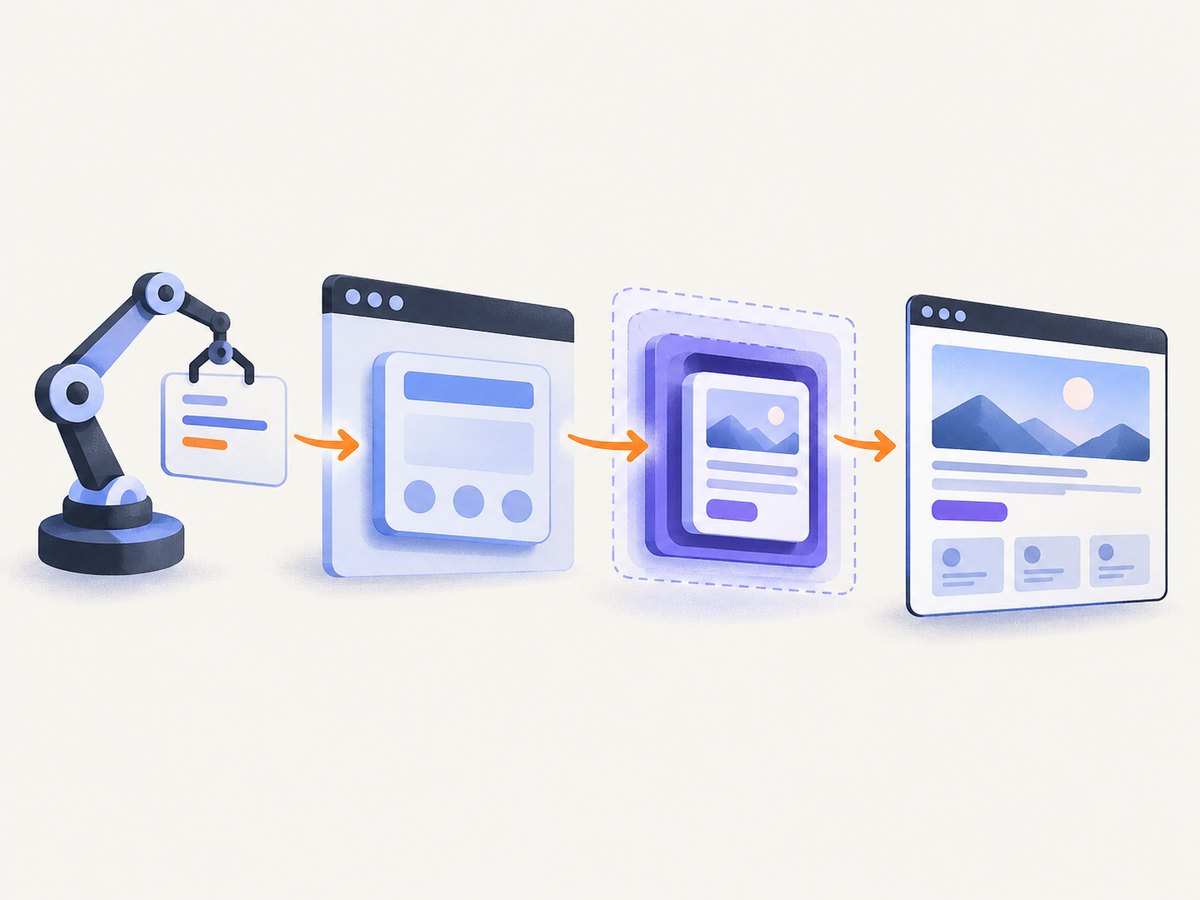
Use >>>> for the immediate shadow root
const heading = page.locator('profile-card >>>> h2');
console.log(await heading.innerText());
The deep-child combinator limits the search to the host’s immediate shadow root. Choose it when you want a tighter selector and know the target is directly inside that root.
Read a value with $eval
const label = await page.$eval(
  'my-widget >>> output.status',
  element => element.textContent?.trim()
);
console.log(label);
$eval passes the matched element to a function that runs in the page context. The selector still follows Puppeteer’s open-root rules.
Selector caveats
- Deep combinators work with open shadow roots. They do not make a closed root scriptable.
- They apply at the first depth of a CSS selector. Do not assume the syntax works when embedded inside complex constructs such as
:is(...). - A missing match can mean the host selector is wrong, the component has not rendered, or the target is inside a closed root.
Make the component reach the state you want to capture
A screenshot records pixels at one moment. Interact with the component, wait for its content, and only then capture.
await page.goto('https://example.com/dashboard', { waitUntil: 'domcontentloaded' });

await page.locator('app-shell >>> tab-bar >>> button[data-tab="reports"]').click();
await page.locator('app-shell >>> report-panel >>> canvas').wait();

// Optional delay for a chart animation or late font load.
await new Promise(resolve => setTimeout(resolve, 500));
await page.screenshot({ path: 'reports.png', fullPage: true });
For deterministic output, prefer a selector that represents the finished state over an arbitrary delay. A delay is still useful for animations, canvas drawing, or third-party content that has no reliable completion element.
Choose the screenshot area and output
Viewport or full page
// Current viewport only
await page.screenshot({ path: 'viewport.png' });

// Entire scrollable page
await page.screenshot({ path: 'full-page.png', fullPage: true });
Clip a region
await page.screenshot({
  path: 'panel.png',
  clip: { x: 120, y: 180, width: 900, height: 620 }
});
clip uses page coordinates. For an element-sized capture, measure its bounding box first and pass the result as the clip rectangle.
const panel = await page.locator('my-widget >>> section.panel').boundingBox();
if (!panel) throw new Error('Panel is not visible');
await page.screenshot({ path: 'panel.png', clip: panel });
Retina-sized output
await page.setViewport({
  width: 1280,
  height: 800,
  deviceScaleFactor: 2
});
await page.screenshot({ path: 'retina.png' });
Transparent background and formats
await page.screenshot({
  path: 'transparent.png',
  omitBackground: true
});

await page.screenshot({
  path: 'photo.jpg',
  type: 'jpeg',
  quality: 85
});
The file extension can infer the image type. The quality option applies to JPEG output, not PNG. Puppeteer returns a Uint8Array when no path is supplied; configure the documented encoding option when you need a base64 string.
Open versus closed Shadow DOM
An open root exposes its internals to code that has a reference to the host, so Puppeteer’s deep selectors can find descendants. A closed root sets the host’s shadowRoot property to null; its internal nodes are intentionally hidden from page JavaScript. See MDN’s attachShadow() documentation.
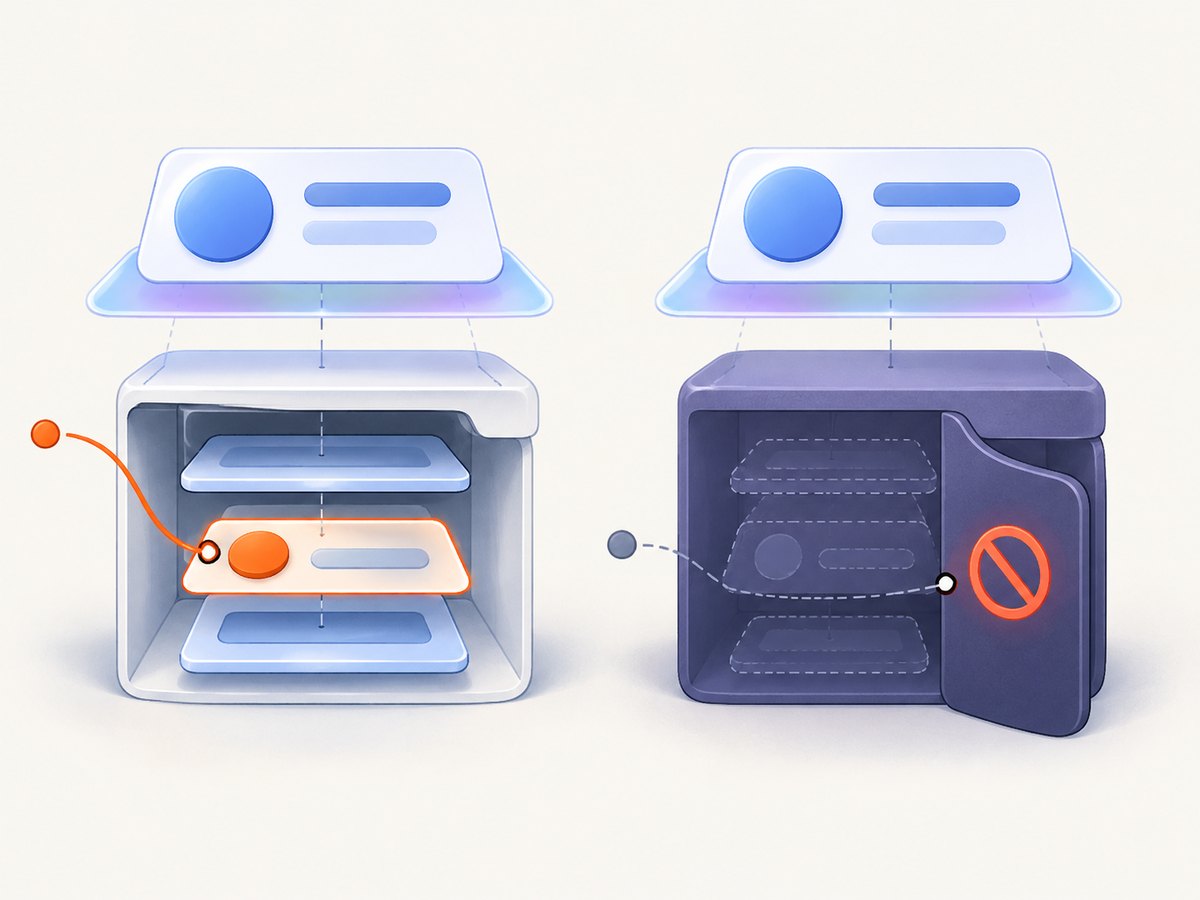
Closed does not mean invisible. Chromium still paints the component, so a normal page screenshot can include it:
await page.goto('https://example.com/component');
await page.screenshot({ path: 'rendered-component.png', fullPage: true });
What you cannot safely do is query or click an internal node that the component has hidden. If you own the component, expose a public method or event for the state you need, or create the root as open when automation access is a requirement. If you do not own it, capture the rendered page or interact through controls exposed outside the closed root.
Complete example with a local test component
This example creates a page containing an open shadow root, clicks a button inside it, and saves the updated page.
import puppeteer from 'puppeteer';

const browser = await puppeteer.launch({ headless: true });
try {
  const page = await browser.newPage();
  await page.setContent(`
    <!doctype html>
    <my-widget></my-widget>
    <script>
      class MyWidget extends HTMLElement {
        connectedCallback() {
          const root = this.attachShadow({ mode: 'open' });
          root.innerHTML = \
            '<button id="toggle">Show details</button>' +
            '<p id="details" hidden>Shadow content is visible.</p>';
          root.querySelector('#toggle').addEventListener('click', () => {
            root.querySelector('#details').hidden = false;
          });
        }
      }
      customElements.define('my-widget', MyWidget);
    </script>\
  `);

  await page.locator('my-widget >>> #toggle').click();
  await page.locator('my-widget >>> #details:not([hidden])').wait();
  await page.screenshot({ path: 'shadow-state.png', fullPage: true });
} finally {
  await browser.close();
}
Troubleshooting
| Symptom | Likely cause | Fix |
|---|---|---|
| Deep selector returns no match | Wrong host selector, component not rendered, or closed root | Inspect the host, wait for rendering, and confirm the root was created with mode: 'open'. |
| Click runs but screenshot shows the old state | Capture happened before the state update or animation finished | Wait for a state-specific selector, then add a short delay only when needed. |
:is(...) selector fails |
Deep combinators have documented placement limits | Split the query into simpler host and descendant selectors. |
| Closed-root internals cannot be queried | The component intentionally hides its shadow tree | Use a public component API, change it to an open root if you own it, or capture the rendered page. |
| Full-page image is unexpectedly tall or incomplete | Lazy content has not loaded or the page changes while scrolling | Scroll or wait for lazy content, then capture; use a clip when only a stable region is needed. |
| Text or icons differ between runs | Fonts, animations, time, or network content are nondeterministic | Wait for fonts and state, disable animations with custom CSS, and control viewport and device scale. |
| Screenshot is blank | Navigation failed, content is blocked, or capture occurred before rendering | Check navigation errors and response status, wait for a visible selector, and capture after the page is usable. |
Performance, reliability, and cost
- Reuse a browser process. Launching Chromium is expensive. Keep one browser alive and create or close pages per job.
- Limit page work. A targeted clip is usually faster and smaller than a full-page capture. Avoid unnecessary third-party requests when they do not affect the image.
- Control concurrency. Too many simultaneous pages increase memory use and can make rendering less consistent. Use a bounded queue.
- Use explicit readiness checks. Waiting for a component’s finished state is more reliable than a fixed sleep alone.
- Set timeouts and cleanup. Apply navigation and selector timeouts, catch failures, and close pages even when a job errors.
- Expect dynamic pages to change. Ads, clocks, animations, geolocation, and authenticated data can make pixel output vary. Freeze those inputs when visual consistency matters.
Puppeteer itself has no per-screenshot charge; your costs are the machine or service running Chromium and the time spent rendering pages. If you need a hosted capture endpoint, ScreenshotNeo provides a single request that returns PNG, JPEG, WebP, or PDF. Its clean-shot pipeline accepts cookie banners and removes more than 60 known consent platforms, newsletter popups, and chat widgets before capture. Only clean shots are billed; bot checks, blank pages, timeouts, failed loads, and cache hits are free, with X-Page-Verdict and X-Billed response headers describing the result.
Or skip the browser setup
ScreenshotNeo is a hosted screenshot API and MCP server. It does not require you to install or maintain Puppeteer for a basic page capture. The API base is https://api.screenshotneo.com/v1/shot; the ScreenshotNeo documentation lists the available parameters.
cURL
curl -G "https://api.screenshotneo.com/v1/shot" \
  -d access_key=YOUR_API_KEY \
  --data-urlencode url=https://stripe.com \
  -o shot.webp
Python
import requests

r = requests.get(
    "https://api.screenshotneo.com/v1/shot",
    params={"access_key": "YOUR_API_KEY", "url": "https://stripe.com"},
    timeout=90,
)
r.raise_for_status()
open("shot.webp", "wb").write(r.content)
Node.js
const q = new URLSearchParams({
  access_key: 'YOUR_API_KEY',
  url: 'https://stripe.com'
});
const res = await fetch(`https://api.screenshotneo.com/v1/shot?${q}`);
if (!res.ok) throw new Error(`Screenshot failed: ${res.status}`);
const fs = await import('node:fs/promises');
await fs.writeFile('shot.webp', Buffer.from(await res.arrayBuffer()));
ScreenshotNeo also supports full-page capture with lazy images loaded, element capture by CSS selector, custom CSS and JavaScript, waits for selectors or network idle, dark mode, device presets and custom viewports, retina scale, cookies, headers, user agents, authorization, timezone, geolocation, request blocking, caching with a chosen TTL, signed links, asynchronous jobs with signed webhooks, bulk capture for up to 100 URLs per call, PDF output, HTML/CSS-to-image, and usage reporting. Its MCP server exposes take_screenshot, get_page_info, and capture_pdf for Claude, Cursor, and other MCP clients.
Cookie banners, popups, and chat widgets are removed before the shot. Bot checks, blank pages, and failed loads are never billed. AI agents can take screenshots through the MCP server. The Free plan includes 1,000 screenshots each month with no card; paid plans start at $5 for 3,000. Create a free ScreenshotNeo account.
FAQ
Can Puppeteer screenshot a closed shadow root?
Yes, as part of the rendered page. No, if your code needs to select or manipulate nodes inside that closed root through normal page JavaScript.
Should I use >>> or >>>>?
Use >>> when the target may be nested at any depth. Use >>>> when it must be in the host’s immediate shadow root.
Do I need a shadow-DOM selector to take a screenshot?
No. Selectors are needed only to inspect or change state before capture. page.screenshot() captures the rendered page without querying shadow internals.
How do I capture only a shadow-DOM component?
Locate the host or an exposed descendant, read its bounding box, and pass that rectangle to clip. This works for an open root and for a closed component when you can identify the host from the light DOM.
Why is my selector valid in DevTools but not Puppeteer?
DevTools may show a shadow tree while ordinary CSS selectors still stop at the boundary. Use Puppeteer’s documented deep combinators and confirm that the root is open.


