Puppeteer vs. Cypress for Screenshots in 2026
Compare Puppeteer and Cypress screenshot workflows, options, and failure capture. Choose the right fit and see when a screenshot API can simplify capture.
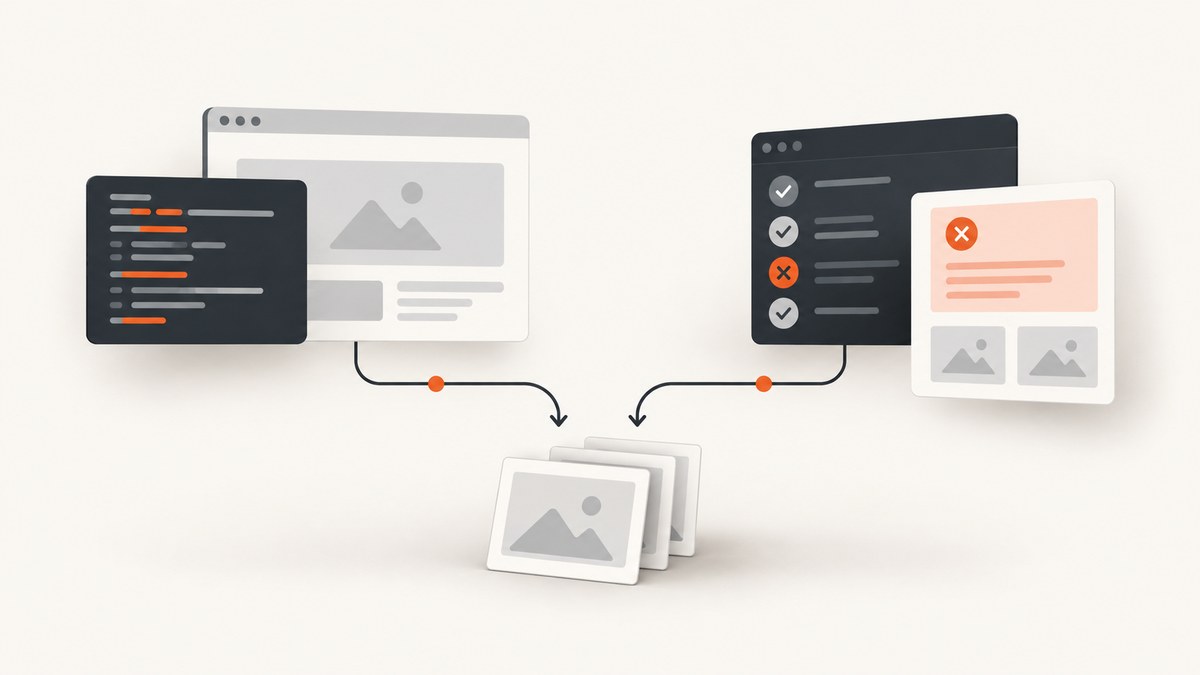
Puppeteer is a good fit when screenshots are outputs of a browser automation script: it offers page and element capture with explicit output and capture options. Cypress is a good fit when screenshots belong inside a Cypress test workflow, especially when you want configured screenshots and automatic failure captures during cypress run. Neither is a universal image-quality or speed winner; the choice is mainly about workflow.
This guide compares the documented capture capabilities, shows runnable examples, covers repeatability and artifact handling, and helps you choose for 2026. For one-off or service-based website capture without managing a browser, ScreenshotNeo is an alternative to try first: it removes known consent banners, popups, and chat widgets before the shot, and only clean shots are billed.
1. The short decision
| Choose | When | Tradeoff to plan for |
|---|---|---|
| Puppeteer | You are writing a script or service that drives a browser and saves page, full-page, clipped, or element screenshots. | You design your own test-failure capture and CI artifact workflow. |
| Cypress | Screenshots are part of Cypress tests, and the team wants Cypress configuration and automatic failure screenshots in cypress run. |
Understand the test runner capture modes, asynchronous capture timing, and configured artifact folder. |
| ScreenshotNeo | You need website screenshots through a hosted API or an MCP tool, rather than a browser automation setup. | It is a service/API workflow; use Puppeteer or Cypress when your tests need to control browser state directly. |
This recommendation follows the documented APIs and guides. The available documentation does not provide a head-to-head speed, accuracy, or reliability benchmark, so those should be decided by evaluating your own pages and CI setup.
2. Puppeteer screenshot capture
Puppeteer’s Page.screenshot() returns a promise and supports page capture options such as full-page capture, clipping, output format, quality, transparent background, encoding, and an optional path. Its element handle screenshot method captures an element and scrolls it into view when needed; it throws if the element has been detached from the DOM. See the Page API, ScreenshotOptions, ElementHandle API, and screenshots guide.
Install and run
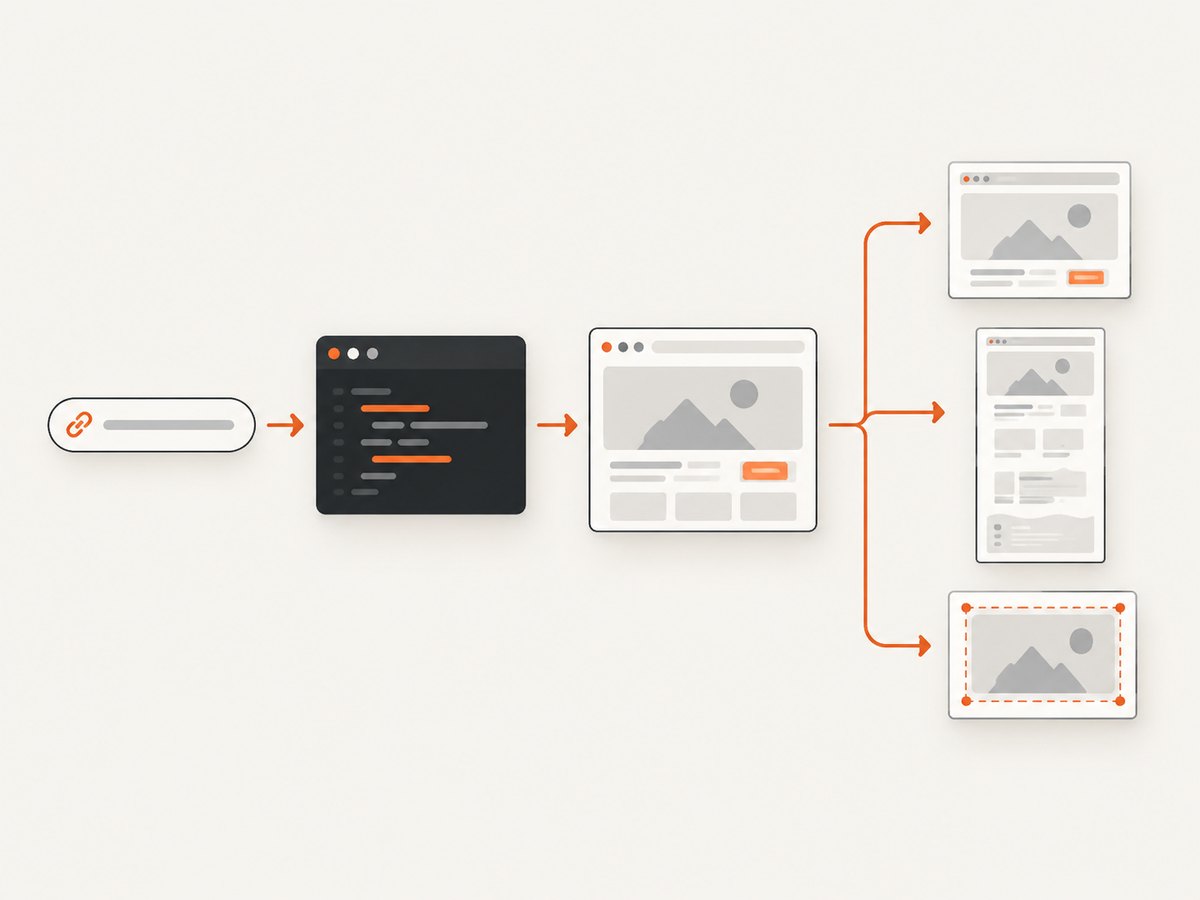
In a new Node project, install Puppeteer and save this as capture.mjs. The package manages its browser setup according to the Puppeteer installation workflow. The code opens a URL, waits for the page load event, and writes viewport and full-page PNGs. Replace the target URL with a page you are allowed to capture.
npm install puppeteer

// capture.mjs
import puppeteer from 'puppeteer';

const browser = await puppeteer.launch();
try {
  const page = await browser.newPage({
    viewport: { width: 1440, height: 900 },
    deviceScaleFactor: 1,
  });
  await page.goto('https://example.com', { waitUntil: 'load' });
  await page.screenshot({ path: 'viewport.png', type: 'png' });
  await page.screenshot({ path: 'full-page.png', type: 'png', fullPage: true });

  const card = await page.$('main');
  if (!card) throw new Error('Expected element main was not found');
  await card.screenshot({ path: 'main.png', type: 'png' });
} finally {
  await browser.close();
}
Run it with node capture.mjs. The try/finally closes the browser even if navigation or capture fails. If your environment has a separately managed Chrome installation, configure Puppeteer launch for that installation and ensure its version is compatible with the installed library.
Useful capture options
fullPage: truecaptures beyond the current viewport. For very long or infinite-scroll pages, first decide how much content you actually need; full-page output can become large and dynamic pages may continue changing.clipcaptures a specified rectangle. Use it when you need a region that is not a single DOM element, and keep coordinates aligned with the page’s viewport and scale.typeselects a supported image format;qualityapplies to lossy formats such as JPEG. Use PNG for crisp UI details and transparency needs, and JPEG when a smaller photographic image matters more than lossless detail.omitBackgroundallows a transparent background where supported by the capture options. Check the resulting format and downstream consumer before relying on alpha.encodingcontrols whether the result is returned in a binary buffer or encoded form;pathwrites a file. For service code, prefer handling returned bytes directly when you need to upload or stream the result.- Element capture is convenient for a selector-backed component. The node must still exist when the screenshot is taken; re-query after navigation or UI changes rather than keeping stale handles.
For repeatable captures, set the viewport and device scale factor explicitly, wait for the page state your image requires, and stabilize app data, fonts, animations, and clocks where your application permits. A load event does not prove that every image or client-rendered component is ready.
3. Cypress screenshot capture
Cypress provides cy.screenshot() for application, element, and runner captures. The documented options include viewport, full-page, and runner modes; clipping and element padding; blackout selectors; and before/after callbacks. Screenshots go to the configured screenshots folder, defaulting to cypress/screenshots. See the screenshot command documentation.
Capture from a test
This example assumes a Cypress project with a base URL configured. Save it as a spec in the project’s configured E2E spec directory, then run that spec with Cypress. Cypress owns and controls its browser instance.
describe('screenshot capture', () => {
  it('saves viewport, full-page, and element screenshots', () => {
    cy.visit('/');
    cy.get('main').should('be.visible');

    cy.screenshot('home-viewport');
    cy.screenshot('home-full-page', { capture: 'fullPage' });
    cy.get('main').screenshot('main-element', { padding: 8 });
  });
});
For a standalone Cypress project, configure a base URL in the project configuration, or change cy.visit('/') to an allowed absolute URL. Cypress’s command can capture the runner as well as the application; select the capture mode deliberately because the runner image answers a different debugging question than a clean page image.
Configure defaults and failure screenshots
Cypress.Screenshot.defaults() configures project-wide capture behavior, including timers and animations, scaling, blackout selectors, and automatic failure screenshots. Cypress documentation states that timers and CSS animations are disabled by default during capture. Automatic failure screenshots apply during cypress run, not cypress open; manual screenshot commands are available in both modes. Refer to Screenshot configuration and the screenshots and videos guide.
// cypress/support/e2e.js
Cypress.Screenshot.defaults({
  screenshotOnRunFailure: true,
  disableTimersAndAnimations: true,
  scale: false,
  blackout: ['.private-content', '[data-sensitive]'],
});
Only include options your project needs, and check the installed Cypress version’s current configuration reference before adopting settings. Blackout selectors are useful for hiding sensitive regions in artifacts, but they are not a substitute for controlling what data enters the test page.
4. Pick based on capture scope and workflow
| Question | Puppeteer | Cypress |
|---|---|---|
| Need a script to save arbitrary page images? | Direct page and element APIs fit this shape. | Possible, but screenshots are naturally organized around a Cypress run and test commands. |
| Need element captures? | Use an element handle screenshot; it scrolls into view and fails if detached. | Use a screenshot command on an element, with padding where needed. |
| Need failure images? | Catch failures in your script or test harness and write the screenshot yourself. | Automatic screenshots on failure are documented for cypress run. |
| Need runner context? | The page is the capture target. | Cypress exposes a runner capture mode in addition to app and element capture. |
| Need shared CI artifacts? | Choose and configure storage/retention in your CI system. | Cypress’s guide describes Cypress Cloud as a companion enterprise service for viewing and sharing run artifacts; Cloud is a separate artifact management choice. |
Browser requirements also matter. Cypress documents Chrome-family browsers and Firefox, with WebKit described as experimental, and says it starts and controls its own browser instance. These facts are not a directly comparable browser support matrix against Puppeteer. Verify requirements for the project and versions you actually deploy using the Cypress browser launch guide and Puppeteer documentation.
5. Repeatability: make the same page produce the same image
Screenshot tests are sensitive to content and timing. A page can differ because data changed, a clock advanced, a font loaded late, an animation moved, or an image was still loading. The screenshot call itself may be asynchronous relative to the app state. Cypress specifically cautions that the application may change before capture and the image may not perfectly represent the state when the command was issued.
- Control the input. Seed test data and use deterministic fixtures. Avoid capturing pages that depend on live feeds or personalized content.
- Set the viewport. Use a fixed width and height, and make the device scale factor or Cypress scaling choice explicit.
- Wait for a meaningful condition. Wait for the target component to be visible and for app-specific readiness, not merely an arbitrary short pause.
- Reduce motion and time variance. Cypress capture defaults disable timers and CSS animations. In either workflow, use application-level controls or injected CSS where appropriate, while recognizing that disabling animation can change the state you intend to document.
- Choose a scope. Prefer a component screenshot when the regression is local; use full-page capture when layout relationships across the page matter.
- Keep the browser context stable. Pin project dependencies and browser versions in CI, and run the same configuration locally when investigating diffs.
There is no documented universal winner for visual stability in the sources gathered for this comparison. Validate the pages, data, fonts, and browser runtime used by your own project before adopting image-diff thresholds.
6. Artifacts, performance, reliability, and cost
Neither tool’s screenshot API documentation establishes a universal capture-speed figure or a cost per image. For a self-managed workflow, practical cost comes from the browser runtime and CI time, storage, retention, and engineering work needed to keep captures deterministic. A browser can be reused for several pages in a script, but isolate state when cookies, local storage, or authentication could leak between captures.
Large full-page images take more memory and storage than viewport or element images. Keep output format, dimensions, retention, and artifact upload policy aligned to the use case. Store screenshots on failure when they help diagnose regressions; avoid uploading sensitive data. Cypress saves to its configured screenshots folder, while sharing and retention depend on the artifact workflow you configure. Cypress Cloud is an optional companion service described in the Cypress guide, not a requirement to take screenshots.
For reliability, handle navigation and capture errors explicitly, close browser resources in cleanup paths, and ensure a failed test still preserves enough context to debug. In Cypress, check whether the run mode matches expectations: automatic failure screenshots happen in cypress run. In a custom Puppeteer script, add your own exception handling and artifact upload logic.
7. Or skip the browser setup
For a website screenshot without managing a browser process, you can make one GET request to ScreenshotNeo’s API. The same parameter names used by other screenshot APIs work, which can make a switch straightforward. Here is the required Node.js call, saving the response bytes to a file:
const q = new URLSearchParams({ access_key: 'YOUR_API_KEY', url: 'https://stripe.com' });
const res = await fetch(`https://api.screenshotneo.com/v1/shot?${q}`);
if (!res.ok) throw new Error(`Screenshot request failed: ${res.status}`);
await Bun.write('shot.webp', res);
With Node.js on versions that provide global fetch, use filesystem write instead:
import { writeFile } from 'node:fs/promises';
const q = new URLSearchParams({ access_key: 'YOUR_API_KEY', url: 'https://stripe.com' });
const res = await fetch(`https://api.screenshotneo.com/v1/shot?${q}`);
if (!res.ok) throw new Error(`Screenshot request failed: ${res.status}`);
await writeFile('shot.webp', Buffer.from(await res.arrayBuffer()));
Here are the equivalent cURL and Python calls:
curl -G "https://api.screenshotneo.com/v1/shot" -d access_key=YOUR_API_KEY --data-urlencode url=https://stripe.com -o shot.webpimport requests
r = requests.get("https://api.screenshotneo.com/v1/shot", params={"access_key": "YOUR_API_KEY", "url": "https://stripe.com"}, timeout=90)
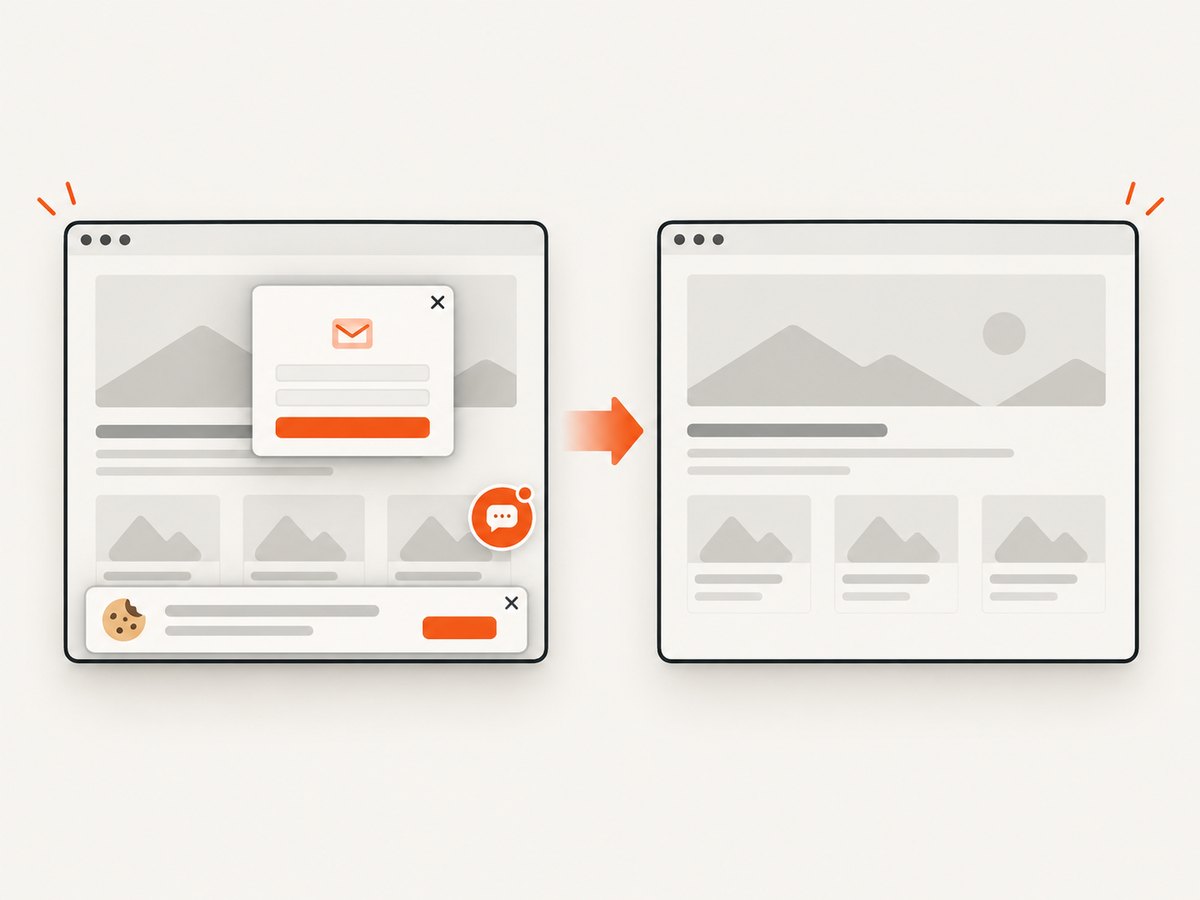
open("shot.webp", "wb").write(r.content)ScreenshotNeo accepts consent banners like a visitor and removes 60+ known consent platforms, newsletter popups, and chat widgets before capture; each cleanup step can be turned off. Bot checks/CAPTCHAs, blank pages, timeouts, failed loads, and cache hits cost nothing, and response headers say which outcome occurred. Its MCP server gives AI agents tools named take_screenshot, get_page_info, and capture_pdf. The Free plan includes 1,000 shots each month with no card; paid plans start at $5 for 3,000. Sign up for 1,000 free screenshots a month, no card required.
8. Troubleshooting
| Symptom | Likely cause | Fix |
|---|---|---|
| Puppeteer cannot find the target element | The selector is wrong, the page has not rendered it, or navigation replaced the node. | Wait for a meaningful selector/state, confirm the selector in the loaded page, and query again after navigation. |
| Element screenshot throws because the node detached | The element was removed or replaced between lookup and capture. | Re-query immediately before capture and prevent the app from rerendering that region during the capture window. |
| Screenshot is blank or missing content | Capture began before client-rendered content, fonts, or images were ready, or navigation reached an error page. | Wait for the actual content condition, inspect page errors and network behavior, and verify the final URL. |
| Full-page capture is unexpectedly huge | The page is long, includes unbounded content, or its dimensions exceed the intended artifact. | Capture a viewport or element, constrain page content, or use a deliberate clip. |
| Cypress failure image is absent in interactive mode | Automatic failure screenshots are documented for cypress run, not cypress open. |
Run the spec with cypress run when checking automatic failure capture, or call cy.screenshot() manually. |
| Cypress image shows a later app state | Capture is asynchronous, so the application can change before the image is taken. | Wait for stable app state immediately before the screenshot and avoid scheduling state changes across capture. |
| Artifacts are hard to find in CI | Output paths or CI upload rules differ from local expectations. | Check Cypress’s configured screenshots folder or Puppeteer’s explicit path, and configure CI to retain and expose those files. |
| Visual diffs vary between machines | Viewport, browser/runtime, fonts, data, or timing differs. | Pin dependencies and browser context, set dimensions, control fixtures and fonts, and stabilize animations and clocks. |
9. Frequently asked questions
Can Cypress take screenshots outside a test?
The documented command is a Cypress command used within Cypress’s execution workflow. If the task is a general-purpose screenshot script, Puppeteer’s page API or a hosted screenshot API is a more direct shape.
Does Cypress Cloud have to be enabled to save an image?
No. The Cypress guide describes Cloud as a companion enterprise service for viewing and sharing run artifacts. The screenshot command itself saves to the project’s screenshots folder.
Which should I use for visual regression testing?
Use the tool already responsible for your test workflow: Cypress for Cypress tests and failure artifacts, Puppeteer for a custom browser automation pipeline. Set a deterministic page state and compare on the actual CI browser before setting thresholds.
Does this comparison show which renders faster?
No. The cited official documentation describes APIs and workflows, not a head-to-head benchmark. Measure your own target pages and environment if capture time is a deciding factor.
Which Puppeteer documentation version is cited?
The researched API reference displayed a version label of 25.12.0. That label is not a release date and does not establish which version is installed in your project; check your dependency lockfile and current docs when implementing.