How to Click by Coordinates Inside a Window with Python
Convert window-local coordinates into screen coordinates with PyAutoGUI, handle scaling and movement, and avoid brittle clicks.
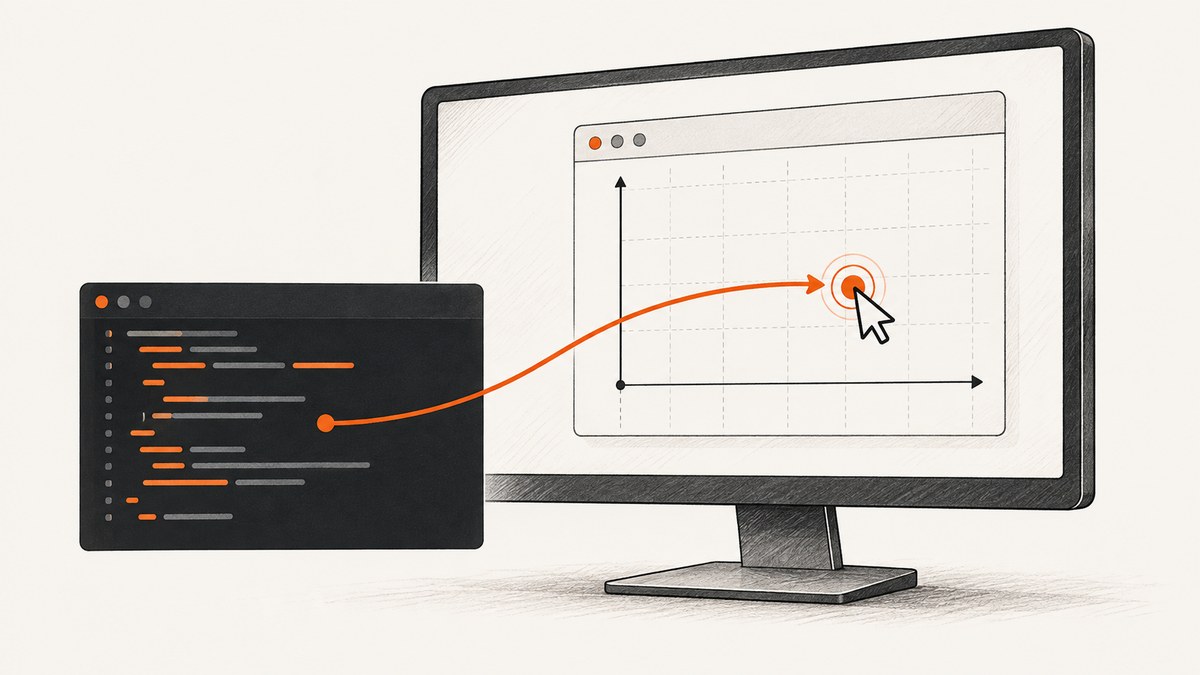
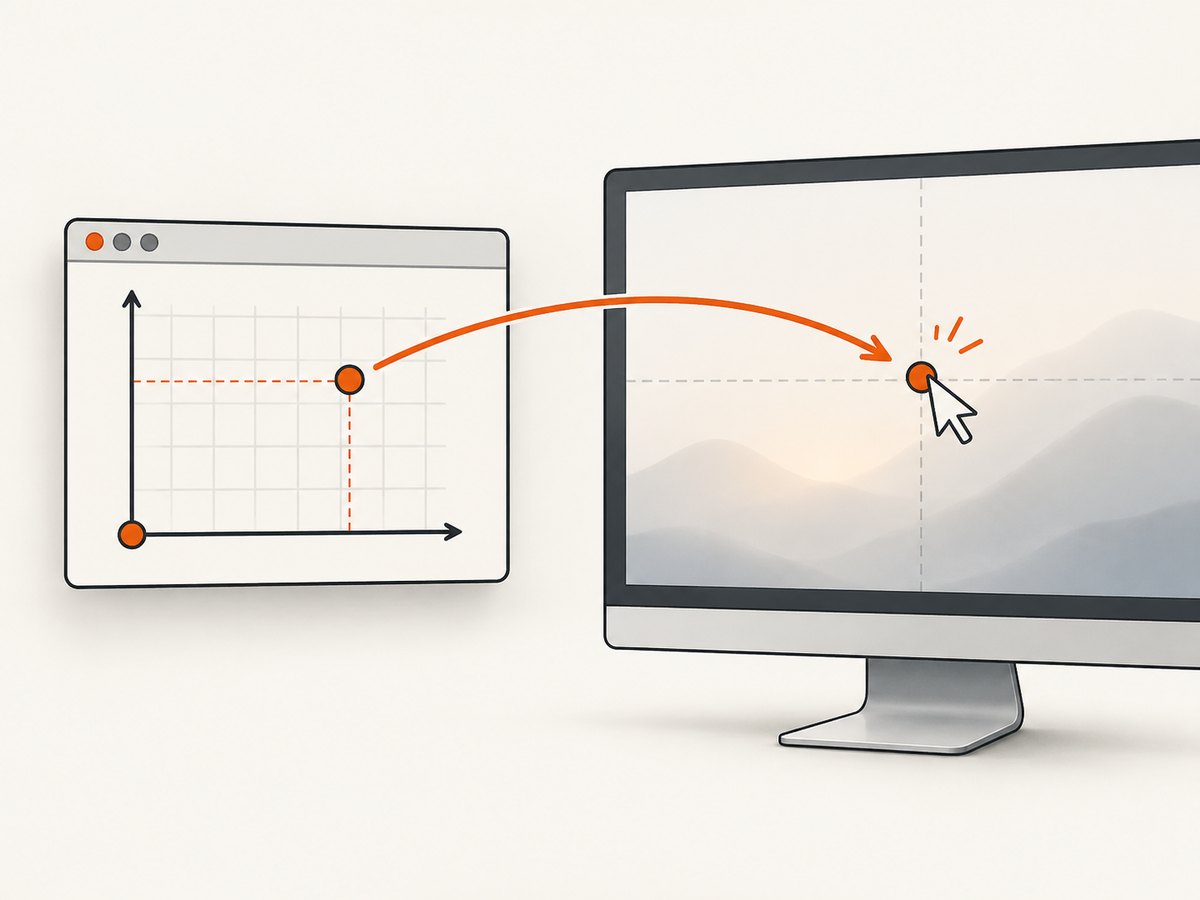
PyAutoGUI clicks use screen coordinates. To click at a position inside a particular window, first find that window or its content area’s current screen origin, then add the local offset to that origin:
screen_x = window_left + local_x
screen_y = window_top + local_y
pyautogui.click(screen_x, screen_y)
The screen origin is the upper-left corner. x increases to the right and y increases downward. PyAutoGUI does not automatically interpret coordinates relative to a selected application window. The conversion is simple, but reliable automation depends on defining the correct origin, accounting for window movement and display scaling, and checking that the target is still where you expect it to be.
1. Understand the coordinate systems
There are usually three coordinate systems involved:
| System | Origin | Typical use |
|---|---|---|
| Screen | Top-left of the desktop or virtual desktop | PyAutoGUI mouse movement and clicks |
| Window frame | Top-left of the application’s outer border | Window-management APIs |
| Client or content area | Inside the title bar, borders, and toolbars | Coordinates measured from the visible application content |
If your target was measured 120 pixels from the content area’s left edge and 80 pixels below its top edge, you must add those values to the content area’s screen origin. Adding them to the outer frame can shift the click by the title-bar height, border width, or toolbar height.
The PyAutoGUI mouse documentation describes screen-based coordinates and the click() API. It does not provide a portable function that selects a window and converts client coordinates for every operating system.
2. Install PyAutoGUI and prepare a safe test
Install the library in the environment that will run the automation:
python -m pip install pyautoguiOn Linux, the installation documentation also lists additional requirements such as scrot and Tkinter. Package and permission requirements vary by distribution and desktop session, so check the installation guide for the host you use.
Keep PyAutoGUI’s fail-safe enabled while developing. Moving the pointer to the upper-left corner raises FailSafeException, giving you an emergency stop. A pause between calls also makes behavior easier to observe:
import pyautogui

pyautogui.PAUSE = 0.2
pyautogui.FAILSAFE = True

print(pyautogui.size())
print(pyautogui.position())
Run this with a harmless target. Do not begin with a loop that clicks, submits, or deletes data.
3. Convert a window-local point to a screen point
The following script is complete and runnable. It asks for the current screen origin and the desired offset, shows the calculated point, and requires an explicit confirmation before clicking.
import pyautogui

pyautogui.PAUSE = 0.2
pyautogui.FAILSAFE = True

print('Move or focus the target window, then enter its content origin.')
window_left = int(input('Content origin left (screen x): '))
window_top = int(input('Content origin top (screen y): '))
local_x = int(input('Local x offset: '))
local_y = int(input('Local y offset: '))

screen_x = window_left + local_x
screen_y = window_top + local_y

print(f'Calculated screen point: ({screen_x}, {screen_y})')
print('Move the pointer to the upper-left corner to abort.')
answer = input('Type CLICK to continue: ')
if answer == 'CLICK':
    pyautogui.click(screen_x, screen_y)
    print('Clicked.')
else:
    print('Cancelled.')
This pattern is intentionally explicit: the origin must be measured or obtained from a window API at the time of the action. A saved origin becomes invalid when the window is moved, resized, restored from maximized state, placed on another monitor, or affected by a display-scale change.
Choosing the origin
- Decide whether your local coordinates start at the outer frame, client area, or a specific content region.
- Use a window-management API appropriate to the operating system to obtain that same origin in screen coordinates.
- Recalculate immediately before an action if the window can move or resize.
- Capture a screenshot or move the pointer to the calculated point and inspect it before enabling repeated clicks.
The exact API is platform-specific. The PyAutoGUI roadmap has discussed window enumeration and window-relative actions as future work; do not treat those roadmap items as functions available in the basic PyAutoGUI API.
4. Find a target without hard-coding a window position
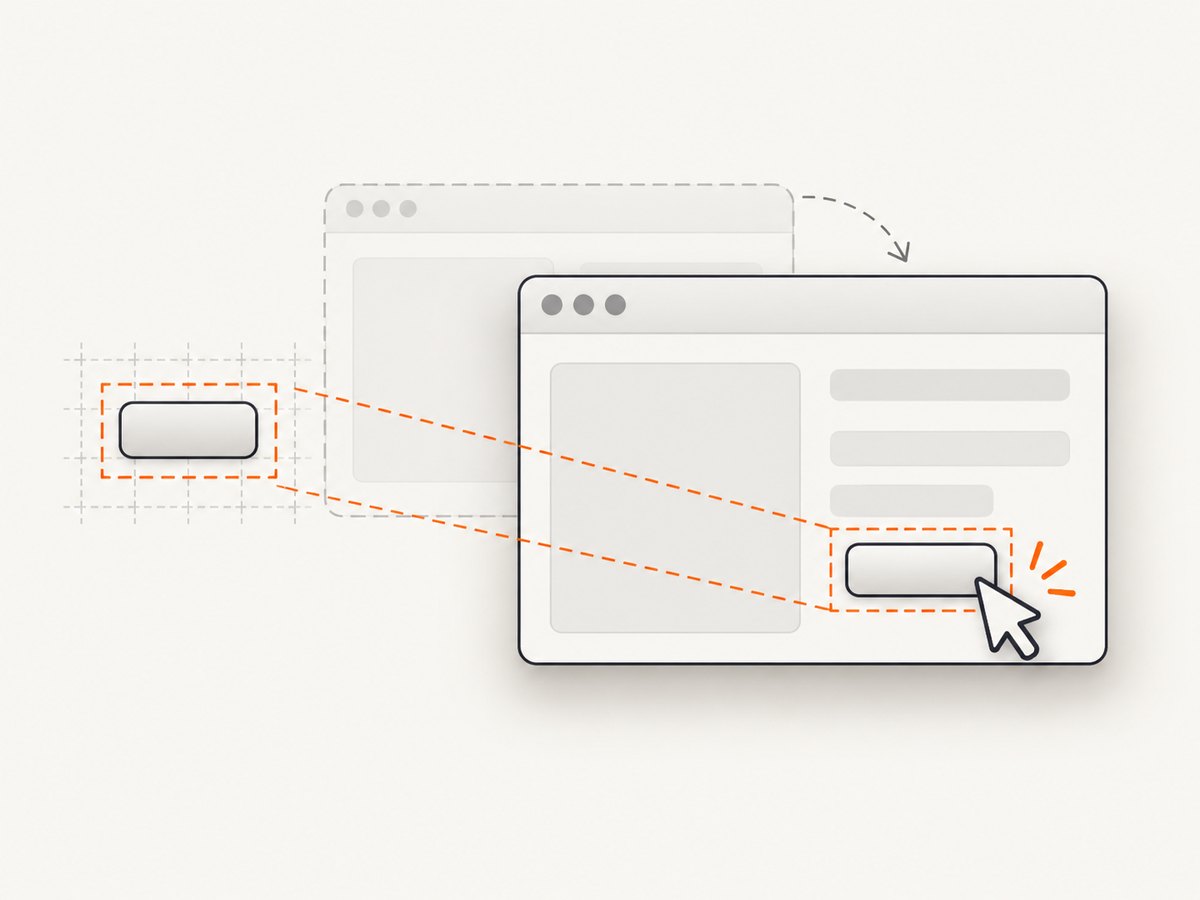
When a visual target remains recognizable but the window moves, image matching can be more robust than a fixed origin. PyAutoGUI can search the screen for a reference image and return a bounding box in screen coordinates:
import pyautogui

pyautogui.PAUSE = 0.2
pyautogui.FAILSAFE = True

box = pyautogui.locateOnScreen('save_button.png', confidence=0.9)
if box is None:
    raise RuntimeError('Target image was not found')

point = pyautogui.center(box)
pyautogui.click(point.x, point.y)
The screenshot and image-location documentation explains region limits and image matching. Restricting the search to a known region can reduce work:
box = pyautogui.locateOnScreen(
    'save_button.png',
    region=(window_left, window_top, content_width, content_height),
    confidence=0.9,
)
Image matching still depends on pixels. Display scaling, theme changes, localization, animation, anti-aliasing, and a different icon can make a match fail. Keep reference images at the same scale as the target or generate them for each supported scale.
5. Use control-aware automation when possible
For standard controls on Windows, a control-aware library can be preferable to guessing a pixel. pywinauto can identify windows and controls through supported backends and also documents mouse operations. The correct backend depends on whether the application uses Win32, UI Automation, Qt, or another framework.
A control-aware action is useful when a button exposes a stable name or automation identifier. It is less useful for a canvas, game, remote desktop, or custom-rendered surface where there is no accessible control tree. Verify the selected control and backend against the application before building a workflow around it.
6. Multi-monitor and display-scaling edge cases
- Virtual desktop coordinates: a monitor positioned to the left or above the primary display can produce negative screen coordinates. Do not assume every valid point is positive.
- High-DPI scaling: an application, operating system, and screenshot tool may report physical pixels and logical pixels differently. Measure and click in the same coordinate space.
- Window borders: frame coordinates and client coordinates differ. Include the title bar and border only if your measurement includes them.
- Maximized windows: maximizing can move the content origin and change available dimensions. Re-read the geometry after the state change.
- Remote desktops and virtual machines: reconnects can change resolution, scaling, or session permissions.
- Occlusion: a correct coordinate can still click the wrong application if another window covers the target.
Before a consequential click, compare pyautogui.position() and a current screenshot with the expected target. Treat coordinate conversion as geometry, not as proof that the intended control is visible.
7. Build a reliable click routine
A production routine should validate inputs, check the current screen, and stop on uncertainty:
import time
import pyautogui

pyautogui.PAUSE = 0.15
pyautogui.FAILSAFE = True

def click_local(origin, offset, bounds=None):
    left, top = origin
    local_x, local_y = offset
    if local_x < 0 or local_y < 0:
        raise ValueError('Offsets must be non-negative')
    if bounds is not None:
        width, height = bounds
        if local_x >= width or local_y >= height:
            raise ValueError('Offset is outside the content bounds')
    screen_point = (left + local_x, top + local_y)
    print(f'About to click {screen_point}; move to (0, 0) to abort')
    time.sleep(2)
    pyautogui.click(*screen_point)

# Refresh this from your window API immediately before calling.
origin = (300, 140)
click_local(origin, (120, 80), bounds=(1280, 800))
For repeated work, add a post-click verification step such as locating a confirmation image or checking a page state. A fixed delay alone does not prove that the application accepted the input.
8. Troubleshooting
| Symptom | Likely cause | Fix |
|---|---|---|
| Click lands above or below the target | Outer frame used instead of client origin | Measure the content origin and include title-bar and border offsets only once. |
| Works on one monitor but not another | Different scaling or virtual-desktop coordinates | Measure in the active session and test negative coordinates where applicable. |
| Click drifts after moving the window | Origin was cached | Refresh window geometry before each action or use image matching. |
locateOnScreen returns None |
Scale, theme, animation, or reference mismatch | Capture a new reference, restrict the region, wait for rendering, and adjust confidence carefully. |
FailSafeException |
Pointer reached the upper-left corner | Move the pointer away, inspect why it happened, and keep the fail-safe enabled during development. |
| No mouse movement occurs | Desktop permissions, inactive session, or remote-session restrictions | Check OS accessibility/input permissions and run in an interactive desktop session. |
| Script clicks too early | Window or content has not finished rendering | Wait for a selector, image, or known state instead of relying only on a fixed sleep. |
| Wrong control receives the click | Window was covered or focus changed | Activate and verify the target window, then validate the visible state before clicking. |
9. Performance, reliability, and cost
Direct coordinate clicks are fast because they avoid image analysis. Their reliability is tied to stable geometry. Image matching costs more CPU and can become slow across a full high-resolution desktop; search only the relevant region. Control-aware automation can be more stable for accessible applications, but it adds a platform and framework dependency.
Keep actions idempotent where possible, log the origin and final screen point, and save a diagnostic screenshot when validation fails. Use bounded retries with a clear stop condition. Never hide the fail-safe or remove confirmation while debugging.
PyAutoGUI itself has no per-click service charge. Your practical costs are engineering time, desktop permissions, and the maintenance required when the UI changes. If the real task is capturing a web page rather than interacting with a desktop application, browser automation may be unnecessary.
10. Or skip the browser setup
For website screenshots, ScreenshotNeo provides a single HTTP request that returns PNG, JPEG, WebP, or PDF. It accepts cookie and consent banners before capture and removes more than 60 known consent platforms, newsletter popups, and chat widgets. Bot checks, blank pages, timeouts, failed loads, and cache hits are not billed; response headers identify the page verdict and whether the shot was billed.
See the ScreenshotNeo API documentation for all options, including full-page capture with lazy images, element selectors, device presets, dark mode, custom CSS and JavaScript, waits, request blocking, headers, cookies, geolocation, caching, signed links, asynchronous jobs, bulk capture, and PDF settings.
cURL
curl -G 'https://api.screenshotneo.com/v1/shot' \
  -d access_key=YOUR_API_KEY \
  --data-urlencode url=https://stripe.com \
  -o shot.webp
Python
import requests

r = requests.get(
    'https://api.screenshotneo.com/v1/shot',
    params={'access_key': 'YOUR_API_KEY', 'url': 'https://stripe.com'},
    timeout=90,
)
r.raise_for_status()
open('shot.webp', 'wb').write(r.content)
Node.js
const q = new URLSearchParams({ access_key: 'YOUR_API_KEY', url: 'https://stripe.com' });
const res = await fetch(`https://api.screenshotneo.com/v1/shot?${q}`);
if (!res.ok) throw new Error(`HTTP ${res.status}`);
const data = Buffer.from(await res.arrayBuffer());
require('node:fs').writeFileSync('shot.webp', data);
An MCP server also provides take_screenshot, get_page_info, and capture_pdf tools for Claude, Cursor, and other MCP clients. Free accounts include 1,000 screenshots per month with no card; paid plans start at $5 for 3,000 shots. Create a free ScreenshotNeo account.
11. FAQ
Does PyAutoGUI accept window-relative coordinates?
No. Its mouse functions use screen coordinates. Add a local offset to a current window or content origin yourself.
Should I add the title-bar height?
Only if your origin is the outer frame and your offset was measured from the client or content area. Define one origin and keep all measurements consistent.
Can this work across Windows, macOS, and Linux?
PyAutoGUI documents support for all three, but window discovery, permissions, scaling, and session behavior are operating-system dependent.
When is image matching better?
Use it when the window moves but the target appearance stays stable. It remains sensitive to scaling, themes, and visual changes.
When should I avoid coordinate clicking?
Avoid it when the application exposes accessible controls, when the UI changes frequently, or when a wrong click has serious consequences. Prefer control-aware actions or a direct API.


