How to Capture Website Screenshots in Rails 3.1 Without a Service
Use Selenium with Rails 3.1 to capture a URL, follow redirects, save a viewport PNG, and crop its top-left 100×100 pixels.
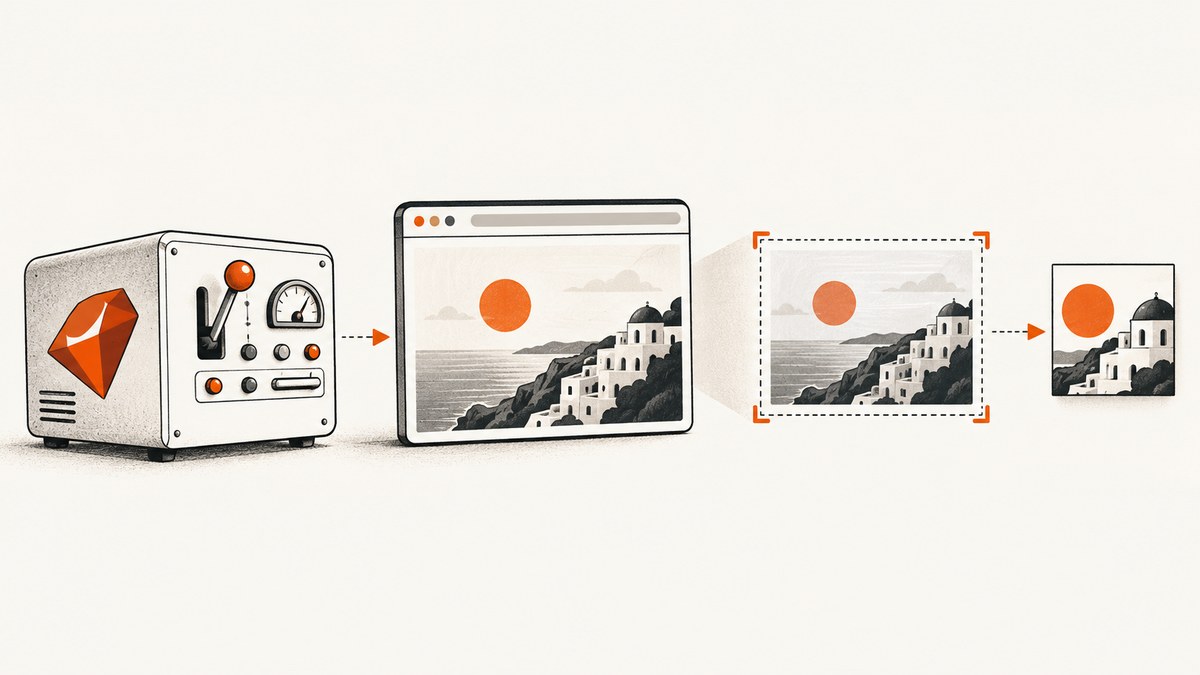
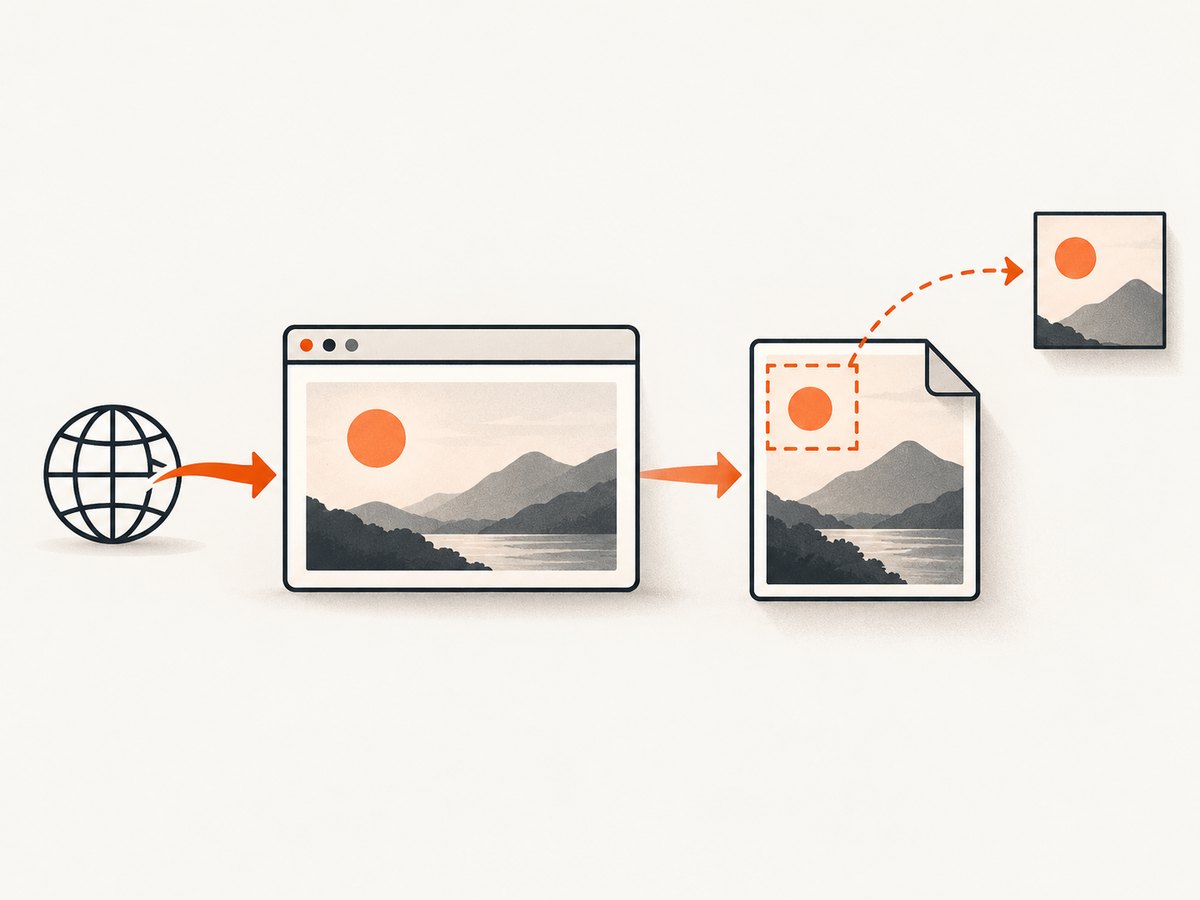
Direct answer: Rails 3.1 does not need a special screenshot API. Run a Ruby script with Selenium WebDriver, an installed browser and a matching browser driver. Navigate to the supplied URL, save the browser viewport as a PNG, then crop the saved file separately. Selenium follows ordinary HTTP redirects during browser navigation, but authentication redirects, JavaScript navigation, anti-bot checks and timeouts need application-specific handling.
The original Rails 3.1 question used Firefox, resized the window to 1024×728, saved a PNG and quit the driver. That community example is documented in the original Stack Overflow answer. Selenium’s screenshot operation captures the viewport; it does not crop the image for you. The crop is a second operation, using ImageMagick, RMagick or another image library.
What you need
- Rails 3.1 and the Ruby runtime used by the application (the original question used Ruby 1.9.2).
- A browser installed where the capture process runs.
- A compatible Selenium WebDriver Ruby gem, browser driver and browser.
- Write permission for the output directory.
- ImageMagick or an image-processing library if you need the 100×100 crop.
Browser dependencies are the main operational constraint. A server-side process cannot capture a page unless a browser and driver are available in that environment. Historical Selenium Ruby documentation recorded support for Ruby 1.9.2 through 2.1, while current Selenium Ruby documentation requires MRI 3.3 or newer. Do not copy current gem instructions into a Ruby 1.9.2 application without finding and pinning versions that work with your exact Ruby, operating system, browser and driver. See the historical Ruby binding notes and the current API requirements.
Minimal Rails 3.1 Selenium capture
Put capture code in a service object, rake task or background job rather than running it inside a controller request. This example follows ordinary redirects, captures the viewport and always attempts to close the browser.
require 'selenium-webdriver'

url = ARGV[0] || 'http://example.com'
output = ARGV[1] || '/tmp/screenshot.png'
width = 1024
height = 728

driver = Selenium::WebDriver.for :firefox
begin
  driver.manage.window.resize_to(width, height)
  driver.navigate.to(url)
  driver.save_screenshot(output)
  puts "Saved #{output}"
ensure
  driver.quit if driver
end
The older community example used JavaScript window.resizeTo; driver.manage.window.resize_to expresses the same intent through Selenium. Selenium API details vary by release, so use the method signature documented by the version you pin. Selenium 3.12.0 documents save_screenshot(png_path); current documentation may differ. Consult the Selenium screenshot API and the versioned 3.12.0 API instead of mixing examples from different releases.
Run it from a Rails application
Create a file such as script/capture_site.rb and invoke it with the same Ruby installation that runs Rails:
ruby script/capture_site.rb https://example.com /tmp/example.pngFor a Rails service object:
class WebsiteScreenshot
  def self.call(url, output_path, width: 1024, height: 728)
    driver = Selenium::WebDriver.for :firefox
    begin
      driver.manage.window.resize_to(width, height)
      driver.navigate.to(url)
      driver.save_screenshot(output_path)
    ensure
      driver.quit if driver
    end
    output_path
  end
end
Queue this work in a background job when a browser launch could exceed your web request timeout. Limit concurrency so each worker has enough CPU, memory and temporary disk space.
Crop the top-left 100×100 pixels
Capture first, crop second. The crop origin is (0,0), the top-left corner of the screenshot.
ImageMagick command line
convert /tmp/screenshot.png -crop 100x100+0+0 +repage /tmp/screenshot-crop.pngOn ImageMagick versions that use the newer executable name:
magick /tmp/screenshot.png -crop 100x100+0+0 +repage /tmp/screenshot-crop.pngRMagick example
require 'rmagick'

image = Magick::Image.read('/tmp/screenshot.png').first
image.crop(0, 0, 100, 100).write('/tmp/screenshot-crop.png')
If the viewport is smaller than 100×100, the resulting crop cannot contain the requested region. Set both viewport dimensions to at least 100 pixels and account for browser chrome or operating-system window management when using non-headless Firefox.
Headless operation and browser setup
A server usually has no desktop display. Use a browser’s headless mode when supported by the browser and the Selenium version you have pinned. The exact Firefox or Chrome option names depend on the old driver and browser combination, so verify them in that combination before deploying.
A practical setup checklist is:
- Install the browser on the same host as the Ruby process.
- Install the matching driver and make it available on
PATH, or configure its explicit path using the API supported by your pinned Selenium version. - Run a one-URL smoke capture under the service account that will run production jobs.
- Confirm that the process can write the output directory and create temporary browser files.
- Record the Ruby, Selenium gem, browser and driver versions with each deployment.
Waiting for a page to become capture-ready
navigate.to returns after the browser considers navigation complete, but modern pages can continue rendering asynchronously. If your target has a stable marker, wait for that element before saving the screenshot.
wait = Selenium::WebDriver::Wait.new(timeout: 20)
wait.until { driver.find_element(css: '#content').displayed? }
driver.save_screenshot('/tmp/ready.png')
For a fixed animation or delayed widget, a bounded sleep can be used as a last resort:
sleep 2
driver.save_screenshot('/tmp/after-delay.png')
Prefer a DOM condition when possible. A fixed delay increases latency and still may be too short for a slow page.
Redirects, authentication and difficult pages
| Case | What the basic script does | What you must add |
|---|---|---|
| HTTP 301/302 redirects | Browser navigation normally follows them. | Check the final URL when redirect behavior matters. |
| JavaScript navigation | May continue after navigate.to. |
Wait for a final URL or page selector. |
| Login redirect | Captures the login page unless a session exists. | Authenticate in the browser, load cookies, or use a test account. |
| CAPTCHA or bot check | May capture the challenge or fail to load. | Do not assume the requested page was reached; detect and report the result. |
| Slow or failing resources | May produce a partial or blank image. | Set bounded timeouts and validate the output before accepting it. |
| Cross-origin content | Browser security still applies. | Use browser-visible behavior; do not expect JavaScript access to another origin. |
Capybara for Rails acceptance tests
Use direct Selenium for a standalone URL-to-image utility. Use Capybara when the screenshot belongs to an acceptance or integration test session. The capybara-screenshot documentation explains that screenshots depend on the active driver: Rails’ default Rack::Test driver does not render a browser screenshot, so a real browser or headless browser driver is required.
require 'capybara/rails'
require 'capybara/dsl'

Capybara.current_driver = :selenium
visit 'https://example.com'
save_screenshot('/tmp/capybara-example.png')
Driver names and configuration differ across old Capybara releases. The capybara-webkit project is a historical headless WebKit option and recommends Selenium or Apparition for newer work; do not treat Rails’ later ScreenshotHelper as a Rails 3.1 feature. Rails testing guides showing that helper apply to much newer Rails versions.
Production checklist
- Pin a Selenium gem version compatible with Ruby 1.9.2 and your selected browser.
- Pin or record browser and driver versions together.
- Run browser jobs outside the request cycle.
- Use a finite page-load and explicit wait policy.
- Save to a unique temporary path, then move the completed file into place.
- Always call
quitin anensureblock. - Validate that the file exists, is non-empty and has the expected dimensions.
- Delete temporary files and cap concurrent browser processes.
- Log the requested URL, final URL, elapsed time, browser version and failure reason without logging credentials.
Troubleshooting
| Symptom | Likely cause | Fix |
|---|---|---|
LoadError: cannot load such file -- selenium-webdriver |
The gem is missing from the Ruby environment running the script. | Install or bundle the compatible historical release, then invoke the script with that bundle’s Ruby. |
| Driver executable not found | The browser driver is absent or not on PATH. |
Install a driver compatible with the browser and configure its path as supported by your Selenium version. |
| Browser cannot start on the server | No display, sandbox restriction or missing shared library. | Use a supported headless configuration, install required system dependencies and run as the intended service account. |
| Screenshot is blank | Navigation failed, the page is still rendering or a bot check appeared. | Wait for a page marker, inspect the final URL and page source, and classify the result before storing it. |
| Only the login page appears | The target requires authentication. | Log in through the same browser session or provide the required cookies and credentials securely. |
| Crop is the wrong size or origin | The crop step used different geometry or omitted +repage. |
Use 100x100+0+0 and verify the source viewport is at least 100×100. |
| Ruby syntax or API method error | Examples from different Selenium generations were mixed. | Read the API documentation for the exact pinned gem and adjust method names accordingly. |
| Browser processes accumulate | An exception bypassed cleanup. | Wrap capture in ensure, enforce job timeouts and terminate orphaned processes operationally. |
Performance, reliability and cost
Launching a browser is more expensive than making an HTTP request: each capture consumes process startup time, memory, CPU and temporary storage. Reuse a browser only when you can isolate sessions and reliably clear cookies and state; otherwise, a fresh process is simpler and safer. Keep waits bounded, avoid unnecessary sleeps and run captures asynchronously.
Reliability depends on the page as well as your code. A page can return HTTP success while rendering a consent wall, bot challenge, empty shell or incomplete JavaScript application. Store the final URL and a success classification, and retain diagnostic HTML or logs for failed jobs. Do not claim that a saved PNG proves the intended page was captured.
The do-it-yourself route has no per-shot service charge, but it moves costs to your infrastructure and maintenance: browser installation, upgrades, compatibility work, worker capacity and debugging. For a small legacy application, those operational costs can outweigh the code required for the capture itself.
Or skip the browser setup
ScreenshotNeo provides a website screenshot API and MCP server. One GET request returns a PNG, JPEG, WebP or PDF. It removes cookie and consent banners, newsletter popups and chat widgets before capture; bot checks, blank pages, timeouts, failed loads and cache hits are not billed, and response headers identify the page verdict and billing status. Its MCP server provides take_screenshot, get_page_info and capture_pdf tools for Claude, Cursor and other MCP clients. Every plan includes every feature; 1,000 shots per month are free without a card, and paid plans start at $5 for 3,000 shots.

See the ScreenshotNeo API documentation for all options. A minimal call is:
cURL
curl -G "https://api.screenshotneo.com/v1/shot" -d access_key=YOUR_API_KEY --data-urlencode url=https://stripe.com -o shot.webpPython
import requests

r = requests.get("https://api.screenshotneo.com/v1/shot", params={"access_key": "YOUR_API_KEY", "url": "https://stripe.com"}, timeout=90)
open("shot.webp", "wb").write(r.content)
Node.js
const q = new URLSearchParams({ access_key: 'YOUR_API_KEY', url: 'https://stripe.com' });
const res = await fetch(`https://api.screenshotneo.com/v1/shot?${q}`);
Create a free ScreenshotNeo account with 1,000 screenshots a month and no card required.
FAQ
Does Rails 3.1 itself render the screenshot?
No. Ruby code drives an external browser through Selenium; Rails only hosts or schedules that code.
Does Selenium automatically crop the image?
No. It saves a viewport screenshot. Crop the resulting PNG with ImageMagick, RMagick or another image library.
Can the example guarantee a full-page screenshot?
No. The sample captures the viewport. Full-page behavior depends on browser and driver capabilities and must be implemented and verified separately.
Can I use today’s Selenium gem with Ruby 1.9.2?
Do not assume compatibility. Current Selenium Ruby documentation requires MRI 3.3 or newer; locate and pin a historical version suitable for the legacy runtime.
When should I choose Capybara?
Choose Capybara when the screenshot is part of a browser-backed acceptance test. For a standalone URL capture, direct Selenium has fewer layers.


