How to Capture React Player Screenshots with Puppeteer in Next.js
Capture a ReactPlayer element reliably with Puppeteer in Next.js. Set a fixed viewport, wait for the right player state, and troubleshoot provider-specific timing.
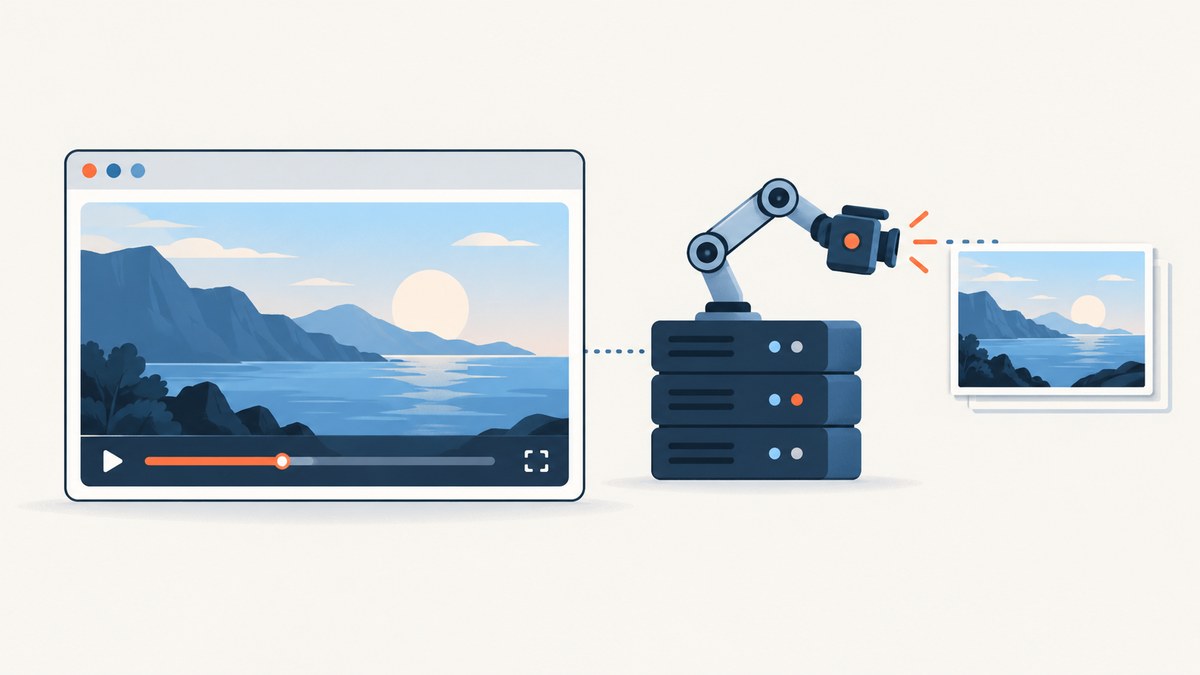
To capture a ReactPlayer in Next.js with Puppeteer, run Puppeteer in a Node.js process, open the page, wait for the specific player and visual state you need, then call ElementHandle.screenshot(). Keep the player in a Next.js Client Component, since it depends on browser behavior. A fixed viewport and a provider-aware readiness check make captures more repeatable; networkidle by itself does not prove that a video frame is ready.
This guide captures the player element as a PNG. It also covers poster, controls, and video-frame readiness, plus viewport and full-page alternatives. Puppeteer’s Page.screenshot() captures a page or viewport; its element handle method targets a single element. Puppeteer’s screenshot guide documents both approaches.
1. Put ReactPlayer in a Next.js Client Component
Next.js uses Server Components by default. Components that need browser APIs, state, or event handlers belong in a Client Component marked with use client. ReactPlayer loads provider-specific markup and SDKs for sources including file URLs, HLS, DASH, YouTube, Vimeo, Wistia, and Mux, so the rendered structure and readiness signals can vary by source.
Install ReactPlayer in your Next.js project:
npm install react-playerCreate a client component, for example app/components/video-player.tsx:
'use client';

import ReactPlayer from 'react-player';

export default function VideoPlayer() {
  return (
    <div
      data-testid="react-player"
      style={{ position: 'relative', width: '100%', aspectRatio: '16 / 9' }}
    >
      <ReactPlayer
        url="https://example.com/video.mp4"
        controls
        width="100%"
        height="100%"
        playsinline
      />
    </div>
  );
}
Use a source you are authorized to access. Replace the example URL with your own media. The wrapper gives the capture script a stable selector even if a provider changes its internal markup. Add this component to a route that Puppeteer can reach, such as app/player/page.tsx:
import VideoPlayer from '../components/video-player';

export default function PlayerPage() {
  return (
    <main>
      <h1>Player capture page</h1>
      <VideoPlayer />
    </main>
  );
}
The Next.js Server and Client Components documentation explains the client boundary. The ReactPlayer project documentation lists supported source types and configuration.
2. Install Puppeteer and capture the player
Run Puppeteer in Node.js server-side code: a separate script, worker, or server route. A separate script is easy to reason about and avoids launching a browser as a side effect of rendering a page. Install Puppeteer, which downloads a compatible Chrome for Testing by default:
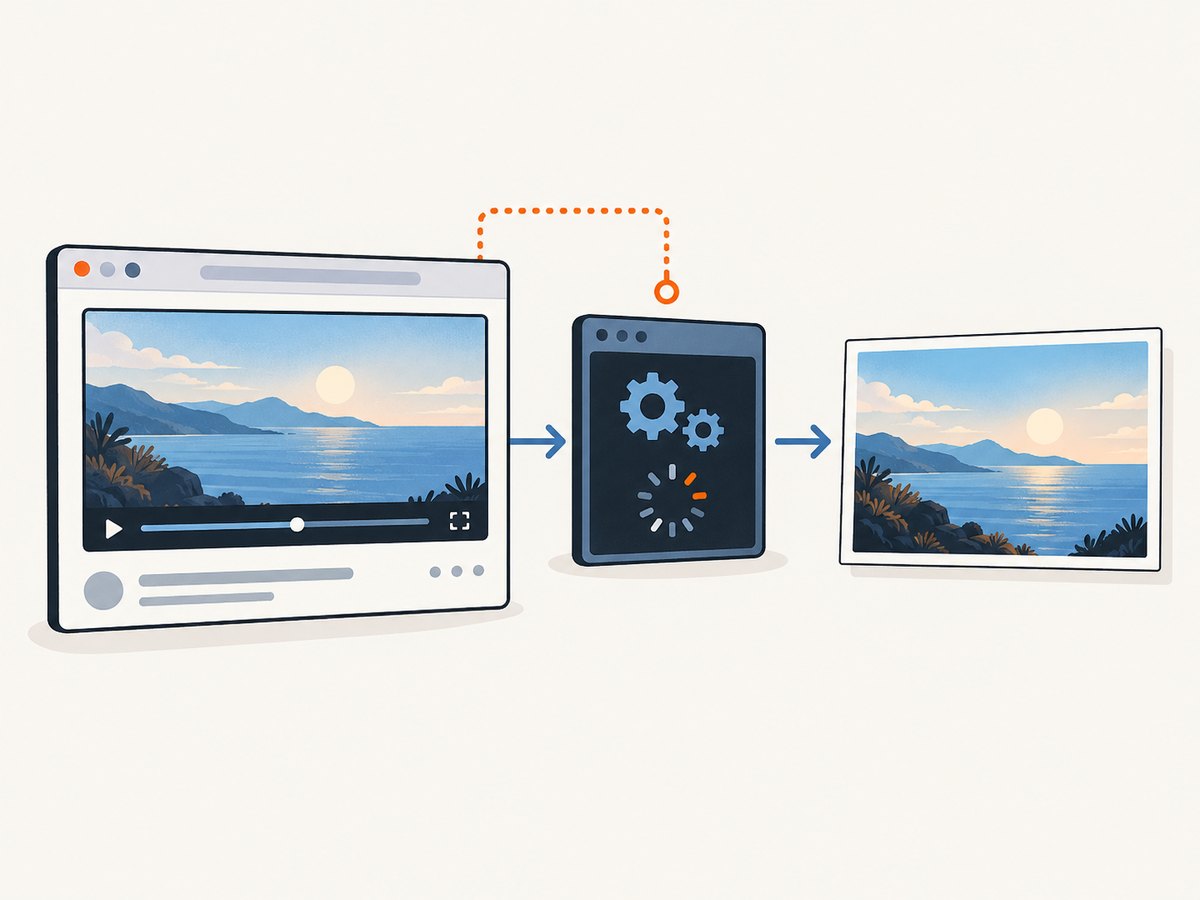
npm install puppeteerStart the Next.js app in one terminal, then save the following as capture-player.mjs and run it in another. Set TARGET_URL to the route reachable from the machine running the script.
import puppeteer from 'puppeteer';

const targetUrl = process.env.TARGET_URL ?? 'http://localhost:3000/player';
const browser = await puppeteer.launch({ headless: true });

try {
  const page = await browser.newPage();
  await page.setViewport({
    width: 1440,
    height: 1000,
    deviceScaleFactor: 1,
  });

  await page.goto(targetUrl, {
    waitUntil: 'domcontentloaded',
    timeout: 30_000,
  });

  const player = await page.waitForSelector('[data-testid="react-player"]', {
    visible: true,
    timeout: 15_000,
  });

  if (!player) throw new Error('ReactPlayer wrapper was not found');

  await player.scrollIntoViewIfNeeded();
  await player.screenshot({ path: 'react-player.png' });
} finally {
  await browser.close();
}
Run it with node capture-player.mjs. To target a deployment, provide its URL, for example TARGET_URL=https://your-domain.example/player node capture-player.mjs. The screenshot is written to the current working directory. See the ElementHandle screenshot API for available screenshot options.
Why these waits are separate
domcontentloadedwaits for the initial document parse without requiring every media or third-party request to finish.waitForSelectorwaits for your stable wrapper to appear and be visible.- The player’s own readiness condition, described below, determines whether the captured visual is the poster, controls, or a video frame.
Using waitUntil: 'networkidle0' can work for pages whose requests settle, but a player may keep connections open or load media after the network becomes quiet. Conversely, a quiet network does not establish that a decoded frame has been painted. Choose the navigation condition for the page, then wait for the visual state separately.
3. Wait for the visual state you intend to capture
A screenshot is a still image. Decide whether it should show the poster, visible controls, or an actual video frame. These states need different signals. A ReactPlayer wrapper existing in the DOM is not enough.
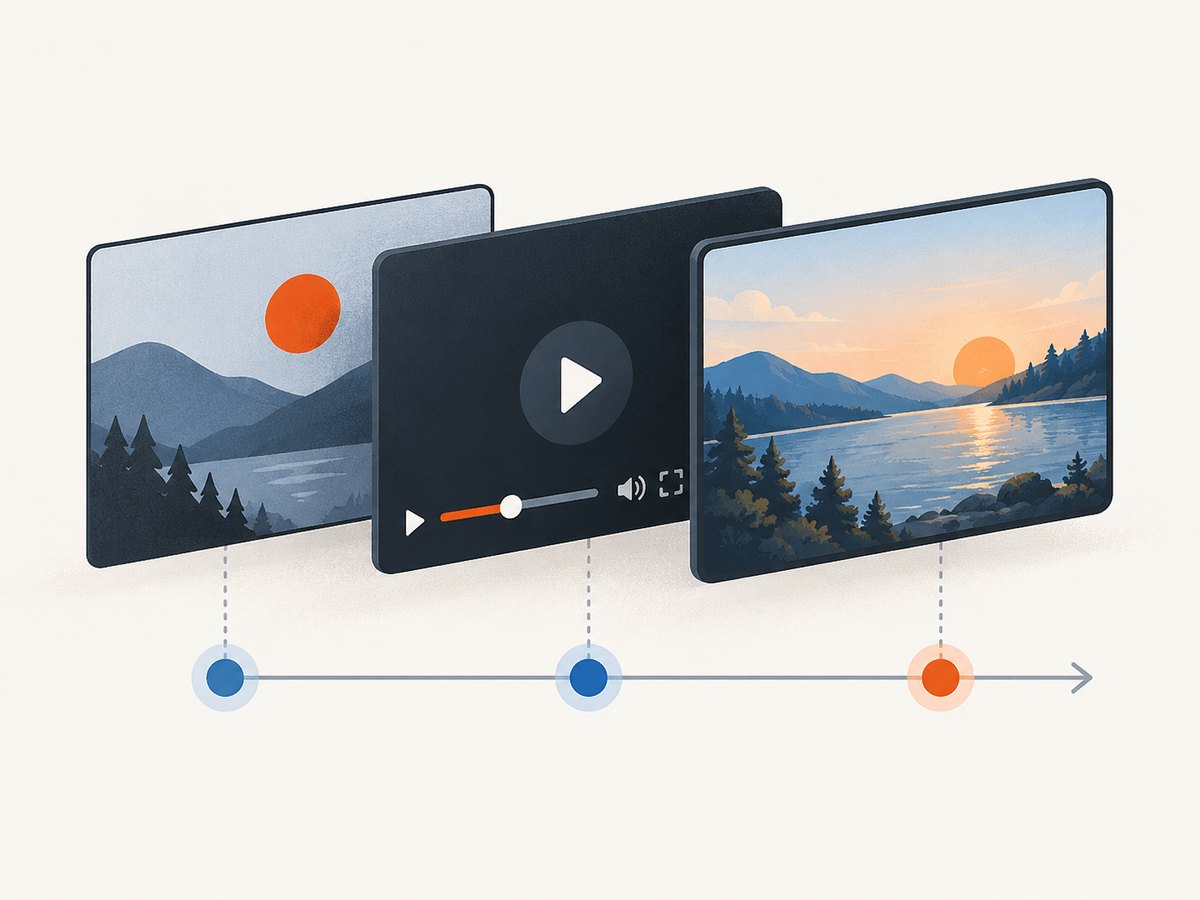
Capture a poster
For a poster-first capture, set the poster in your player configuration or render it as a regular image in the wrapper. Give it a selector or application readiness flag. For example, if your own component sets data-poster-ready="true" after its poster image loads, wait for that attribute:
await page.waitForSelector(
  '[data-testid="react-player"][data-poster-ready="true"]',
  { timeout: 15_000 },
);
const player = await page.$('[data-testid="react-player"]');
await player.screenshot({ path: 'player-poster.png' });
Prefer an explicit flag tied to the image’s load event over a fixed sleep. If a CSS background supplies the poster, the application can set the flag after it confirms the relevant asset is loaded.
Capture controls
Pass controls when the image needs the player’s controls. Wait for a stable control element exposed by the renderer you use, or set an application readiness flag after the component has rendered. The controls can differ between a native video element and a third-party iframe. Browser-native controls may also render differently across operating systems and browser versions, so use a custom control layer if the screenshot must look identical across environments.
Capture a video frame
For a native file video, wait for media metadata and, if necessary, a decoded frame. Add an application flag in the client component when the media element fires the events your capture requires. For example, a frame-oriented capture can wait for loadeddata or canplay; for precise painted-frame coordination, use requestVideoFrameCallback where supported. Then expose a stable readiness attribute on the wrapper.
// In client-side code that can access the native video element:
video.addEventListener('loadeddata', () => {
  wrapper.dataset.frameReady = 'true';
}, { once: true });

// In Puppeteer, after locating the wrapper:
await page.waitForSelector(
  '[data-testid="react-player"][data-frame-ready="true"]',
  { timeout: 30_000 },
);
const player = await page.$('[data-testid="react-player"]');
await player.screenshot({ path: 'player-frame.png' });
ReactPlayer can render different providers, including iframes and HLS or DASH integrations. A native video event is not a universal readiness signal for those variants. If you use a provider iframe, coordinate readiness through the provider’s supported API or a readiness signal from your application. Do not assume Puppeteer can inspect a cross-origin iframe’s internal DOM; browser same-origin rules still apply.
Autoplay behavior also affects the result. Chrome requires autoplaying video to be muted in the documented case; set muted for an automated capture, or make playback an intentional interaction. If controls need to be visible, enable them and wait until they have rendered. See the ReactPlayer documentation for player props and provider behavior.
4. Choose the capture area and output
| Need | Puppeteer method | Result |
|---|---|---|
| Only the ReactPlayer box | element.screenshot() |
Element bounds, including content that must fit inside the element |
| Visible browser viewport | page.screenshot() |
Current viewport at the configured dimensions |
| Entire document | page.screenshot({ fullPage: true }) |
Full page, which may extend well beyond the video |
Example page captures:
await page.screenshot({ path: 'viewport.png', type: 'png' });
await page.screenshot({ path: 'full-page.png', fullPage: true, type: 'png' });
PNG is a lossless default that works well for UI and text. JPEG can reduce file size for photographic content, with a quality tradeoff. Puppeteer also supports other screenshot options documented in its API. Use a fixed viewport and deviceScaleFactor to keep pixel dimensions repeatable. A factor of 2 produces a higher-density image and increases output pixels and file size.
Element screenshots capture the element’s bounding box, not a video recording. If you need motion, Puppeteer has a separate screencast workflow; its documented default is WebM using VP9 at 30 FPS and it requires ffmpeg. See the screenshot guide and video recording guide.
5. Common errors and fixes
| Symptom | Likely cause | Fix |
|---|---|---|
| Blank player area | Capture ran before the player or poster rendered; a provider SDK is still loading; or the source failed. | Wait for the wrapper and a provider-specific readiness signal. Check the page console and network requests. Verify the source loads in a normal browser. |
| Black frame instead of video | The video element exists but no frame has decoded or playback has not started. | Wait for a frame-related event or app readiness flag. For autoplay, set muted as required by Chrome policy and confirm playback is allowed. |
| Controls are missing | controls is absent, the renderer uses different controls, or the capture occurs before render. |
Enable controls and wait for the actual controls or an app flag. Use custom controls for cross-platform consistency. |
| Selector timeout | The route did not load, the selector differs, or the player is lazy-loaded below the fold. | Check the URL and selector in DevTools. Scroll the component into view or trigger the lazy-loading condition, then wait again. |
| Navigation timeout | The page never satisfies the selected lifecycle condition, often because media or third-party requests remain active. | Use domcontentloaded or another suitable lifecycle event, then wait for the player state separately. Set a realistic timeout. |
| Different result in CI | Viewport, device scale, browser build, fonts, or timing differs. | Pin the viewport and browser environment, wait on explicit readiness, and ensure required fonts and assets are available. |
| Iframe content not inspectable | The provider frame is cross-origin. | Wait on a signal available to the parent page or provider integration; do not query cross-origin internal selectors. |
6. Reliability, performance, and cost
For reliable captures, make the target route deterministic: use stable test data, fixed dimensions, explicit player settings, and app-owned readiness markers. Wait for the exact thing the screenshot should show rather than adding an arbitrary delay. A short delay can be useful for an animation or transition after a known event, but it is less reliable than waiting for a state condition.
Media sources and provider SDKs add network and decode work. A locally hosted or otherwise dependable test asset can reduce variability. Avoid waiting for every network request if analytics, ads, streaming connections, or third-party services keep the page active. In CI, run a bounded number of captures at once and close each browser or page in a finally block; browser processes consume memory and CPU. Reuse a browser for a batch when appropriate, while isolating pages and closing them after capture.
Puppeteer itself does not charge per screenshot; your cost comes from the machine, browser runtime, storage, and any media or hosted infrastructure involved. Set timeouts so a broken provider does not occupy a worker indefinitely. Record the URL, selected readiness condition, browser version, and failure reason alongside automated artifacts to make intermittent failures diagnosable.
7. Or skip the browser setup
ScreenshotNeo is a website screenshot API and MCP server from Yorker Media. One GET request returns a PNG, JPEG, WebP, or PDF. For a screenshot of a page containing your ReactPlayer, use the deployed route as the target URL:
curl -G "https://api.screenshotneo.com/v1/shot" -d access_key=YOUR_API_KEY --data-urlencode url=https://your-domain.example/player -o shot.webpimport requests
r = requests.get(
"https://api.screenshotneo.com/v1/shot",
params={"access_key": "YOUR_API_KEY", "url": "https://your-domain.example/player"},
timeout=90,
)
open("shot.webp", "wb").write(r.content)const q = new URLSearchParams({
access_key: 'YOUR_API_KEY',
url: 'https://your-domain.example/player',
});
const res = await fetch(`https://api.screenshotneo.com/v1/shot?${q}`);
if (!res.ok) throw new Error(`Screenshot request failed: ${res.status}`);
await Bun.write('shot.webp', res);For supported parameters and response behavior, see the ScreenshotNeo API documentation. Cookie banners, newsletter popups, and chat widgets are removed before the shot; those cleanup steps can be turned off. Bot checks, blank pages, timeouts, failed loads, and cache hits are never billed, and the response reports the page verdict and billing status in headers. Its MCP server gives AI agents tools to take screenshots, get page information, and capture PDFs.
The free plan includes 1,000 screenshots a month with no card. Paid plans start at $5 for 3,000 screenshots; every feature is on every plan. Create a free ScreenshotNeo account and get 1,000 screenshots a month without a card.
8. Frequently asked questions
Can Puppeteer capture a ReactPlayer from a YouTube or Vimeo URL?
It can capture the rendered page, but provider restrictions, consent prompts, or cross-origin frames can affect what appears. Wait for a parent-page or provider-supported readiness signal and follow the provider’s access rules.
Can I capture a screenshot from a browser-side Next.js component?
The recommended workflow here runs Puppeteer in Node.js outside the page. Do not bundle server-side Puppeteer into a client component; the browser page and the automation process have different responsibilities.
Does a screenshot include the video’s audio?
No. A screenshot is a still image. Use a recording workflow when you need moving frames; audio capture has separate requirements.
Should I use full-page screenshots for the player?
Use an element screenshot when the deliverable is the player itself. Choose viewport or full-page capture when surrounding page context is part of the requirement.


