How to Record Your Website for a Demo
Plan, record, edit, and share a clear website demo with the right browser capture settings, audio checks, privacy safeguards, and a no-browser API option.
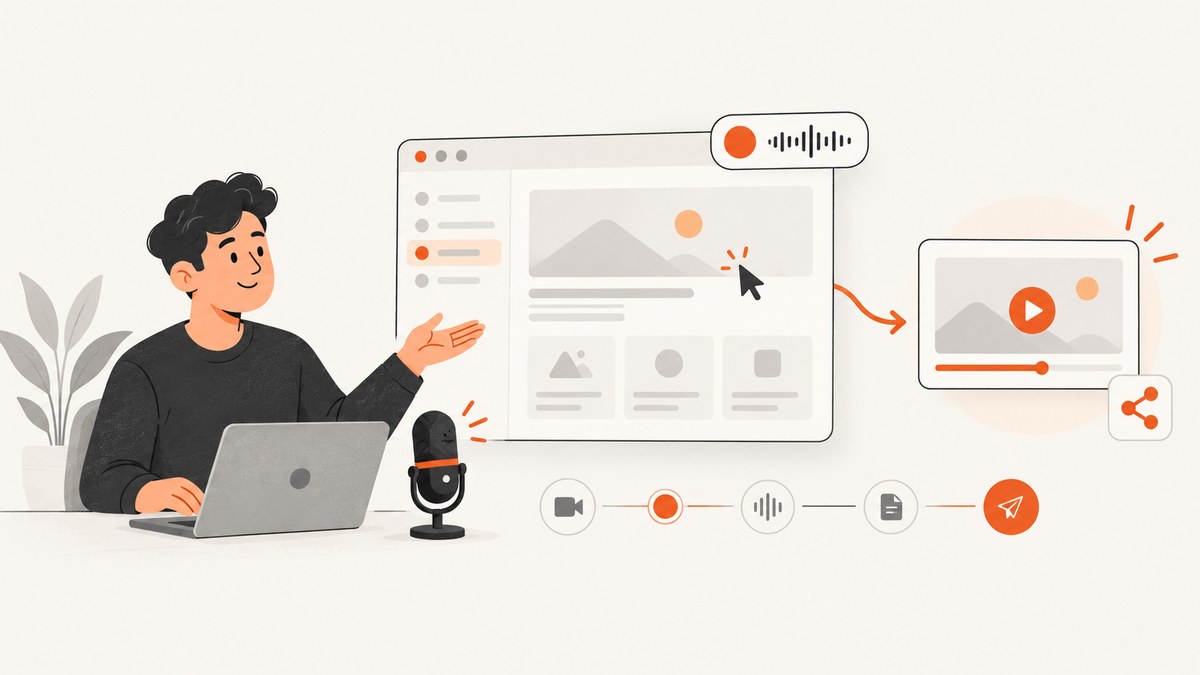
To record your website for a demo, plan one outcome, prepare a clean browser session, choose the correct capture area, check your microphone, record a focused walkthrough, and review the result before sharing. Use a screen recorder such as Loom for a viewer-facing video. Use Chrome DevTools Recorder when you need a replayable developer flow for debugging or performance work; it creates an interaction artifact rather than a narrated presentation video.
1. Decide what you are recording
The word record can describe two different outputs:
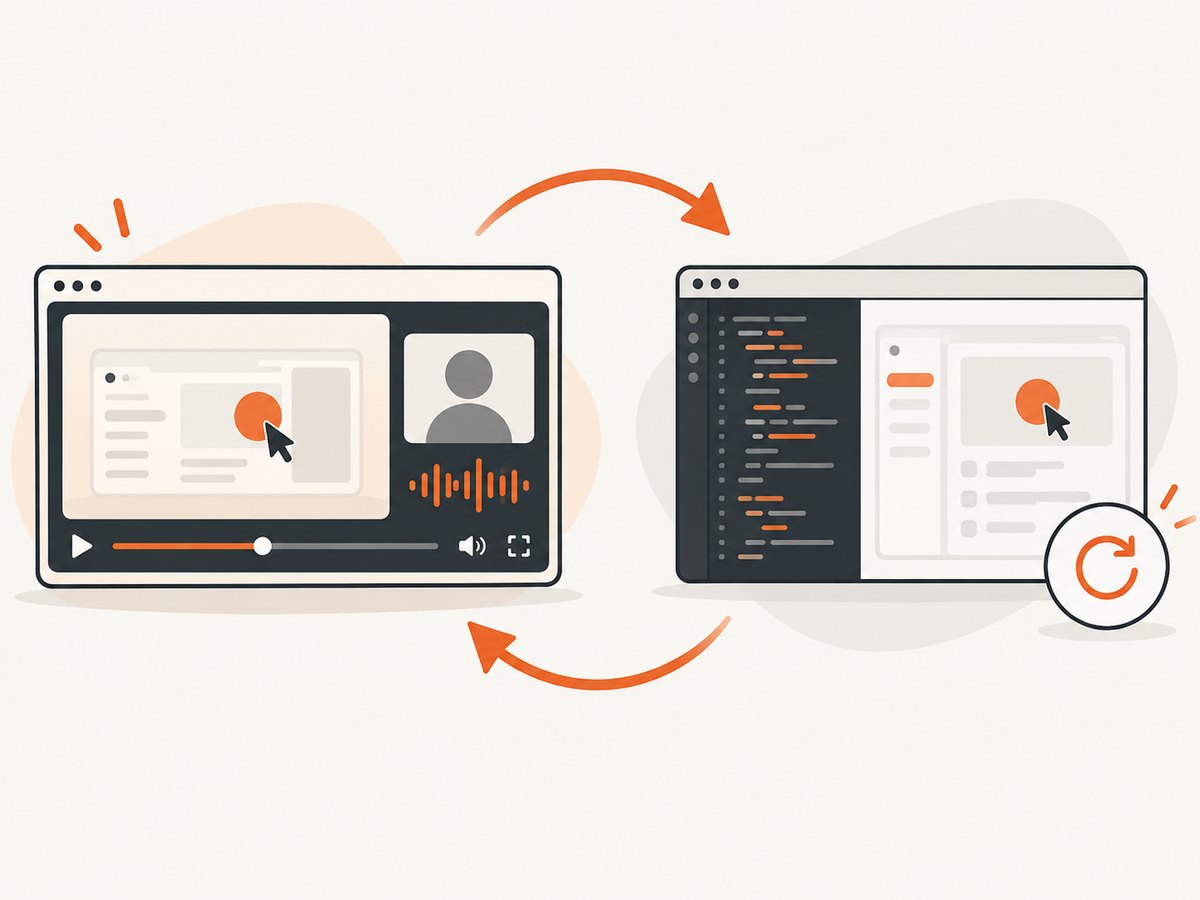
| Goal | Best path | Output |
|---|---|---|
| Show people how your product or website works | Screen recorder such as Loom | A video with optional camera and narration that viewers can watch |
| Capture a repeatable browser interaction for testing | Chrome DevTools Recorder | A flow you can replay, edit, debug, profile, or export as JSON or Puppeteer |
Choose the first path for a sales demo, onboarding clip, release announcement, or support explanation. Choose the second when the important question is whether a sequence of clicks still works or how it performs.
2. Plan a short walkthrough
- Pick one viewer outcome. For example: create a project, invite a teammate, export a report, or complete checkout.
- Write the path in five to eight actions. Remove setup that does not help the viewer understand the outcome.
- Prepare a demo account. Use synthetic records and a predictable starting state. Never rely on a customer account or live production data for a public recording.
- Decide where to stop. End immediately after the promised result is visible.
A useful spoken outline is: “Here is the starting state. I will do these two actions. This is the result. Here is what to do next.” A short script prevents long pauses and wandering clicks without forcing you to read every sentence.
3. Prepare the browser and desktop
- Close unrelated tabs and applications.
- Turn off operating-system notifications and chat badges.
- Sign in before pressing record, then open the exact first page.
- Hide personal names, email addresses, tokens, billing details, and customer data.
- Set browser zoom so text is readable at the final video size.
- Keep a reset link or duplicate demo account ready in case a step fails.
Record a single browser tab when every step stays in that tab. Record a window when you need to switch between browser windows. Use full screen only when the explanation genuinely crosses applications. Loom’s extension documents full-screen, window, and current-tab capture; its desktop app documents full-screen, window, and custom-size capture.
4. Choose a screen recorder
Loom for a shareable demo video
Loom supports browser or desktop capture with optional camera and microphone controls. In the extension, choose full screen, a window, or the current tab; camera-only capture is also available. The desktop app adds custom-size capture. Capabilities such as drawing, mouse-click highlighting, HD recording, and custom dimensions can depend on the current plan, so verify the options shown in your account before promising them.
When installing a browser extension, review its permissions. Loom explains that its extension must run on web pages to record anywhere on the web, which means Chrome discloses that the extension can access site data. Do not record sensitive pages casually.
Chrome DevTools Recorder for replayable flows
Open Chrome DevTools, use the More tools menu to open Recorder, or use the Command Menu to find it. Start a recording, perform the flow, and stop. You can edit and debug steps, generate a performance profile, and export the flow as JSON or Puppeteer. This is useful for diagnostics and regression checks, but it is not a polished narrated video for customers.
5. Configure video, camera, and sound
- Select the capture area. Match it to the story; extra desktop space makes text smaller.
- Choose the microphone. Use the built-in microphone or a connected USB microphone. A separate microphone is optional.
- Decide on camera. Turn it on when your expression adds context; turn it off when the interface should remain the focus.
- Check the audio meter. Speak a sentence and confirm that the selected input responds before the real take.
- Check permissions. Approve microphone, camera, and screen-sharing prompts only for the recording tool you selected.
For “how do I screen record a website with sound?”, the sound comes from your selected microphone for narration. If you need audio produced by the website itself, verify that your capture tool and operating system support system-audio capture, then test it with a short clip; browser-tab audio and microphone audio are separate choices in many tools.
6. Record the walkthrough
- Open the prepared starting page.
- Start recording and wait a moment before the first click so editing has room for a clean beginning.
- Move the pointer deliberately and pause after important changes.
- Explain what the viewer should notice, not every pointer movement.
- Keep menus open long enough to read labels.
- Stop as soon as the promised result is shown.
If you make a mistake, pause, say “I will redo that step,” and continue, or stop and make a fresh take. A clean second take is usually easier to understand than a long recording with many corrections.
7. Review, edit, and share safely
- Watch the entire video once before sending it.
- Check that the first frame identifies the task and the last frame shows the result.
- Confirm that text, cursor movement, and browser controls are readable.
- Listen for clipping, room noise, missing words, or a microphone that switched inputs.
- Remove dead time, accidental clicks, and exposed credentials.
- Set the audience and sharing permissions deliberately, then open the shared link in a private window.
Loom documents editing and sharing workflows, but current privacy controls and plan limits can change. Confirm the settings in the account you will use.
8. A repeatable capture checklist
| Before recording | During recording | Before sharing |
|---|---|---|
| Demo account ready Notifications hidden Correct tab or window selected Microphone meter moving |
One clear outcome Steady pointer Readable pauses No private data entered |
Watch the full take Trim mistakes Test the share link Confirm viewers can access it |
9. Troubleshooting common problems
The recording is black or shows the wrong window
Cause: The recorder captured a different tab, window, or display, or the operating system denied screen capture. Fix: Stop, select the intended source again, close overlapping windows, and recheck screen-recording permission.
There is no narration
Cause: The microphone is off, the wrong input is selected, or permission was denied. Fix: Enable the microphone, choose the correct input, speak until the meter moves, and retry a short test.
The website audio is missing
Cause: Microphone capture does not automatically include tab or system audio. Fix: Select a capture mode that supports the required system or tab audio, then verify the result with a test clip.
Text is too small
Cause: The capture area is larger than the content or browser zoom is too low. Fix: Record the tab or window instead of the full screen, enlarge the page, and keep important content near the center.
The page changes while you record
Cause: Live data, notifications, timers, or network delays create a different state. Fix: Use seeded demo data, reset before each take, wait for the key element to finish loading, and avoid relying on live customer content.
The extension cannot record a sensitive page
Cause: Browser permissions or organizational policy block access. Fix: Use the desktop recorder if approved, or record a non-sensitive demo environment. Do not weaken security controls just to capture a clip.
The DevTools flow will not replay
Cause: Selectors, authentication, timing, or test data changed. Fix: Edit the affected step, restore the expected account state, add an explicit wait where the page is asynchronous, and export the flow for review.
10. Performance, reliability, and privacy
Short takes are easier to upload, edit, and review. Keep the browser focused on the demo page, use a stable network, and avoid heavy background applications. For repeatable tests, use deterministic data and explicit waits rather than arbitrary pauses. Always review a recording as if it were public: URLs, browser history, notification previews, access tokens, and customer names can appear for a fraction of a second.
Camera and narration are optional. A webcam or USB microphone can improve presentation quality, but neither is required for a useful product walkthrough.
11. Or skip the browser setup
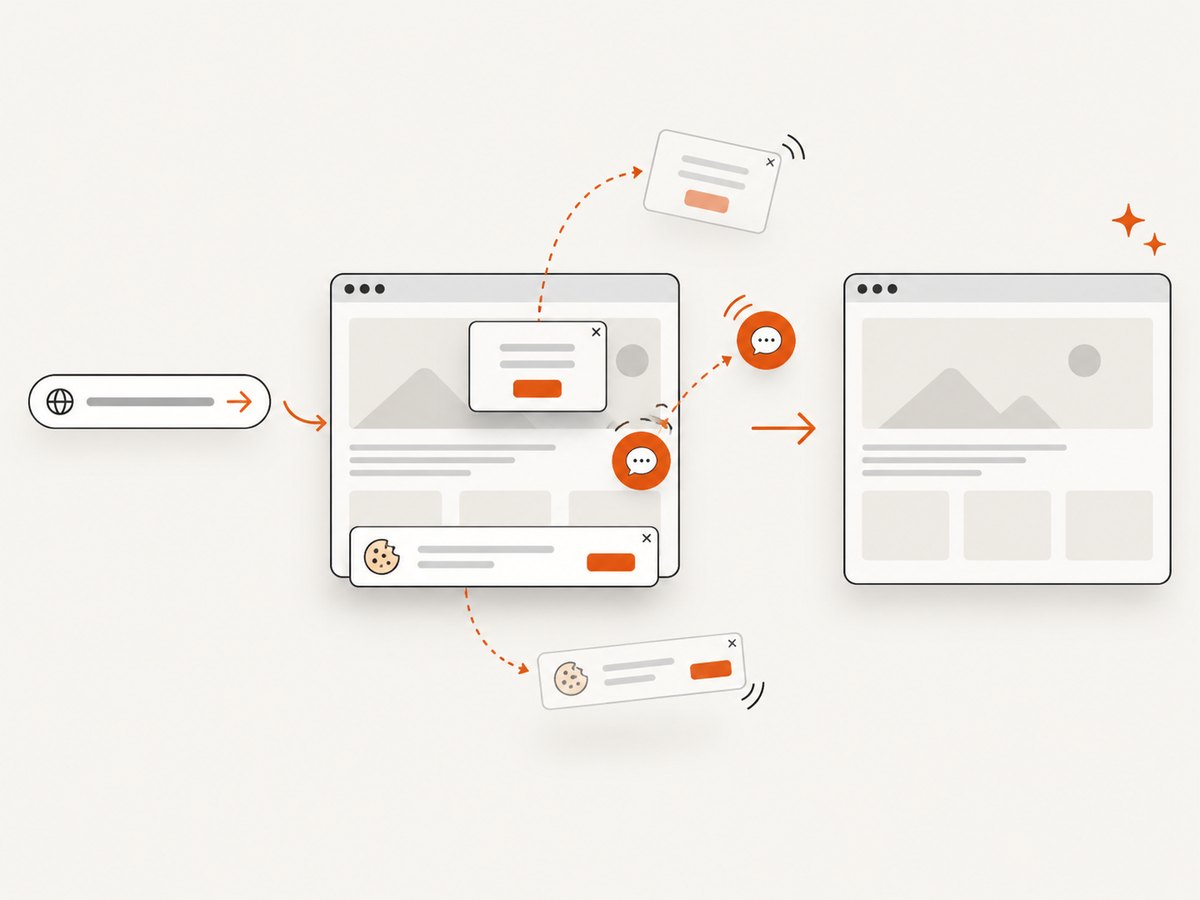
If you only need clean screenshots of the states you would show in a demo, ScreenshotNeo captures a URL with one GET request. It accepts cookie and consent banners before capture and removes more than 60 known consent platforms, newsletter popups, and chat widgets; each step can be disabled. Bot checks, blank pages, timeouts, failed loads, and cache hits are not billed, and the response identifies the page verdict and billing status in X-Page-Verdict and X-Billed headers.
See the ScreenshotNeo API docs for all options, including full-page capture, element selectors, dark mode, device presets, custom CSS and JavaScript, waits, request blocking, cookies and headers, resizing, caching, signed links, asynchronous jobs, bulk capture, and usage reporting.
cURL
curl -G 'https://api.screenshotneo.com/v1/shot' -d access_key=YOUR_API_KEY --data-urlencode url=https://stripe.com -o shot.webpPython
import requests

r = requests.get('https://api.screenshotneo.com/v1/shot', params={'access_key': 'YOUR_API_KEY', 'url': 'https://stripe.com'}, timeout=90)
r.raise_for_status()
open('shot.webp', 'wb').write(r.content)
Node.js
const q = new URLSearchParams({ access_key: 'YOUR_API_KEY', url: 'https://stripe.com' });
const res = await fetch(`https://api.screenshotneo.com/v1/shot?${q}`);
if (!res.ok) throw new Error(`HTTP ${res.status}`);
const fs = await import('node:fs/promises');
await fs.writeFile('shot.webp', Buffer.from(await res.arrayBuffer()));
ScreenshotNeo also provides an MCP server with take_screenshot, get_page_info, and capture_pdf tools, so Claude, Cursor, and other MCP clients can capture demo assets. The free plan includes 1,000 shots each month with no card; paid plans start at $5 for 3,000 shots. Create a free ScreenshotNeo account.
12. FAQ
Can I record only one browser tab?
Yes. A current-tab capture keeps unrelated windows out of the video and usually makes text easier to read.
Should I show my face?
Only when it helps the explanation. A clear voice over a focused screen is enough for many product demos.
Is Chrome DevTools Recorder a video recorder?
No. It records browser interactions for replay, editing, debugging, performance profiles, and export. Use a screen recorder for a viewer-facing video.
How long should a demo be?
Use the shortest take that proves one outcome. Split unrelated workflows into separate clips instead of adding setup that viewers do not need.
What should I do with credentials?
Use a demo account and synthetic data. Remove secrets from the browser, recording, transcript, and shared link before publication.


