How to Record Website Videos With Puppeteer and FFmpeg
Record a website to MP4 with Puppeteer’s current Page.record() API, then use FFmpeg when you need conversion, stream remapping, or filters.
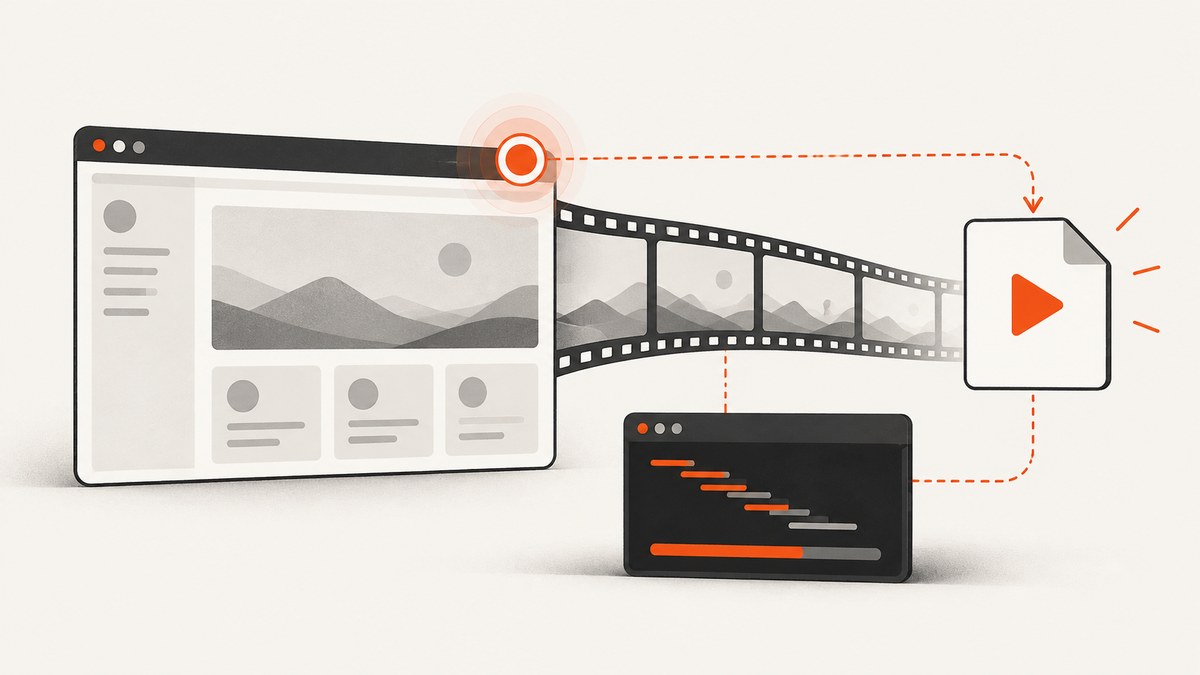
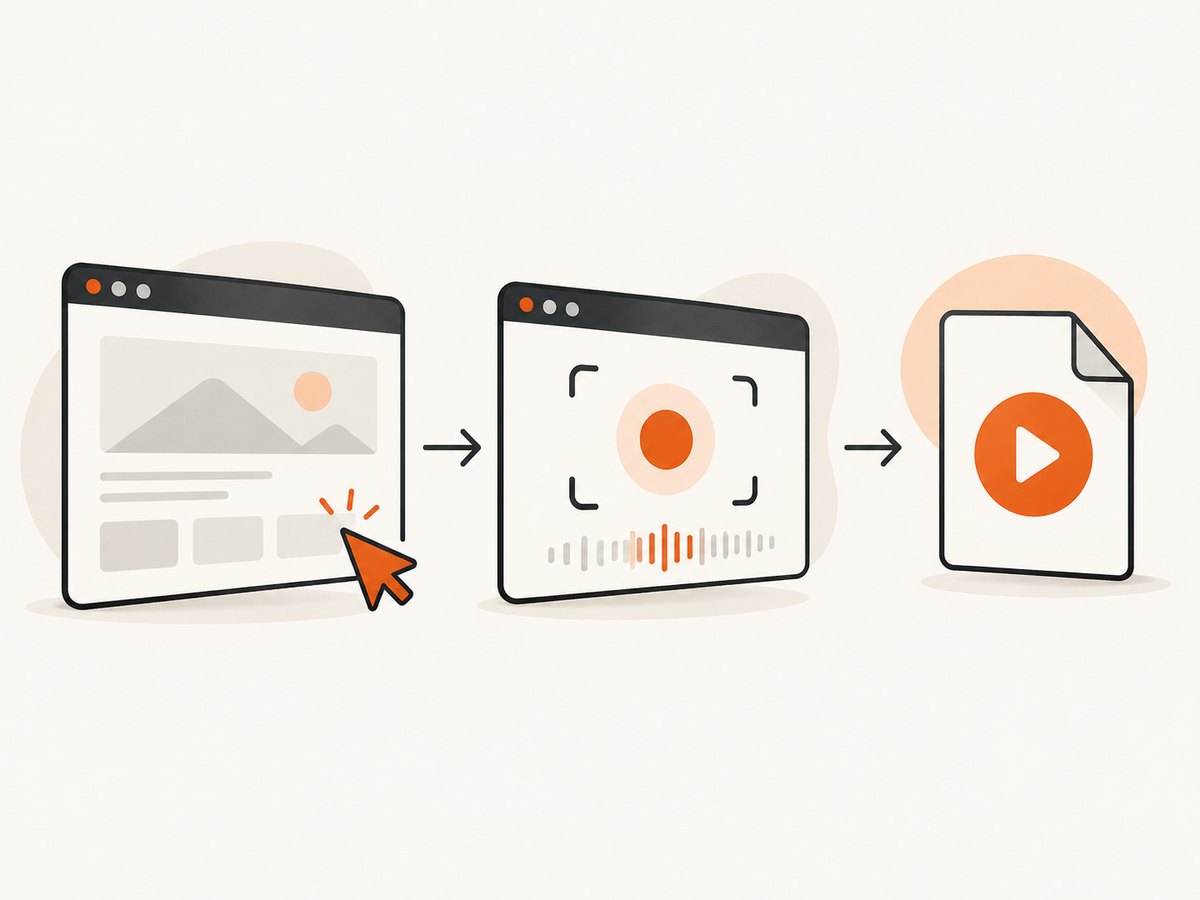
To record a website with Puppeteer, navigate to the page, start page.record(), perform the interactions you want in the video, then call recording.stop() before closing the browser. The current Puppeteer API records through Chrome’s DevTools Protocol and outputs MP4. FFmpeg is optional for this workflow: use it afterward when you need to convert media, remap streams, or apply filters such as scaling.
The examples below use Puppeteer’s documented Page.record() interface. Pin Puppeteer and use a compatible browser build in your project; the method reference describes its protocol basis but does not give a complete browser support matrix. Check the documentation for the version you install before relying on a particular browser setup. See the Puppeteer Page.record() API reference.
1. Install Puppeteer and record a page
Start with a small Node.js project. Puppeteer’s package and browser installation behavior can depend on your package setup, so follow the install instructions for the version you pin. One common setup is:
npm init -y
npm install puppeteer
Save this as record.mjs. It navigates to a page, starts recording after navigation, waits briefly so there is something to capture, and stops the recording before browser cleanup.
import puppeteer from 'puppeteer';

const browser = await puppeteer.launch();
try {
  const page = await browser.newPage();
  await page.goto('https://example.com', { waitUntil: 'networkidle2' });

  const recording = await page.record({ path: 'recording.mp4' });
  await page.waitForTimeout(3000);
  await recording.stop();
} finally {
  await browser.close();
}
Run it with:
node record.mjsThe important ordering is deliberate: finish navigation and page setup before starting the recording; perform the actions to appear in the video while recording is active; stop the recorder explicitly; then close the browser. Puppeteer documents the recorder as a readable stream with stop() and pipe(destination) methods. When writing to a path, Puppeteer handles the output file according to the recording options.
Record interactions instead of a static page
Put the interactions you want viewers to see between page.record() and recording.stop(). For example:
const recording = await page.record({ path: 'checkout-flow.mp4' });
await page.click('button.start');
await page.waitForSelector('.checkout-form');
await page.type('input[name="email"]', 'demo@example.com');
await page.click('button[type="submit"]');
await page.waitForSelector('.confirmation');
await recording.stop();
Choose selectors that identify the intended controls reliably. If a site renders asynchronously, wait for the target state before the next action. A recording captures the browser’s visual state during the recording interval, so a missed wait can produce a video of a loading state or an action that did not complete.
2. Configure the recording
page.record() accepts options for the output and capture. The documented options include:
| Option | What it controls | Practical note |
|---|---|---|
path |
Output file path | Set this when you want Puppeteer to write a named recording. |
overwrite |
Whether an existing output can be replaced | Defaults to true; set intentionally if existing artifacts matter. |
audio |
Audio capture | Defaults to false. Do not assume a recording includes site audio. |
fps / frameRate |
Frame-rate control | Use the option supported by the Puppeteer version you have pinned; consult that version’s API reference. |
maxWidth, maxHeight |
Maximum output dimensions | Useful for bounding output size. They are maximums, not necessarily a request to upscale. |
Example with explicit settings:
const recording = await page.record({
  path: 'recording.mp4',
  overwrite: true,
  audio: false,
  fps: 30,
  maxWidth: 1280,
  maxHeight: 720,
});
Option names and availability can change between releases. The API reference for the version installed in your project is authoritative; do not copy settings into production without checking that version’s documentation. Puppeteer’s reference documents audio as off by default and overwrite as on by default.
Pipe the recording stream
If your workflow needs to manage a stream destination instead of relying only on a path, the recording object exposes pipe(destination). Use this when integrating with a writable destination in your Node.js process, and still stop the recording explicitly when the capture interval ends. Ensure your destination is writable and handle its errors and completion according to Node.js stream conventions.
3. Decide whether FFmpeg is needed
For a straightforward Puppeteer capture to MP4, start with Page.record(); its current API produces MP4. FFmpeg is a separate post-processing tool, not a documented prerequisite for this method. Use FFmpeg if your requirement calls for a different codec or container, stream selection, or a filter such as resizing.
There is an older Puppeteer method, Page.screencast(), which the documentation marks obsolete and directs readers away from for new code. Its documentation describes WebM with VP9 at 30 FPS by default, Chrome 153+ support, and an FFmpeg installation requirement. Those details concern the obsolete method. Do not mix its options or prerequisites with Page.record(). See the obsolete Page.screencast() reference if you need to maintain older code.
Convert or filter with FFmpeg
FFmpeg has two different paths that matter here:
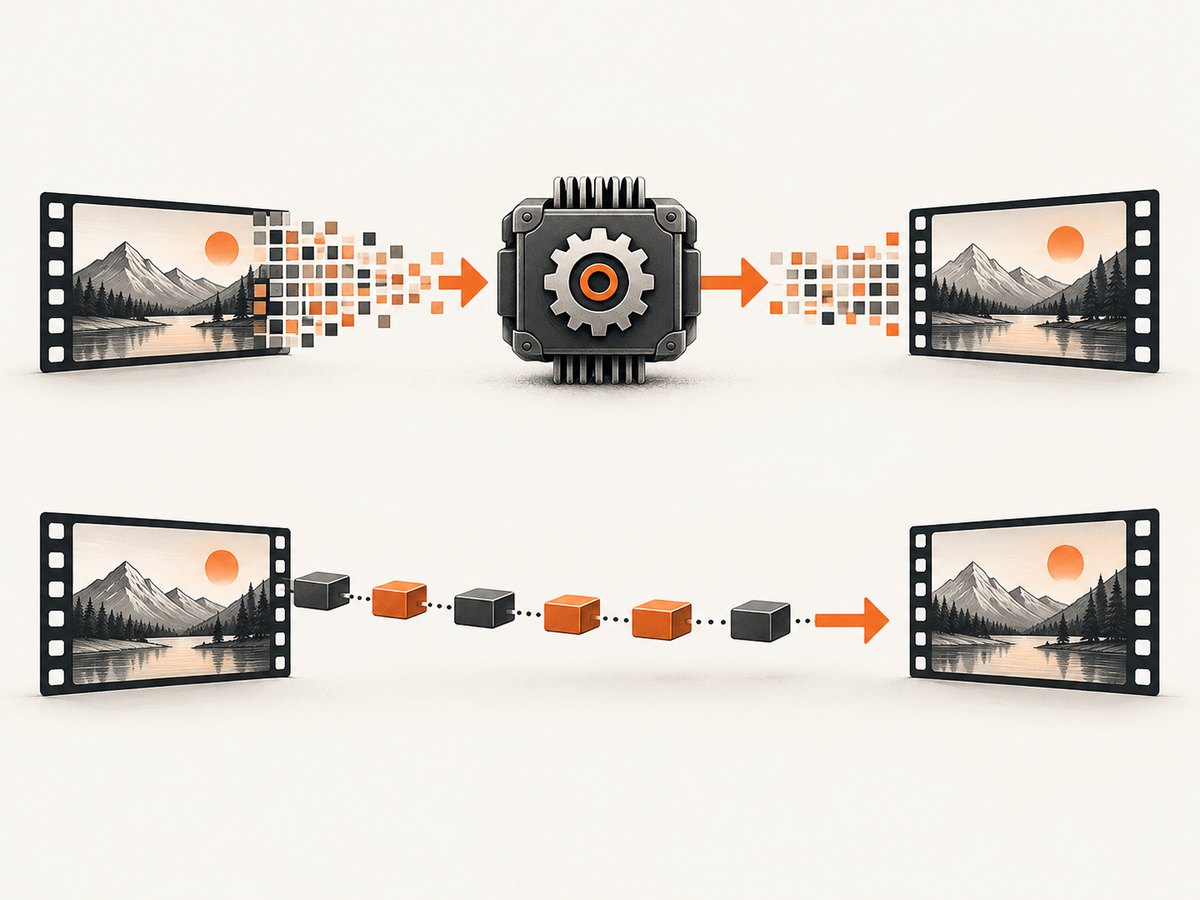
- Stream copy: copies encoded packets without decoding and re-encoding. It can be faster and preserve the encoded streams, but only works when the target container supports the streams and their information.
- Transcoding: decodes and encodes again. It is needed for codec changes or filters, takes more computation, and can reduce quality depending on the encoding settings.
For example, if your source is WebM and you want H.264 video in an MP4 container while copying an available audio stream, a command pattern is:
ffmpeg -i recording.webm -map 0:v -map 0:a -c:v libx264 -c:a copy recording.mp4This is an illustration of FFmpeg’s stream mapping and codec selection. It assumes the input has both video and audio streams, and that the installed FFmpeg build includes the libx264 encoder. If your source has no audio, remove -map 0:a and -c:a copy. Inspect the actual input and available encoders before using the command. Consult the FFmpeg command-line documentation.
When the only goal is changing a compatible container, stream copy may be sufficient. When you need to resize or otherwise filter, FFmpeg must decode and encode the affected video stream. For example:
ffmpeg -i recording.mp4 -vf scale=1280:-2 -c:v libx264 -c:a copy resized.mp4The -2 keeps the calculated height even, which is useful for many video encoders. This command re-encodes video because the scale filter changes its frames, while copying audio. If there is no audio, omit the audio mapping or copy option. Re-encoding settings should be chosen to meet your quality, size, and processing constraints.
4. Make captures repeatable
A reliable capture is mostly about controlling the page state around the recording window.
- Choose a deterministic URL and state. Use a stable page and test account or fixture where possible. Avoid relying on content that changes unpredictably.
- Set the viewport before navigation. If viewport dimensions affect the page layout, configure them before loading the page so responsive content renders in the intended form.
- Wait for meaningful readiness. A network-idle condition can help on pages that settle, but analytics, polling, or long-lived requests can prevent it. An explicit selector or page-state wait may be more appropriate.
- Start the recorder after setup. This keeps navigation and initialization out of the segment when you only want to show the interaction.
- Stop in cleanup paths. Make the recording stop explicit. If an interaction throws, arrange cleanup so the browser is still closed and the recording lifecycle does not get abandoned.
- Check the resulting file. Confirm the file exists, has nonzero size, and plays in the target player before passing it to another system.
For a production script that performs several steps, use explicit timeouts and clear waits around each state transition. Do not solve every flaky interaction by adding a very long fixed delay: it slows every successful run and may still fail when a page takes longer. Prefer waiting for the state that proves the next action can proceed.
5. Troubleshoot common problems
| Symptom | Likely cause | What to do |
|---|---|---|
page.record is not a function |
The installed Puppeteer version or browser setup does not expose the method used by the example. | Check the installed Puppeteer version and its matching API reference. Confirm the browser build supports the protocol method; the method page does not state a universal support matrix. |
| Recording file is missing | The recorder was never started, the path is not writable, or the process exited before the stop/write lifecycle completed. | Use an absolute or known writable path, await recording.stop(), and close the browser afterward in a finally block. |
| Video is blank or shows the wrong state | The capture began before navigation or application rendering finished. | Navigate and wait for a meaningful selector or state before calling page.record(). |
| Interactions are absent | The clicks or typing happened before recording started or after it stopped. | Keep all actions to capture between the call to page.record() and recording.stop(). |
| Audio is absent | Audio capture defaults to off. | Set the documented audio option for the installed version and verify the page actually produces audio. Do not expect audio to be present by default. |
| Existing file was replaced | overwrite defaults to true. |
Choose an output path per run or set overwrite behavior explicitly according to the installed API. |
| FFmpeg says “encoder not found” | The local FFmpeg build does not include the requested encoder. | Check available encoders in that installation or select an encoder that is available in your build. |
| FFmpeg reports an invalid stream map | The command maps an audio or video stream that the input does not contain. | Inspect the file’s streams and remove or adjust the corresponding -map option. |
| Stream copy fails for the target container | The destination container cannot represent a source codec or stream detail. | Use a compatible container or transcode the incompatible stream. Re-encoding costs more computation and may affect quality. |
| Output looks stretched or has unexpected dimensions | Capture bounds or a scaling filter do not match the source aspect ratio. | Set maximum capture dimensions deliberately; for FFmpeg scaling, preserve aspect ratio with a calculated dimension such as scale=1280:-2. |
6. Performance, reliability, and cost
Recording keeps a browser page and the video capture pipeline active for the capture duration. Longer clips and larger frame dimensions generally require more data to process and store. Keep the recording window focused on the segment you need, use maximum dimensions that fit the delivery requirement, and avoid unnecessary browser tabs or repeated setup in a batch job.
FFmpeg stream copy avoids decoding and re-encoding, so it is typically the lower-processing option when it meets the output requirement. Transcoding and filtering require decode and encode work, and FFmpeg describes transcoding as computationally expensive and typically lossy. Choose it when the output format or filter requires it; choose encoding parameters based on the intended player and quality target.
For unattended runs, reliability comes from explicit state checks and resource cleanup. Await navigation, wait for selectors that signal the right state, stop the recorder, and close the browser even when a step fails. Record errors and retain enough context—URL, output path, browser and Puppeteer versions—to reproduce a failed capture. Browser support and option behavior should be checked against the pinned version, because the references can change.
Cost depends on where the job runs and how much video you retain; the cited API and FFmpeg references do not provide a universal cost or performance benchmark. Estimate browser runtime, storage, and any transcoding workload for your own deployment instead of assuming a fixed per-recording cost.
7. Or skip the browser setup
If you only need a still screenshot of a web page, ScreenshotNeo is a website screenshot API and MCP server from Yorker Media. One GET request returns a PNG, JPEG, WebP, or PDF. It does not create a video recording, so use Puppeteer for motion and interaction sequences. For a still capture, see the ScreenshotNeo API documentation and try:
curl -G "https://api.screenshotneo.com/v1/shot" -d access_key=YOUR_API_KEY --data-urlencode url=https://stripe.com -o shot.webpEquivalent Python:
import requests

r = requests.get(
    "https://api.screenshotneo.com/v1/shot",
    params={"access_key": "YOUR_API_KEY", "url": "https://stripe.com"},
    timeout=90,
)
open("shot.webp", "wb").write(r.content)
Equivalent Node.js:
const q = new URLSearchParams({ access_key: 'YOUR_API_KEY', url: 'https://stripe.com' });
const res = await fetch(`https://api.screenshotneo.com/v1/shot?${q}`);
if (!res.ok) throw new Error(`Screenshot request failed: ${res.status}`);
await Bun.write('shot.webp', res);
ScreenshotNeo accepts cookie and consent banners as a visitor and removes more than 60 known consent platforms, newsletter popups, and chat widgets before the shot; each step can be turned off. Bot checks, blank pages, failed loads, timeouts, and cache hits cost nothing, and response headers say which page verdict applied and whether it was billed. Its MCP server provides take_screenshot, get_page_info, and capture_pdf tools for Claude, Cursor, and other MCP clients. The Free plan includes 1,000 screenshots monthly with no card; paid plans start at $5 for 3,000 shots. Every feature is on every plan.
Create a free ScreenshotNeo account for 1,000 screenshots a month with no card.
8. Frequently asked questions
Does Puppeteer record a website directly to MP4?
The current Page.record() documentation says it records through Chrome’s screen-recording protocol and outputs MP4. Confirm availability with the Puppeteer and browser versions you use.
Does Page.record() require FFmpeg?
The current Page.record() reference describes MP4 recording via the Chrome DevTools Protocol and does not list FFmpeg as a prerequisite. The older, obsolete Page.screencast() documentation does list FFmpeg as required.
Will Puppeteer record audio automatically?
No. The documented audio option defaults to false. Enable it only if your version supports the option and the page audio is part of the desired output.
Can I capture an entire user journey?
Yes. Start recording before the first action you want shown, run the journey’s interactions while the recorder is active, then stop it. Add state waits between actions so the script follows the page’s actual progress.
When should I use ScreenshotNeo instead?
Use it when the deliverable is a still screenshot or PDF and you want a screenshot API call or MCP tool. Use Puppeteer recording when the deliverable must show motion over time.


