How to Remove an Element Before Taking a Screenshot
Hide live interface content or narrow the capture area before taking a screenshot. The right method depends on your device and whether the element is live UI or already part of an image.
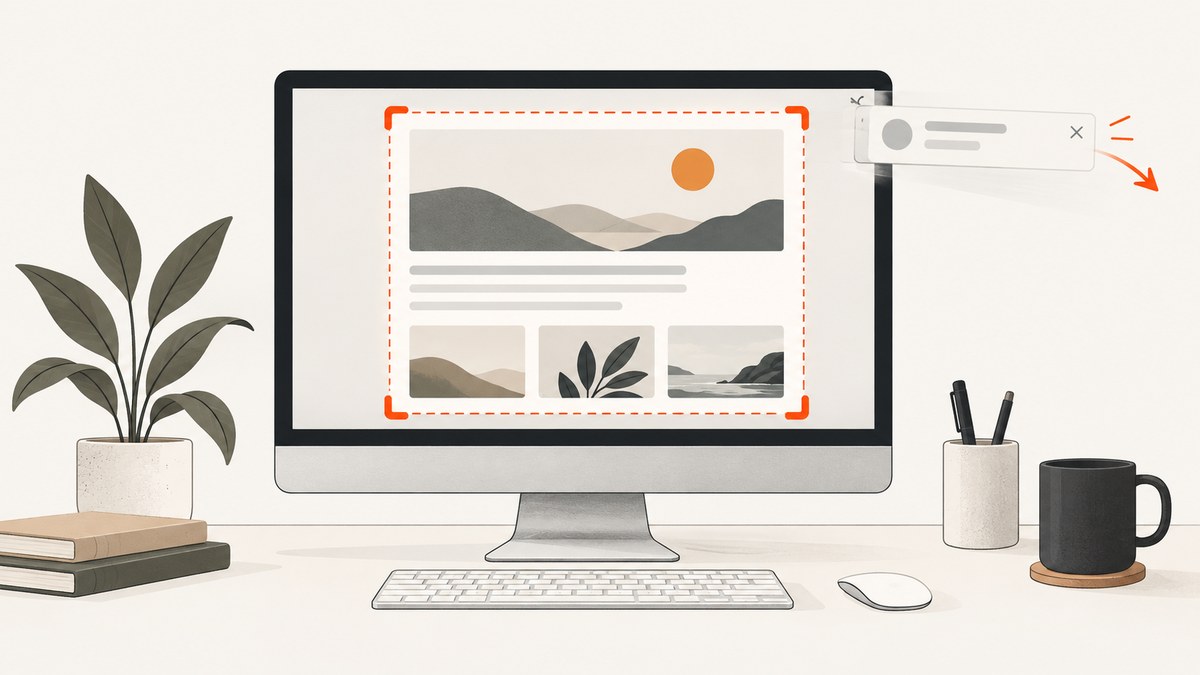
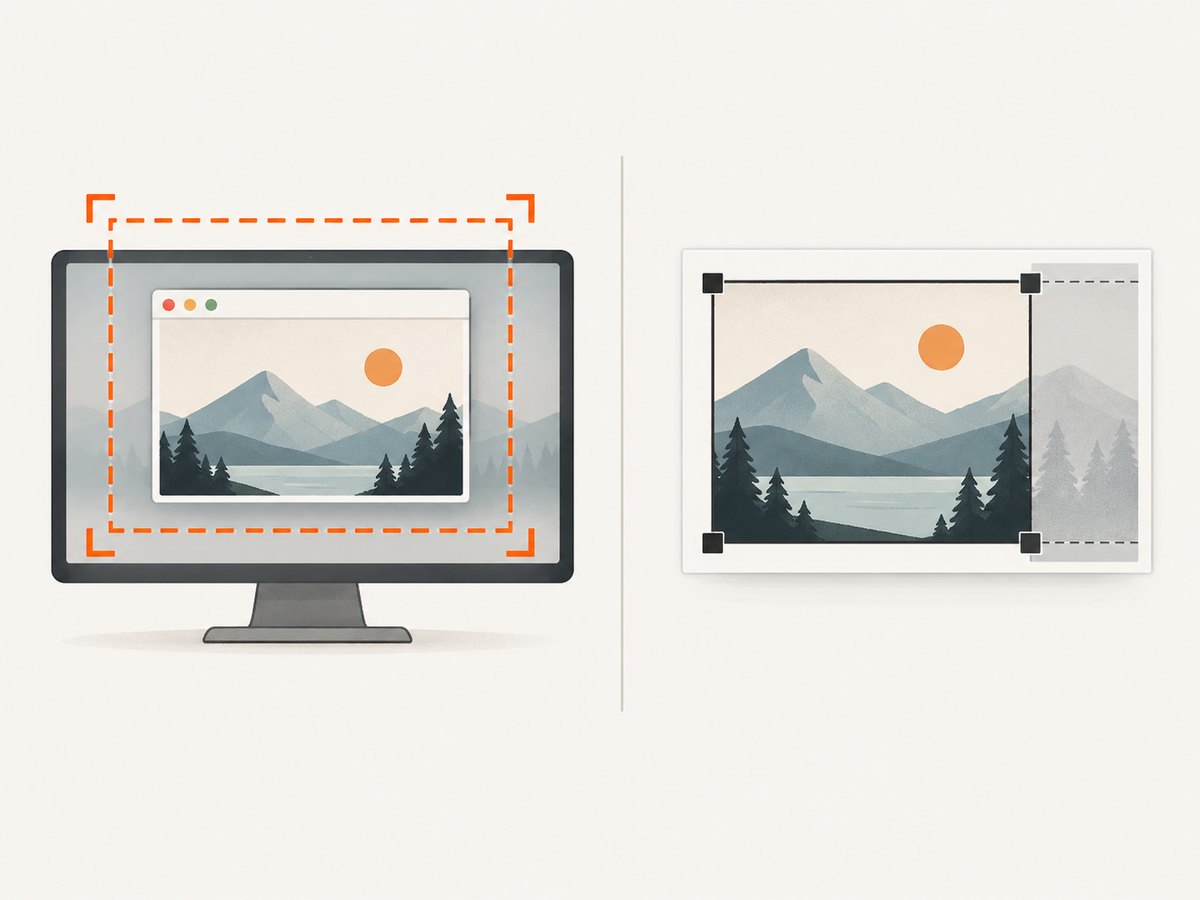
To keep an element out of a screenshot, remove it from the live screen before capture or choose a capture area that excludes it. If the unwanted element is already part of a saved screenshot, cropping or image editing is a separate after-capture fix.
First identify what you are removing: a notification, banner, cursor, or other live interface element; an item in the status bar; an entire window; or pixels in an existing image. Those cases need different steps. For website screenshots captured by code, hide the element in the page before taking the shot. For a quick desktop capture, select only the region or window you need.
1. Identify the element and when it needs to disappear
Use this decision table before changing anything:
| What you see | Best first step | When it applies |
|---|---|---|
| Notification, popup, chat widget, cursor, or other live UI | Dismiss it, hide it, or change the screen before capture | The item exists on the screen but is not part of a saved image yet |
| Content outside the part you need | Capture a smaller region or a specific window | You can omit surrounding screen content without changing the target |
| Status-bar notification or device indicators | Use a platform-specific clean capture mode where available | You are capturing an app or device screen and need a clean status bar |
| An object or UI element in a saved screenshot | Crop it if it is near an edge; otherwise use an image editor | The pixels have already been captured |
Before sharing, inspect the whole image for names, email addresses, account details, notification previews, and other personal information. Mozilla’s screenshot guidance recommends removing personally identifiable information and simplifying nonessential screenshot content. Mozilla’s screenshot guide covers that privacy check.
2. Windows: capture a smaller region or window
Windows Snipping Tool offers rectangular, freeform, window, and full-screen captures. Choosing a window or drawing a smaller region can keep content outside the selection out of the image. It does not erase an element that overlaps the area you select.
- Dismiss or move the element if it overlaps the content you need.
- Open Snipping Tool and choose the capture mode that fits: rectangular, freeform, window, or full screen.
- Select the target region or window, then inspect the preview before saving.
- If a menu or transient state needs to appear, use the optional capture delay. A delay helps capture a particular screen state; it does not remove anything by itself.
Snipping Tool opens captures for editing, saving, and sharing, and Microsoft also documents opening an image in Paint for edits. Its Perfect Screenshot feature has a narrow availability scope: Microsoft says it is available on Windows 11 Copilot+ PCs. Do not expect that feature on every Windows 11 device. See Microsoft’s Snipping Tool guidance.
3. iPhone: hide first, then crop if needed
For a notification or overlay, change the live screen first when possible: dismiss it, wait for it to go away, or navigate to a screen where it is absent. Take the screenshot and check the preview. Apple’s iPhone guide describes cropping from the screenshot preview, including full-page captures where supported. Cropping changes the visible boundaries; it cannot remove an object in the middle while preserving everything around it.
Markup is for drawing, adding text or shapes, changing opacity and font thickness, and adding a signature to a PDF. Apple also describes erasing strokes made with Markup. That eraser does not establish a general tool for removing a person, object, or interface element from the underlying screenshot. Keep the distinction clear: annotations can be erased; image content needs cropping or image editing. Consult Apple’s iPhone screenshot guide and Apple’s Markup guide for the documented controls and version context.
4. Android: clean the status bar for app captures
If the unwanted item is a status-bar notification or indicator in a screenshot taken through Android Studio, Android Developers documents Demo mode as a way to reset status-bar notifications and set signal and battery levels. The guidance applies to Android 7.0 and higher. It is a specific status-bar cleanup option, not a general way to remove arbitrary elements from any Android app.
- Enable Developer options on the device used for the capture.
- Open Developer options and enable Demo mode.
- Capture the app screen and verify the status bar shows the presentation you intended.
Menu labels and device workflows can vary. If the unwanted content is inside the app rather than in the status bar, change the app state, dismiss the content, or capture a smaller area where possible. See Android Developers’ screenshot guidance.
5. Mac apps: exclude windows with ScreenCaptureKit
For developers building a Mac capture app with ScreenCaptureKit, Apple’s SCContentFilter supports filtering a capture stream. Its initializers include selecting a desktop-independent window, capturing a display including windows, or capturing a display while excluding windows. This is an API for developers; it is not a consumer menu instruction for taking an ordinary Mac screenshot.
Choose the filter that matches the capture you want, then inspect the resulting stream for overlays or content that is not covered by that filter. The filter concerns windows in a capture stream; it should not be treated as a general image editor for removing pixels inside the selected window. See Apple’s SCContentFilter documentation.
6. Website screenshots with JavaScript: hide the element before capture
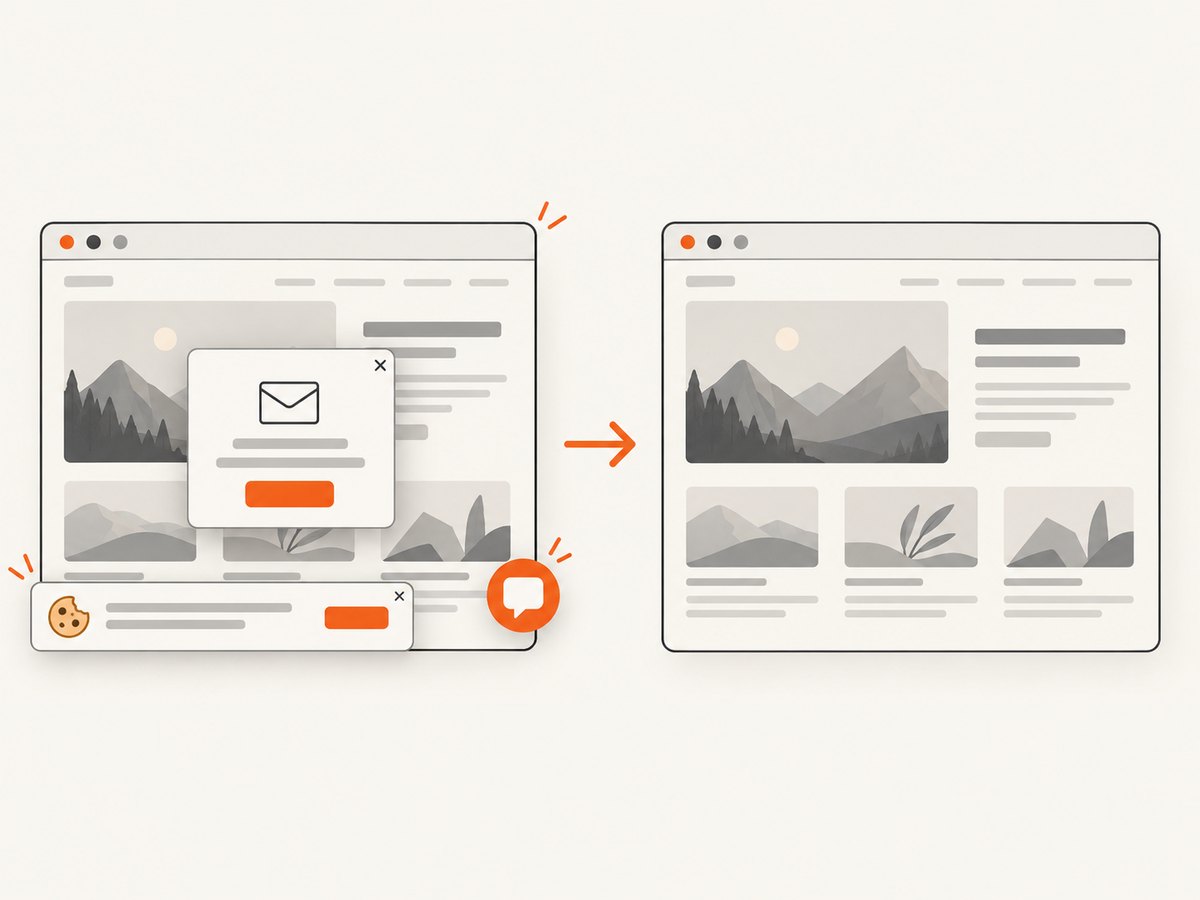
For an automated website screenshot, remove the element from the page before the capture command runs. The example below uses Playwright for Node.js. It opens a page, hides a banner with a CSS selector, waits for the page to settle, then saves a full-page screenshot. Replace the URL and selector with the ones for your page.
import { chromium } from 'playwright';

const browser = await chromium.launch({ headless: true });
const page = await browser.newPage({ viewport: { width: 1440, height: 900 } });

try {
  await page.goto('https://example.com', { waitUntil: 'networkidle' });
  await page.locator('.cookie-banner').evaluateAll(elements => {
    for (const element of elements) element.style.setProperty('display', 'none', 'important');
  });
  await page.screenshot({ path: 'page.png', fullPage: true });
} finally {
  await browser.close();
}
Install Playwright and its browser before running the script: npm install playwright followed by npx playwright install chromium. Save the code as an ES module, for example capture.mjs, and run node capture.mjs. The CSS selector must identify the element on the page; a selector that matches nothing leaves the page unchanged.
Choose whether to hide, remove, or dismiss
- Hide with CSS: setting
display: noneremoves the element from layout as well as view. Use it when the element should not occupy space. - Make invisible:
visibility: hiddenkeeps its layout space. This can prevent nearby content from shifting, but leaves a gap. - Remove the node:
element.remove()removes the element from the DOM. This can be useful in a capture-only page modification. - Dismiss it normally: click its close control or accept the site’s consent dialog when appropriate. This is often more faithful than hiding it, because the page can then reflow or save its state as intended.
Prefer a narrow, stable selector. Hiding a broad selector such as div can break the page layout. If the element is inside an iframe, page-level selectors may not reach it; same-origin restrictions and browser automation frame handling matter. A shadow DOM may also require a locator that traverses the component boundary. Confirm that the desired content remains visible after the change.
7. cURL, Python, and Node.js with ScreenshotNeo
If the page is public and your goal is a clean website screenshot rather than a local desktop capture, ScreenshotNeo is a website screenshot API and MCP server from Yorker Media. Its capture flow can accept cookie or consent banners as a visitor and remove more than 60 known consent platforms, newsletter popups, and chat widgets before the shot; each of those steps can be turned off. Responses identify page verdict and billing status through headers. See the ScreenshotNeo API documentation for request options.
Make one GET request with your API key and target URL. The examples save the response body as a WebP image:
cURL
curl -G "https://api.screenshotneo.com/v1/shot" \
  -d access_key=YOUR_API_KEY \
  --data-urlencode url=https://example.com \
  -o shot.webp
Python
import requests

r = requests.get(
    "https://api.screenshotneo.com/v1/shot",
    params={"access_key": "YOUR_API_KEY", "url": "https://example.com"},
    timeout=90,
)
r.raise_for_status()
with open("shot.webp", "wb") as image:
    image.write(r.content)
Node.js
const q = new URLSearchParams({
  access_key: 'YOUR_API_KEY',
  url: 'https://example.com'
});
const res = await fetch(`https://api.screenshotneo.com/v1/shot?${q}`);
if (!res.ok) throw new Error(`Screenshot request failed: ${res.status}`);
await Bun.write('shot.webp', new Uint8Array(await res.arrayBuffer()));
The Node.js example uses Bun’s file writer. With Node.js, use this equivalent save step after the fetch:
import { writeFile } from 'node:fs/promises';
await writeFile('shot.webp', Buffer.from(await res.arrayBuffer()));
For an element other than the supported consent, popup, and chat cleanup, use ScreenshotNeo’s CSS selector capture or custom CSS options as appropriate. It also supports full-page capture with lazy images loaded, dark mode, viewport and device presets, retina scale, selector waits, delay or network-idle waits, custom headers and cookies, a custom user agent, and hiding selectors. The API offers PNG, JPEG, WebP, or PDF output; consult the docs for parameter names and combinations. Keep the API key server-side rather than embedding it in a public page.
Or skip the browser setup
ScreenshotNeo takes a website URL in one API call. Cookie banners, popups, and chat widgets are removed before the shot. Bot checks, blank pages, and failed loads are never billed; the response reports the page verdict and billing status. An MCP server lets Claude, Cursor, and other MCP clients take screenshots. The free plan includes 1,000 screenshots a month with no card; paid plans start at $5 for 3,000 screenshots.
curl -G "https://api.screenshotneo.com/v1/shot" -d access_key=YOUR_API_KEY --data-urlencode url=https://example.com -o shot.webpSee the API docs, then sign up for 1,000 free screenshots a month with no card.
8. If the screenshot already contains the element
Once pixels are in a saved image, changing the live page will not alter that file. If the element is at an edge and the remaining composition still works, crop it. Cropping discards part of the image and changes its dimensions or framing.
If the element is in the middle, an object-erasure tool may attempt to reconstruct the background. That is image editing after capture, not removal before capture. Microsoft documents a Windows AI Object Erase API that takes an image and a grayscale mask, then replaces the masked object area with image background. Its documentation requires an MSIX-packaged app declaring the systemAIModels capability and a recent MaxVersionTested; it is not a universal consumer control in every editor. Reconstruction can look wrong over text, patterned UI, or overlapping content, so inspect the result carefully and recapture when possible. See Microsoft Learn’s Object Erase documentation.
9. Troubleshooting
| Problem | Likely cause | Fix |
|---|---|---|
| The element still appears | The wrong selector or capture region was used, or the element appeared after the change | Check the selector in the live page, wait for the element, then apply the change immediately before capture |
| The page has an empty gap | visibility: hidden preserved layout space |
Use display: none if reflow is acceptable, or remove the node |
| Content moved after hiding the element | Removing it changed page layout | Try visibility: hidden to preserve space, or capture a specific element/region instead |
| A popup returns after reload | The site recreates it or consent state was not saved | Dismiss it through the page’s normal control, or apply the capture-only hide after navigation and before the screenshot |
| Automation cannot find the element | It may be in an iframe, shadow DOM, or loaded later | Wait for the correct frame or component and use a selector that reaches its context |
| ScreenshotNeo returns an unexpected result | The URL may redirect, load slowly, show a bot check, or fail to load | Review the response headers for page verdict and billing status; verify the target URL and consult the API docs for wait and request options |
| Object erasure damages nearby text or texture | The editor has to reconstruct pixels behind the removed area | Prefer a recapture with the element hidden, or crop if that preserves the needed content |
10. Reliability, performance, and cost considerations
For repeatable captures, make the page state explicit: use a stable viewport, wait for the target content, hide only the intended selector, and inspect the output. A network-idle wait can be unsuitable for pages with ongoing requests; a selector wait or a deliberate delay may be a better fit. Full-page capture can take longer and produce larger images than a viewport capture, especially on long pages. Lazy-loaded images need time or scrolling to appear; ScreenshotNeo’s full-page capture loads lazy images.
On a local browser workflow, the machine must have the browser installed and enough resources for the page. On an API workflow, keep the request timeout appropriate for the site’s load behavior, handle non-success HTTP responses, and avoid exposing the access key to visitors. ScreenshotNeo bills clean shots; bot checks/CAPTCHAs, blank pages, timeouts, failed loads, and cache hits cost nothing, and response headers say which outcome occurred. Its plans are Free for 1,000 shots/month with no card; Starter $5 for 3,000; Growth $15 for 15,000; Pro $39 for 60,000; Scale $99 for 250,000; and Business $249 for 1,000,000. Yearly billing gives two months free, and every feature is on every plan. See current details at ScreenshotNeo.
Frequently asked questions
Can I remove something without changing the screenshot dimensions?
Yes, if you hide or dismiss it before capture and preserve the intended viewport. If you crop after capture, dimensions or framing change. Object erasure may preserve the canvas dimensions, but it reconstructs the covered pixels.
Does freeform snipping erase an object?
No. Freeform snipping selects the area to capture. Pixels inside that selected area remain in the screenshot.
Can I erase an annotation on iPhone?
Markup can erase strokes made with Markup. That is different from removing underlying screenshot content such as a person, object, or notification.
What should I do if the item is confidential?
Remove it from the live screen before capture whenever possible, then inspect the saved file before sharing. Do not rely on a crop or an object-erasure result without checking the final image.


