How to Remove Image Backgrounds
Learn how to remove image backgrounds in Canva or Photoshop, fix difficult edges, preserve transparency, and automate clean image capture.

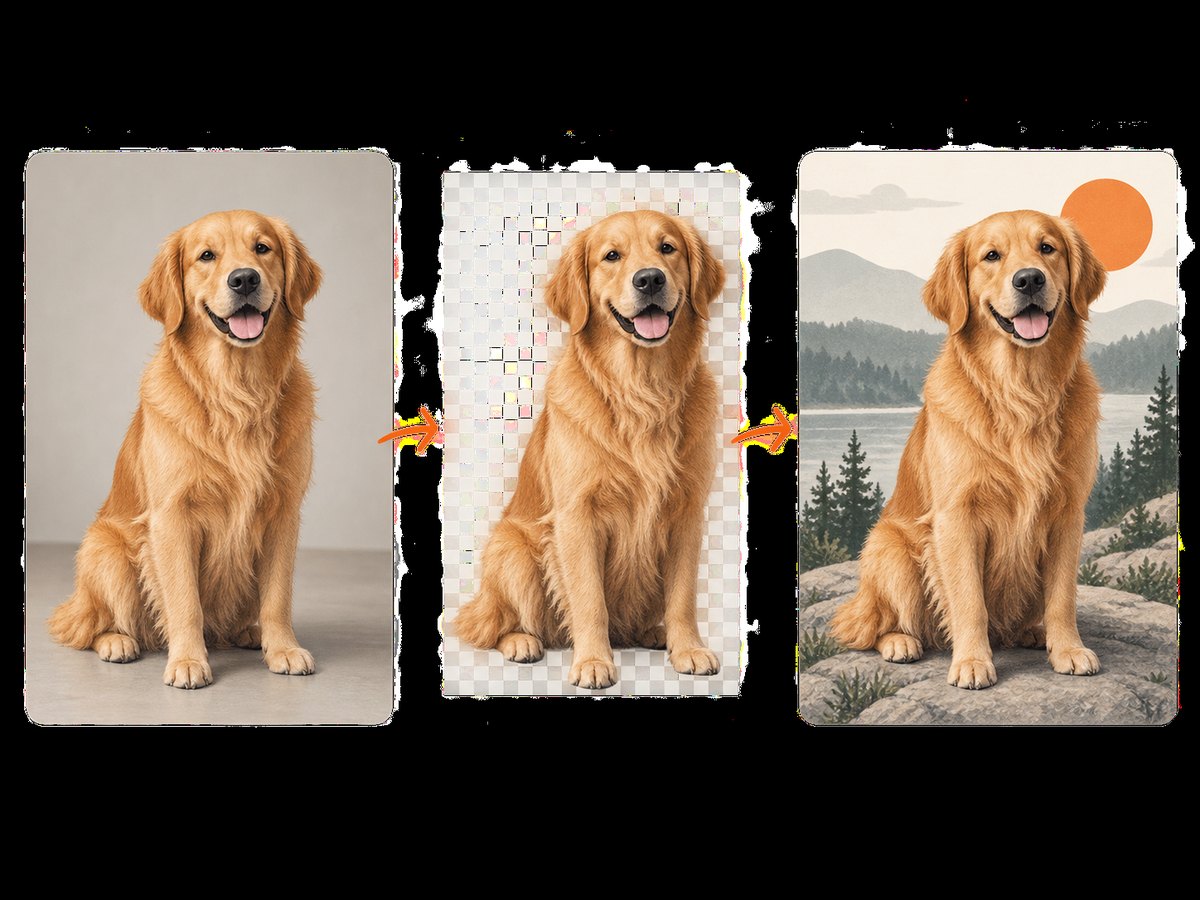
Removing an image background means separating the subject from its surroundings and exporting the result with transparency. The fastest route is Canva’s Background Remover; Photoshop gives you a layer mask for detailed corrections. For either workflow, inspect hair, fur, glass, shadows, and other fine edges manually, then export as PNG (or PSD in Photoshop) so transparency is preserved.
Choose the right workflow
| Need | Best fit | Why |
|---|---|---|
| One or a few images, minimal editing | Canva | Upload an image, run BG Remover, refine with Erase or Restore, and download a PNG. Background Remover is documented as a paid-plan feature. |
| Precise edges and repeatable editing | Photoshop | The Remove Background quick action creates a transparent result or mask that you can refine with the Brush tool. |
| Automated web screenshots | ScreenshotNeo | Capture a transparent-background result or an image-processing page through an API, with browser setup handled for you. |
These tools are not directly comparable on output quality without testing your own images. Compare access requirements, mask control, batch support, and export formats. Canva documents bulk removal from a folder, while Photoshop documents nondestructive mask editing. The remove.bg FAQ says its background-removal functionality is moving into Canva, so check the live service before adopting it as a standalone workflow.
Canva: remove a background online
Step 1: Upload the source image
Open Canva’s Background Remover feature and upload a JPG, PNG, HEIC, or HEIF image. Canva’s help documentation says supported photos should be under 9 MB; images over 10 megapixels are downscaled to 10 megapixels after removal. Those limits are page-specific and can change, so check the current help page before processing a large batch.
Step 2: Run BG Remover
Select the image, choose BG Remover, and wait for Canva to isolate the subject. The result should show a checkerboard or otherwise transparent area behind the subject. Zoom in before accepting it.
Step 3: Correct the mask
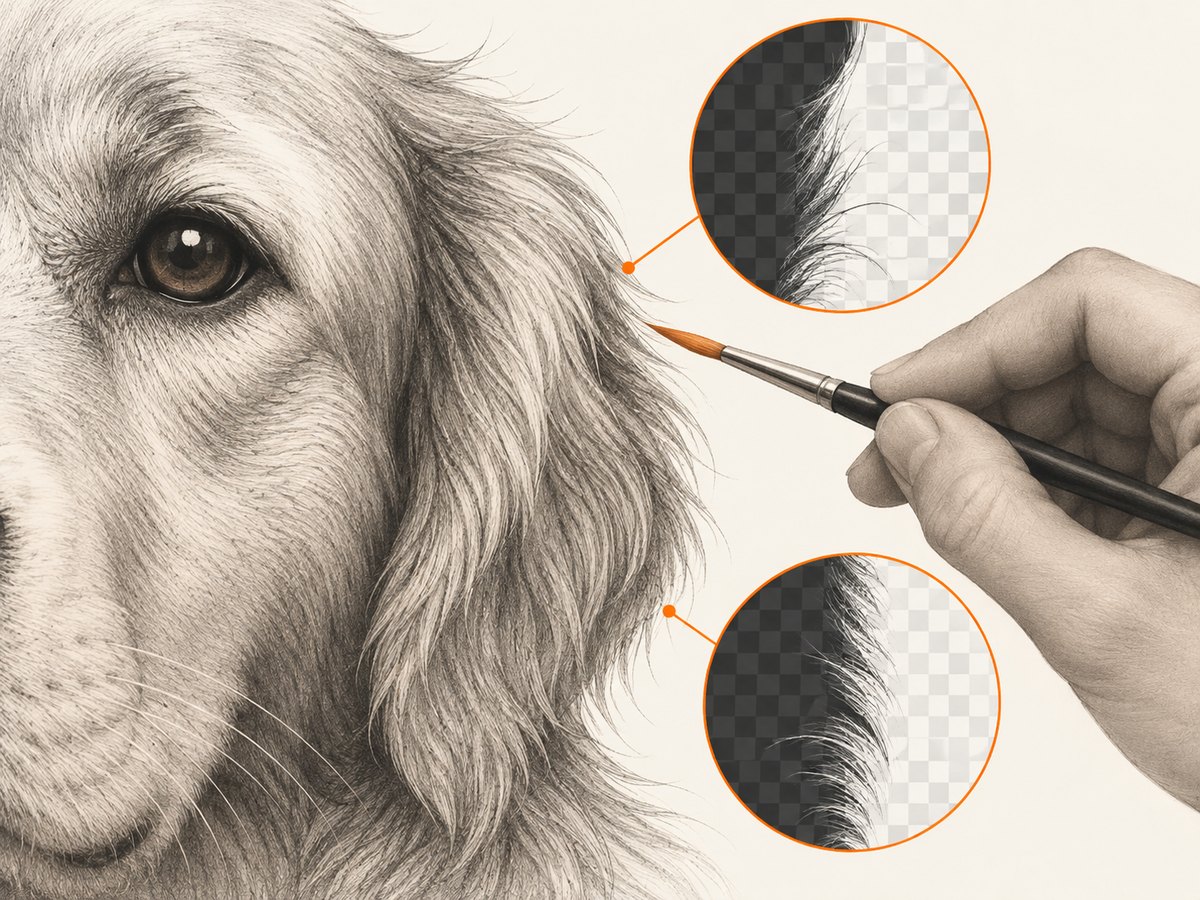
Use Erase to remove background pixels that remain and Restore to bring back parts of the subject that were removed. Work in short strokes around hair, fur, thin cables, plant leaves, and semi-transparent objects. A broad automatic cutout often looks acceptable at thumbnail size but reveals halos at full resolution.
Step 4: Export transparency
Choose Share → Download, select PNG, and enable Transparent background. Canva’s transparent-download help lists Pro, Teams, Business, Education, and Nonprofits plans as eligible. Removing the background and downloading a transparent design are separate steps; a successful cutout can still become a solid-color image if you export the wrong format or lack the required plan.
Batch processing
Canva documents bulk background removal from a folder. Use it when the images have similar framing and lighting, then review every result. Batch processing saves clicks but does not eliminate the need to inspect difficult boundaries.
Photoshop: use a mask for control
Step 1: Prepare the layer
Open the image, select its layer, and unlock it if it is locked. Adobe’s current instructions use Discover → Browse → Quick Actions → Remove Background. Photoshop isolates the subject and creates a transparent background or a masked layer ready for compositing or export.
Step 2: Refine the layer mask
Click the mask thumbnail and paint with the Brush tool: white reveals pixels, black hides them, and gray creates partial transparency. Use a small, soft brush for hair and a harder brush for product edges. If the automatic result is imperfect, Adobe recommends refining the mask manually with the Brush tool. Keep the mask instead of erasing pixels so you can revise the decision later.
Step 3: Check edge quality
- Place a dark and a light temporary layer beneath the subject; halos show up against one of them.
- Inspect at 100% zoom, then check the final display size.
- For hair or fur, use shorter brush strokes and avoid cutting every strand individually.
- For glass, smoke, veils, and shadows, decide whether partial transparency belongs in the final design.
- Remove color fringing with a small mask adjustment or edge cleanup, rather than blurring the entire subject.
Step 4: Save without losing transparency
Save a working copy as PSD to retain the editable mask. Export PNG for a transparent raster asset. Adobe’s guidance identifies PNG and PSD as formats that retain transparency. JPEG cannot store an alpha channel, so it will replace transparent areas with a color.
Edge cases that need manual work
Hair, fur, and fine detail
Automatic tools may merge fine strands with a similar-colored background or leave a light fringe. Start with a conservative mask, then restore only believable strands. If the image will be displayed small, remove invisible micro-details instead of creating noisy edges.
Low contrast
When subject and background share colors, create a temporary contrast layer below the subject and refine at high zoom. A clean silhouette is often more useful than trying to preserve every uncertain pixel.
Shadows and reflections
Decide whether the shadow is part of the subject. For a product cutout, you may remove the original shadow and add a new one that matches the destination scene. Reflections in glass or polished surfaces may require partial opacity rather than a binary keep-or-remove decision.
Multiple subjects
If people or objects overlap, automatic removal may treat them as one region. Separate the subjects onto different layers or masks when they need independent placement.
Large files and color
Downscale only after you have a clean mask if edge precision matters. Preserve the source color profile when the destination workflow is color-managed, and verify the PNG in the application where it will be used.
Programmatic and repeatable workflows
The research sources document Canva and Photoshop interfaces rather than a public background-removal API. For automation, keep the editing step in the tool that owns the mask, then use a screenshot service to capture a web result, preview page, or rendered composition. Do not treat a screenshot as a substitute for a source PNG when you need pixel-level transparency.
Or skip the browser setup
ScreenshotNeo is a website screenshot API and MCP server. Give it a URL and it returns PNG, JPEG, WebP, or PDF. It can capture a rendered page containing your cutout or a composition preview, including full-page or element-only shots, custom CSS and JavaScript, device presets, dark mode, retina scale, waits, headers, cookies, and caching. Cookie or consent banners, newsletter popups, and chat widgets are removed before capture. Bot checks, blank pages, timeouts, failed loads, and cache hits are not billed, and the response identifies the page verdict and billing result in headers. An MCP server provides take_screenshot, get_page_info, and capture_pdf tools for Claude, Cursor, and other MCP clients.
See the ScreenshotNeo API documentation for the complete parameter list. The basic call is:
curl -G 'https://api.screenshotneo.com/v1/shot' \
  -d access_key=YOUR_API_KEY \
  --data-urlencode url=https://example.com/cutout-preview \
  -o shot.webp
Python:
import requests

r = requests.get(
    'https://api.screenshotneo.com/v1/shot',
    params={
        'access_key': 'YOUR_API_KEY',
        'url': 'https://example.com/cutout-preview'
    },
    timeout=90
)
r.raise_for_status()
open('shot.webp', 'wb').write(r.content)
Node.js:
const q = new URLSearchParams({
  access_key: 'YOUR_API_KEY',
  url: 'https://example.com/cutout-preview'
});
const res = await fetch(`https://api.screenshotneo.com/v1/shot?${q}`);
if (!res.ok) throw new Error(`HTTP ${res.status}`);
const data = Buffer.from(await res.arrayBuffer());
require('fs').writeFileSync('shot.webp', data);
For a transparent composition, set the page background to transparent in your own HTML and request the element or full page you need. ScreenshotNeo also supports image resizing, custom CSS, click actions, selector waits, network-idle waits, blocked resource types, geolocation, timezone, authorization headers, signed links, asynchronous jobs with signed webhooks, bulk capture of up to 100 URLs per call, and a usage API. Every feature is available on every plan. The free plan includes 1,000 shots per month with no card; paid plans start at $5 for 3,000 shots, with yearly billing giving two months free.
Create a free ScreenshotNeo account to get 1,000 screenshots a month with no card.
Troubleshooting
| Symptom | Likely cause | Fix |
|---|---|---|
| White or colored background after export | JPEG export or transparency option disabled | Export PNG and enable Transparent background; keep a PSD master. |
| Halo around the subject | Background-colored edge pixels remain | Inspect on contrasting layers and paint the mask at 100% zoom. |
| Hair looks clipped | Mask is too aggressive | Restore selected strands with a small brush; accept that invisible strands may not survive downscaling. |
| Canva option is unavailable | Plan or account eligibility | Check Canva’s current Help Centre and the plan attached to the account. |
| Large Canva upload fails | File-size or megapixel limit | Compress or resize the source, then process the original separately if full resolution is required. |
| ScreenshotNeo returns a bot-check or blank verdict | The target page blocked automation or failed to load | Inspect X-Page-Verdict and X-Billed headers, wait for a selector or network idle, and verify headers, cookies, and URL access. |
| Transparent preview appears opaque | The webpage or viewer applied a background | Check the downloaded PNG in an editor and inspect the page CSS separately. |
Performance, reliability, and cost notes
- Use PNG only when you need an alpha channel; WebP can be smaller for web delivery but verify the consuming application supports its transparency.
- Process large batches in predictable groups and review representative difficult images before running the entire set.
- Keep original files and editable masks so a new export does not require rebuilding the cutout.
- For rendered previews, cache stable ScreenshotNeo URLs with a TTL you choose. Cache hits are not billed.
- Use asynchronous jobs and signed webhooks when a batch should not block a request. Bulk capture supports up to 100 URLs per call.
- Only clean ScreenshotNeo shots are billed. Failed loads, timeouts, blank pages, bot checks, and cache hits cost nothing.
FAQ
Can I remove a background without Photoshop?
Yes. Canva provides an online BG Remover with erase and restore refinement. Availability and transparent-download eligibility depend on the plan shown in Canva’s current help pages.
Why does PNG matter?
PNG supports an alpha channel, so transparent pixels remain transparent. JPEG does not.
Should I delete the background or use a mask?
Use a mask when you may need corrections. It hides pixels nondestructively and preserves the original layer.
Is remove.bg still a separate service?
Its FAQ says background removal is moving to Canva. Check the live FAQ and product page for current availability before designing a workflow around it.
Can ScreenshotNeo remove an image background?
ScreenshotNeo captures rendered web pages and elements; it does not replace a subject-segmentation editor. Use Canva or Photoshop for the cutout, then ScreenshotNeo for automated previews or page captures.


