How to Render an HTML String With html2canvas
Render an HTML string with html2canvas by placing it in a live DOM element, waiting for resources, and exporting the resulting canvas safely.
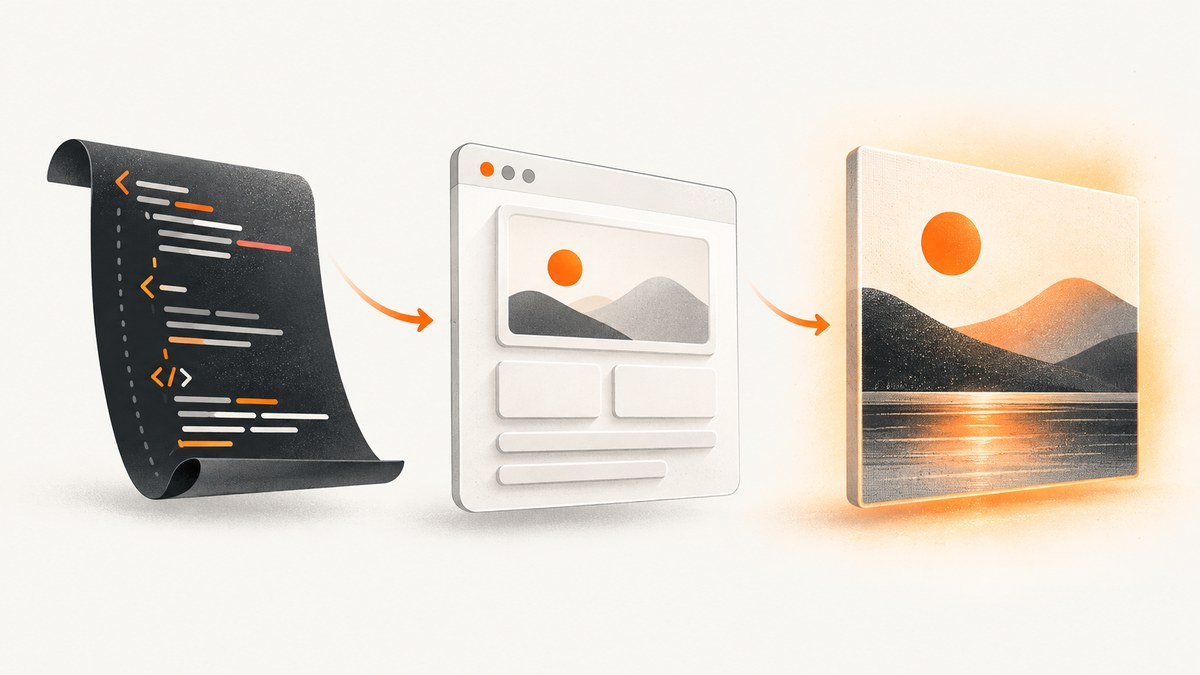
Direct answer: html2canvas accepts a DOM element, not a raw HTML string. Put the string into a temporary element, attach that element to the document so it has normal layout and resource resolution, then call await html2canvas(element, options). The promise resolves to an HTMLCanvasElement that you can display, convert to a data URL, or upload as a Blob.
import html2canvas from '@html2canvas/html2canvas';

export async function renderHtmlString(html, options = {}) {
  const host = document.createElement('div');
  host.innerHTML = html;
  host.style.position = 'fixed';
  host.style.left = '-100000px';
  host.style.top = '0';
  host.style.width = 'fit-content';
  document.body.appendChild(host);

  try {
    return await html2canvas(host, {
      backgroundColor: null,
      ...options
    });
  } finally {
    host.remove();
  }
}
This approach works because html2canvas renders a document-backed element. A detached node has no reliable layout context, computed styles, viewport, or resource lifecycle. The library runs in the browser and recreates CSS painting; it does not ask the browser for a native screenshot, so CSS support and cross-origin behavior have practical limits.
1. Install html2canvas and prepare the browser
Install the package in a browser application:
npm install html2canvasThen import it from your application code:
import html2canvas from 'html2canvas';The package is browser-side. It is not a Node.js renderer, so calling it in a Node process without a browser document will fail. Use a browser framework, a page script, or a browser automation environment that provides window and document.
2. Convert the string into a temporary element
For an HTML fragment, assigning innerHTML to a temporary div is usually enough:
const html = `
  <article class="receipt">
    <h1>Order complete</h1>
    <p>Thank you for your purchase.</p>
  </article>
`;

const host = document.createElement('div');
host.innerHTML = html;
document.body.appendChild(host);

const canvas = await html2canvas(host);
document.body.appendChild(canvas);
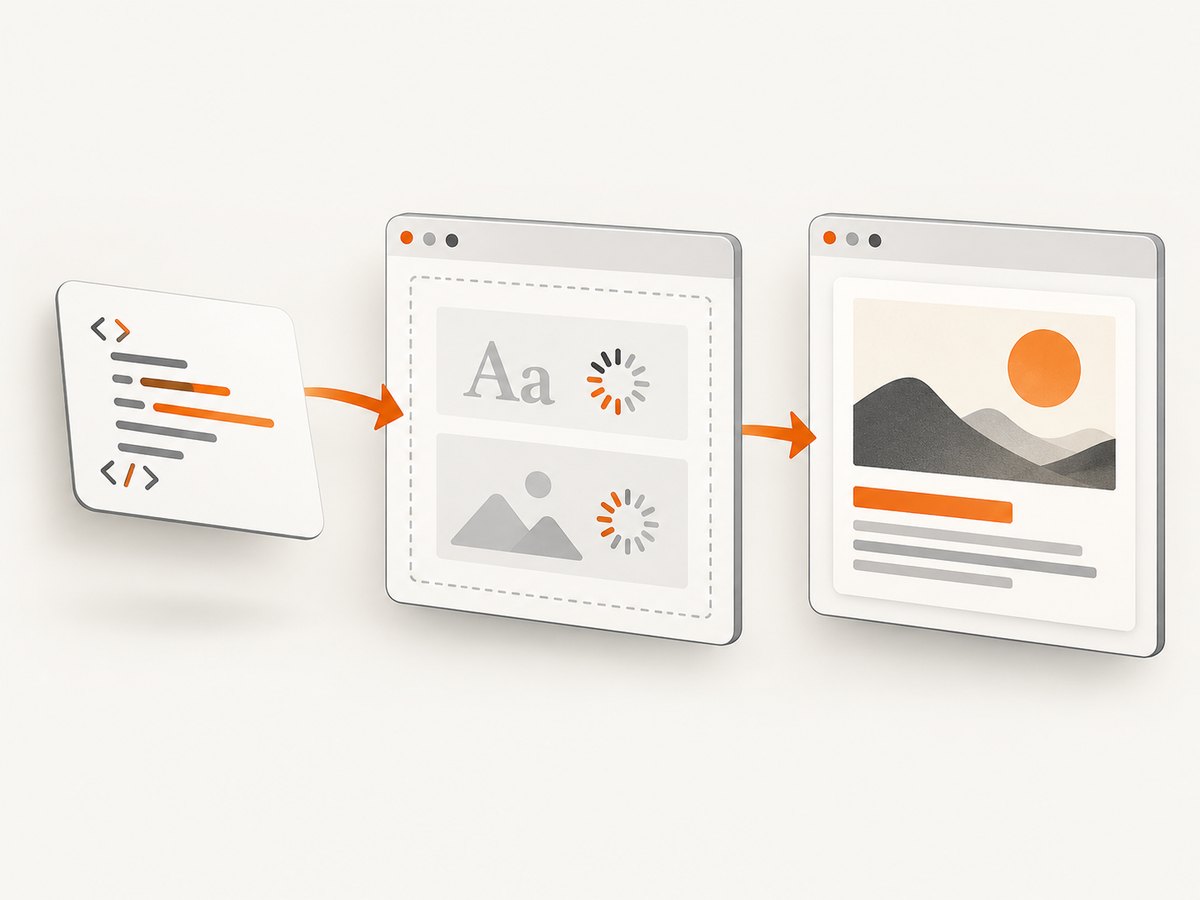
Keep the temporary host in the document until rendering finishes. Position it off-screen instead of using display:none; hidden elements have no useful layout dimensions. Give the host a predictable width when responsive CSS matters:
host.style.position = 'fixed';
host.style.left = '-100000px';
host.style.top = '0';
host.style.width = '800px';
host.style.background = '#fff';
Always remove it in a finally block. This prevents leaked nodes when an image, font, or canvas operation throws.
3. Treat untrusted HTML as data
html2canvas is a renderer, not an HTML sanitizer. If the string comes from a user, database, webhook, or remote request, sanitize it before assigning innerHTML. Sanitization policy depends on your application, but the principle is the same: allow only the markup and attributes you intend to render.
import DOMPurify from 'dompurify';
import html2canvas from 'html2canvas';

export async function renderUntrustedHtml(rawHtml) {
  const safeHtml = DOMPurify.sanitize(rawHtml);
  const host = document.createElement('div');
  host.innerHTML = safeHtml;
  host.style.position = 'fixed';
  host.style.left = '-100000px';
  host.style.top = '0';
  host.style.width = '800px';
  document.body.appendChild(host);

  try {
    return await html2canvas(host, { backgroundColor: null });
  } finally {
    host.remove();
  }
}
Sanitizing markup does not grant permission to fetch cross-origin images or stylesheets. Browser security rules still apply.
4. Wait for fonts, images, and layout
Rendering immediately after assigning innerHTML can capture fallback fonts, unloaded images, or a layout that has not settled. Wait for document fonts and the images inside the host:
async function waitForAssets(host) {
  if (document.fonts?.ready) await document.fonts.ready;

  const images = [...host.querySelectorAll('img')];
  await Promise.all(images.map(image => {
    if (image.complete) return Promise.resolve();
    return new Promise(resolve => {
      image.addEventListener('load', resolve, { once: true });
      image.addEventListener('error', resolve, { once: true });
    });
  }));
}

await waitForAssets(host);
const canvas = await html2canvas(host, {
  backgroundColor: null,
  useCORS: true
});
The image wait resolves errors as well as successes so a single broken asset does not hang the capture forever. You can instead reject on errors when missing assets should fail your job.
5. Export the canvas
The result is a normal HTMLCanvasElement. Append it for preview, create a data URL for small payloads, or use toBlob for downloads and uploads:
const canvas = await html2canvas(host, { backgroundColor: null });

// Preview
preview.replaceChildren(canvas);

// PNG data URL
const dataUrl = canvas.toDataURL('image/png');

// JPEG download
canvas.toBlob(blob => {
  if (!blob) return;
  const link = document.createElement('a');
  link.href = URL.createObjectURL(blob);
  link.download = 'capture.jpg';
  link.click();
  URL.revokeObjectURL(link.href);
}, 'image/jpeg', 0.92);
toDataURL keeps the entire image in memory as a string. For larger captures, toBlob is generally easier to upload without excessive string overhead. A canvas made unreadable by a cross-origin image will throw when you try to export it.
6. Configure size, crop, scale, and transparency
| Option | Purpose | Typical use |
|---|---|---|
backgroundColor |
Canvas background; null preserves transparency |
Transparent cards or overlays |
scale |
Output pixel density; defaults to device pixel ratio | Set 1 for smaller files or increase for sharper output |
width, height |
Rendered dimensions | Fixed-size exports |
x, y |
Crop origin | Capture a region inside a large element |
windowWidth, windowHeight |
Viewport values used for media queries and layout | Reproduce a desktop or mobile breakpoint |
const canvas = await html2canvas(host, {
  backgroundColor: null,
  scale: 2,
  width: 800,
  windowWidth: 800,
  windowHeight: 1200
});
For long content, measure the element and use dimensions that fit the browser’s canvas limits. Very large width, height, or scale values can produce a blank image or a browser allocation error. Split long documents into sections when one canvas becomes too large.
7. Handle images and cross-origin resources
Images from another origin must be served with a suitable Access-Control-Allow-Origin header, or fetched through a same-origin proxy. Set useCORS: true only when the image server actually permits the request:
const canvas = await html2canvas(host, {
  useCORS: true,
  backgroundColor: '#ffffff'
});
allowTaint does not bypass the browser security model. A tainted canvas may become impossible to export. When you control the asset server, configure CORS there. When you do not, use a proxy that retrieves the image and serves it from your own origin, subject to your security and licensing rules.
Also check redirects, authentication, mixed-content blocking, lazy loading, and image formats unsupported by the target browser. A URL that opens in a tab can still fail as a canvas resource if its response lacks the required headers.
8. Use CSS selectively and understand fidelity limits
html2canvas manually implements CSS painting. It does not provide full CSS support, so advanced filters, blend modes, generated content, complex SVG, and browser-specific effects can differ from a native screenshot. The foreignObjectRendering option asks the browser to render through SVG foreignObject when supported, but it is not a guarantee of complete fidelity:
const canvas = await html2canvas(host, {
  foreignObjectRendering: true
});
For predictable output, simplify the capture stylesheet, avoid unsupported effects, wait for web fonts, and compare output in the browser you support. Use explicit colors, dimensions, and line heights when pixel consistency matters.
9. Exclude controls and capture one element
Exclude nodes with a predicate or the data-html2canvas-ignore attribute:
<button data-html2canvas-ignore>Print</button>const canvas = await html2canvas(host, {
ignoreElements: element => element.matches('.no-export')
});To capture one component from a larger string, query that component and pass it directly:
const card = host.querySelector('.receipt');
if (!card) throw new Error('Receipt element not found');
const canvas = await html2canvas(card);
10. A reusable production helper
import html2canvas from 'html2canvas';

export async function htmlStringToBlob(rawHtml, {
  width = 800,
  format = 'image/png',
  quality,
  sanitize = value => value,
  ...options
} = {}) {
  const host = document.createElement('div');
  host.innerHTML = sanitize(rawHtml);
  Object.assign(host.style, {
    position: 'fixed',
    left: '-100000px',
    top: '0',
    width: `${width}px`
  });
  document.body.appendChild(host);

  try {
    if (document.fonts?.ready) await document.fonts.ready;
    await Promise.all([...host.images].map(image =>
      image.complete ? Promise.resolve() : new Promise(resolve => {
        image.addEventListener('load', resolve, { once: true });
        image.addEventListener('error', resolve, { once: true });
      })
    ));

    const canvas = await html2canvas(host, {
      backgroundColor: null,
      windowWidth: width,
      ...options
    });

    return await new Promise((resolve, reject) =>
      canvas.toBlob(blob => blob ? resolve(blob) : reject(new Error('Canvas export failed')), format, quality)
    );
  } finally {
    host.remove();
  }
}
11. Troubleshooting checklist
| Symptom | Likely cause | Fix |
|---|---|---|
| Blank output | Detached or hidden element, zero dimensions, or canvas limit | Append the host, avoid display:none, inspect dimensions, reduce scale, and split long content |
| Images missing | Image not loaded, CORS failure, redirect, or lazy loading | Wait for images, verify the response, use useCORS with server headers, or use a same-origin proxy |
| Export throws a security error | Canvas was tainted by a cross-origin resource | Fix CORS or proxy the resource; allowTaint cannot bypass policy |
| Fonts look different | Web fonts were still loading or are blocked | Await document.fonts.ready, verify font responses, and use fallback-safe metrics |
| CSS differs | Property is not implemented or browser behavior varies | Simplify styles, try supported properties, and consider foreignObjectRendering |
| Mobile layout captured on desktop | Viewport values do not match the target breakpoint | Set windowWidth and windowHeight explicitly |
| Capture hangs | A resource never finishes loading | Resolve or time-limit asset loading and treat failed images according to your policy |
12. Performance, reliability, and cost considerations
Rendering work happens on the user’s browser, so CPU, memory, viewport size, device pixel ratio, and page complexity determine completion time. Lower scale, smaller capture regions, fewer shadows and filters, and staged captures reduce memory pressure. Reuse sanitized templates instead of inserting unbounded HTML. Avoid rendering hidden copies of very large documents at the same time.

For repeatable server-side jobs, browser automation, PDFs, full-page pages, or URLs you do not control, a screenshot API avoids shipping browser setup to every caller. ScreenshotNeo provides a single GET endpoint that returns PNG, JPEG, WebP, or PDF. It can load lazy images, capture a CSS-selected element, set viewport and device presets, apply custom CSS and JavaScript, wait for selectors or network idle, and control headers, cookies, user agent, authorization, timezone, and geolocation. It also supports caching, asynchronous jobs, bulk capture, signed links, usage reporting, and an MCP server for AI clients. See the ScreenshotNeo API documentation for request options.
Or skip the browser setup
For a URL you can capture with one request:
curl -G "https://api.screenshotneo.com/v1/shot" -d access_key=YOUR_API_KEY --data-urlencode url=https://stripe.com -o shot.webpimport requests
r = requests.get("https://api.screenshotneo.com/v1/shot", params={"access_key": "YOUR_API_KEY", "url": "https://stripe.com"}, timeout=90)
open("shot.webp", "wb").write(r.content)const q = new URLSearchParams({ access_key: 'YOUR_API_KEY', url: 'https://stripe.com' });
const res = await fetch(`https://api.screenshotneo.com/v1/shot?${q}`);ScreenshotNeo removes cookie banners, newsletter popups, and chat widgets before the shot. Bot checks, blank pages, failed loads, timeouts, and cache hits are not billed, and response headers identify the page verdict and billing result. An MCP server lets AI agents use take_screenshot, get_page_info, and capture_pdf. The Free plan includes 1,000 screenshots each month with no card; paid plans start at $5 for 3,000 shots. Create a free ScreenshotNeo account.
FAQ
Can html2canvas accept an HTML string directly?
No. Convert the string into a document-backed element and pass that element to html2canvas.
Does html2canvas create a real browser screenshot?
No. It recreates the element by painting supported DOM and CSS into a canvas, so fidelity depends on implemented properties.
Can I run it in Node.js?
Not by itself. It requires browser APIs. Use it in a browser or a browser automation environment, or use a screenshot API for server-side capture.
Why is my canvas transparent?
You probably set backgroundColor: null. Set a color such as '#fff' when an opaque background is required.
What should I do with a full HTML document string?
Parse the document with DOMParser, select the body or target element, append the selected content to a live document, and then render it.
References
See the html2canvas documentation for the element contract and options, and the html2canvas FAQ for browser limits, CSS support, and cross-origin image handling.


