How to Render Screenshots and HTML with ChatGPT
Learn how to upload screenshots, preview HTML, iterate on code, and create final images in ChatGPT, with a reliable API workflow when you need automation.
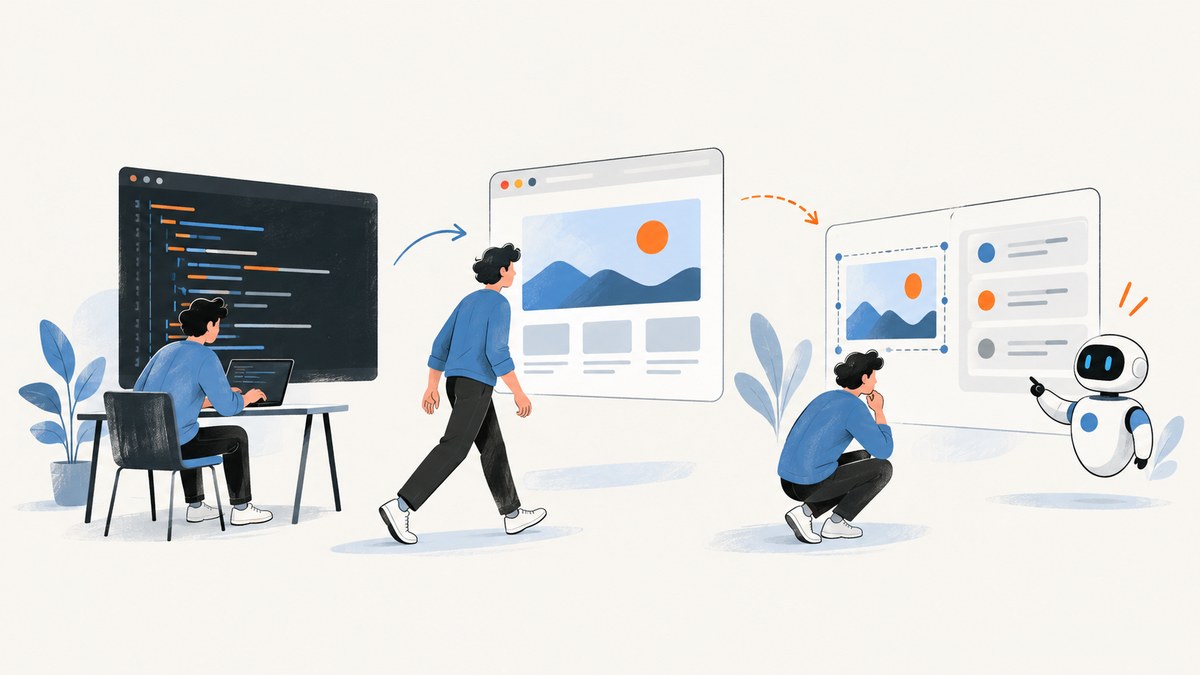
Short answer: ChatGPT can work with screenshots in three different ways. Upload an existing image for visual analysis, use a supported HTML or React code block and choose Preview to render it, or use ChatGPT Images to create or edit a raster image. The best workflow depends on whether you need an interactive preview, visual feedback on an existing page, or a downloadable PNG/JPEG.
This guide explains each path, shows complete prompts and code, covers external assets and workspace controls, and describes when an automated screenshot service is a better fit.
1. Choose the right rendering workflow
| Goal | Use | Result |
|---|---|---|
| Inspect a page you already captured | Upload a PNG, JPEG, WebP, or supported image | ChatGPT can discuss layout, spacing, errors, and accessibility concerns |
| Render markup while you edit it | Put a complete HTML document in a supported code block and select Preview | An interactive rendered preview alongside the code |
| Capture your desktop | Use the Windows screenshot feature, or attach a screenshot from the macOS Chat Bar | A screenshot inserted into the conversation |
| Create or retouch a final graphic | Use ChatGPT Images with an uploaded image or a text instruction | A generated or edited raster image you can save |
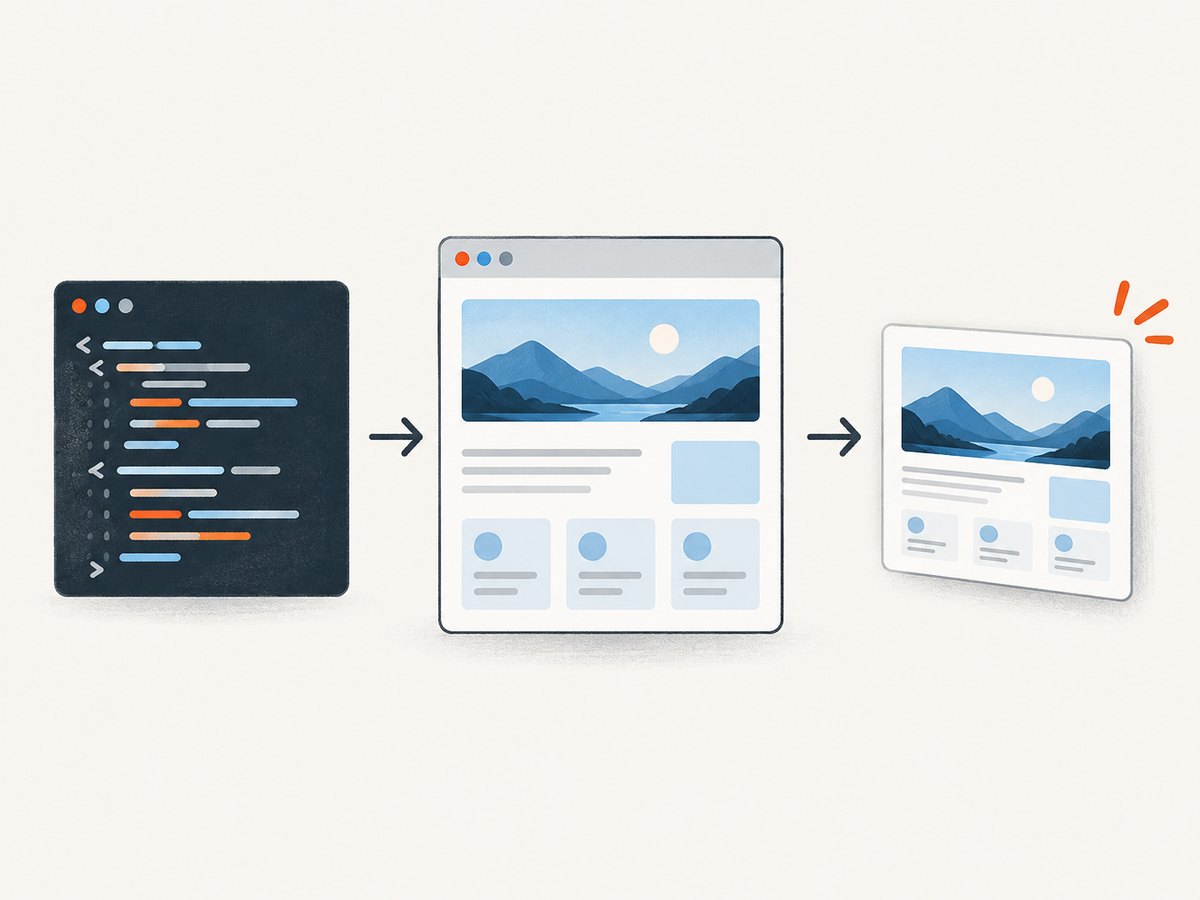
These outputs are different. An HTML preview is useful for checking structure and interaction. A screenshot is a fixed raster image. ChatGPT Images can modify pixels, change an aspect ratio, or generate a new visual, but it does not replace browser rendering for testing a live site.
2. Render HTML directly in ChatGPT
Step 1: Ask for a complete document
Use a prompt that requests runnable markup rather than a fragment:
Create a complete, self-contained HTML document for a responsive pricing page.
Use semantic HTML, CSS in a <style> block, and no external dependencies.
Return only one html code block so I can use Preview.
A complete document normally includes <!doctype html>, <html>, <head>, a viewport meta tag, and a <body>. Asking for one code block makes the Preview control easier to find and avoids accidentally rendering a partial snippet.
Step 2: Select Preview
When ChatGPT recognizes a supported HTML code block, switch from Code to Preview. The preview renders the document in the conversation. Supported previews can also include React components, SVG, Mermaid, and Vega or Vega-Lite graphics.
Step 3: Iterate with precise visual instructions
Describe the visible problem and the desired change. For example:
In the preview, the card titles wrap to three lines on a narrow viewport.
Keep the same content, but use a smaller heading size below 600px,
make the cards stack in one column, and preserve keyboard focus styles.
Switch between Code and Preview after each revision. Ask ChatGPT to change one group of concerns at a time—layout, typography, color, then behavior—so you can identify which edit caused a regression.
Self-contained versus network-dependent HTML
Self-contained markup is the most predictable. Inline CSS, inline SVG, and system fonts avoid network requests. If your page references a CDN stylesheet, web font, image URL, API, or JavaScript module, the preview may need permission to connect to an external resource. A workspace administrator can also control whether network access and code execution are available.
For a deterministic preview, replace external assets with local or inline equivalents while designing. For example, use an inline SVG logo placeholder and a CSS gradient instead of a remote image. Add the real assets after the layout is stable.
3. Ask ChatGPT to analyze an uploaded screenshot
Upload the image
Attach a screenshot to the conversation, then explain what you want inspected. Useful requests include:
- “List every alignment inconsistency you can see.”
- “Check whether the text contrast and focus indicators appear accessible.”
- “Find the likely cause of the horizontal overflow on the right.”
- “Compare this screenshot with the HTML below and identify differences.”
Give the image context: viewport width, browser, expected behavior, and whether the screenshot shows a desktop or mobile state. Without that context, ChatGPT can describe what is visible but may infer the wrong responsive breakpoint or state.
Capture directly from the desktop apps
On Windows, the ChatGPT app can capture a window, the entire screen, or a custom region and insert it into chat. On macOS, the Chat Bar can attach a file, photo, or screenshot. The exact controls can vary by app version and workspace policy, so the attachment button is the reliable place to start.
Use a review checklist
- Structure: Are headings, navigation, and landmarks visually clear?
- Spacing: Are padding and gaps consistent between related elements?
- Responsive behavior: Do controls collide or become unreadable at narrow widths?
- Content: Are labels truncated, wrapped unexpectedly, or hidden behind overlays?
- Accessibility clues: Is keyboard focus visible? Is text likely to have sufficient contrast?
- State: Is the screenshot showing loading, empty, error, hover, or authenticated content?
Visual analysis is a review aid, not a substitute for browser developer tools, automated accessibility testing, or testing with real assistive technology.
4. Edit a screenshot with ChatGPT Images
ChatGPT Images can edit an uploaded image with natural-language instructions. You can request an object removal, a visual change, a new aspect ratio, or a transparent background. You can also select an area before describing the edit when the interface provides area selection.
Remove the cookie banner from the bottom of this screenshot.
Keep the page content, spacing, colors, and text unchanged.
Export a 16:9 version with the background extended naturally.
For UI work, say what must remain pixel-consistent. “Redesign this page” gives the model broad freedom; “change only the button color and preserve all text and geometry” sets a narrower boundary. Review small text and icons carefully after an image edit because raster editing can alter fine details.
Use ChatGPT Images when the deliverable is a visual asset. Use HTML Preview when the deliverable must remain editable, selectable, or interactive.
5. A repeatable HTML-to-screenshot workflow
- Start with semantic HTML. Ask for landmarks, headings, labels, and keyboard-accessible controls.
- Render a self-contained version. Use Preview before adding remote fonts, analytics, or API calls.
- Check multiple states. Ask for loading, empty, error, hover, focus, and narrow viewport variants.
- Upload a screenshot for critique. Include the target viewport and a short list of acceptance criteria.
- Apply one focused revision. Return to Preview and compare the result.
- Capture a final image. Use a desktop capture, a browser tool, or an automated screenshot API when you need repeatable output.
Prompt template for a design review
Review the attached screenshot as a front-end engineer.
Context: this is the 1440px desktop state of a marketing page.
Acceptance criteria:
- The primary action is visible without scrolling.
- The heading is readable at normal zoom.
- Cards have equal heights and consistent gaps.
- No content is clipped or covered by a fixed element.
Return: (1) observed issues, (2) likely CSS causes, and (3) a prioritized fix list.
6. When ChatGPT Preview is not enough
Preview is convenient for iteration, but production capture has additional requirements:
- Authentication: private pages need cookies, headers, or an authenticated browser context.
- Timing: charts, lazy images, and client-side data may render after the initial paint.
- Consistency: fonts, ads, consent banners, and chat widgets can change the pixels between runs.
- Scale: capturing hundreds of URLs manually is slow and difficult to retry.
- Artifacts: reports may require full-page PNGs, PDFs, thumbnails, or element-only images.
For these cases, use a browser automation stack you control or an API designed for capture. If you build the browser workflow yourself, wait for a known selector or network idle, set the viewport and device scale, and save response logs with each image so failures are diagnosable.
7. Or skip the browser setup
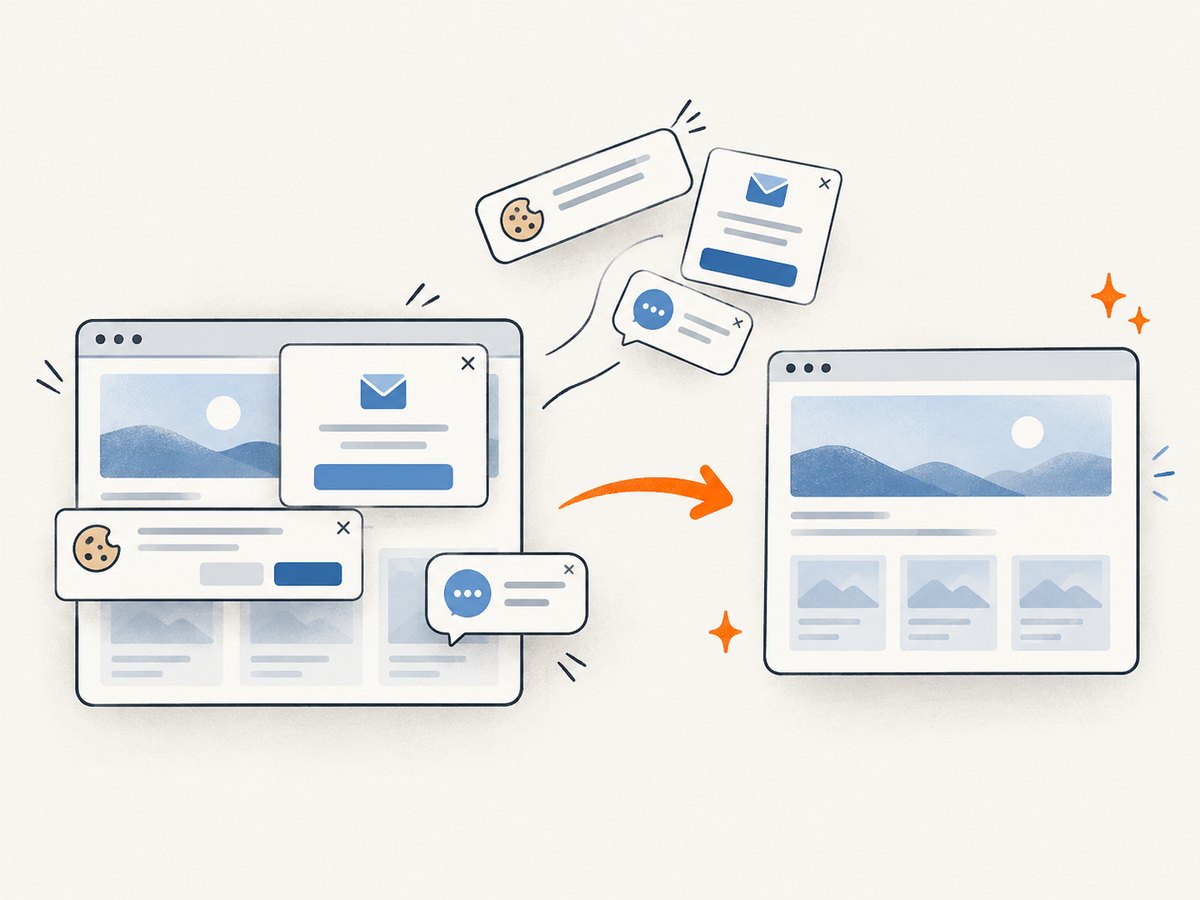
ScreenshotNeo provides a website screenshot API and MCP server. One GET request returns PNG, JPEG, WebP, or PDF output. It accepts cookie and consent banners before capture and removes more than 60 known consent platforms, newsletter popups, and chat widgets; each cleanup step can be disabled. Bot checks, blank pages, timeouts, failed loads, and cache hits are not billed, and response headers identify the page verdict and billing result. Its MCP server exposes take_screenshot, get_page_info, and capture_pdf for Claude, Cursor, and other MCP clients.
See the ScreenshotNeo API documentation for the full option list. The same parameter names used by many screenshot APIs also work, which simplifies migration.
cURL
curl -G "https://api.screenshotneo.com/v1/shot" \
  -d access_key=YOUR_API_KEY \
  --data-urlencode url=https://stripe.com \
  -o shot.webp
Python
import requests

r = requests.get(
    "https://api.screenshotneo.com/v1/shot",
    params={"access_key": "YOUR_API_KEY", "url": "https://stripe.com"},
    timeout=90,
)
r.raise_for_status()
open("shot.webp", "wb").write(r.content)
Node.js
const q = new URLSearchParams({
  access_key: 'YOUR_API_KEY',
  url: 'https://stripe.com'
});
const res = await fetch(`https://api.screenshotneo.com/v1/shot?${q}`);
if (!res.ok) throw new Error(`Screenshot failed: ${res.status}`);
const fs = await import('node:fs/promises');
await fs.writeFile('shot.webp', Buffer.from(await res.arrayBuffer()));
Useful capture options
| Need | ScreenshotNeo capability |
|---|---|
| Long pages | Full-page capture with lazy images loaded |
| One component | Capture an element by CSS selector |
| Visual variants | Dark mode, 12 device presets, custom viewport, and retina scale |
| Dynamic pages | Wait for a selector, delay, or network idle; click an element before capture |
| Privacy and noise | Hide selectors; block ads, trackers, requests, or resource types |
| Authenticated pages | Custom headers, cookies, user agent, and Authorization |
| Regional rendering | Timezone and geolocation |
| Output control | Transparent background, image resizing, JPEG/PNG/WebP, and PDF paper size, margins, landscape, and page ranges |
| Automation | Custom CSS and JavaScript, caching with a chosen TTL, signed links, async jobs with signed webhooks, bulk capture for 100 URLs per call, usage API, and OpenAPI specification |
ScreenshotNeo has a free plan with 1,000 shots per month and no card. Paid plans start at $5 for 3,000 shots; higher plans are $15 for 15,000, $39 for 60,000, $99 for 250,000, and $249 for 1,000,000. Yearly billing gives two months free, and every feature is available on every plan. Start with 1,000 free screenshots a month, with no card required.
8. Troubleshooting
Preview is missing
Cause: The response is not recognized as a supported code block, or the workspace has preview restrictions. Fix: Ask for one complete HTML code block, include standard document tags, and check whether your workspace administrator restricts code execution.
External images or fonts do not appear
Cause: The preview cannot reach the remote host, the resource requires permission, or the URL blocks cross-origin requests. Fix: Inline the asset for a prototype, use a permitted public URL, or approve the connection when prompted.
The screenshot shows a loading state
Cause: Data or lazy content arrives after the capture. Fix: In a browser workflow, wait for a stable selector or network idle. For API capture, configure an explicit wait condition or delay and load the full page.
ChatGPT misreads a visual issue
Cause: The image is low resolution, cropped, or missing viewport context. Fix: Upload the original image, state its dimensions and browser, and ask for observations separately from hypotheses.
Edited text looks wrong
Cause: Raster image editing can redraw small glyphs. Fix: Keep text in HTML for production UI, or provide the exact text and inspect the exported image at 100%.
9. Performance, reliability, and cost decisions
For one-off design exploration, ChatGPT Preview has the lowest setup cost. Keep the document self-contained to reduce latency and permission prompts. For repeatable captures, control viewport, device scale, fonts, waits, and resource blocking. Cache stable pages, but invalidate the cache when content freshness matters.
At scale, measure more than request time. Record the URL, viewport, output format, page verdict, HTTP status, and whether the result was billed. Retry transient navigation failures with a limit and preserve failed artifacts for diagnosis. ScreenshotNeo exposes verdict and billing headers, so you can distinguish a clean billed capture from a bot check, blank page, timeout, failed load, or cache hit.
10. FAQ
Can ChatGPT render a live website URL by itself?
It can preview code you provide. A live page still needs an appropriate browsing or capture workflow, especially when authentication, scripts, or timing affect the result.
Can I make the preview responsive?
Yes. Ask for responsive CSS and inspect the result at different viewport sizes. A screenshot alone represents only one viewport.
Can ChatGPT turn HTML into a downloadable PNG?
Preview renders the HTML. To obtain a dependable PNG, use a desktop capture, browser automation, or a screenshot API after the page reaches a stable state.
Is an uploaded screenshot editable as HTML?
No. ChatGPT can infer structure and suggest or generate replacement HTML, but a raster screenshot does not contain the original DOM, CSS, or event handlers.
What should I use for an AI agent that needs screenshots?
Use an MCP-compatible capture tool. ScreenshotNeo includes an MCP server with take_screenshot, get_page_info, and capture_pdf.


