How to Resize and Compress Screenshots
Resize screenshots without distortion, then choose a format and compression level that fits your file limit while keeping text readable.
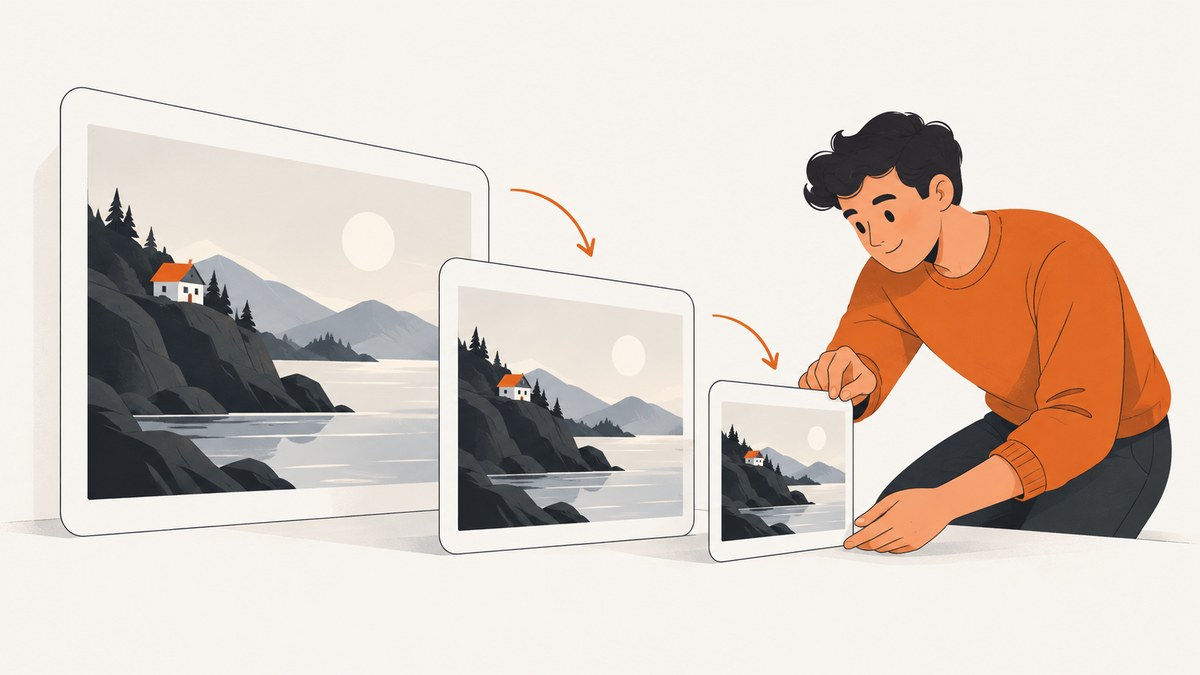
To make a screenshot smaller, first resize its pixel dimensions proportionally if it is larger than you need. Then export it in a suitable format and adjust lossy compression only if necessary. Resizing changes the dimensions; compression changes how the image data is represented in the saved file. Keep the original, and inspect the result at normal viewing size so small interface text remains legible.
For a one-off edit, use Preview on Mac or PowerToys Image Resizer on Windows. For repeated browser captures, an API can return an image at the dimensions and format you choose; you can then resize or compress that file for its destination.
1. Decide which limit you need to meet
“Make this screenshot smaller” can mean two different things:
| Constraint | What to change | What to check |
|---|---|---|
| Pixel dimensions | Width and height, preserving the aspect ratio | Will the image still display at a useful size? |
| File size | Format, encoder settings, or resampling | Does the file fit the upload or storage limit? |
A screenshot that is too wide for a document may need smaller dimensions even if its file is already compact. A screenshot that has the right dimensions but exceeds an upload limit may need a different encoding or lower quality. Both changes can be useful, but they have different effects.
Before editing, note the destination’s requirements: maximum dimensions, maximum bytes, accepted formats, and whether transparency is needed. If the destination specifies only a byte limit, make a copy and adjust one setting at a time. There is no universal quality value that guarantees the same result for every screenshot; flat colors, gradients, photographs, text, and fine UI lines compress differently.
2. Resize proportionally, without cropping or distortion
For an undistorted screenshot, keep the aspect ratio. If you know the target width, calculate the height from the original proportions:
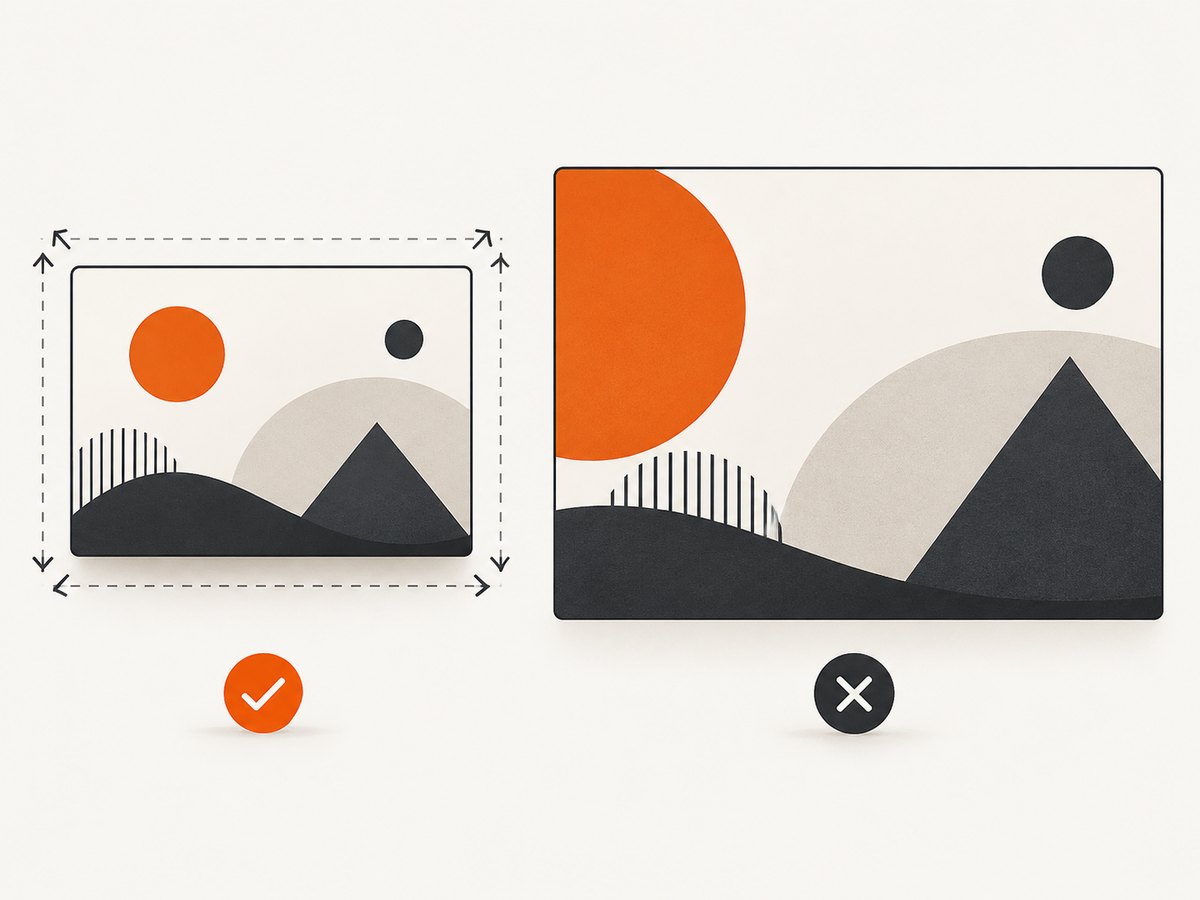
new_height = round(original_height * new_width / original_width)For example, a 1920 × 1080 screenshot scaled to 1280 pixels wide becomes 1280 × 720. Entering 1280 × 800 instead would distort the image unless you intentionally crop or pad it.
When a tool offers modes such as Fit, Fill, or Stretch, their behavior matters:
- Fit: scales proportionally to fit within the target bounds. The whole screenshot remains visible.
- Fill: scales proportionally until the target area is filled, which can crop edges.
- Stretch: fills the target dimensions without cropping by changing proportions. Text and circles can look distorted.
Use Fit for most screenshots that must retain all content. Choose Fill only when the destination needs a fixed aspect ratio and cropping is acceptable. Avoid Stretch when legibility and accurate interface geometry matter.
3. Resize screenshots on Windows with PowerToys
Microsoft PowerToys Image Resizer is a Windows shell extension for resizing one or several images from File Explorer. Microsoft documents both the context-menu workflow and a command-line interface. See the PowerToys Image Resizer documentation for current installation and CLI details.
- Install PowerToys and make sure Image Resizer is enabled.
- In File Explorer, select one or more screenshot files.
- Open the context menu and choose Resize with Image Resizer.
- Choose a preset or enter custom dimensions and units.
- Select Fit to preserve the full image within the target dimensions; check the output before replacing or deleting the original.
Leaving one dimension blank allows the other to be calculated proportionally. For a batch, confirm the selected files and output naming behavior first so that you can keep the originals.
PowerToys also documents a CLI for repeatable workflows. Its options include explicit width and height, JPEG quality, metadata removal, and shrink-only behavior. Because flags can change between releases, check the documentation and the installed version’s help before putting a command into a script. Use an output directory or new filename to preserve source files. The CLI is useful when screenshots arrive in batches or when the same sizing rule must be applied repeatedly.
4. Resize and reduce file size on Mac with Preview
Preview can resize an image, adjust several images together, and show an estimated new file size. Apple’s Preview guide documents the current menu workflow; labels may vary by macOS version.
- Open the screenshot in Preview.
- Choose Tools > Adjust Size.
- Enter a width and height, or a percentage. Keep Scale proportionally selected unless you have a specific reason to change the aspect ratio.
- For a file-size reduction using Apple’s documented resampling route, select Resample image and lower the Resolution value.
- Review the new size shown in the dialog, apply the change, and save a copy.
To resize several files together, open them in the same Preview window, select the images in the sidebar, then use Tools > Adjust Size. Check that the chosen dimensions suit every selected image before applying them. A single fixed size may be unsuitable when the source screenshots have different proportions.
Lowering resolution through resampling changes image data and can reduce detail. For screenshots with small text, inspect the saved copy at the size readers will actually see. If labels blur or thin lines disappear, use larger dimensions or undo the change.
5. Choose a format and compression level
Format affects both appearance and file size. PNG is commonly useful when crisp edges or transparency matter. JPEG uses lossy compression, so lowering quality can introduce artifacts around text and sharp boundaries. WebP is another option when the destination accepts it. Check the actual destination’s supported formats; some upload forms or document systems accept fewer formats than image editors do.
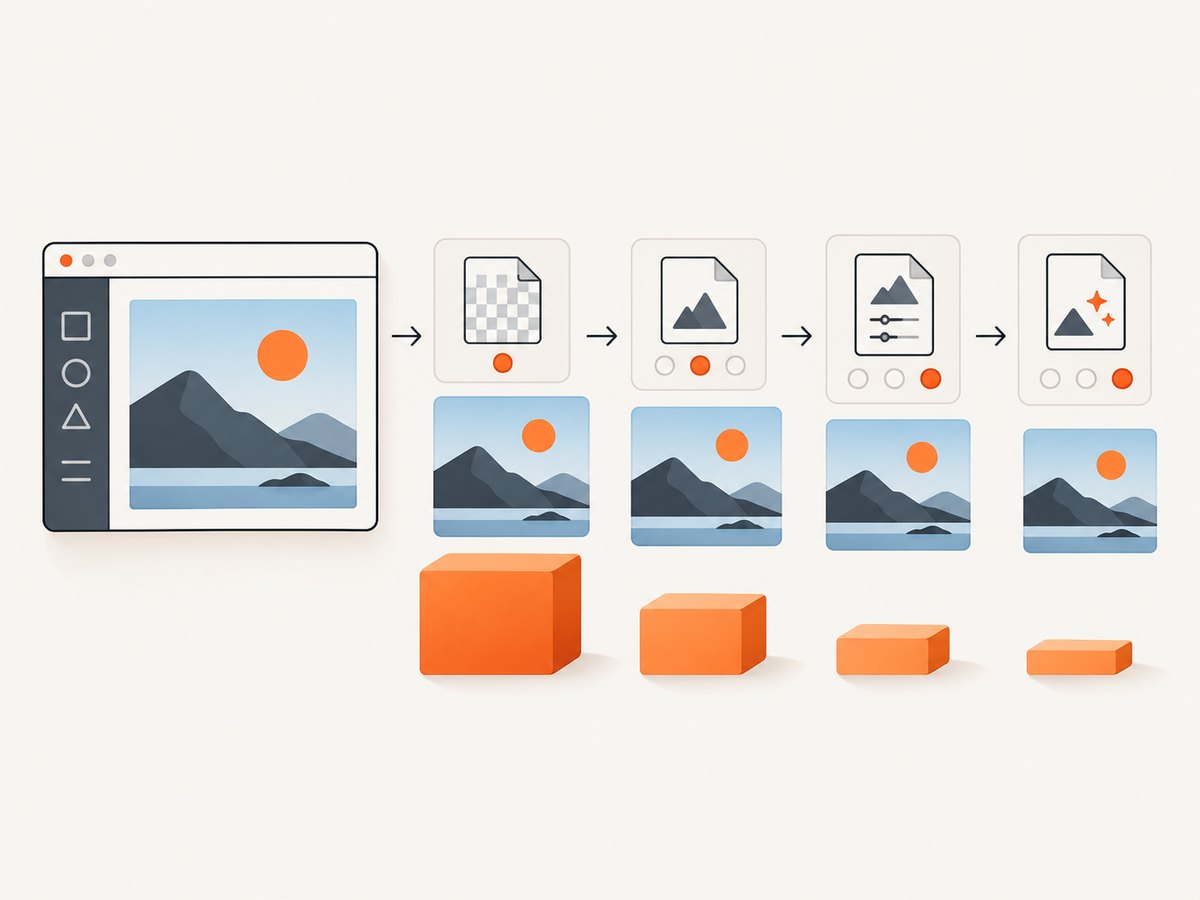
Google’s WebP documentation says WebP images are about 30% smaller than PNG and JPEG at equivalent visual quality. Treat that as a format-level comparison, not a promise for your screenshot: the result depends on content, dimensions, and encoder settings. Google’s WebP compression documentation explains the comparison.
Use this sequence to avoid sacrificing more detail than needed:
- Save a copy in a format accepted by the destination.
- Check the output file size and dimensions.
- If the file is still too large, try a smaller proportional dimension or a modest compression adjustment.
- Compare text, icons, and thin lines at normal viewing size and at the destination’s displayed size.
- Keep the version that meets the limit and remains readable; retain the original for future edits.
Paint.NET’s format documentation lists support for formats including PNG, JPEG, WebP, and AVIF, and notes that compression is part of many image formats. Available format and quality controls depend on the editor and output type. Paint.NET’s File menu documentation describes its save and format behavior.
6. Or skip the browser setup
If you need to capture a page before resizing its output, ScreenshotNeo is a website screenshot API and MCP server. A single GET request returns an image or PDF; you can request PNG, JPEG, or WebP and set capture dimensions. Its API parameter names used by other screenshot APIs also work, which can make switching easier. The ScreenshotNeo API documentation covers the available options.
curl -G "https://api.screenshotneo.com/v1/shot" -d access_key=YOUR_API_KEY --data-urlencode url=https://stripe.com -o shot.webpimport requests
r = requests.get(
"https://api.screenshotneo.com/v1/shot",
params={"access_key": "YOUR_API_KEY", "url": "https://stripe.com"},
timeout=90,
)
open("shot.webp", "wb").write(r.content)const q = new URLSearchParams({ access_key: 'YOUR_API_KEY', url: 'https://stripe.com' });
const res = await fetch(`https://api.screenshotneo.com/v1/shot?${q}`);
if (!res.ok) throw new Error(`Screenshot request failed: ${res.status}`);
const image = Buffer.from(await res.arrayBuffer());
await import('node:fs/promises').then(fs => fs.writeFile('shot.webp', image));Replace the example URL and API key with your target and account key. These calls save the screenshot response; check the resulting dimensions and file size against your destination’s limit. ScreenshotNeo removes cookie banners, newsletter popups, and chat widgets before capture, and each removal step can be turned off. Bot checks and CAPTCHAs, blank pages, timeouts, failed loads, and cache hits cost nothing; response headers identify the page verdict and billing status. Its MCP server gives AI agents tools to take screenshots, get page information, and capture PDFs. One thousand screenshots per month are free without a card, and paid plans start at $5 for 3,000 shots.
Sign up for the free plan: 1,000 screenshots a month, no card required.
7. Troubleshooting common problems
| Problem | Likely cause | What to do |
|---|---|---|
| Text looks stretched | Width and height changed independently, or Stretch mode was used | Undo and resize with proportions locked; use Fit if you need a bounding box. |
| Edges or labels are missing | Fill mode cropped the image, or the crop was too aggressive | Use Fit, or adjust the crop manually while checking all important content. |
| Text looks blurry after export | Dimensions were reduced too far, or lossy compression was too strong | Increase dimensions or quality, export again, and compare at normal viewing size. |
| The file is still over the size limit | The dimensions, format, or encoding did not reduce enough for this image | Check the actual byte size; try a smaller proportional image or another accepted format, then inspect quality. |
| Transparency became a solid background | The chosen output format or export settings do not preserve transparency | Choose an output format and settings that support transparency, and verify the saved file. |
| Some batch outputs look wrong | One dimension rule was applied to screenshots with different proportions or content | Separate files into suitable groups or process exceptional images individually. |
| Original files were overwritten | The save workflow used the source filename or location | Restore from backup if available; going forward, use a new filename or output folder. |
8. Performance, reliability, and cost
For a few existing files, the built-in desktop workflows avoid an upload step and make visual review straightforward. PowerToys is documented for bulk resizing; Preview can resize multiple selected images. A command-line workflow is useful for repeatable batches, but keep an output location separate from the inputs and validate the installed tool’s options before automating it.
Resizing fewer pixels usually reduces the amount of image data that must be encoded, but the final file size is not determined by dimensions alone. Format, image content, and encoder settings also matter. If the image contains small text, the smallest file is not necessarily the useful one. Check output size and legibility rather than relying on a predicted percentage.
The cited workflows use desktop utilities, and the research does not establish a need for a paid image-editing product for this task. If you are generating screenshots through ScreenshotNeo, its plan limits are 1,000 per month free, 3,000 for $5 on Starter, 15,000 for $15 on Growth, 60,000 for $39 on Pro, 250,000 for $99 on Scale, and 1,000,000 for $249 on Business. Yearly billing gives two months free; every feature is on every plan. These are capture plans, so compare the returned file’s actual dimensions and size with your downstream upload limit.
9. FAQ
Can I resize a screenshot without losing quality?
Changing dimensions requires resampling when the pixel count changes, so some detail can be lost when making an image smaller. Preserve proportions, keep the original, and inspect fine text before using the resized copy.
Should I resize or compress first?
If the screenshot has more pixels than the destination needs, resize proportionally first. Then choose an accepted format and adjust compression if the saved file still exceeds the byte limit.
How do I resize many screenshots at once?
On Windows, select files in File Explorer and use PowerToys Image Resizer. On Mac, select multiple images in Preview’s sidebar and use Adjust Size. Review output names and a sample from each batch before relying on the results.
Does WebP always make screenshots smaller?
No format guarantees a smaller result for every individual image and encoder setup. Google’s comparison is an attributed general claim; check the actual output and ensure the destination accepts WebP.
What should I do with the original screenshot?
Keep it until the resized or compressed version has been accepted by the destination and checked for legibility. A copy gives you a clean starting point if later edits are needed.


