How to Resize a JPEG Image to A4 Size
Resize a JPEG for A4 printing: use 210 × 297 mm, about 2480 × 3508 pixels at 300 PPI, and preserve the image’s aspect ratio.
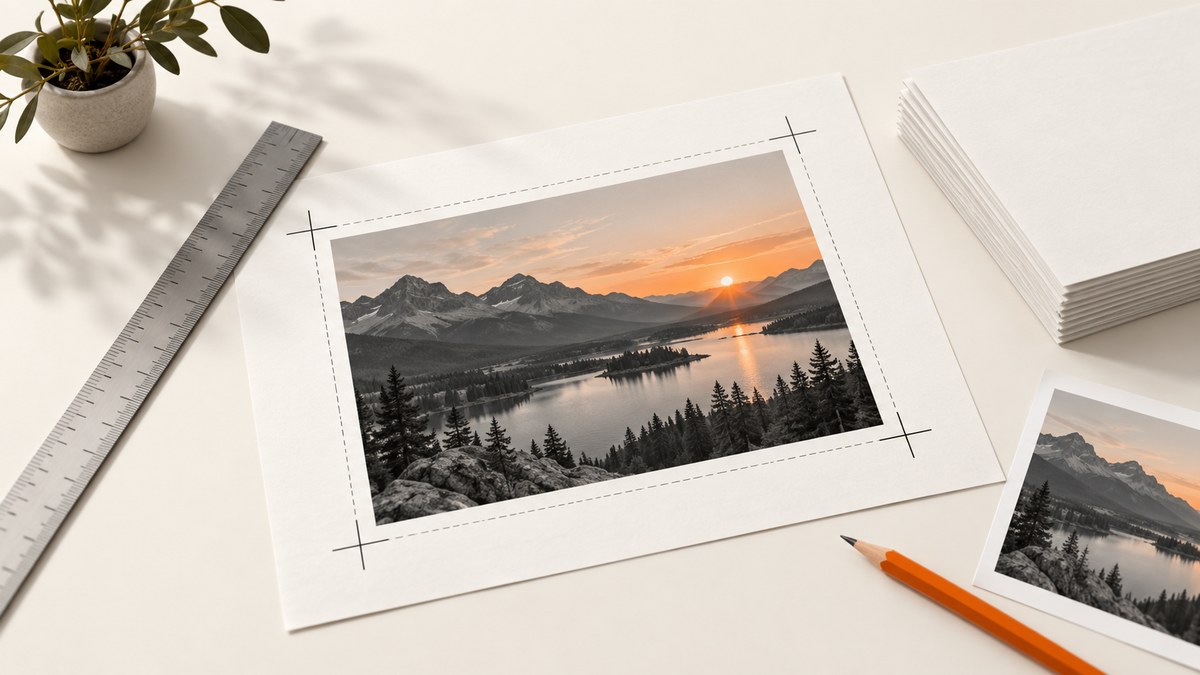
Use 210 × 297 mm for portrait A4 (297 × 210 mm for landscape). For a high-quality print, target 300 PPI, which is approximately 2480 × 3508 pixels in portrait. Keep the aspect ratio locked. If your JPEG has a different shape, crop it, add margins, or fit it inside an A4 page; do not stretch it.
Changing PPI without resampling changes the intended physical print size but does not add pixels. Enable resampling only when you need a specific pixel dimension, and expect a small or heavily compressed JPEG to lose sharpness when enlarged.
1. A4 dimensions and pixel size
ISO A4 paper measures 210 × 297 mm. Landscape A4 is 297 × 210 mm. The pixel target depends on the print density:
| Print density | Portrait pixels (approx.) | Typical use |
|---|---|---|
| 150 PPI | 1240 × 1754 | Drafts or viewing from farther away |
| 200 PPI | 1654 × 2339 | General documents and photos |
| 300 PPI | 2480 × 3508 | High-quality photo printing |
The calculation is:
pixels = physical_inches × PPI
210 mm ÷ 25.4 × 300 ≈ 2480 pixels
297 mm ÷ 25.4 × 300 ≈ 3508 pixels
Adobe recommends 300 PPI for best print quality unless your printer requires another value. Screen images commonly use 72–96 PPI, but that metadata does not determine how many pixels the JPEG contains. See Adobe’s image size and resolution guidance.
2. Decide whether to resample
Change print dimensions only
Use this when the JPEG already has enough pixels. Turn off Resample in Photoshop, or use GIMP’s Image → Print Size. The software changes the print-size assignment while preserving the exact pixel dimensions.
Create a new pixel count
Use resampling when another application or workflow requires approximately 2480 × 3508 pixels. Resampling recalculates pixels. Enlarging cannot restore detail that was never captured and may make JPEG artifacts or softness more visible.
3. Photoshop workflow
- Make a copy of the original JPEG.
- Open the copy and choose Image → Image Size.
- Enable the chain or aspect-ratio link so width and height stay proportional.
- Set the units to millimeters. For portrait, enter 210 mm wide and 297 mm high; reverse these values for landscape.
- Set Resolution to 300 PPI for a typical high-quality print.
- If the existing pixels are sufficient, clear Resample. If you need an exact pixel count, enable it and choose an appropriate resampling method.
- When the source ratio is not A4, use the Crop tool with an A4 ratio, or place the image on an A4 canvas with margins.
- Export a copy as JPEG at a quality suitable for your printer or layout application. Keep the original unchanged.
Do not unlock the proportions just to force 210:297. That stretches faces, circles, text, and other geometry.
4. Free GIMP workflow
- Duplicate the JPEG before editing.
- Choose Image → Print Size.
- Set width to 210 mm, height to 297 mm, and resolution to the value your printer needs (300 PPI is a common high-quality target).
- Use Image → Scale Image only when you truly need new pixel dimensions. Choose an interpolation method and inspect the result at 100% zoom.
- Crop or add a border to handle a non-A4 source ratio, then export a copy as JPEG.
GIMP documents that Print Size sets the intended print dimensions without altering pixel data. Its Scale Image command changes the pixel count. The GIMP print-size documentation explains the distinction.
5. Resize with ImageMagick
ImageMagick is useful for repeatable command-line jobs. This command creates a 2480 × 3508-pixel portrait canvas, preserving the image ratio and adding white margins where needed:
magick input.jpg -resize "2480x3508" -gravity center -background white -extent 2480x3508 -units PixelsPerInch -density 300 output-a4.jpg-resize fits the image inside the box without stretching. -extent adds the remaining canvas. Replace white with another background color if your layout requires it. If you want cropping instead of margins, use:
magick input.jpg -resize "2480x3508^" -gravity center -crop 2480x3508+0+0 +repage -units PixelsPerInch -density 300 output-a4-crop.jpg6. Resize with Python and Pillow
This script fits a JPEG inside an A4 canvas, centers it, and writes a 300 PPI output. Install Pillow with python -m pip install pillow.
from PIL import Image

A4_WIDTH, A4_HEIGHT = 2480, 3508
source = Image.open("input.jpg").convert("RGB")
source.thumbnail((A4_WIDTH, A4_HEIGHT), Image.Resampling.LANCZOS)

canvas = Image.new("RGB", (A4_WIDTH, A4_HEIGHT), "white")
x = (A4_WIDTH - source.width) // 2
y = (A4_HEIGHT - source.height) // 2
canvas.paste(source, (x, y))
canvas.save("output-a4.jpg", quality=95, dpi=(300, 300), optimize=True)
For a cropped result, resize until both dimensions cover the canvas, then crop from the center:
from PIL import Image, ImageOps

image = Image.open("input.jpg").convert("RGB")
result = ImageOps.fit(image, (2480, 3508), method=Image.Resampling.LANCZOS, centering=(0.5, 0.5))
result.save("output-a4-cropped.jpg", quality=95, dpi=(300, 300), optimize=True)
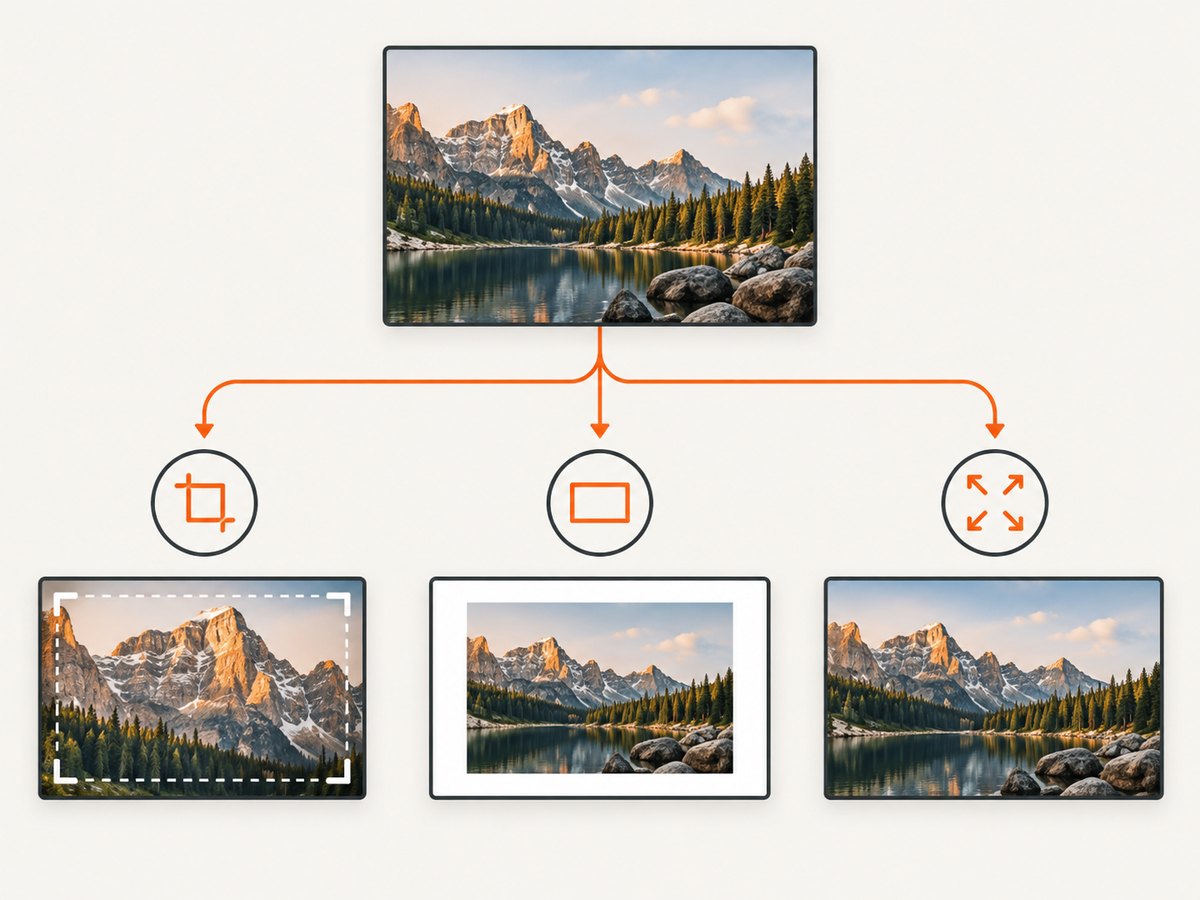
7. Choose crop, margins, or fit
| Choice | What happens | Use it when |
|---|---|---|
| Crop | Fills the A4 page; edges are removed | The subject has safe space around it |
| Margins | Entire image remains; blank space surrounds it | You must preserve every edge |
| Smaller fit | Entire image remains with larger margins | You are placing a photo in a document |
| Stretch | Changes proportions and distorts the image | Almost never appropriate for a photo |
For predictable placement, an A4 canvas in a layout or word-processing application is often better than relying on JPEG metadata alone.
8. Printing and quality checks
- In the printer dialog, select A4 paper explicitly.
- Choose Actual size when the file is already laid out for A4, or choose a fit option intentionally.
- Check scaling, borderless mode, and printable margins. Borderless printing may enlarge the image slightly to cover the paper.
- Match the paper profile and media type to the printer. Glossy and matte paper produce different finishes.
- Inspect important edges and faces at 100% before printing.
- Make a test crop or proof when exact color, sharpness, or edge-to-edge placement matters.
Image PPI describes the mapping of file pixels to physical size. Printer DPI describes the device’s dot placement; they are related but different measurements.
9. Or skip the browser setup
If the JPEG came from a web page, you can capture a clean A4-ready source with ScreenshotNeo, then place or resize the resulting image using the steps above. Its API can return PNG, JPEG, WebP, or PDF from one GET request.
cURL:
curl -G "https://api.screenshotneo.com/v1/shot" -d access_key=YOUR_API_KEY --data-urlencode url=https://stripe.com -o shot.webpPython:
import requests
r = requests.get("https://api.screenshotneo.com/v1/shot", params={"access_key": "YOUR_API_KEY", "url": "https://stripe.com"}, timeout=90)
open("shot.webp", "wb").write(r.content)
Node.js:
const q = new URLSearchParams({ access_key: 'YOUR_API_KEY', url: 'https://stripe.com' });
const res = await fetch(`https://api.screenshotneo.com/v1/shot?${q}`);
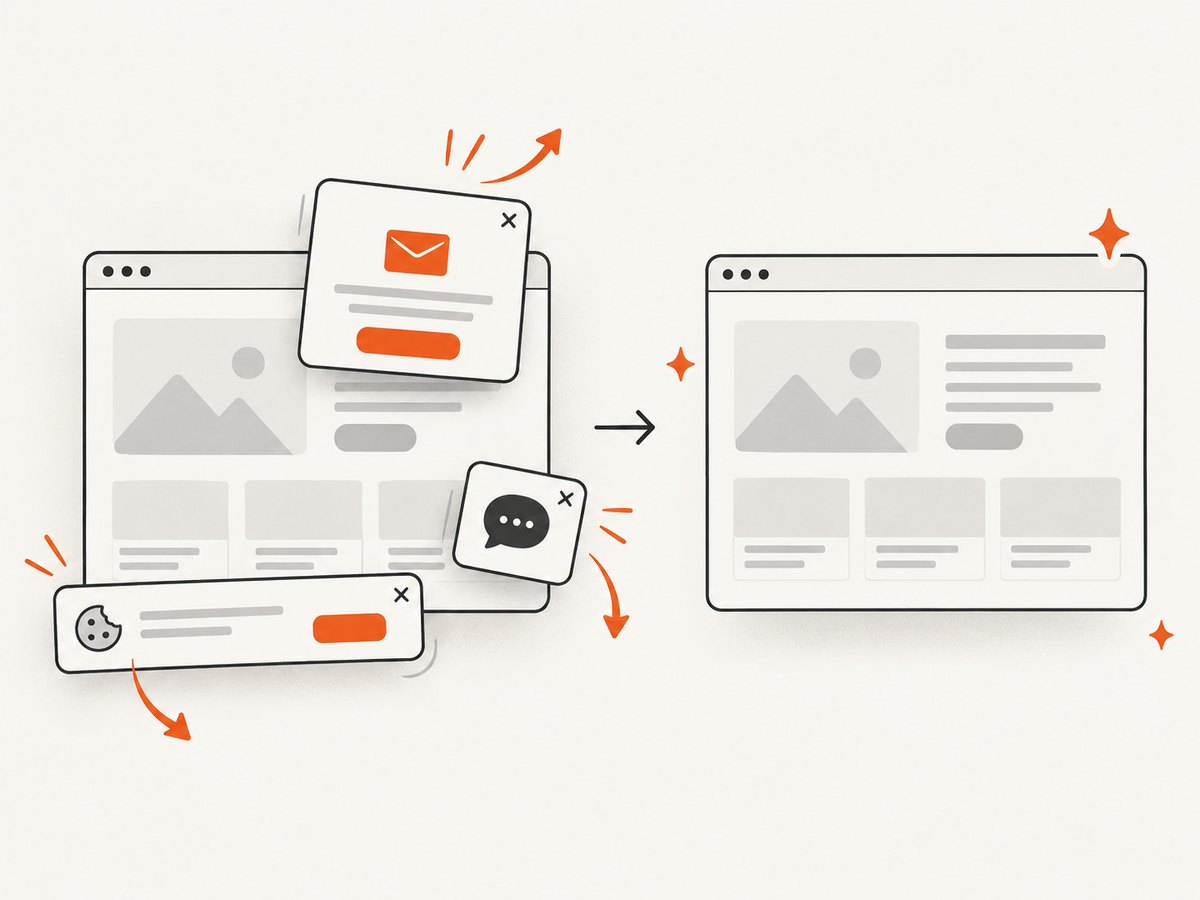
See the ScreenshotNeo API documentation for capture options. Cookie banners, newsletter popups, and chat widgets are removed before the shot. Bot checks, blank pages, timeouts, failed loads, and cache hits are not billed, and response headers identify the page verdict and billing result. An MCP server lets AI agents take screenshots. The Free plan includes 1,000 screenshots per month with no card; paid plans start at $5 for 3,000. Create a free ScreenshotNeo account.
10. Troubleshooting
The print is cropped unexpectedly
Check that the printer paper is set to A4, then review the scaling mode and borderless setting. Use Actual size or Fit to printable area deliberately.
The image looks stretched
Restore the aspect-ratio lock. Reprocess it with a crop, margins, or a smaller fit instead of changing width and height independently.
The image is blurry
The source may not contain enough pixels, or it may already be heavily compressed. Changing the PPI tag alone cannot create detail. Use the highest-resolution original available and avoid repeated JPEG exports.
The file has the right pixels but prints at the wrong size
Set the print dimensions and resolution metadata, or place the image on an A4 canvas. Confirm that the print dialog is not applying an additional scale.
There are white edges
Most printers have a non-printable margin unless borderless mode is enabled. Extend the artwork beyond the trim area only when your printer supports borderless output.
11. Performance, reliability, and cost notes
- Resizing a local JPEG is usually faster and more reliable than repeatedly uploading and downloading it.
- Keep an untouched original so you can change crop, margins, or interpolation later.
- Use PNG or TIFF during intermediate editing when repeated JPEG compression would damage detail; export JPEG once for the final delivery when required.
- For many files, use a scripted Pillow or ImageMagick workflow so every image receives the same dimensions, PPI metadata, and quality setting.
- Always inspect a representative output and print a proof for important work; no single PPI value compensates for a poor source image or printer limitations.
12. FAQ
How many pixels is A4 at 300 DPI?
Approximately 2480 × 3508 pixels in portrait, or 3508 × 2480 in landscape.
Does changing DPI improve image quality?
No. Changing PPI without resampling changes the intended physical size, not the number of pixels or captured detail.
Can I resize a JPEG to A4 without Photoshop?
Yes. GIMP, ImageMagick, Pillow, and most layout applications can set A4 dimensions while preserving proportions.
Should I crop a photo to A4?
Crop when filling the page matters and the subject has safe space. Add margins or use a smaller fit when every edge must remain visible.
Are PPI and printer DPI the same?
No. PPI describes image pixel density; printer DPI describes the printer’s dot placement.


