How to Resize One Design for Multiple Output Formats
A practical workflow for resizing one design across social, web, print, and document formats without broken layouts or blurry exports.
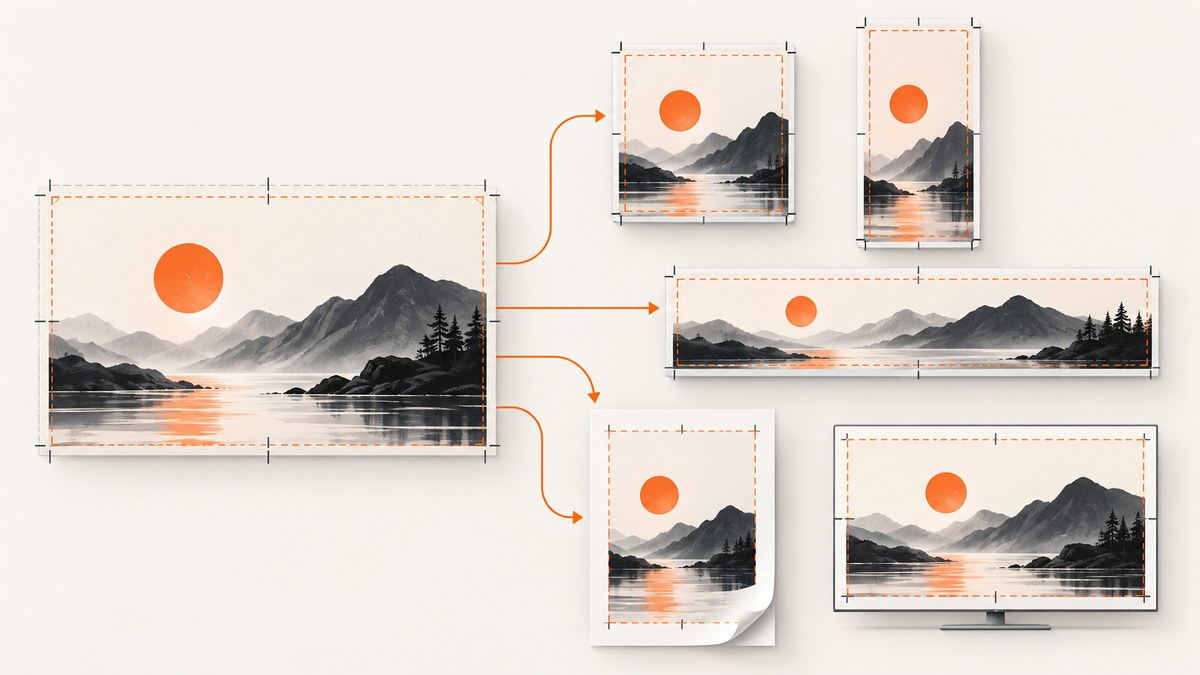
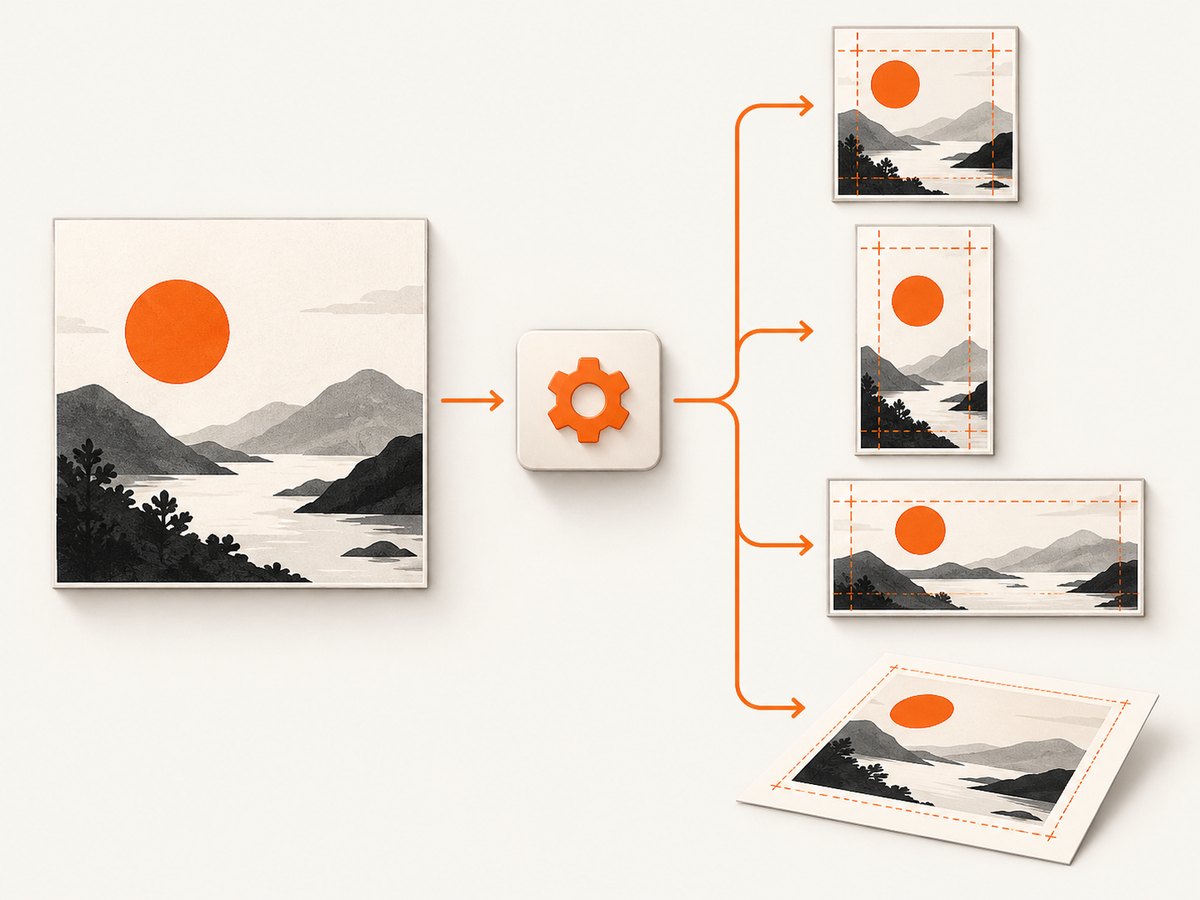
Resizing one finished design for many destinations works best as a controlled production workflow: collect each destination’s exact requirements, preserve the original, generate copies at the target dimensions, then recompose and inspect every version. An automated resize gives you a useful first pass, but changing the aspect ratio can alter cropping, text wrapping, whitespace, logo placement, and visual hierarchy.
This guide explains how to resize a design for Instagram and other platforms, create custom dimensions, choose export settings, compare common tools, and build a repeatable quality-control process.
1. Start with an output checklist
Before opening a resize tool, write down the requirements for every destination. The destination’s current specification is the source of truth because platform limits and recommendations can change.
| Requirement | What to record | Why it matters |
|---|---|---|
| Dimensions | Pixel width and height, or physical size for print | Prevents unexpected scaling and soft output |
| Aspect ratio | For example, 1:1, 4:5, 9:16, or a custom ratio | Determines whether content is cropped or surrounded by empty space |
| Orientation | Portrait, landscape, or square | Affects composition and reading order |
| Resolution | Minimum pixel dimensions or print resolution | Ensures text and edges hold up at the intended size |
| File type | PNG, JPEG, SVG, PDF, GIF, MP4, or another required format | Different formats support transparency, compression, animation, or vectors |
| Transparency | Whether an alpha channel is required | JPEG cannot preserve transparent backgrounds |
| Safe area | Margins around text, logos, and essential details | Protects content from platform overlays, folds, trims, or crops |
Create a simple row for each output. For example: “Instagram portrait — 1080 × 1350 px — 4:5 — JPEG or PNG — keep the headline inside a centered safe area.” Add print bleed or trim requirements when a document will be physically produced.
2. Preserve the master design
Keep an untouched original in the editor’s native format. Create a separate copy for each materially different ratio or an output family such as square social graphics, vertical stories, and landscape banners. This makes it safe to revise one composition without damaging the source.
In Canva, the documented “Copy & resize” workflow creates a separate design, and its resize feature can generate multiple selected sizes or bundles. Canva’s resize API also creates a new design rather than overwriting the source. See the Canva resize documentation and API documentation before relying on current limits or plan access.
Use descriptive names such as campaign-master, campaign-instagram-portrait, and campaign-web-banner. Keep the source assets, fonts, linked files, and export checklist with the project so another person can reproduce the outputs.
3. Generate canvases at the exact target dimensions
Use a preset when it exactly matches the destination requirement. Use custom dimensions when the placement is supplied by a client, printer, CMS, email system, or ad platform. Enter width and height explicitly and confirm the unit: pixels, inches, millimeters, or points.
How do I change a design to custom dimensions?
- Duplicate the master design.
- Open the resize or page-size control.
- Enter the exact width and height, with the correct unit.
- Decide whether to lock the aspect ratio. Unlock it when the destination dimensions are authoritative and you plan to recompose the layout.
- Generate the new copy.
- Move to a layout review before exporting.
Adobe Express documents preset aspect ratios and custom image or page sizes. Its page-resize documentation also states that batch resizing multiple pages is not supported and identifies the feature as available on Premium plans. Check the Adobe Express resize documentation for current behavior.
4. Recompose instead of only scaling
A changed aspect ratio is a new layout problem. A square design stretched into a tall story can leave a large empty region; forcing the same design to cover a wide banner can crop the subject or headline. After generating each canvas, treat it as a separate layout pass.
Inspect these areas in every copy
- Crop: Confirm that faces, products, charts, and other subjects remain visible. Choose whether the whole source stays visible with unused canvas or the destination is fully covered with edge cropping.
- Text wrapping: Recheck line breaks, heading width, paragraph length, and minimum readable size.
- Hierarchy: Make sure the primary message is still noticed first at the destination’s actual display size.
- Logo placement: Keep marks inside the safe area and away from platform controls, print trims, or folds.
- Whitespace: Remove accidental gaps, but do not fill every open area if the original relied on breathing room.
- Contrast: A background crop can place text over a busier region. Adjust the image, overlay, or text color as needed.
- Alignment: Recenter objects against the new canvas, not against the old canvas’s coordinates.
When the whole source must remain visible, add canvas space or a deliberate background treatment. When the destination must be filled edge to edge, choose the crop intentionally and move essential content inward. Canva documents locking or unlocking the aspect ratio for custom dimensions; the design decision still requires a visual review.
5. Resize one design for Instagram and other platforms
Build output families rather than trying to force one universal file. A practical set might include a square post, a portrait feed image, a vertical story, a landscape web banner, and a print or PDF version. Start from the master for each family, then tune typography and image framing for that shape.
- Record the platform’s current dimensions, format, and safe-area guidance.
- Generate a copy at the exact dimensions.
- Scale or reposition the main image so the focal point survives the crop.
- Shorten or rewrap text when the new width changes the reading rhythm.
- Move buttons, handles, or calls to action away from known overlays and edges.
- Export and inspect the file in a preview that approximates the destination.
Do not infer that a preset guarantees publication-ready composition. Presets create a canvas; they do not know which words, faces, or objects are essential to your message.
6. Export the correct format and scale
Choose the file type from the destination’s requirements and the design’s content. PNG is useful for transparency, sharp interface graphics, and flat illustrations. JPEG is often smaller for photographs without transparency. SVG preserves vector artwork where the destination accepts it. PDF is appropriate for many print and document workflows, subject to the recipient’s specification. Animated designs may require GIF, MP4, or another video format.
Canva’s export API lists formats including PDF, JPEG, PNG, GIF, PowerPoint, and MP4, with availability depending on the design type. Its image export behavior says that specifying only width or height scales the other dimension while preserving the design aspect ratio; when both dimensions are supplied and do not match, the documented behavior defaults to the larger dimension. Video output preserves the design’s aspect ratio while using the selected target resolution. Verify these rules against the current API documentation before automating exports.
Figma provides PNG, JPG, SVG, and PDF export controls. Its help documentation describes a 72 DPI image-export default and calculates export DPI as 72 multiplied by the selected scale. The same documentation describes restrictions for SVG and PDF scale controls. These are Figma-specific behaviors, not universal rules for every editor. See Figma’s export documentation.
Export checklist
- Confirm pixel dimensions or physical dimensions of the exported file.
- Open the file and verify its extension matches the actual format.
- Check transparency on a contrasting background.
- Inspect small text and thin lines at the intended display or print size.
- Check compression artifacts around type, gradients, and high-contrast edges.
- For print, confirm bleed, trim, color requirements, and the recipient’s PDF specification.
- For video, confirm frame size, duration, frame rate, and aspect ratio.
7. Compare resize tools by workflow fit
| Tool | Useful when | Constraints to check |
|---|---|---|
| Canva Magic Resize / Magic Switch | You want presets, custom dimensions, copy-and-resize, or multiple selected sizes | Plan eligibility, resize limits, and the documented restriction that Canva Docs does not support the feature |
| Adobe Express | You need preset or custom image and page sizes | Batch resizing multiple pages is not supported; page resize is documented for Premium plans |
| Figma export controls | Your source is already in Figma and you need files at selected scales or formats | Export scale is not the same as reflowing a composition to a new aspect ratio; SVG and PDF scale behavior has restrictions |
Compare tools on batch support, custom dimensions, whether resized copies remain editable, plan access, supported formats, scale controls, and how easily a reviewer can adjust the generated layout.
8. Automate quality checks for exported files
Automation is useful for catching wrong dimensions and formats before delivery. It cannot decide whether a crop harms the message, so combine file checks with a human visual review.
Python: verify dimensions and format
from pathlib import Path
from PIL import Image

EXPECTED = {
    "instagram_portrait": (1080, 1350),
    "story": (1080, 1920),
    "web_banner": (1600, 900),
}

for name, size in EXPECTED.items():
    path = Path(f"exports/{name}.png")
    with Image.open(path) as image:
        if image.size != size:
            raise ValueError(f"{path}: expected {size}, got {image.size}")
        print(f"{path}: {image.format}, {image.size}, mode={image.mode}")
Node.js: inspect a batch with sharp
import sharp from 'sharp';

const files = [
  ['exports/instagram_portrait.png', 1080, 1350],
  ['exports/story.png', 1080, 1920],
  ['exports/web_banner.png', 1600, 900]
];

for (const [file, width, height] of files) {
  const metadata = await sharp(file).metadata();
  if (metadata.width !== width || metadata.height !== height) {
    throw new Error(`${file}: got ${metadata.width}x${metadata.height}`);
  }
  console.log(`${file}: ${metadata.format} ${metadata.width}x${metadata.height}`);
}
9. Troubleshooting common resize problems
| Symptom | Likely cause | Fix |
|---|---|---|
| Headline is cut off | Text was outside the new safe area or the canvas was cropped to cover the ratio | Move the headline inward, reduce its width, or choose a deliberate crop before exporting |
| Large empty bands appear | The full source was preserved on a canvas with a different ratio | Recompose the background and reposition foreground elements; do not stretch the artwork |
| Logo looks too close to an edge | Original coordinates were retained after the canvas changed | Reapply the destination safe area and align the logo to the new canvas |
| Text becomes unreadable | Automatic scaling reduced type or changed line breaks | Set a practical minimum size, shorten copy, and rewrap manually |
| Image looks blurry | Export dimensions are too small or a raster was enlarged repeatedly | Resize from the master, export at the required dimensions, and avoid repeated JPEG recompression |
| Transparent background becomes white | The selected format does not preserve alpha | Use PNG or another format that supports transparency and verify the exported mode |
| Batch output is incomplete | The selected tool or plan has batch or size limits | Check current documentation, split the job, or use a tool with the required batch support |
| Print output has unexpected borders | Bleed, trim, or physical units were omitted | Use the printer’s dimensions and bleed specification before creating the copy |
10. Performance, reliability, and cost considerations
For a small campaign, manual copies are often faster than building automation. For dozens or hundreds of outputs, standardize the checklist, naming scheme, source assets, and validation script. Generate from the untouched master, because repeated raster resizing compounds quality loss.
Batch features can reduce repetitive work, but check plan eligibility, maximum sizes per action, and supported design types before committing a production workflow. Keep a manifest containing destination, dimensions, format, export date, and reviewer status. If a platform changes its specification, update the manifest and regenerate only affected copies.
Review each file where it will be consumed. A design that looks balanced at editor zoom can fail as a small mobile thumbnail, a compressed social upload, or a printed page. Reliability comes from repeatable checks plus a human review of crop and hierarchy.
Or skip the browser setup
If your workflow needs screenshots of resized designs, previews, or rendered web pages, ScreenshotNeo returns a clean PNG, JPEG, WebP, or PDF from one GET request. Its capture options include full-page shots with lazy images loaded, element capture by CSS selector, custom viewport and device presets, retina scale, dark mode, custom CSS and JavaScript, click and wait actions, hidden selectors, blocked resource types, headers, cookies, user agents, timezone, geolocation, resizing, caching, signed links, asynchronous jobs, bulk capture, and PDF settings.
Use the same call from cURL, Python, or Node.js. The ScreenshotNeo documentation has the current parameter reference.
cURL
curl -G "https://api.screenshotneo.com/v1/shot" -d access_key=YOUR_API_KEY --data-urlencode url=https://stripe.com -o shot.webpPython
import requests
r = requests.get("https://api.screenshotneo.com/v1/shot", params={"access_key": "YOUR_API_KEY", "url": "https://stripe.com"}, timeout=90)
open("shot.webp", "wb").write(r.content)
Node.js
const q = new URLSearchParams({ access_key: 'YOUR_API_KEY', url: 'https://stripe.com' });
const res = await fetch(`https://api.screenshotneo.com/v1/shot?${q}`);
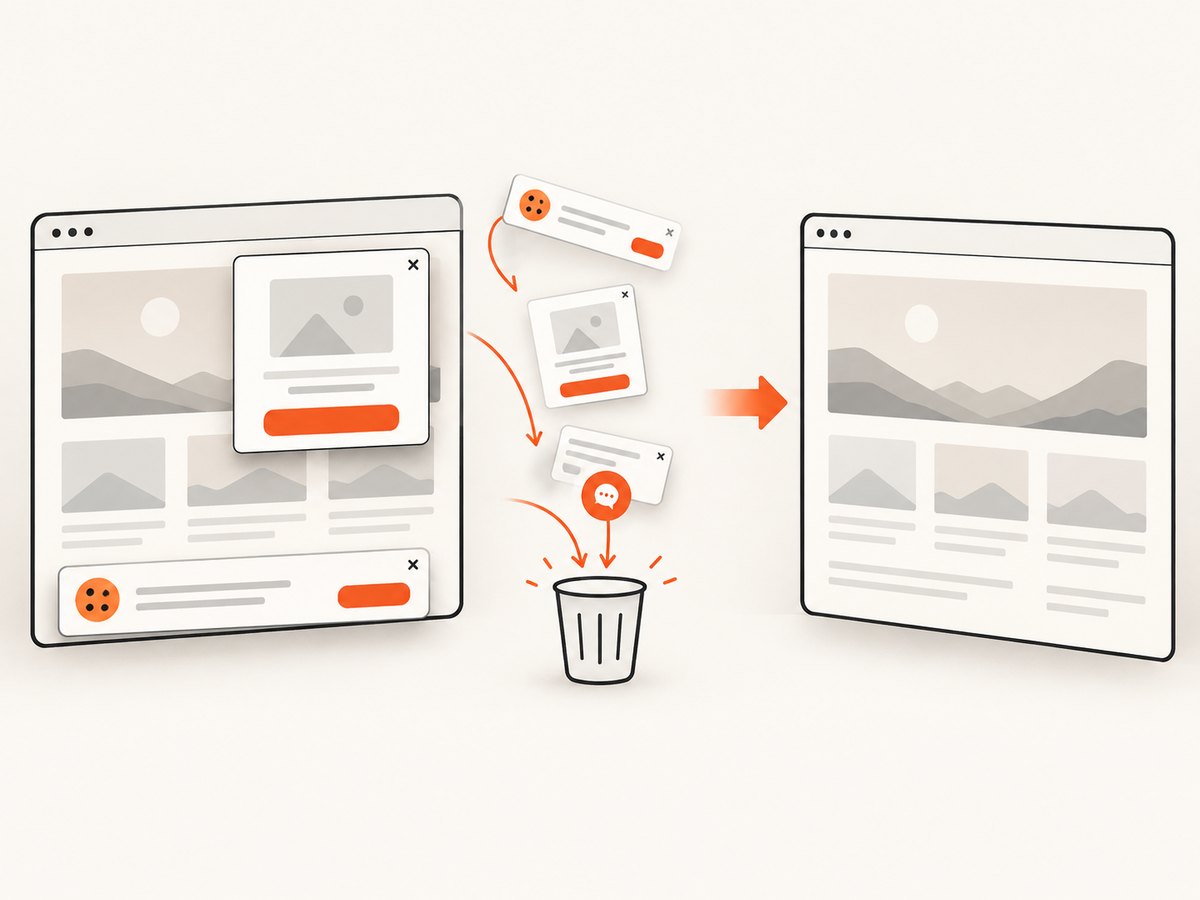
ScreenshotNeo accepts consent banners before capture and removes more than 60 known consent platforms, newsletter popups, and chat widgets; each step can be turned off. Bot checks or CAPTCHAs, blank pages, timeouts, failed loads, and cache hits are not billed, and the response identifies the result with X-Page-Verdict and X-Billed headers. Its MCP server provides take_screenshot, get_page_info, and capture_pdf for Claude, Cursor, and other MCP clients.
The Free plan includes 1,000 screenshots each month with no card. Paid plans start at $5 for 3,000 shots; yearly billing gives two months free, and every feature is available on every plan. Create a free ScreenshotNeo account to start.
11. FAQ
Should I resize in place or create copies?
Create copies whenever the ratio, orientation, or use changes materially. Keep the master untouched so later outputs can start from the highest-quality source.
Is changing the canvas size enough?
No. Canvas resizing changes available space, but text, images, logos, and hierarchy usually need manual adjustment when the aspect ratio changes.
How many versions should one design have?
Create one version per materially different output family. Similar dimensions can share a layout system; different ratios usually need separate compositions.
Which format is best for every platform?
There is no universal format. Follow the destination requirement, use PNG when transparency or crisp flat graphics matter, JPEG for many photographic images, SVG where vectors are accepted, and PDF for document or print workflows.
Can an automated tool guarantee a good result?
No. Automation can create canvases and first-pass layouts, but a person should inspect cropping, line breaks, safe areas, contrast, and the final file at its intended size.


