How to Resize a Screenshot Without Losing Quality
Resize screenshots cleanly: choose the right pixels, resampling method, format and workflow for sharp text on screens and in print.
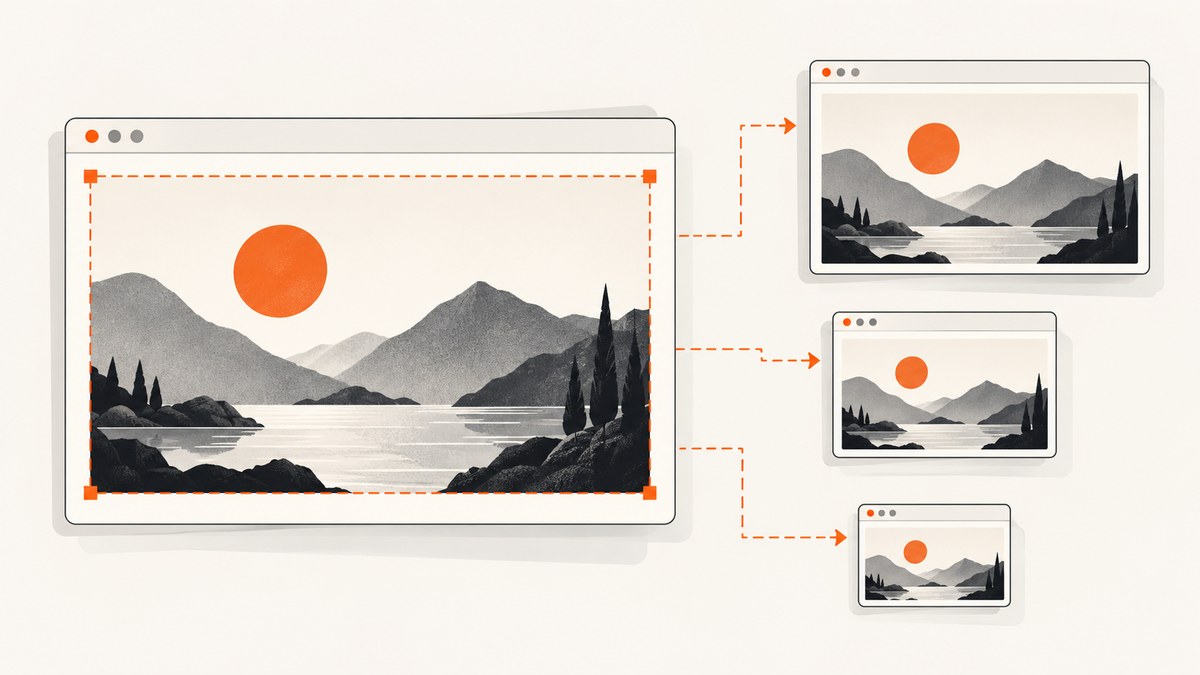
To resize a screenshot without losing visible quality, start with the highest-resolution original, set the target pixel dimensions, lock the aspect ratio, choose a suitable resampling method, and export only once from the original. Downscaling usually stays sharp; enlarging cannot recreate detail that was never captured.
For web and screen use, judge the final file at its intended display size. Keep a lossless PNG when small text, interface edges and flat colors matter more than file size. Use JPEG only when its smaller file is worth the compression trade-off.
What “without losing quality” really means
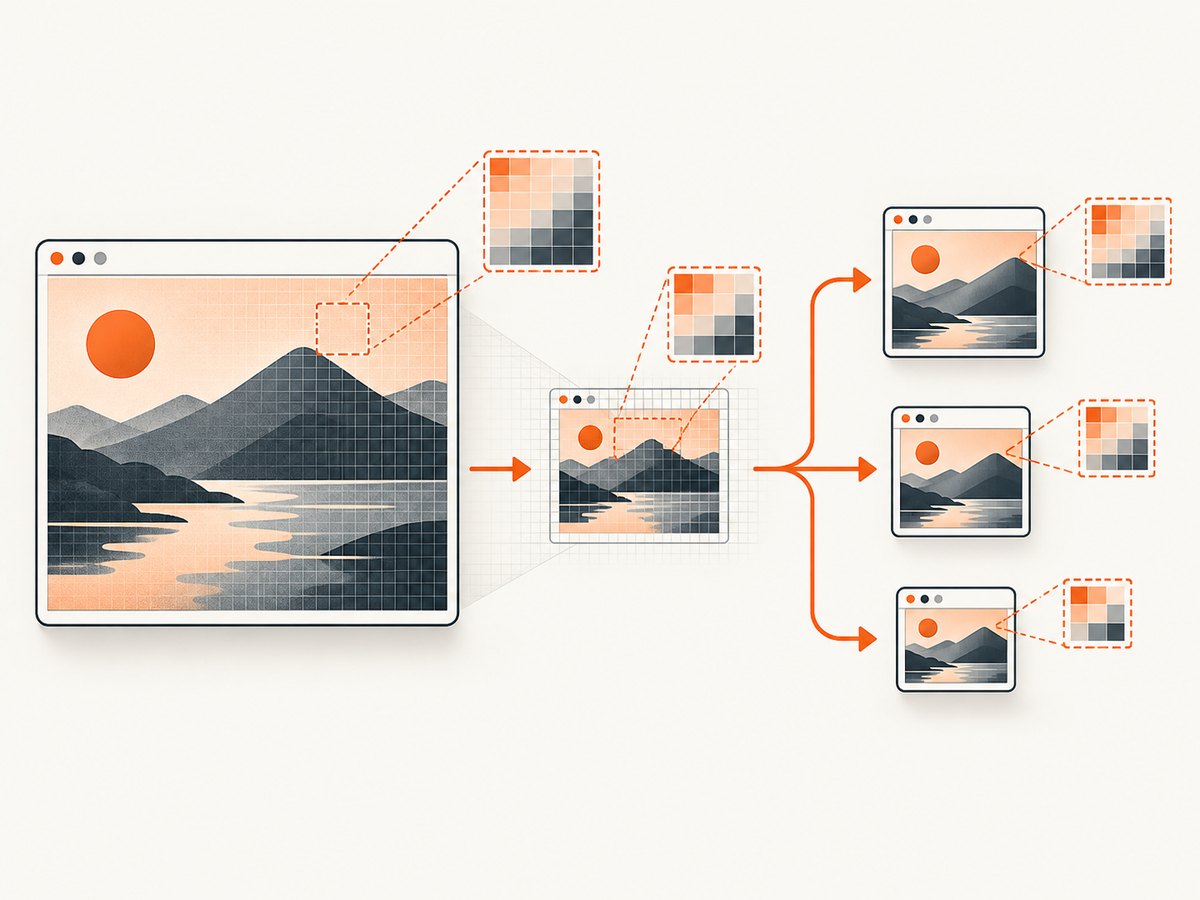
A screenshot is a raster image: it is made of a fixed grid of pixels. Reducing that grid combines existing pixels. Enlarging it requires software to estimate missing pixels through interpolation. That estimate can make edges softer, but it cannot restore information absent from the source. GIMP’s documentation describes the limitation directly: enlarging an image calculates missing pixels by interpolation but “does not add any new detail.”
A smaller image also contains fewer pixels by definition. A 4,000-pixel-wide capture cannot become a 1,000-pixel-wide file with every original pixel preserved. “No quality loss” therefore means preserving readable edges, correct proportions and useful detail at the target size—not keeping all source information in a smaller raster.
Pixel dimensions versus PPI
Pixel dimensions control how much image data the screenshot contains. PPI (pixels per inch) is output-density metadata that mainly affects physical print dimensions. Changing PPI metadata alone does not add detail to a screen image.
- Screen and web: Adobe’s guidance is approximately 72–96 PPI, but the actual pixel width and height determine screen detail.
- Standard printing: Adobe recommends approximately 150–300 PPI.
- High-quality printing: Adobe recommends 300+ PPI.
If a website asks for a 1,200 × 800 image, enter those pixel dimensions. Do not rely on a PPI change to satisfy that requirement.
Best-practice workflow
- Find the original. Use the largest, cleanest screenshot available. Avoid resizing a screenshot that has already been reduced.
- Decide the final pixel size. Measure the slot where the image will appear, or follow the exact dimensions required by the destination.
- Lock the aspect ratio. Keep the width-to-height relationship constrained so circles remain circular and interface panels do not stretch.
- Choose resampling deliberately. Use a smooth, quality-oriented method for ordinary screenshots. Use nearest-neighbor or another hard-edged method for pixel art.
- Inspect at 100%. Check small text, one-pixel borders, icons and diagonal lines at the final size.
- Export a copy. Preserve the original so you can make a different target later without another generation of resampling.
Adobe documents the same distinction in Photoshop: changing resolution without resampling keeps the exact pixel dimensions, while the Resample control interpolates pixel information when dimensions change. Read the target dimensions carefully before enabling or disabling that control.
Resize a screenshot in Photoshop
- Open the original screenshot.
- Choose Image > Image Size.
- Enter the target width or height in pixels.
- Keep the constrained-proportions link enabled.
- Leave Resample enabled when you are changing pixel dimensions.
- Select a resampling method suited to the image, then apply the change.
- Inspect text and thin lines at 100% zoom.
- Use Export As or Save a Copy so the original remains untouched.
For a normal browser or application screenshot, a smooth method is usually the right starting point. If the image contains deliberately blocky pixel art, a hard-edged method avoids introducing soft intermediate colors. The best choice depends on the screenshot’s content, so compare a small crop containing text and fine lines before exporting a batch.
Resize a screenshot in GIMP
- Open the original in GIMP.
- Choose Image > Scale Image.
- Enter the target width or height and confirm that the chain link keeps the proportions locked.
- Choose an interpolation option.
- Apply the scale, inspect at 100%, and export to a new filename.
GIMP provides interpolation choices in the Scale Image dialog. For ordinary UI screenshots, start with a quality-oriented smooth option. For pixel art, choose a hard-edged option to preserve intentional square pixels. If the result looks soft, return to the original and try a different method rather than scaling the already-reduced file again.
Batch-resize screenshots on Windows with PowerToys
Microsoft PowerToys Image Resizer is useful when many screenshots need the same treatment:
- Select the original files in File Explorer.
- Right-click and choose Resize with Image Resizer.
- Pick a preset or enter a custom size.
- Select the output encoder.
- If using JPEG, set its quality value; PowerToys exposes a 1–100 JPEG-quality control.
- Write resized copies to a separate location when you need to retain the originals.
Batch processing is convenient, but verify the output dimensions and format on several files. A preset can fit one group while cropping or shrinking another group unexpectedly if their aspect ratios differ.
Automate resizing with Python
The following Pillow script scales from the original once, preserves the aspect ratio, and saves a PNG copy. Install Pillow with python -m pip install Pillow.
from pathlib import Path
from PIL import Image

source = Path("original.png")
destination = Path("resized.png")
target_width = 1200

with Image.open(source) as image:
    width, height = image.size
    target_height = round(height * target_width / width)
    resized = image.resize((target_width, target_height), Image.Resampling.LANCZOS)
    resized.save(destination, format="PNG", optimize=True)

print(f"Saved {destination} at {target_width}x{target_height}")
This example changes width and calculates height from the original ratio. To fit within a bounding box without stretching:
from pathlib import Path
from PIL import Image

source = Path("original.png")
destination = Path("thumbnail.png")
box = (1600, 1000)

with Image.open(source) as image:
    copy = image.copy()
    copy.thumbnail(box, Image.Resampling.LANCZOS)
    copy.save(destination, format="PNG", optimize=True)
    print("Output:", copy.size)
Use a nearest-neighbor resampler for pixel-art screenshots:
resized = image.resize((target_width, target_height), Image.Resampling.NEAREST)
Do not repeatedly open the generated output and resize it again. Calculate each required size from the untouched original.
Choose PNG, JPEG or WebP
| Format | Use it when | Watch for |
|---|---|---|
| PNG | Text, UI edges, diagrams and flat colors must remain crisp; lossless output is preferred. | Files can be larger than lossy formats. |
| JPEG | File size matters and some compression is acceptable. | Compression can create halos, ringing and block artifacts around text. |
| WebP | Your destination supports it and you want a modern web image option. | Confirm the receiving tool or workflow accepts it. |
Export a JPEG copy at a high quality setting, then inspect small text at 100%. If letters acquire colored fringes or blocks, use PNG or raise the JPEG quality. Microsoft PowerToys supports PNG, JPEG, TIFF, BMP, GIF and WMPhoto outputs and exposes JPEG quality from 1 to 100.
When enlargement is unavoidable
Capture again at a larger viewport or device scale whenever possible. A larger source gives the resampler more real pixels to work with. If you only have a small screenshot:
- Enlarge once from the original.
- Use a quality-oriented interpolation method.
- Expect text and thin lines to soften.
- Do not claim the result contains newly recovered detail.
- Consider presenting the image at its native size instead of forcing it to fill a larger slot.
Sharpening after enlargement can change edge contrast, but it cannot reconstruct missing glyph details. Inspect the output at the size readers will actually see rather than judging only at extreme zoom.
Screenshot capture choices that make resizing easier
The cleanest resize starts with a clean source. Capture the page at a sufficiently large viewport, include lazy-loaded images, and avoid browser overlays that obscure content. If you are generating screenshots programmatically, save the original capture before producing thumbnails or social-media variants.
Or skip the browser setup
ScreenshotNeo returns a screenshot or PDF from one GET request, so you can request a suitably sized source and resize it locally only when you need additional variants. Its resize-related options include image resizing, full-page capture, element capture by CSS selector, viewport and device presets, retina scale, dark mode, custom CSS and JavaScript, and waiting for a selector, delay or network idle. See the ScreenshotNeo documentation for request options.
cURL:
curl -G "https://api.screenshotneo.com/v1/shot" -d access_key=YOUR_API_KEY --data-urlencode url=https://stripe.com -o shot.webpPython:
import requests
r = requests.get("https://api.screenshotneo.com/v1/shot", params={"access_key": "YOUR_API_KEY", "url": "https://stripe.com"}, timeout=90)
open("shot.webp", "wb").write(r.content)
Node.js:
const q = new URLSearchParams({ access_key: 'YOUR_API_KEY', url: 'https://stripe.com' });
const res = await fetch(`https://api.screenshotneo.com/v1/shot?${q}`);
Cookie banners, newsletter popups and chat widgets are removed before the shot. Bot checks, blank pages, failed loads and timeouts are not billed, and response headers identify the page verdict and whether the response was billed. An MCP server lets Claude, Cursor and other MCP clients take screenshots. The Free plan includes 1,000 screenshots per month without a card; paid plans start at $5 for 3,000 shots. Create a free ScreenshotNeo account.
Relevant capture and resize options
| Need | Option to use | Why it helps |
|---|---|---|
| Sharper small text | Higher viewport or retina scale, then one final downscale | Provides more source pixels before reduction. |
| One component only | Capture an element by CSS selector | Avoids shrinking an entire page when only a panel is needed. |
| Long page | Full-page capture with lazy images loaded | Reduces missing content before export. |
| Consistent output | Device preset or explicit viewport | Makes repeated captures easier to compare. |
| Privacy or layout cleanup | Custom CSS, JavaScript, hide selectors or click an element | Removes or changes elements before capture. |
| Faster repeat requests | Caching with a TTL you choose | Reuses a capture while it remains valid. |
Troubleshooting
The resized screenshot looks stretched
Cause: Width and height were changed independently. Fix: Undo the resize, reopen the original, lock constrained proportions, and set only one dimension or use a fit-within box.
Text is blurry after shrinking
Cause: The target is too small for the text, the interpolation method is unsuitable, or the file was resized more than once. Fix: Resize from the original, try another smooth method, export PNG, and inspect at 100% at the intended display size.
The enlarged image has jagged or soft edges
Cause: Enlargement estimates missing pixels. Fix: Recapture at a larger size or retina scale. If recapturing is impossible, enlarge once and accept that no method can restore absent detail.
JPEG shows halos around letters
Cause: Lossy compression is damaging high-contrast edges. Fix: Use PNG, or increase JPEG quality and compare the resulting file size.
The output has the wrong physical print size
Cause: PPI metadata and pixel dimensions were confused. Fix: Set the required pixel dimensions first, then set the print density if the printer or layout application requires it. Remember that changing PPI alone does not add pixels.
A batch contains inconsistent sizes
Cause: Source screenshots have different aspect ratios or orientations. Fix: Use a fit-within rule for proportional output, or define an explicit crop policy before resizing. Review several outputs before publishing the entire batch.
A ScreenshotNeo response is not a usable image
Cause: The target page may have failed, timed out, shown a bot check or returned a blank page. Fix: Inspect the X-Page-Verdict and X-Billed response headers, then adjust waits, headers, cookies, user agent, blocking rules or capture timing as appropriate. Failed loads and bot checks are not billed.
Performance, reliability and cost notes
- Performance: Downscaling is usually cheaper to process and produces cleaner results than enlargement. For repeated work, generate all variants from one original in a single batch job in your own script.
- Reliability: Keep immutable originals, write resized files to new names, and record target dimensions and format alongside each export. This makes a resize reproducible.
- Capture reliability: Wait for a selector, a delay or network idle when a page renders asynchronously. Full-page captures may need lazy images loaded before the source is saved.
- Cost: Local resizing has no per-image API charge. ScreenshotNeo offers 1,000 free shots per month with no card; plans are $5 for 3,000, $15 for 15,000, $39 for 60,000, $99 for 250,000 and $249 for 1,000,000. Yearly billing gives two months free, and every feature is available on every plan.
Resize checklist
- Use the highest-resolution original.
- Set pixel dimensions, not just PPI.
- Lock the aspect ratio.
- Choose smooth interpolation for normal screenshots and nearest-neighbor for pixel art.
- Downscale once from the original.
- Keep PNG for text and UI edges when clarity matters.
- Inspect at 100% and at the final display size.
- Export a copy and preserve the original.
FAQ
Can I make a screenshot smaller without any quality loss?
You can usually make it look very clean by downscaling once from the original with a locked aspect ratio. The smaller file necessarily has fewer pixels, so some source detail is no longer present.
Does changing DPI make a screenshot sharper?
No. DPI or PPI metadata mainly changes print sizing. Screen sharpness depends on pixel dimensions, the resampling operation and the display size.
Should screenshots always be PNG?
No. PNG is a strong choice for text, UI edges and flat colors. JPEG can be appropriate when file size matters, provided you check compression artifacts. WebP is another option when the destination supports it.
What is the safest way to resize many screenshots?
Batch from untouched originals, preserve each source, lock proportions and verify representative outputs. PowerToys Image Resizer is a practical Windows workflow; a short Pillow script provides repeatable control in Python.
Can software truly restore detail in an enlarged screenshot?
No raster resampler can recover detail that was never captured. Recapturing at a larger viewport or scale is the reliable solution.


