How to Run Puppeteer in Jupyter Notebooks
Run Puppeteer from Jupyter with a JavaScript kernel or Node subprocess. Install Chrome correctly, debug Linux failures, and capture screenshots reliably.
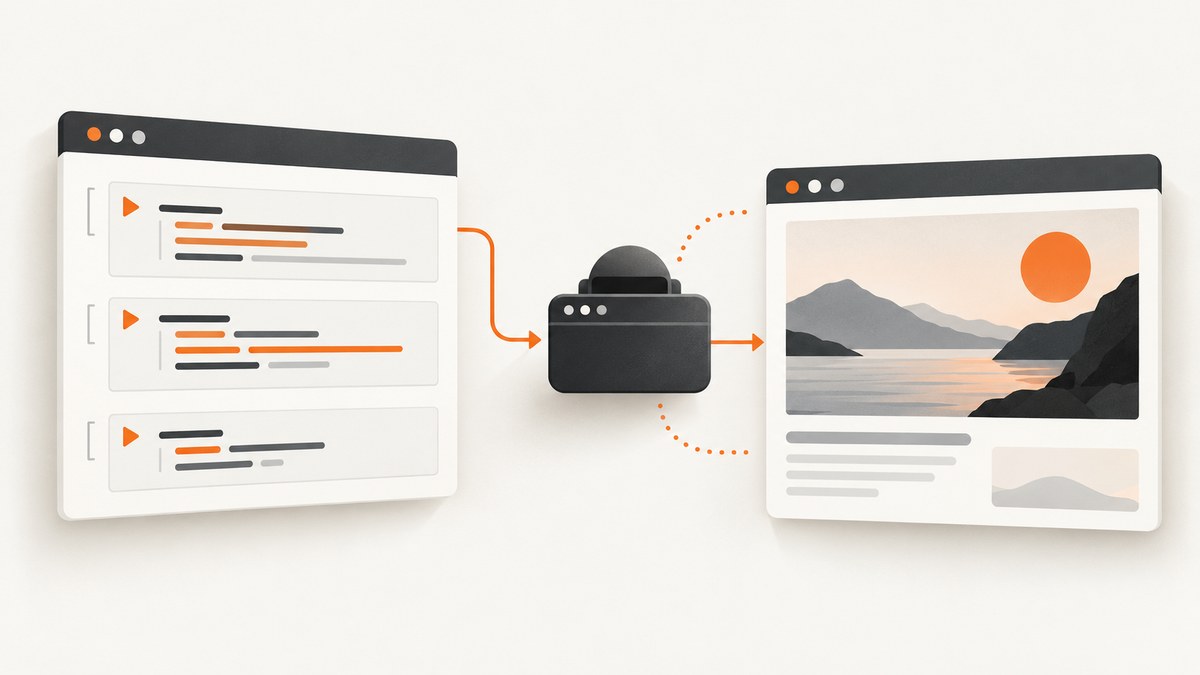
Short answer: Puppeteer is a Node.js library, while a standard Jupyter installation uses a Python (IPython) kernel. To run Puppeteer in a notebook, either use a JavaScript-capable Jupyter kernel or keep the Python kernel and invoke a Node.js script as a subprocess. Install puppeteer in a Node project when you want Puppeteer to download a compatible Chrome for Testing browser. Use puppeteer-core only when you already manage a Chrome or Chromium binary and can provide its path or channel.
This guide shows both notebook architectures, complete code for navigation and screenshots, browser installation details, launch options, Linux and hosted-notebook fixes, performance and reliability practices, and a hosted alternative when maintaining Chrome is unnecessary.
1. Understand the Jupyter and Puppeteer boundary
Jupyter itself is a notebook interface and execution protocol. The language that runs a cell is supplied by a kernel. A normal installation gives you IPython for Python; it does not add a Node.js runtime. Jupyter’s documentation explains that other languages require additional kernels. Puppeteer, meanwhile, is a JavaScript library that controls Chrome or Firefox through DevTools Protocol or WebDriver BiDi. That means a Python cell cannot import Puppeteer as if it were a Python package.

You have two practical designs:
| Design | When to use it | Trade-offs |
|---|---|---|
| JavaScript kernel | You want JavaScript cells, top-level await, and an interactive Puppeteer session. |
Requires installing and registering a Node kernel; package and kernel environments must match. |
| Python kernel plus Node subprocess | Your existing notebook is Python or your team already has Python tooling. | Each call crosses a process boundary; pass inputs and outputs explicitly. |
For either design, first confirm the versions visible to the notebook process:
# Python cell
import sys, shutil, subprocess
print(sys.executable)
print(shutil.which("node"))
print(subprocess.run(["node", "--version"], capture_output=True, text=True).stdout)
Current Puppeteer documentation lists Node 22.12 or newer for its current release line. Check the version in the same environment that launches Jupyter, not only in a separate terminal.
2. Install Jupyter and Node
A minimal Python installation uses the documented notebook commands:
python -m pip install notebook
jupyter notebook
JupyterLab can be installed and started similarly:
python -m pip install jupyterlab
jupyter lab
Install Node.js using your operating system’s package manager or an approved version manager, then verify:
node --version
npm --version
Keep Node and npm available on the PATH inherited by the notebook server. If Jupyter is started from a service, container, or IDE, its environment may differ from your interactive shell.
3. Option A: run Puppeteer in a JavaScript kernel
A JavaScript kernel lets you write Puppeteer directly in notebook cells. The exact kernel package depends on your platform and organization; Jupyter does not prescribe one universal Puppeteer kernel. The key requirements are a registered JavaScript kernel and a Node project containing Puppeteer.
Create a Node project
mkdir puppeteer-notebook
cd puppeteer-notebook
npm init -y
npm install puppeteer
The full puppeteer package normally downloads a compatible Chrome for Testing browser during installation. The download is large (the official guide gives approximate sizes of 170 MB on macOS, 282 MB on Linux, and 280 MB on Windows), so allow enough disk space and network access.
If your package manager blocked lifecycle scripts, install the browser explicitly:
npx puppeteer browsers install
Launch, navigate, and close
In a JavaScript notebook cell, use the same asynchronous sequence as a Node script:
import puppeteer from 'puppeteer';

const browser = await puppeteer.launch({ headless: true });
const page = await browser.newPage();
await page.goto('https://example.com', { waitUntil: 'domcontentloaded' });
const title = await page.title();
console.log(title);
await browser.close();
Always close the browser in a finally block for longer notebooks. Otherwise, each rerun can leave Chrome processes and temporary profiles behind:
import puppeteer from 'puppeteer';

const browser = await puppeteer.launch({ headless: true });
try {
  const page = await browser.newPage();
  await page.goto('https://example.com', {
    waitUntil: 'networkidle2',
    timeout: 30000
  });
  console.log(await page.title());
} finally {
  await browser.close();
}
Capture an artifact for later cells
import puppeteer from 'puppeteer';

const browser = await puppeteer.launch({ headless: true });
try {
  const page = await browser.newPage({ viewport: { width: 1440, height: 900 } });
  await page.goto('https://example.com', { waitUntil: 'networkidle2' });
  await page.screenshot({ path: 'example.png', fullPage: true });
  const html = await page.content();
  console.log({ bytes: html.length, title: await page.title() });
} finally {
  await browser.close();
}
4. Option B: keep Python and call Node
This is usually the least disruptive approach for data-science notebooks. Put Puppeteer code in a small JavaScript file, pass the URL or other parameters safely, and read a JSON result or a file from Python.
Create capture.mjs in the Node project:
import puppeteer from 'puppeteer';

const url = process.argv[2] || 'https://example.com';
const output = process.argv[3] || 'shot.png';

const browser = await puppeteer.launch({ headless: true });
try {
  const page = await browser.newPage({ viewport: { width: 1440, height: 900 } });
  await page.goto(url, { waitUntil: 'networkidle2', timeout: 30000 });
  await page.screenshot({ path: output, fullPage: true });
  console.log(JSON.stringify({ title: await page.title(), output }));
} finally {
  await browser.close();
}
Run it from a Python cell:
import json, subprocess

result = subprocess.run(
    ["node", "capture.mjs", "https://example.com", "example.png"],
    check=True,
    capture_output=True,
    text=True,
)
print(json.loads(result.stdout))
For repeated calls, keep one Node process alive and communicate over standard input or use a small local service. Starting a new browser for every row in a dataset is slower and consumes more memory than reusing a browser while creating a fresh page per job.
5. Browser ownership: puppeteer versus puppeteer-core
Choose the package based on who supplies Chrome:
puppeteer: includes Puppeteer’s API and normally downloads a matching Chrome for Testing browser. It is the simplest choice for a reproducible local project.puppeteer-core: includes the API only. It does not download a browser and requires an explicitexecutablePathorchannel.
Example with a known executable:
import puppeteer from 'puppeteer-core';

const browser = await puppeteer.launch({
  headless: true,
  executablePath: '/usr/bin/google-chrome'
});
If Chrome is installed in a recognized channel, you can use a channel instead:
const browser = await puppeteer.launch({
  headless: true,
  channel: 'chrome'
});
Do not mix assumptions: installing puppeteer-core and expecting it to find Chrome automatically is a common cause of launch errors.
6. Launch modes and useful page options
Puppeteer runs headless by default. Use visible mode while diagnosing selectors, consent dialogs, or navigation:
const browser = await puppeteer.launch({ headless: false });
headless: 'shell' selects the separate Chrome Headless Shell mode. Return to headless: true for unattended notebook jobs.
Viewport, device scale, and full pages
await page.setViewport({
  width: 1280,
  height: 800,
  deviceScaleFactor: 2,
  isMobile: false
});
await page.screenshot({ path: 'retina-full.png', fullPage: true });
Waiting correctly
Use domcontentloaded for fast pages where JavaScript content is not required, load when subresources must finish, or networkidle2 when a page settles after client rendering. Network-idle waits can hang on analytics, WebSockets, or long polling, so combine them with a finite timeout.
await page.goto(url, { waitUntil: 'domcontentloaded', timeout: 30000 });
await page.waitForSelector('#results', { visible: true, timeout: 15000 });
await new Promise(resolve => setTimeout(resolve, 500));
Authentication and request control
await page.setExtraHTTPHeaders({ Authorization: `Bearer ${token}` });
await page.setCookie({
  name: 'session',
  value: sessionValue,
  domain: 'example.com',
  path: '/'
});
await page.setUserAgent('notebook-capture/1.0');
Keep secrets in environment variables or your notebook’s secret manager. Do not print tokens in cell output or commit them with the notebook.
7. Hosted notebooks, Linux, and containers
Browser automation fails more often in managed environments because the image lacks Chrome’s shared libraries, fonts, a writable cache, or a usable sandbox. A Cloud Run or container image, for example, does not automatically include every package required by Headless Chrome.
- Confirm the browser binary exists and is executable.
- Confirm the notebook user can write to Puppeteer’s cache and the output directory.
- Install the Linux packages required by the Chrome build you use.
- Keep the browser cache in a persistent or intentionally prewarmed location when startup time matters.
- Use a sandbox whenever possible. Puppeteer’s documentation discusses
--no-sandboxonly for trusted content when no usable sandbox exists.
If a provider supplies its own browser, puppeteer-core plus an explicit path can avoid duplicate downloads. If you rely on Puppeteer’s managed browser, make the install step part of image creation rather than every notebook execution.
8. A reliable notebook capture pattern
Notebook cells are easy to rerun out of order. Encapsulate browser lifecycle, set explicit timeouts, and return structured results:
import puppeteer from 'puppeteer';

async function capture(url, path) {
  const browser = await puppeteer.launch({ headless: true });
  try {
    const page = await browser.newPage();
    page.setDefaultNavigationTimeout(30000);
    page.setDefaultTimeout(15000);
    await page.goto(url, { waitUntil: 'domcontentloaded' });
    await page.screenshot({ path, fullPage: true });
    return { url, title: await page.title(), path };
  } finally {
    await browser.close();
  }
}

console.log(await capture('https://example.com', 'example.png'));
For multiple URLs, reuse one browser and isolate each capture in a new page. Limit concurrency to what the notebook machine’s CPU and memory can sustain. Close pages after each job, and retry only transient navigation failures with a bounded backoff.
9. Troubleshooting common errors
| Error or symptom | Likely cause | Fix |
|---|---|---|
| Could not find Chrome | Install script was blocked or the browser cache is empty. | Run npx puppeteer browsers install, permit the install script, or provide executablePath/channel. |
| Works in terminal, fails in notebook | Jupyter inherited a different PATH, Node version, or home directory. |
Print process.env.PATH, node --version, and the resolved executable from the notebook process. |
| Browser exits immediately on Linux | Missing shared libraries, sandbox permissions, or an unwritable profile/cache. | Install required system packages, fix ownership and writable directories, and inspect stderr. Use --no-sandbox only for trusted content when no sandbox is available. |
| Navigation timeout | Slow server, blocked resource, WebSocket, or an unsuitable wait condition. | Set a finite timeout, choose domcontentloaded, then wait for the specific selector your result needs. |
| Screenshot is blank or incomplete | Capture ran before client rendering, lazy content, fonts, or images finished. | Wait for a meaningful selector, image completion, or a short bounded delay; verify viewport and page URL. |
| Repeated cells consume all memory | Browsers or pages were not closed after reruns. | Use try/finally, close pages, and restart a stale kernel when necessary. |
| Permission denied writing output | Notebook working directory is read-only or owned by another user. | Use an approved writable directory and print process.cwd() to verify where files go. |
10. Performance, reliability, and cost considerations
Startup: launching Chrome is expensive compared with opening a page. Reuse one browser for a batch, but create separate pages to isolate cookies and state. Preinstall the browser in container builds so notebook users do not pay download time on every run.
Waiting: broad network-idle waits are less predictable than selector-based waits. Choose the narrowest condition that proves the artifact is ready, and always retain a timeout.
Reliability: record URL, status, elapsed time, browser version, and error text beside each artifact. Retry navigation failures selectively; do not blindly repeat authentication or non-idempotent actions.
Cost: self-hosted Puppeteer consumes notebook CPU, memory, storage, and network. Managed notebook or CI minutes can also be metered. Browser downloads and caches need storage planning, especially when multiple kernels use different versions.
11. Or skip the browser setup
If your goal is simply to obtain a clean screenshot or PDF from a URL, ScreenshotNeo provides a hosted GET endpoint and an MCP server. It handles the browser environment for you:

- Cookie banners, newsletter popups, and chat widgets are removed before the shot.
- Bot checks, blank pages, timeouts, failed loads, and cache hits are never billed; response headers identify the page verdict and billing status.
- An MCP server provides
take_screenshot,get_page_info, andcapture_pdffor Claude, Cursor, and other MCP clients. - Free usage includes 1,000 screenshots per month without a card; paid plans start at $5 for 3,000 shots.
See the ScreenshotNeo API documentation for authentication and options. The same request works from a shell:
curl -G "https://api.screenshotneo.com/v1/shot" -d access_key=YOUR_API_KEY --data-urlencode url=https://stripe.com -o shot.webpPython:
import requests
r = requests.get("https://api.screenshotneo.com/v1/shot", params={"access_key": "YOUR_API_KEY", "url": "https://stripe.com"}, timeout=90)
open("shot.webp", "wb").write(r.content)
Node.js:
const q = new URLSearchParams({ access_key: 'YOUR_API_KEY', url: 'https://stripe.com' });
const res = await fetch(`https://api.screenshotneo.com/v1/shot?${q}`);
ScreenshotNeo supports full-page and element capture, dark mode, device presets, retina scale, PDF settings, custom CSS and JavaScript, selector waits, delays, network-idle waits, request blocking, headers, cookies, user agents, authorization, timezone, geolocation, transparent backgrounds, resizing, TTL caching, signed links, asynchronous jobs, webhooks, bulk capture, usage reporting, and an OpenAPI specification. Create a free ScreenshotNeo account to get 1,000 screenshots each month with no card.
12. FAQ
Can I import Puppeteer in a Python cell?
Not directly. Use a JavaScript kernel or call a Node script with subprocess.
Does Puppeteer always download Chrome?
The full puppeteer package normally downloads Chrome for Testing. puppeteer-core does not.
Should I use headful mode on a server?
Usually no. Use headless: false temporarily for local debugging, then switch back to headless execution.
Why does a notebook rerun create many Chrome processes?
Each launch creates a browser. Close it in finally, reuse a browser for batches, and restart a kernel that has accumulated stale processes.
Which architecture is best for a Python-heavy project?
Keep the Python kernel and invoke a controlled Node subprocess unless you need interactive JavaScript cells. This keeps existing Python dependencies intact while preserving Puppeteer’s supported runtime.