How to Run Puppeteer Within Chrome to Create Hybrid Automations
Run Puppeteer inside a Chrome extension by connecting it to a tab with ExtensionTransport. Learn the setup, limits, testing options, and when a remote screenshot API is simpler.
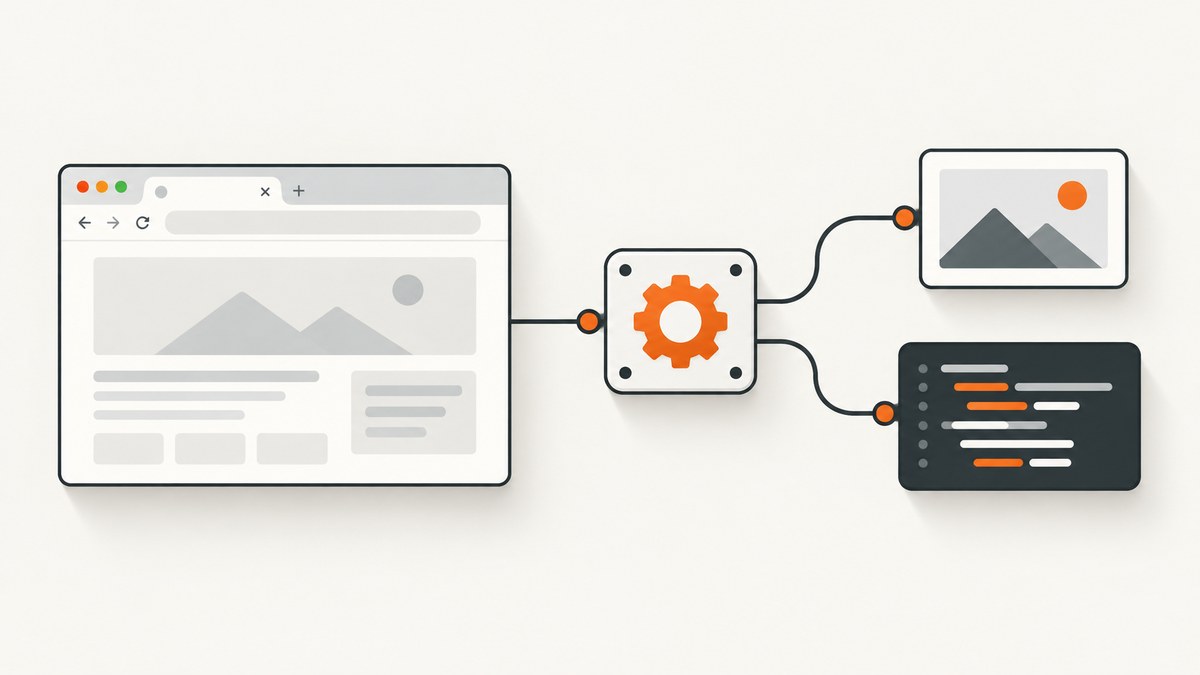
To run Puppeteer inside a Chrome extension, bundle puppeteer-core’s browser-specific entry point, then connect it to a Chrome tab with ExtensionTransport.connectTab(tab.id). This lets extension code automate the tab it is attached to. The workflow is experimental, uses Chrome’s restricted chrome.debugger API, and gives each transport connection access to one tab. [Puppeteer extension guide]
This differs from running Puppeteer in a normal webpage: a webpage-hosted client connects by WebSocket to a separate browser that already exposes a debugging endpoint. It cannot launch or download that browser itself. A third pattern runs Puppeteer in Node.js to test an extension; in that setup Puppeteer is outside the extension. [Browser guide] [Chrome Extensions guide]
1. Choose the right hybrid automation pattern
| Pattern | Where Puppeteer runs | How it connects | Good fit |
|---|---|---|---|
| Extension-hosted | Inside an extension context | chrome.debugger through ExtensionTransport |
An extension action or workflow that automates its current or selected tab |
| Webpage-hosted | In a browser page | WebSocket to a separate browser debugging endpoint | A web control panel for a browser running elsewhere |
| Node-hosted extension testing | Node.js process | Puppeteer launches Chrome with the extension enabled | Automated tests for service workers, popups, content scripts, and toolbar actions |
Use the extension pattern when the browser extension itself needs to coordinate automation with a user’s Chrome session. Use Node-hosted Puppeteer when the goal is repeatable development or CI testing. Use the webpage pattern when a page should control a remote browser. These workflows share Puppeteer APIs, but their browser lifecycle, permissions, and execution context differ.
2. Set up the extension bundle
The extension guide uses puppeteer-core’s browser-specific entry point. Bundle that entry point for a browser target with Rollup or webpack; do not import the regular Node entry point into extension code. The browser-targeted bundle avoids assuming Node.js facilities that are unavailable in Chrome extension contexts. [Puppeteer extension guide]
- Start with an extension project that has a manifest and an extension script that runs in the context where you intend to initiate automation.
- Install
puppeteer-coreand a bundler such as Rollup. - Import
puppeteer-core/lib/puppeteer/puppeteer-core-browser.jsfrom the extension script. - Bundle the script for a browser environment and point the extension manifest at the generated output.
- Grant the relevant extension permissions and host access for the tabs your workflow is allowed to control. Review Chrome’s extension and debugger permission requirements for the manifest version and Chrome version you support.
npm install puppeteer-core
npm install --save-dev rollup
A minimal Rollup configuration for the browser entry point looks like this:
// rollup.config.mjs
export default {
  input: 'src/automation.js',
  output: {
    file: 'dist/automation.js',
    format: 'iife',
    name: 'ExtensionAutomation',
  },
  // The input is Puppeteer's browser-specific entry point.
  // Add any project-specific plugins or output settings as needed.
};
In src/automation.js, import the browser entry point and use the extension transport. Bundle according to the exact export names exposed by the Puppeteer release you install:
import {connect, ExtensionTransport} from
  'puppeteer-core/lib/puppeteer/puppeteer-core-browser.js';

export async function captureCurrentTab(tabId) {
  const transport = await ExtensionTransport.connectTab(tabId);
  const browser = await connect({transport});

  try {
    const [page] = await browser.pages();
    if (!page) {
      throw new Error(`No page was returned for Chrome tab ${tabId}`);
    }

    return await page.evaluate(() => ({
      title: document.title,
      url: location.href,
      text: document.body?.innerText ?? '',
    }));
  } finally {
    await browser.disconnect();
  }
}
The supported export path and transport API can change with Puppeteer releases. Check the extension guide and API reference for the version you actually install before treating an import path as permanent. [Puppeteer API reference]
3. Find or create a Chrome tab, then connect
The extension transport needs a Chrome tab ID. Obtain it from chrome.tabs, then connect to that one tab. This example shows the flow at a high level; invoke it from an extension context that has the necessary permissions and await the asynchronous Chrome API operations supported by your target Chrome versions.
async function getActiveTab() {
  const [tab] = await chrome.tabs.query({
    active: true,
    lastFocusedWindow: true,
  });
  if (!tab?.id) throw new Error('No active tab is available');
  return tab;
}

async function inspectActiveTab() {
  const tab = await getActiveTab();
  return captureCurrentTab(tab.id);
}
If the extension should open a destination itself, create a tab first with chrome.tabs.create({url}), wait for it to reach a usable state, and connect using the returned tab ID. Navigation and load timing vary by site; a tab existing does not guarantee its app is ready. Add an explicit readiness condition, such as waiting for a selector in page code, rather than relying on a fixed delay alone.
Puppeteer’s extension transport presents the connected tab as the page available to that connection. Do not assume browser.newPage() can create another tab through the same transport. For another page, create another Chrome tab and establish a separate transport and Puppeteer connection. [Puppeteer extension guide]
4. Build a reliable automation routine
Extension automation is often a chain of short operations: identify the tab, attach, wait for the target state, read or interact with the page, and detach. Keep the attached period as short as practical, and make cleanup happen on success and failure. A page operation can fail because a site navigated, a selector changed, or the tab closed while the extension was working.
async function readAccountStatus(tabId) {
  const transport = await ExtensionTransport.connectTab(tabId);
  const browser = await connect({transport});

  try {
    const [page] = await browser.pages();
    if (!page) throw new Error('Connected tab has no Puppeteer page');

    await page.waitForSelector('[data-status]', {timeout: 10_000});
    return await page.$eval('[data-status]', element => ({
      text: element.textContent?.trim() ?? '',
      state: element.getAttribute('data-status'),
    }));
  } finally {
    await browser.disconnect();
  }
}- Use selectors owned by the application where possible, such as stable data attributes, rather than styling classes that change frequently.
- Set explicit timeouts for waits that could otherwise hang your workflow.
- Handle navigation and tab closure as expected outcomes, not impossible states.
- Do not store sensitive page contents in extension logs unless your product requirements justify it.
- Keep user-facing actions clear. A hybrid automation should not unexpectedly click, submit, or change data in an active tab.
5. Know the limits of the extension transport
Puppeteer labels running in Chrome extensions experimental. Chrome exposes DevTools Protocol access through chrome.debugger, but its API restricts the CDP surface compared with an unrestricted browser connection. Some Puppeteer features may therefore be unavailable or behave differently. [Puppeteer extension guide] [API reference]
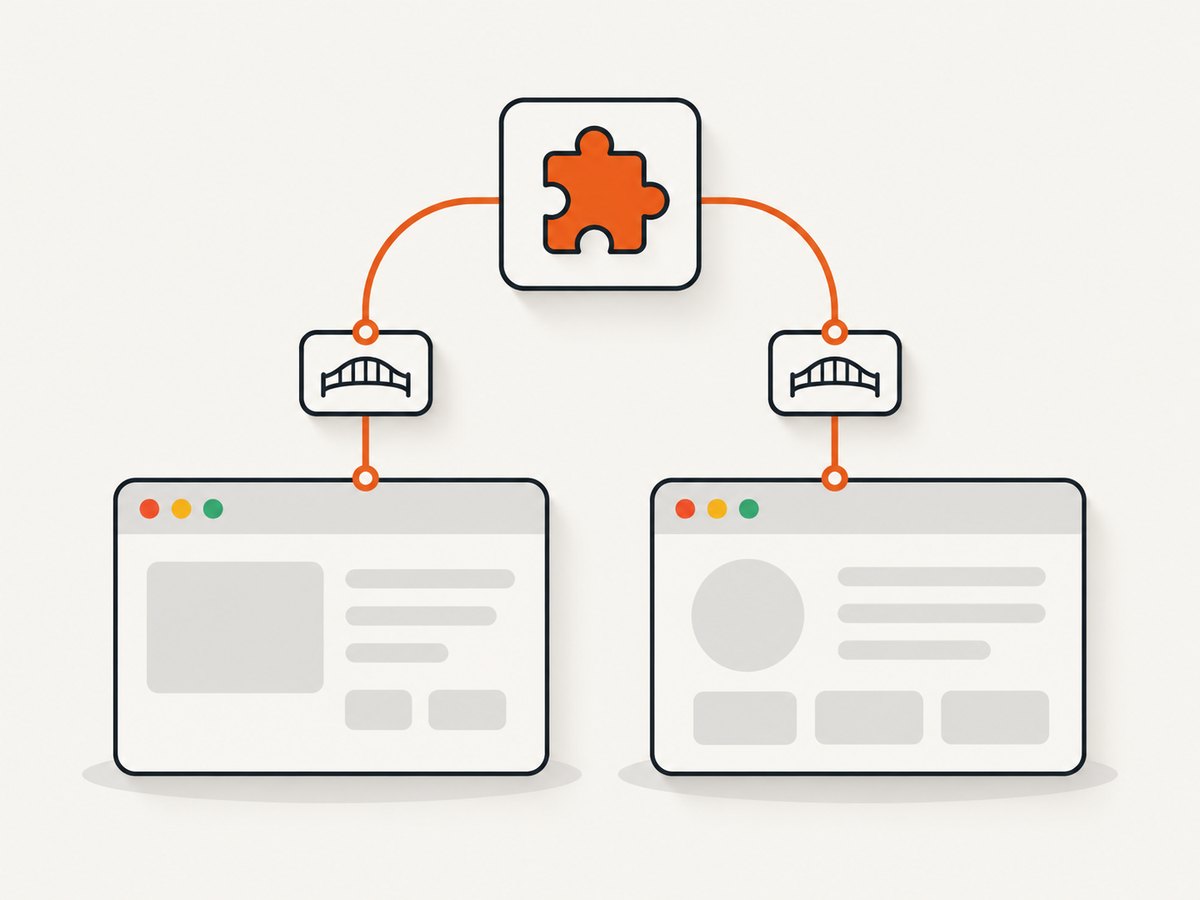
Plan around a one-tab connection model: create or select a tab with Chrome APIs, attach Puppeteer to that tab, and open separate connections for other tabs. The extension does not own Chrome’s browser process, so browser launch options and lifecycle methods from Node.js do not apply in the same way. The extension also runs under Chrome’s extension permission and lifecycle model; service workers may be suspended, and user navigation can invalidate assumptions about the current document.
For compatibility, pin and validate the Puppeteer package version you ship. Puppeteer releases track browser protocol changes closely, and its supported-browser table gives version-specific Chrome mappings. For example, documentation version 25.12.0 lists Chrome for Testing 154.0.8037.57; use the current table rather than copying this example as a timeless requirement. [Puppeteer FAQ] [Supported browsers]
6. Test an extension from Node.js when appropriate
Testing an extension with Puppeteer is a useful companion workflow, but it does not run Puppeteer inside the extension. A Node process launches Chrome with the extension loaded and drives extension pages and tabs from outside. Puppeteer’s Chrome Extensions guide covers finding a Manifest V3 service worker, opening a popup, evaluating in a content-script realm, and triggering an extension action. [Chrome Extensions guide]
This is often the clearer choice for automated regression checks: the test runner controls a dedicated browser, while production extension code remains responsible for the in-Chrome workflow. Follow the current Puppeteer guide for launch arguments and extension loading details because Chrome’s extension-loading behavior and Puppeteer APIs are version-sensitive.
7. Troubleshooting
| Symptom | Likely cause | What to do |
|---|---|---|
| Bundler reports Node built-in modules or globals are missing | The Node entry point was imported, or a Node-targeted bundle is being used. | Import puppeteer-core/lib/puppeteer/puppeteer-core-browser.js and configure the bundler for a browser target. |
ExtensionTransport is undefined or the import fails |
The installed release exposes a different path or export than the example, or the bundler rewrote the module unexpectedly. | Check that release’s extension guide and API reference, inspect the resolved package entry, and rebuild from the browser entry point. |
| Debugger attachment is rejected | The extension context lacks the needed permission, tab access, or a valid tab ID; Chrome may also reject an unsupported target. | Confirm the manifest permissions and host access, verify the tab still exists, and review Chrome’s current chrome.debugger restrictions. |
browser.pages() is empty |
The transport did not attach to a usable page, or the tab closed or changed during connection setup. | Check the tab ID and connection result, retry only when the tab is still valid, and surface a useful error to the extension UI. |
browser.newPage() fails or does not create a tab |
The extension transport is scoped to one attached tab. | Create a new tab with chrome.tabs, then make a separate transport connection for its ID. |
| A selector wait times out | The page is still loading, the selector is wrong, content is inside a frame or shadow root, or the site changed. | Check the live page and selector, wait for the correct navigation/readiness signal, and handle frames or shadow DOM explicitly. |
| An operation fails after navigation | The old document or execution context was replaced. | Wait for the expected navigation or selector again, then reacquire elements instead of reusing stale handles. |
| Works locally but breaks after upgrading Puppeteer | Puppeteer and Chrome protocol compatibility changed. | Pin the release, consult its supported browser mapping, and validate against the Chrome versions you support. |
8. Performance, reliability, and cost
There is no official performance benchmark for extension-hosted Puppeteer in the cited documentation. Measure your actual pages and extension flow: site loading, JavaScript execution, waits, and screenshots all contribute to elapsed time. Avoid polling too frequently or attaching repeatedly for tiny operations when one short connection can perform them together. If a workflow spans multiple tabs, separate connections add setup work; keep the number of tabs limited to what the task needs.
Reliability depends on page readiness and browser state. Network delay, bot checks, consent dialogs, dynamic content, navigation, and user actions can make results vary. Use bounded waits, explicit error handling, and retry only operations that are safe to repeat. A retry after a click or form submission could duplicate a side effect, so first determine whether the prior action succeeded.
The extension pattern has no separate Puppeteer service price in the cited documentation, but it does require implementation and maintenance effort: bundling, permission review, browser compatibility checks, and handling extension lifecycle changes. For screenshot-only jobs, compare that engineering and runtime cost with an API call; for workflows that interact deeply with the user’s active tab, in-extension control may be necessary.
9. Or skip the browser setup
If the goal is simply a website screenshot, ScreenshotNeo provides a one-request screenshot API; it does not run Puppeteer inside your extension. The API accepts a URL and returns an image or PDF. Its documentation describes the available request options.
curl -G "https://api.screenshotneo.com/v1/shot" -d access_key=YOUR_API_KEY --data-urlencode url=https://stripe.com -o shot.webpimport requests
r = requests.get(
"https://api.screenshotneo.com/v1/shot",
params={"access_key": "YOUR_API_KEY", "url": "https://stripe.com"},
timeout=90,
)
open("shot.webp", "wb").write(r.content)const q = new URLSearchParams({ access_key: 'YOUR_API_KEY', url: 'https://stripe.com' });
const res = await fetch(`https://api.screenshotneo.com/v1/shot?${q}`);
if (!res.ok) throw new Error(`Screenshot request failed: ${res.status}`);
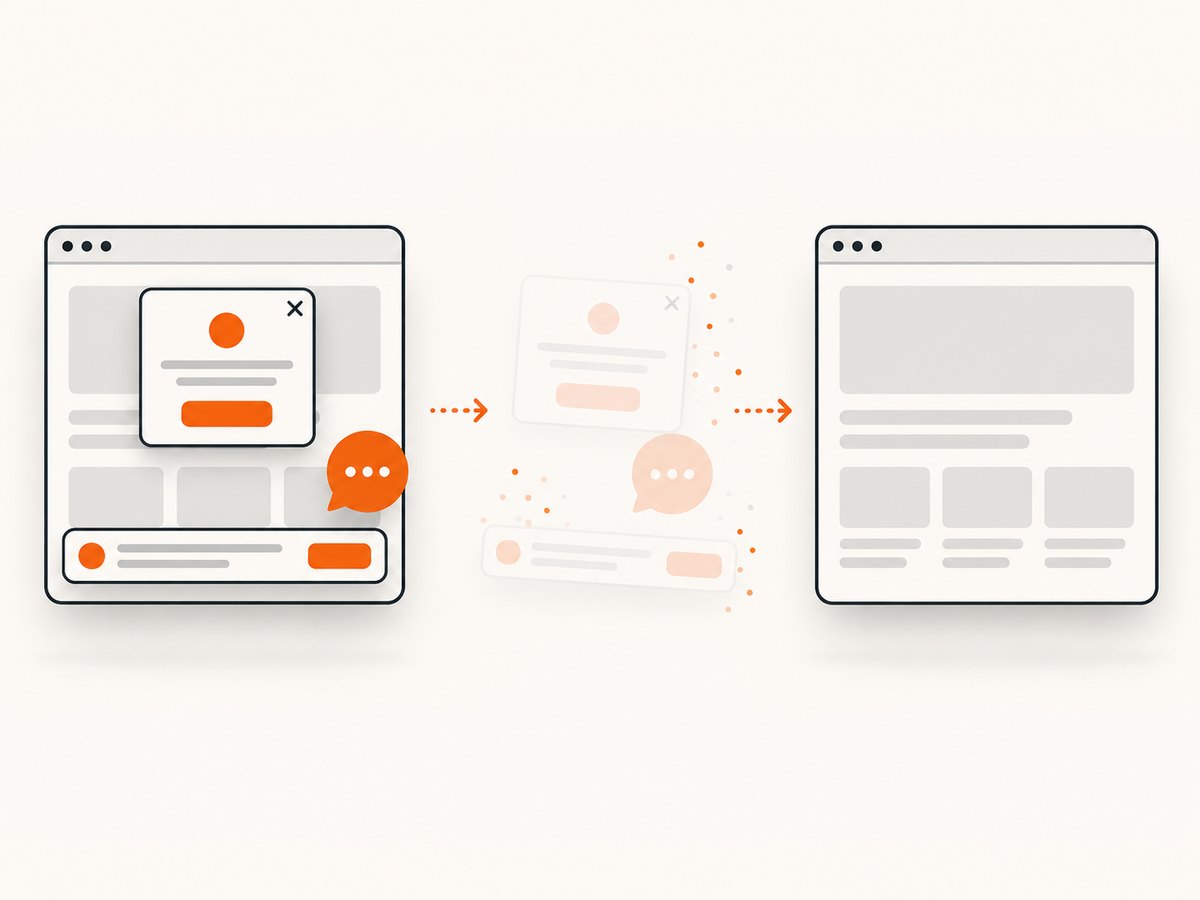
await Bun.write('shot.webp', res);ScreenshotNeo accepts cookie or consent banners before capture and removes more than 60 known consent platforms, newsletter popups, and chat widgets; each cleanup step can be turned off. Bot checks, blank pages, timeouts, failed loads, and cache hits are not billed, and response headers report the page verdict and billing status. Its MCP server gives AI agents tools for screenshots, page information, and PDF capture. The free plan includes 1,000 shots per month with no card; paid plans start at $5 for 3,000 shots.
Create a free ScreenshotNeo account for 1,000 screenshots a month with no card.
10. Frequently asked questions
Can Puppeteer launch Chrome from an extension?
No. In the extension workflow, Chrome is already running and Puppeteer attaches to a tab through the extension transport. The webpage browser build likewise cannot launch or download Chrome; it connects to a separate browser over WebSocket.
Can one extension transport automate multiple tabs?
One connection is tied to one tab. Use Chrome’s tabs API to create or locate each tab and establish a distinct Puppeteer connection for each one.
Is extension-hosted Puppeteer production-ready?
Puppeteer documents it as experimental and notes the restrictions of Chrome’s debugger API. Validate the exact Puppeteer and Chrome versions and capabilities your extension needs.
Should I use this for screenshots?
Use it when screenshot capture is part of a broader extension workflow that needs access to a tab. For URL-to-image capture without managing browser bundling and tab attachment, an API such as ScreenshotNeo may be a better fit.


