How to Save an Image as JPG, PNG, or WebP
Save images correctly as JPG, PNG, or WebP with editor steps, cwebp commands, format choices, troubleshooting, and a developer workflow.
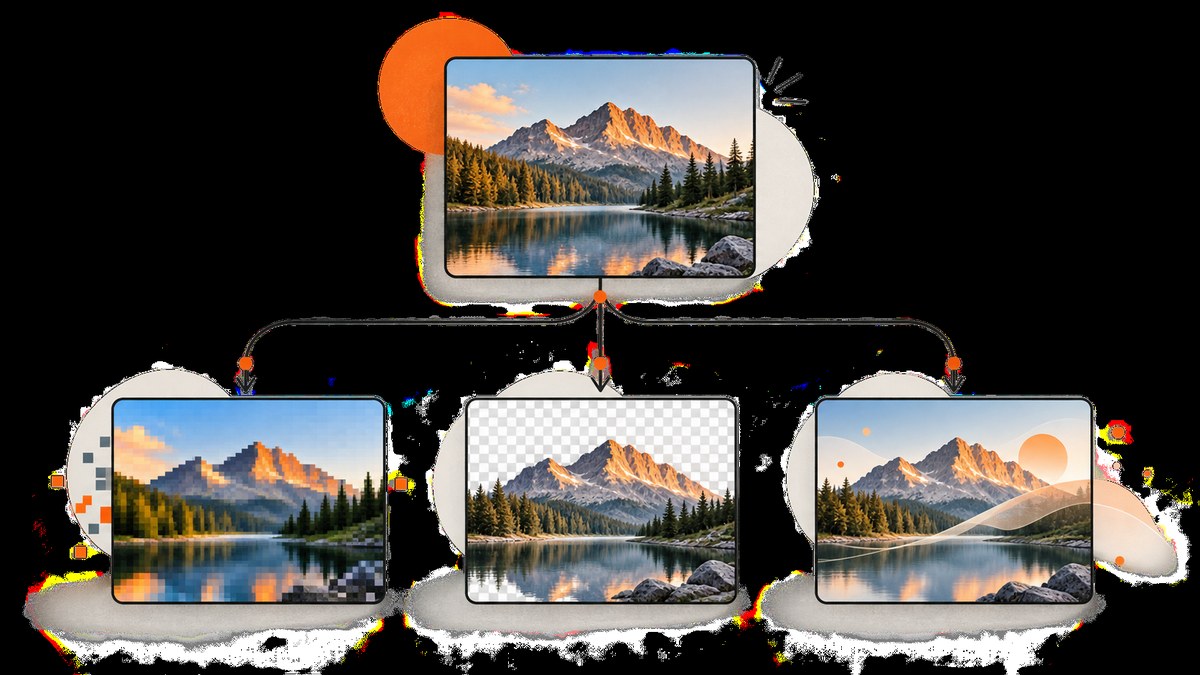
Direct answer: Open the image in an editor that supports your target format, choose Save As or Export, select JPG/JPEG, PNG, or WebP from the real format list, set the available quality or compression options, and save to a new file. Renaming photo.png to photo.jpg does not convert the image encoding. Reopen the saved file or load it in the destination where you intend to use it.
The exact menu names vary by application and version. Paint.NET documents PNG, JPEG, and WebP support and provides a format-specific configuration dialog for some formats (Paint.NET features, File menu documentation). Photoshop’s Save for Web documentation lists JPEG and PNG export choices (Adobe Save for Web). For repeatable command-line WebP conversion, Google’s cwebp tool is available in precompiled packages for Linux, Windows, and macOS (Google WebP Getting Started).
Choose the format before you export
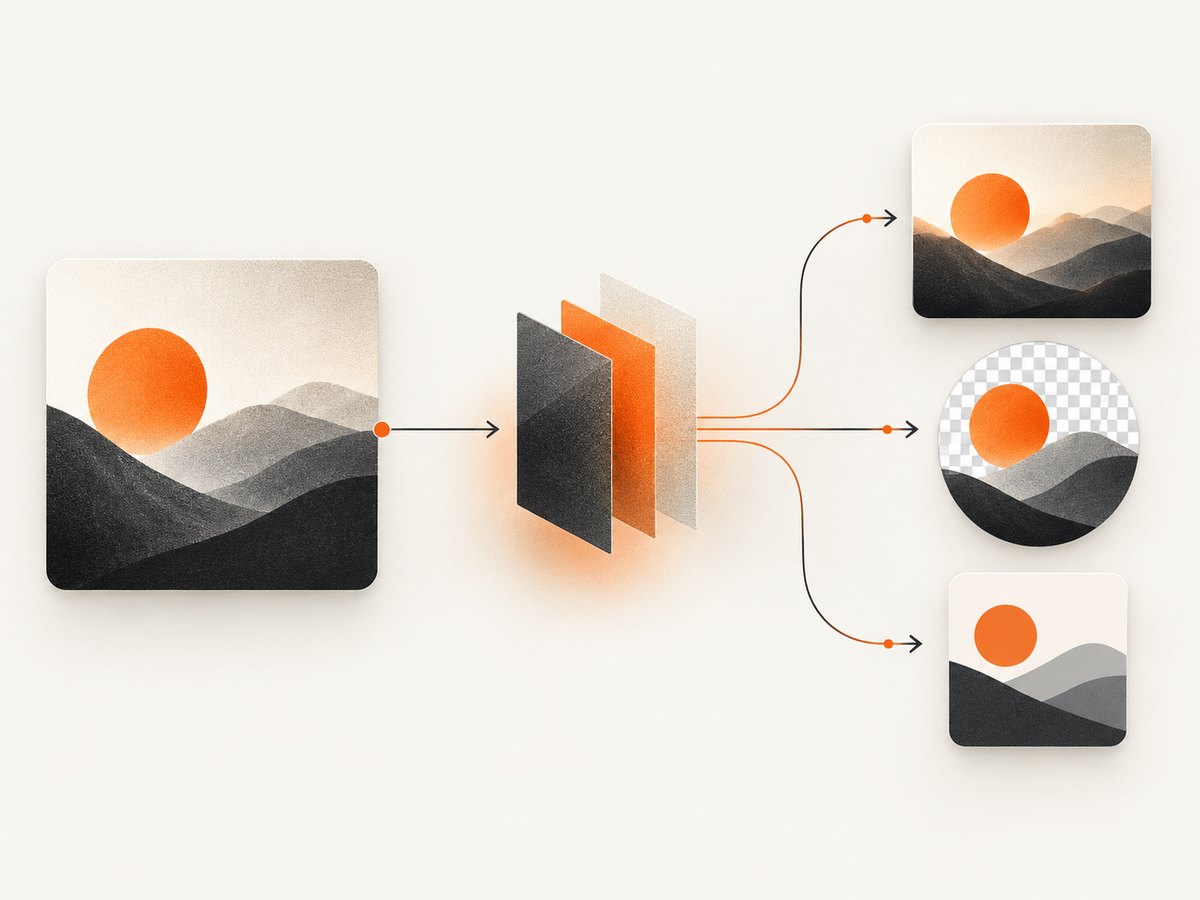
Your destination and image content determine the best format. Make the choice before saving so you do not accidentally discard transparency or introduce unnecessary quality loss.
| Format | Use it when | Watch for |
|---|---|---|
| JPG/JPEG | Photos, gradients, camera images, and destinations that require broad compatibility. | JPEG is lossy. Repeated edits and exports can add artifacts. It does not preserve transparent pixels. |
| PNG | Logos, screenshots, interface graphics, text, line art, or any image that needs lossless preservation or transparency. | Photographic PNG files can be much larger than an appropriately compressed JPG or WebP. |
| WebP | Web delivery when your target software accepts it and you want lossy or lossless compression options. | Check the receiving app, CMS, build pipeline, or message service first. Some older workflows still require JPG or PNG. |
Google describes WebP as a modern image format supported by software and browsers such as Chrome and Opera (Google WebP overview). Its FAQ explains that WebP supports both lossy and lossless compression compared with JPEG and PNG (WebP FAQ). Those capabilities do not make one format universally superior: compare transparency needs, destination compatibility, and the quality/file-size tradeoff for your actual image.
Save as JPG or JPEG in a desktop editor
- Open the original image in an editor that can export JPEG.
- Keep the original file. Use Save As or Export so the source remains available for another format later.
- In the format picker, choose
JPGorJPEG. These names refer to the same JPEG image format. - Choose a quality setting if the editor provides one. Use a visually acceptable setting for photos; inspect fine text, foliage, faces, and gradients before publishing.
- Pick a new filename and location, save, then reopen the result.
JPEG cannot carry a transparent background. If the source has transparency, decide whether the destination should use a solid background and flatten it deliberately, or export PNG/WebP instead. Do not rely on a renamed extension to perform that conversion.
Save as PNG
- Open the image and choose Save As or Export.
- Select
PNGfrom the application’s actual format list. - Keep transparency if the image contains an alpha channel and the destination supports it.
- Save to a new filename, then verify the file in an image viewer or the target application.
PNG is a practical default for screenshots, diagrams, UI assets, and typography because it preserves exact pixel values without JPEG-style compression artifacts. For a large photograph, compare the resulting size with a quality-controlled JPG or WebP before choosing PNG for production delivery.
Save as WebP in an editor
If WebP appears in your editor’s export list, select it and review the format-specific options. Depending on the application, you may be offered lossy quality, lossless mode, metadata, or animation controls. Paint.NET documents WebP support and a format-specific save configuration dialog (Paint.NET File menu).
- Open the source image.
- Choose Save As or Export.
- Select
WebP, then choose lossy quality or lossless mode when offered. - Save a new file and test it in the browser, application, or upload service that will receive it.
Use lossless WebP when preserving exact pixels or transparency matters and the destination supports it. Use lossy WebP for photographic delivery when a smaller file is more valuable than mathematically identical pixels. The right quality value depends on the source and the visual tolerance of your destination; inspect the output rather than assuming a universal setting.
Convert to WebP with Google’s cwebp command
For scripts, build systems, and repeatable conversions, Google’s cwebp utility is the documented command-line route. Google provides precompiled tools for Linux, Windows, and macOS and documents PNG-to-WebP examples (cwebp usage).
# Convert a PNG to lossy WebP at quality 82
cwebp -q 82 input.png -o output.webp

# Convert a PNG to lossless WebP
cwebp -lossless input.png -o output-lossless.webp

# Convert a JPEG to WebP
cwebp -q 82 photo.jpg -o photo.webp
Run cwebp -longhelp on your installed version to see the options it supports. Keep the original files, use distinct output names, and inspect the generated file. If your shell reports that cwebp is not found, install the official WebP tools for your operating system or use an editor with WebP export; do not substitute a file rename.
Verify that the conversion really worked
Verification catches the most common delivery failures: a wrong extension, an unsupported format, an accidental flattening of transparency, or a file that was saved somewhere other than expected.
- Check that the output filename has the intended extension.
- Reopen the output in an independent viewer or the destination app.
- For transparent assets, place the image over a contrasting background and check the edges.
- For photos, inspect faces, text, gradients, and high-detail areas at the intended display size.
- For websites, load the final URL in the browser and inspect the network response or rendered result.
- Confirm the file size is reasonable for the destination’s upload or bandwidth limits.
Automate screenshots and image outputs
If the source is a web page rather than a local file, you can capture it as PNG, JPEG, WebP, or PDF through ScreenshotNeo. Its API accepts one GET request and returns the selected output. The service can capture a full page with lazy images loaded, one CSS-selected element, a chosen viewport or device preset, dark mode, retina scale, custom CSS and JavaScript, click actions, waits, blocked resources, headers, cookies, user agent, timezone, geolocation, transparent backgrounds, resizing, caching, signed links, asynchronous jobs, bulk capture, and PDF settings. See the ScreenshotNeo documentation for parameter names and the OpenAPI specification.
Or skip the browser setup
Use the API call below when you need a rendered web image instead of configuring a browser locally. Change the target URL and add options from the documentation as needed.
curl -G "https://api.screenshotneo.com/v1/shot" -d access_key=YOUR_API_KEY --data-urlencode url=https://stripe.com -o shot.webpimport requests
r = requests.get("https://api.screenshotneo.com/v1/shot", params={"access_key": "YOUR_API_KEY", "url": "https://stripe.com"}, timeout=90)
open("shot.webp", "wb").write(r.content)const q = new URLSearchParams({ access_key: 'YOUR_API_KEY', url: 'https://stripe.com' });
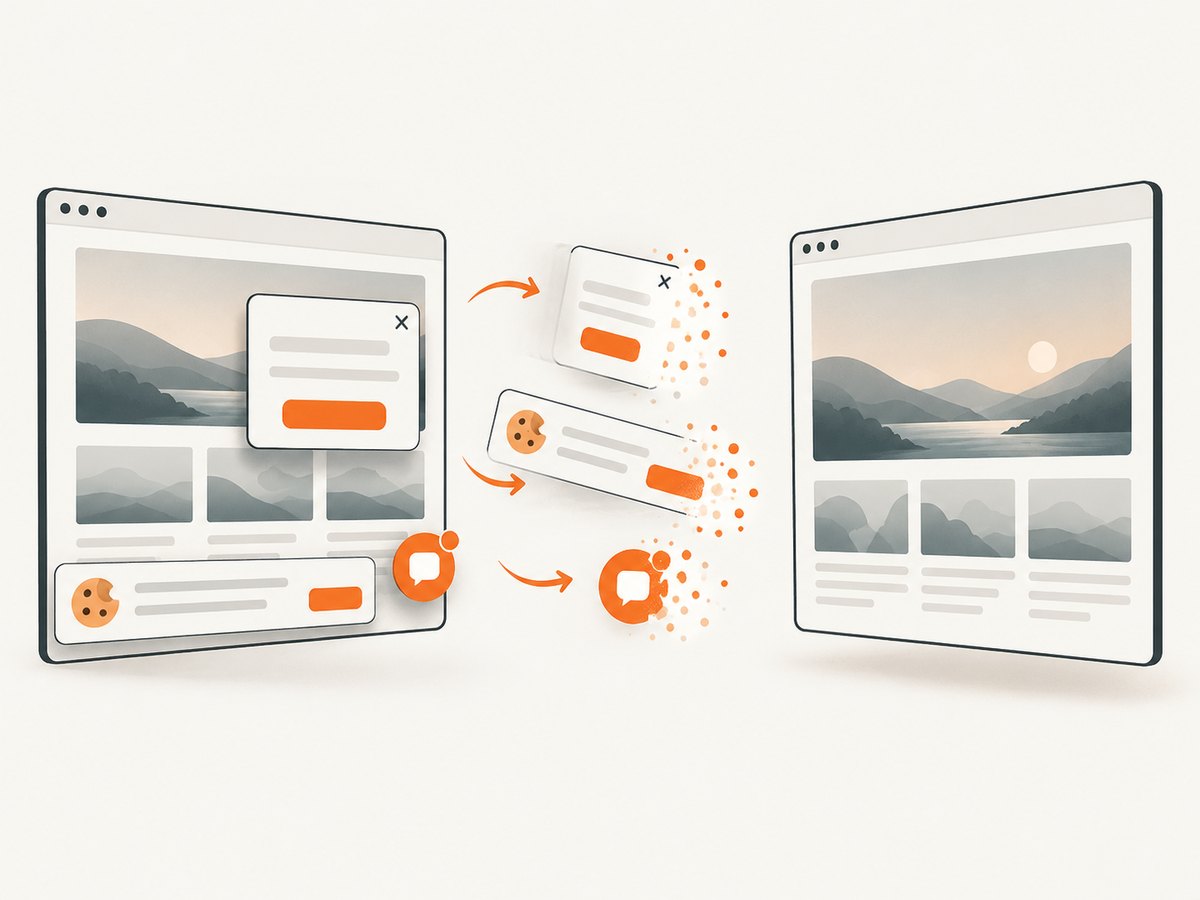
const res = await fetch(`https://api.screenshotneo.com/v1/shot?${q}`);Before capture, cookie and consent banners are accepted and more than 60 known consent platforms, newsletter popups, and chat widgets are removed; each step can be turned off. Bot checks or CAPTCHAs, blank pages, timeouts, failed loads, and cache hits cost nothing, and the response identifies the result with X-Page-Verdict and X-Billed headers. ScreenshotNeo also provides an MCP server so Claude, Cursor, and other MCP clients can call take_screenshot, get_page_info, and capture_pdf. The Free plan includes 1,000 screenshots each month without a card; paid plans start at $5 for 3,000.
Create a free ScreenshotNeo account and start with the 1,000 monthly screenshots.
Handling transparency, color, and repeated exports
Transparency
PNG and WebP can preserve transparent pixels when the encoder and destination support them. JPEG cannot. If a transparent logo becomes a black or white rectangle, check whether you exported JPEG or flattened the layer before export.
Quality loss
JPEG and lossy WebP discard information. Keep a lossless master such as the original project file or PNG, then create delivery derivatives. Avoid repeatedly opening and re-saving a lossy derivative; return to the master when changing dimensions or quality.
Metadata and color profiles
Export dialogs may offer metadata or color-profile controls. Preserve the profile when accurate color matters, and test the final output in the destination. A smaller file is not useful if colors shift or required metadata disappears.
Troubleshooting
| Symptom | Likely cause | Fix |
|---|---|---|
| The file still behaves like the old format. | The extension was renamed instead of encoding being converted. | Use Save As, Export, or cwebp; then reopen the output. |
| WebP is missing from the format list. | Your editor or version does not include WebP support. | Use an editor that documents WebP support or Google’s cwebp tool. |
| A transparent image has a solid background. | JPEG was selected or transparency was flattened. | Export PNG or transparent WebP and verify on a contrasting background. |
| The output is unexpectedly huge. | A photographic image was saved losslessly, at a very high quality, or as PNG. | Compare an appropriate JPG or lossy WebP while checking visible detail. |
| Text or fine lines look blocky. | Lossy compression is too strong. | Raise quality, switch to PNG/lossless WebP, or reduce dimensions before export. |
| The command says “cwebp: command not found.” | The WebP tools are not installed or are not on your PATH. | Install the documented package for your OS, or use a GUI editor with WebP export. |
| The destination rejects the upload. | That service does not accept the selected format, dimensions, or size. | Check its current requirements and export the accepted format. |
| ScreenshotNeo returns a non-clean page. | The page may contain a bot check, blank response, timeout, or failed load. | Read X-Page-Verdict and X-Billed, then adjust waits, headers, cookies, user agent, or blocking options as appropriate. |
Performance, reliability, and cost considerations
For local conversion, batch files with a command-line tool and avoid unnecessary decode/re-encode cycles. Choose output dimensions before compression: shrinking a source usually reduces transfer cost more predictably than lowering quality until details disappear. Keep a reproducible command or export preset so repeated assets use the same settings.
For web captures, wait only as long as the page needs. A selector wait or network-idle wait can be more reliable than a large fixed delay; block ads, trackers, or unneeded resource types when they are irrelevant to the image. Caching with a chosen TTL can reduce repeated work, while signed links are useful for public image tags. Bulk capture supports up to 100 URLs per call, and asynchronous jobs with signed webhooks help long-running batches. ScreenshotNeo bills only clean shots; cache hits and failed categories identified by the response headers are not billed.
Checklist before you deliver the image
- Confirm the destination accepts JPG, PNG, or WebP.
- Use Save As, Export, or a real converter.
- Preserve transparency with PNG or WebP when required.
- Choose lossless or lossy compression intentionally.
- Inspect text, edges, gradients, and fine detail.
- Reopen the output and verify its extension and behavior.
- Keep a master copy for future edits.
- For web screenshots, check the capture verdict and billed headers.
FAQ
Is JPG different from JPEG?
No. JPG and JPEG are two common filename extensions for the same JPEG format.
Can I convert an image by changing .png to .jpg?
No. Changing the name does not rewrite the encoded data. Use an editor’s export or a conversion tool.
Which format should I use for a screenshot?
PNG is a dependable choice for crisp text and interface details. WebP can be suitable when the destination supports it and a smaller file is useful.
Does WebP always make a smaller file?
No. Size depends on the source, dimensions, encoder mode, and quality. Compare the actual outputs.
What should I keep as the master?
Keep the original project or highest-quality source, then export JPG, PNG, or WebP derivatives for each destination.
Can a screenshot API return different image formats?
Yes. ScreenshotNeo returns PNG, JPEG, WebP, or PDF from its capture endpoint, with options documented at the API documentation.


