How to Save a PDF Page as a Screenshot
Capture one PDF page as a PNG or JPEG on Windows, Mac, or iPhone, and learn when exporting the page is better than a screenshot.
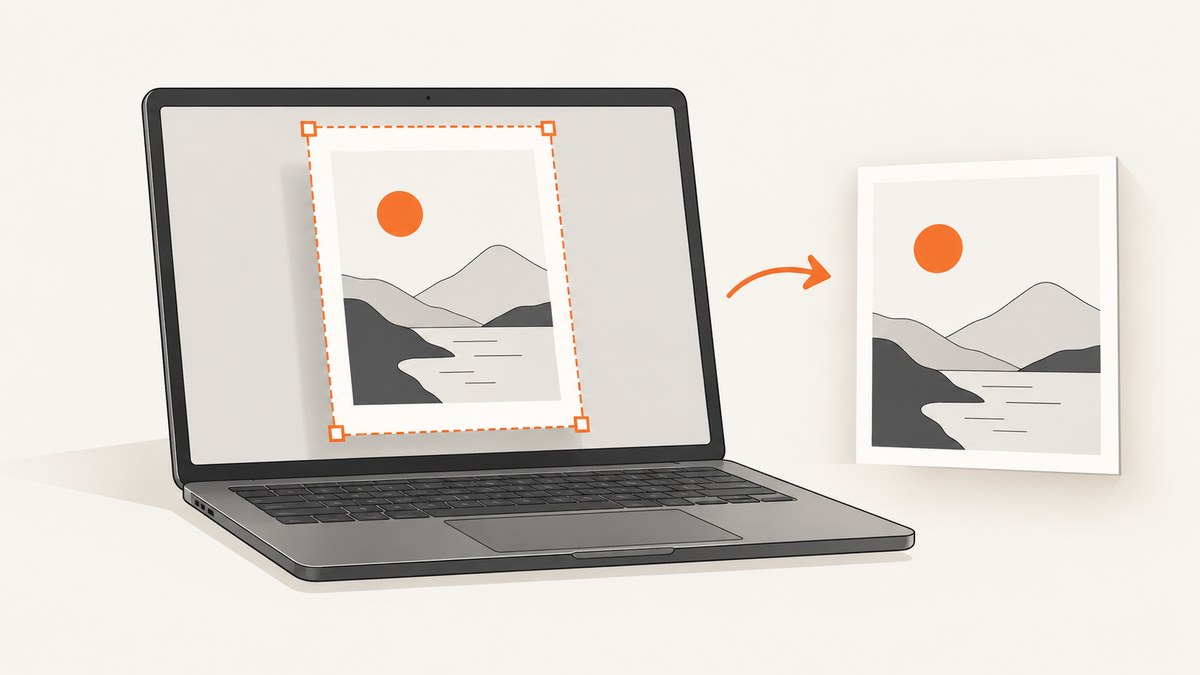
To save one PDF page as a screenshot, open that page at a readable zoom, capture just the page with your device’s screenshot tool, then save the capture as an image. On Windows, use Windows+Shift+S and Snipping Tool; on Mac, use Preview’s File > Take Screenshot > From Selection; on iPhone, take a normal screenshot and crop it. A screenshot records visible pixels, so it can include viewer margins and may be less sharp than exporting the PDF page directly.
If you need a PNG or JPEG of the page itself, rather than a picture of the screen, use a PDF viewer’s page export feature when available. If you need the document’s original page dimensions or selectable text, keep or export a PDF instead. The steps below explain both paths, including what to do when the PDF page is larger than your display.
1. Decide whether you need a screenshot or a page export
A screenshot is a pixel-based copy of what is visible on your display. It is quick, works with nearly any PDF viewer, and is useful for a message, presentation, or image-based workflow. Its resolution depends on the displayed size and your screen. It can include application chrome unless you select carefully, and it does not preserve selectable text.
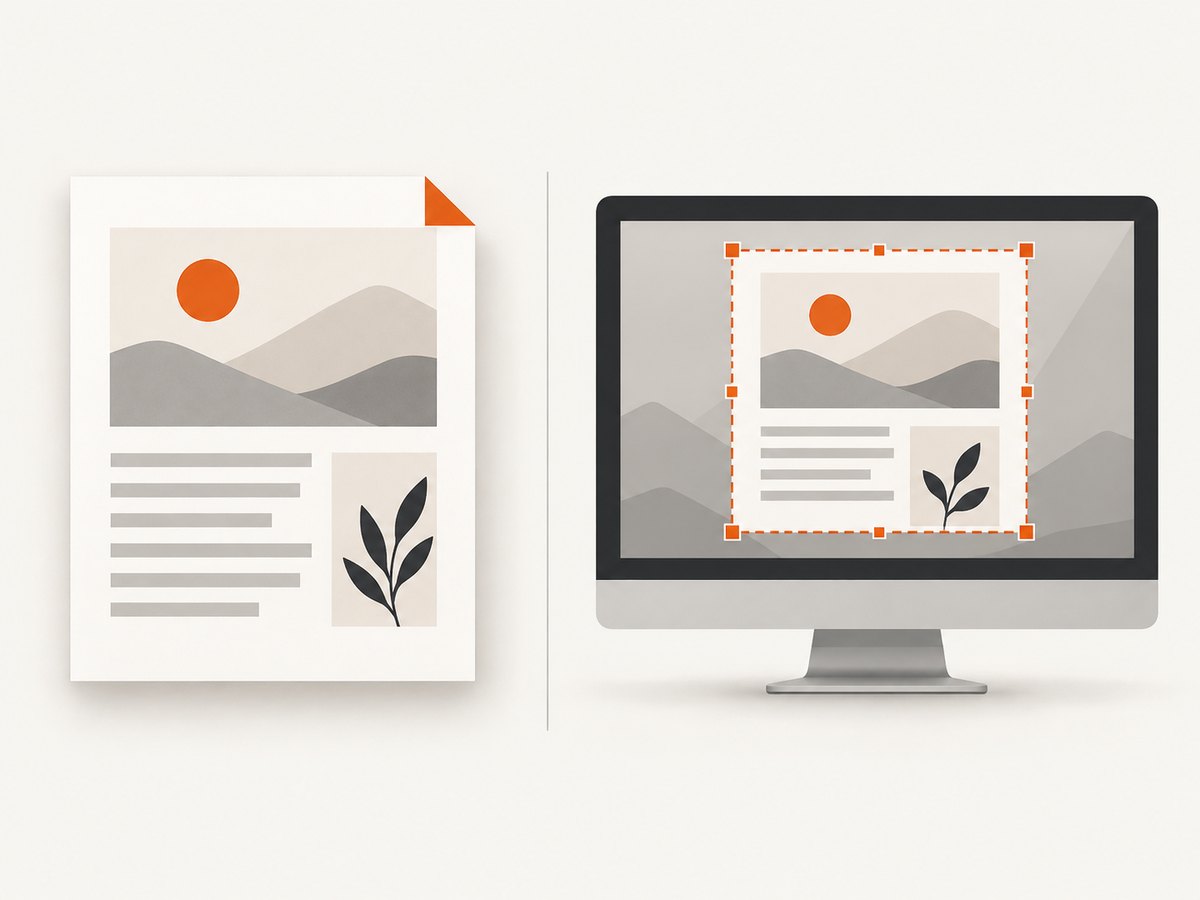
A PDF page export renders the document page as an image. It can avoid capturing screen furniture and may give you better control over output format and dimensions. For example, Preview on Mac can export a selected PDF page as PNG. Use that method when the image needs to represent the document page rather than the way it looked on your particular screen.
| Need | Best fit | Tradeoff |
|---|---|---|
| Quick image of one visible page | Screenshot selection | Captures screen pixels and may need cropping |
| Cleaner image of the document page | Export page as PNG or another image format | Controls vary by viewer |
| Selectable text, page size, or multiple pages | Keep the PDF | Not a standalone image |
| Long page that exceeds the phone display | PDF or a page export | A normal screenshot captures only the visible area |
Before capturing, navigate to the correct page, close menus or side panels that overlap it, and choose a zoom that makes the page easy to frame. If the page is too large to fit, reduce zoom until its edges are visible. If you need small text to remain legible, exporting the page is often better than shrinking the on-screen page to fit.
2. Save a PDF page as an image on Windows
Windows Snipping Tool captures all or part of the screen. For a single PDF page, rectangular selection usually gives the cleanest result. Microsoft documents the Windows+Shift+S shortcut, selection modes, and the save flow in its Snipping Tool guide.
- Open the PDF in your browser or PDF viewer and navigate to the page.
- Adjust the window and zoom so the full page is visible and its edges are easy to distinguish.
- Press Windows logo key+Shift+S. If a mode toolbar appears, choose rectangular snip.
- Drag from one corner of the page to the opposite corner. Leave out browser bars, toolbars, and desktop background.
- Select the Snipping Tool notification to open the capture. Use the crop or markup tools if needed, then choose Save or Save as and select a location and image format.
Snipping Tool copies the capture into its window for editing and saving. Depending on the Windows version and settings, it may also save automatically; check the app’s save settings rather than relying on that behavior. You can use the full-screen or window mode if the page fills a dedicated window, but either can include surrounding interface. Rectangular selection is generally easier to control.
Windows precision tips
- Capture the page boundary, not the PDF viewer’s shadow or toolbar. A small border is usually better than clipping a printed margin.
- If the page is rotated, rotate it in the viewer before capturing so the saved image is upright.
- For a particularly wide or tall page, fit the page to the window, then inspect the resulting text size. If details are too small, export the page or capture at a larger screen zoom in separate sections.
- Save a copy using an explicit filename and location. Automatic saving, where enabled, follows the Snipping Tool settings.
3. Save a PDF page as an image on Mac
Preview offers both a screenshot workflow and a page-export workflow. To make a screenshot of the visible page, use File > Take Screenshot > From Selection. Apple’s Preview guide says the selection opens as an untitled picture in Preview, where you can annotate it before saving.
- Open the PDF in Preview and display the page you want.
- Choose File > Take Screenshot > From Selection.
- Drag around the page bounds and release. Include the whole page, but avoid the toolbar and surrounding desktop.
- Preview opens the result as an untitled image. Choose File > Save or File > Export, choose a filename, location, and available image format, then save.
For a screenshot of a whole window, Preview also provides File > Take Screenshot > From Window. For the entire display, choose From Entire Screen. Those are useful for context, but they generally capture more than one PDF page.
Export the PDF page instead of photographing the screen
To make a document-page image in Preview, open the thumbnail sidebar with View > Thumbnails, select the page, and choose File > Export. Give the output a name, select an image format such as PNG in the Format menu, and save. Apple documents this route in its Preview instructions for extracting a PDF page as an image. This is often preferable when you want the page content without the visible desktop or need the page rendered independently of screen zoom.
4. Capture a PDF page on iPhone
For one page that fits on the screen, open it in a PDF app, make the page large enough to read, and take an ordinary screenshot. On iPhone models with Face ID, press and quickly release the side button and volume-up button together; models with a Home button use the relevant side or top button and Home button combination. Tap the screenshot preview to crop around the page, then save or share it. Apple’s iPhone screenshot instructions describe the hardware-button combinations and editing flow.
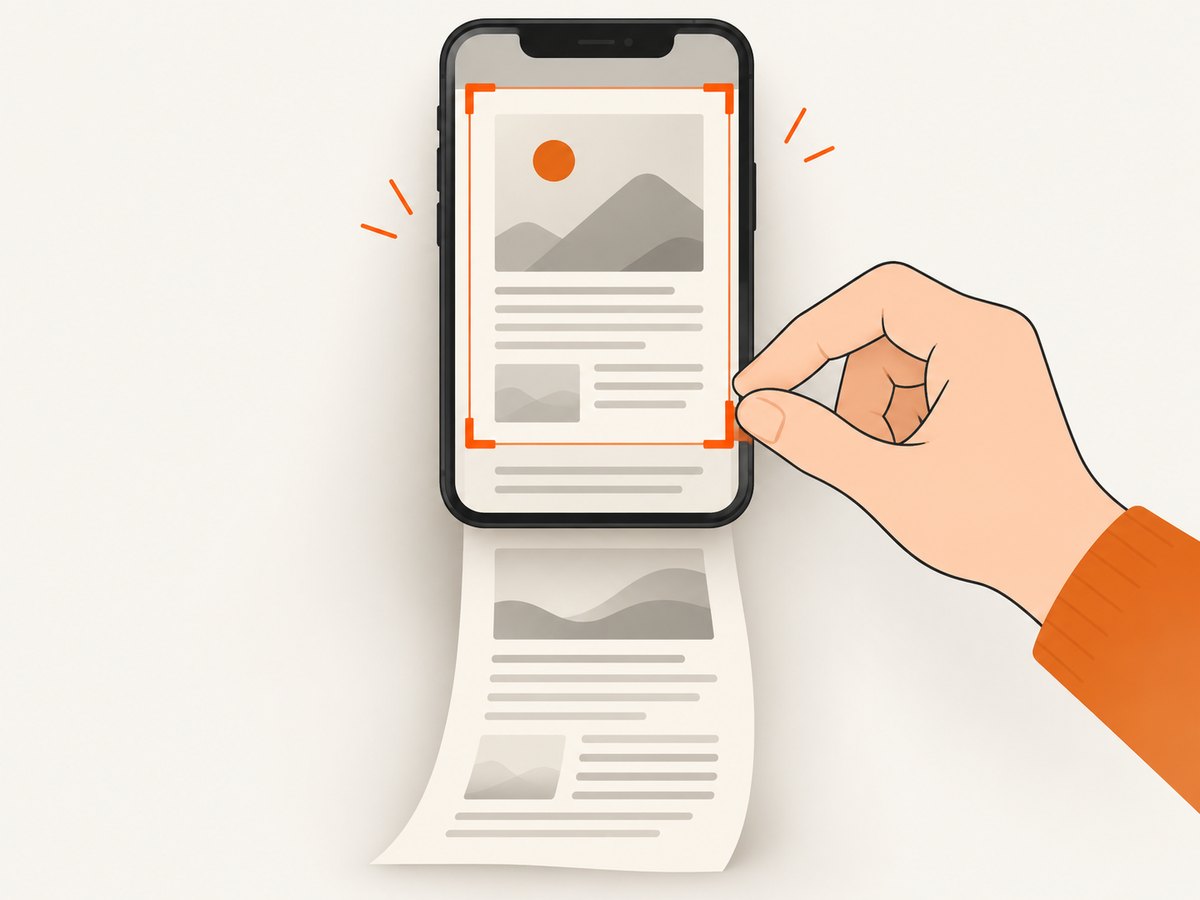
Apple’s Full Page option is for content that extends beyond the screen, such as a long webpage. It is not the same as a normal one-screen screenshot of a PDF page. Apple explains that Full Page captures content beyond the display in its iPhone user guide. In the documented workflow, a full-page capture can be saved to Files as a PDF. Beginning with iOS 17 and iPadOS 17, Apple’s developer documentation says a generated full-page screenshot can be shared or saved as a PDF or image; the options you see depend on the device and workflow. See Apple’s screenshot service documentation.
For a regular page image, use the standard screenshot and crop. For a page longer than the display, prefer exporting the page from a PDF app if it supports image export, or keep the full-page result as a PDF when preserving document layout matters.
5. What to do on Android
Android screenshot buttons, scrolling capture, and PDF export menus vary by phone manufacturer, Android version, and PDF app. There is no one button sequence that applies reliably to every device. First identify your phone model and the PDF viewer you are using. Check the device maker’s current support instructions for its screenshot shortcut.
For a page visible on screen, use the phone’s ordinary screenshot function, then crop the image in Photos or the screenshot preview. Do not assume that every PDF viewer can directly export a page as PNG or JPEG, or that every scrolling-capture tool works inside a PDF app. If you need a clean page image, check the viewer’s export or print options. If those are unavailable, open the PDF on a computer and export the page or capture it there.
6. Improve quality and keep the whole page
The sharpness of a screenshot depends on how large the page appears on screen and the display’s pixel density. Zooming in can improve the detail in a crop, but it can also cut off page edges. Zooming out fits the whole page but makes text smaller in the image. Choose based on the image’s purpose: a complete page for reference, or a legible detail for a close-up.
- Show the page bounds. Close sidebars and toolbars, then adjust zoom until the complete page is visible.
- Keep orientation consistent. Rotate the page before capture if necessary, rather than rotating the screenshot later and risking unintended cropping.
- Use the right format. PNG is a lossless choice for text, charts, and sharp lines. JPEG is useful when smaller files matter and some compression is acceptable. Your device or app may choose a format automatically.
- Inspect before sharing. Check all four page edges, small text, and any annotations. Re-capture if a margin or footer was clipped.
- Export for detail. If small print looks soft, export the PDF page as an image where possible instead of enlarging a screen capture.
A single full-page image can become very tall or wide, especially for nonstandard page sizes. That may make it awkward to view on a phone or attach to services with image-size limits. If the recipient needs to zoom, preserve selectable text, or print at page size, send the PDF. If they need only one section, a clearly cropped screenshot may be more useful than a whole-page image.
7. Troubleshooting common problems
| Problem | Likely cause | Fix |
|---|---|---|
| The image includes browser bars or desktop | You used window or full-screen capture, or selected too large an area. | Repeat with rectangular selection around the page, or crop the saved image. |
| The page edges or footer are missing | The selection started inside the page, or the page did not fit on screen. | Reduce zoom until all edges appear, then capture again with a little margin. |
| The screenshot notification disappeared | The notification was dismissed or timed out. | Open Snipping Tool and check its recent capture state, or repeat the capture. On iPhone, check Photos; screenshots are saved to the photo library. |
| I cannot find the saved file | The app used a default folder, clipboard, or configured auto-save location. | Use Save as to choose a known folder and filename. On Mac, check the location selected in the save dialog; on iPhone, check Photos or the chosen share destination. |
| The output is PDF, not PNG or JPEG | You chose a full-page workflow or exported the original document. | Use a normal screenshot for the visible area, or use the PDF app’s page-to-image export option and choose PNG or JPEG. |
| The image is blurry or text is hard to read | The PDF was displayed too small, or the image was enlarged after capture. | Capture at a larger on-screen scale while keeping the page in frame, or export the page as an image. |
| The PDF page is larger than the phone screen | A regular screenshot only captures the visible viewport. | Use an available page export, capture sections separately, or save the full-page result as a PDF if that option is offered. |
| Screenshot controls do not work inside the PDF | The viewer or operating system handles capture differently, or the app restricts capture. | Try the operating system’s screenshot tool outside the viewer’s menus, use another trusted PDF viewer, or export the page. |
8. Automating website screenshots with an API
The steps above are for a PDF file displayed on your own device. If your task is instead to capture a webpage as part of a developer workflow, you can run a browser yourself or call a screenshot API. ScreenshotNeo is a website screenshot API and MCP server. It captures webpages as PNG, JPEG, WebP, or PDF. This is not a direct replacement for exporting an arbitrary local PDF page: the API accepts a URL for a webpage capture. See the ScreenshotNeo documentation for request options and setup.
Or skip the browser setup
Make one GET request with a URL and your API key. This runnable cURL example saves a webpage capture:
curl -G "https://api.screenshotneo.com/v1/shot" -d access_key=YOUR_API_KEY --data-urlencode url=https://stripe.com -o shot.webpEquivalent Python:
import requests

r = requests.get(
    "https://api.screenshotneo.com/v1/shot",
    params={"access_key": "YOUR_API_KEY", "url": "https://stripe.com"},
    timeout=90,
)
open("shot.webp", "wb").write(r.content)
Equivalent Node.js using the built-in fetch API:
const q = new URLSearchParams({ access_key: 'YOUR_API_KEY', url: 'https://stripe.com' });
const res = await fetch(`https://api.screenshotneo.com/v1/shot?${q}`);
if (!res.ok) throw new Error(`Screenshot request failed: ${res.status}`);
await Bun.write('shot.webp', res);
Replace YOUR_API_KEY with your key and change the target URL. In a Node.js environment without Bun, save the response body with Node’s filesystem APIs:
import { writeFile } from 'node:fs/promises';

const q = new URLSearchParams({ access_key: 'YOUR_API_KEY', url: 'https://stripe.com' });
const res = await fetch(`https://api.screenshotneo.com/v1/shot?${q}`);
if (!res.ok) throw new Error(`Screenshot request failed: ${res.status}`);
await writeFile('shot.webp', Buffer.from(await res.arrayBuffer()));
ScreenshotNeo accepts cookie or consent banners like a visitor and removes 60+ known consent platforms, newsletter popups, and chat widgets before the capture; each step can be turned off. Bot checks or CAPTCHAs, blank pages, timeouts, failed loads, and cache hits cost nothing, and response headers report the page verdict and billing status. It also provides an MCP server for AI agents, with take_screenshot, get_page_info, and capture_pdf tools. One thousand screenshots per month are free with no card; paid plans start at $5 for 3,000, and every feature is on every plan. Create a free ScreenshotNeo account and get 1,000 screenshots a month with no card.
9. Reliability, privacy, and cost considerations
For a one-off local screenshot, the built-in operating-system tools are usually the shortest path and do not require a paid capture service. Keep the original PDF when the image is important: screenshots can be cropped accidentally, recompressed, or saved at a size that obscures fine print. Use an explicit filename so you can distinguish the image from the source document.
For repeatable website capture, automation reduces repetitive manual steps, but the rendered page can vary when its content, consent state, or network behavior changes. Choose a wait condition appropriate to the page, keep timeouts bounded, and inspect failures rather than treating every response as a useful image. ScreenshotNeo’s response includes page-verdict and billing headers; review those when building a pipeline. Caching can reduce repeated work when a fresh capture is not required. Choose an output format according to downstream needs, and account for the image or PDF files your workflow stores and transfers.
Do not upload a confidential local PDF to a service merely to take a screenshot unless that service supports the workflow and your organization permits it. The API example above captures a public webpage URL; it does not send a local PDF file. For local or sensitive documents, use the installed viewer’s screenshot or export tools.
10. Frequently asked questions
Can I save one PDF page as a JPG?
Yes. Capture the visible page and save or convert the image to JPEG, if your screenshot editor provides that format. On Mac, Preview’s page export can also produce an image; choose the available format in the export dialog.
Will a screenshot keep the text searchable?
No. A screenshot is an image of pixels. Keep the PDF when you need selectable or searchable text.
How do I capture a whole PDF page on my phone?
Fit the page on screen and take a normal screenshot, then crop. For a page that extends beyond the display, use a page-export feature or keep a full-page capture as a PDF if your phone offers that option.
Can I turn a PDF page into an image without taking a screenshot?
Often, yes. Look for a page export or conversion command in your PDF application. In Preview on Mac, select the page in the thumbnail sidebar and use File > Export.
Why is my saved screenshot a PDF?
You likely chose a full-page capture or saved through a PDF-oriented workflow. Use the ordinary screenshot flow for an image of visible content, or choose an image format explicitly in an export dialog.


