How to Save JavaScript-Rendered HTML to a File with Puppeteer on Raspberry Pi
Use Puppeteer’s page.content() to save rendered markup on a Raspberry Pi. Set a reliable readiness check, handle failures, and understand what the HTML file contains.
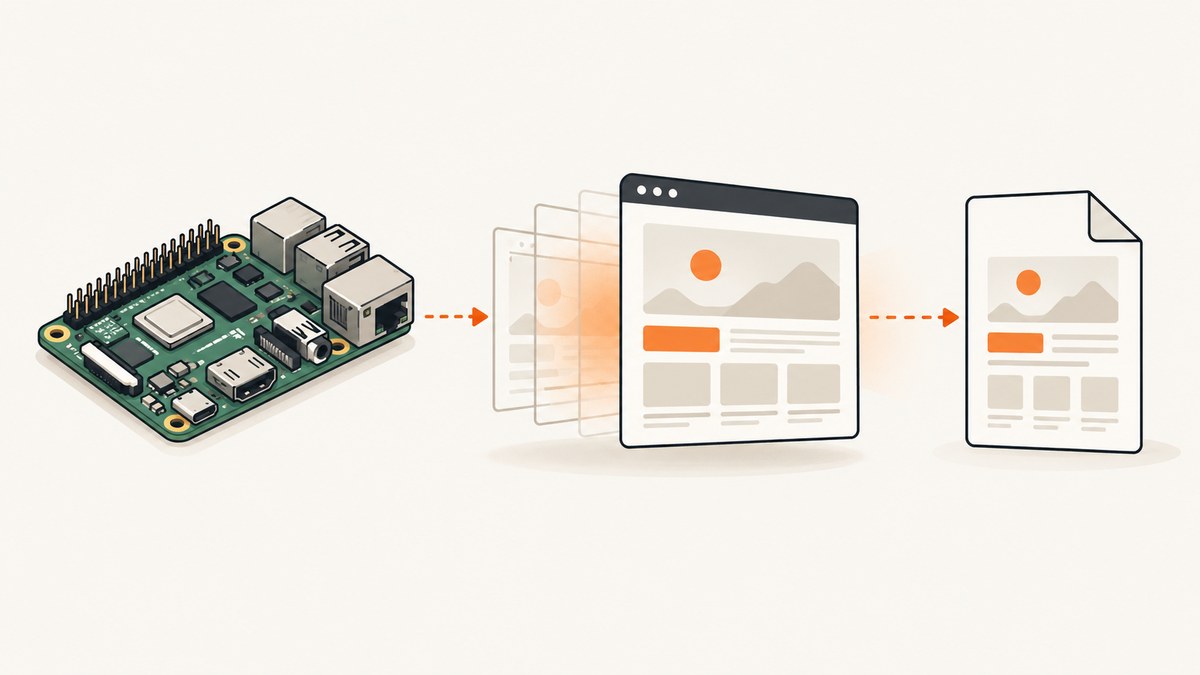
To save JavaScript-rendered HTML with Puppeteer on a Raspberry Pi, navigate to the page, wait until the site’s client-rendered content is ready, call page.content(), and write the returned string to a file with Node.js. Puppeteer’s page.content() returns the full HTML contents, including the DOCTYPE. It does not have a special saveHTML() method.
The key detail is readiness: a completed navigation does not guarantee that an application has finished rendering its data or hydrating its interface. Wait for a selector or other signal that belongs to the target site, then save the DOM snapshot. The procedure below is a documentation-based pattern; it does not imply that a particular Raspberry Pi model and software combination has been hardware-tested.
1. Check your Raspberry Pi and software
Puppeteer’s current system requirements list Node.js 22.12 or later and Chrome for Testing on Debian/Ubuntu Linux x64 and arm64. Raspberry Pi OS has 32-bit and 64-bit editions, and Raspberry Pi lists Pi 5 as compatible with its 64-bit OS. These facts identify a relevant platform class; they are not a blanket certification for every Pi model, OS release, browser binary, or Puppeteer pairing. Check the current Puppeteer requirements and the versions installed on your own system before deploying.
On a working Raspberry Pi OS installation, inspect the architecture and Node version:
uname -m
node --version
npm --version
A 64-bit ARM installation commonly reports aarch64. If your environment is 32-bit, do not assume Chrome for Testing or your installed browser package is supported by the current Puppeteer requirements. Select a compatible OS and browser setup for your board, then verify the exact combination you intend to run.
If Node is not installed, follow the installation instructions for your OS and target architecture. Avoid copying an x64-only Node or browser binary onto an ARM system. Browser dependencies and packaging differ across Raspberry Pi OS releases, so use a browser build supported by the Puppeteer version in your project.
2. Create a Puppeteer project
Make a project directory, initialize it, and add Puppeteer:
mkdir save-rendered-html
cd save-rendered-html
npm init -y
npm install puppeteer
The standard puppeteer package downloads a compatible browser during installation where supported. On a constrained device, installation can take time and use substantial storage. If you choose to use a system-installed Chromium instead, configure Puppeteer to use that executable and confirm that the browser build is compatible with the Puppeteer version. Do not assume that an arbitrary Chromium package can replace the browser Puppeteer expects.
For the ES module code below, set the project type in package.json:
{
  "type": "module",
  "scripts": { "save-html": "node save-html.js" },
  "dependencies": { "puppeteer": "^25.12.0" }
}
The version shown reflects the API version in the research references, not a permanent recommendation. Prefer the version you have checked against the current requirements, and commit your lockfile to make installs repeatable.
3. Save the page after it is rendered
Create save-html.js. Replace the URL and the example readiness selector with a real selector or application signal from the page you need to capture.

import puppeteer from 'puppeteer';
import { writeFile } from 'node:fs/promises';

const url = 'https://example.com';
const outputPath = 'page.html';

const browser = await puppeteer.launch({ headless: true });
try {
  const page = await browser.newPage();
  const response = await page.goto(url, {
    waitUntil: 'domcontentloaded',
    timeout: 60_000,
  });

  if (response && response.status() >= 400) {
    throw new Error(`Page returned HTTP ${response.status()}`);
  }

  // Illustrative only: use a readiness signal from your target application.
  await page.waitForSelector('main[data-ready="true"]', {
    timeout: 30_000,
  });

  const html = await page.content();
  await writeFile(outputPath, html, 'utf8');
  console.log(`Saved ${html.length} characters to ${outputPath}`);
} finally {
  await browser.close();
}
Run it with:
npm run save-htmlThe selector main[data-ready="true"] is just an example, not a universal selector. Choose a node that appears only when the page content you need is ready. If the application exposes a documented global state or another reliable signal, you can wait for that instead. If the selector never appears, the script times out rather than silently writing an early snapshot.
4. Choose a wait condition that matches the page
page.goto() supports navigation wait behavior and returns the main resource response when one is available. Pick the navigation milestone as a first step, then wait for the application state that matters to your capture.
| Wait condition | Useful when | Limit |
|---|---|---|
domcontentloaded |
You want the initial document parsed, then will wait for a specific rendered element. | Client-side data and rendering may still be pending. |
load |
The page’s load event is a useful baseline for its resources. | It does not prove that later requests or app rendering are complete. |
networkidle0 or networkidle2 |
The page settles network activity and those thresholds fit its behavior. | Persistent connections can prevent idleness, and late rendering can happen afterward. |
| Selector or application signal | You can identify the actual content or state needed in the saved file. | The selector or signal must accurately represent readiness for this target. |
For a single-page app, a useful sequence is to wait for the initial document and then a target-specific selector. A fixed sleep is simple but fragile: it can be too short on a slow run and waste time on a fast one. Use a delay only when the site offers no better signal and you understand the tradeoff.
Lazy-loaded content may require scrolling the page or interacting with it before saving. A DOM snapshot includes what exists in the page DOM at the moment page.content() runs; it does not automatically force every lazy element to load. Likewise, a page may render content only after a click, authentication, or client-side request. Perform the needed actions before calling page.content().
5. What the saved HTML does—and does not—contain
page.content() returns the current page’s serialized HTML, including the DOCTYPE. It is useful for inspecting rendered markup, archiving a DOM snapshot for analysis, or feeding the markup into a later processing step.
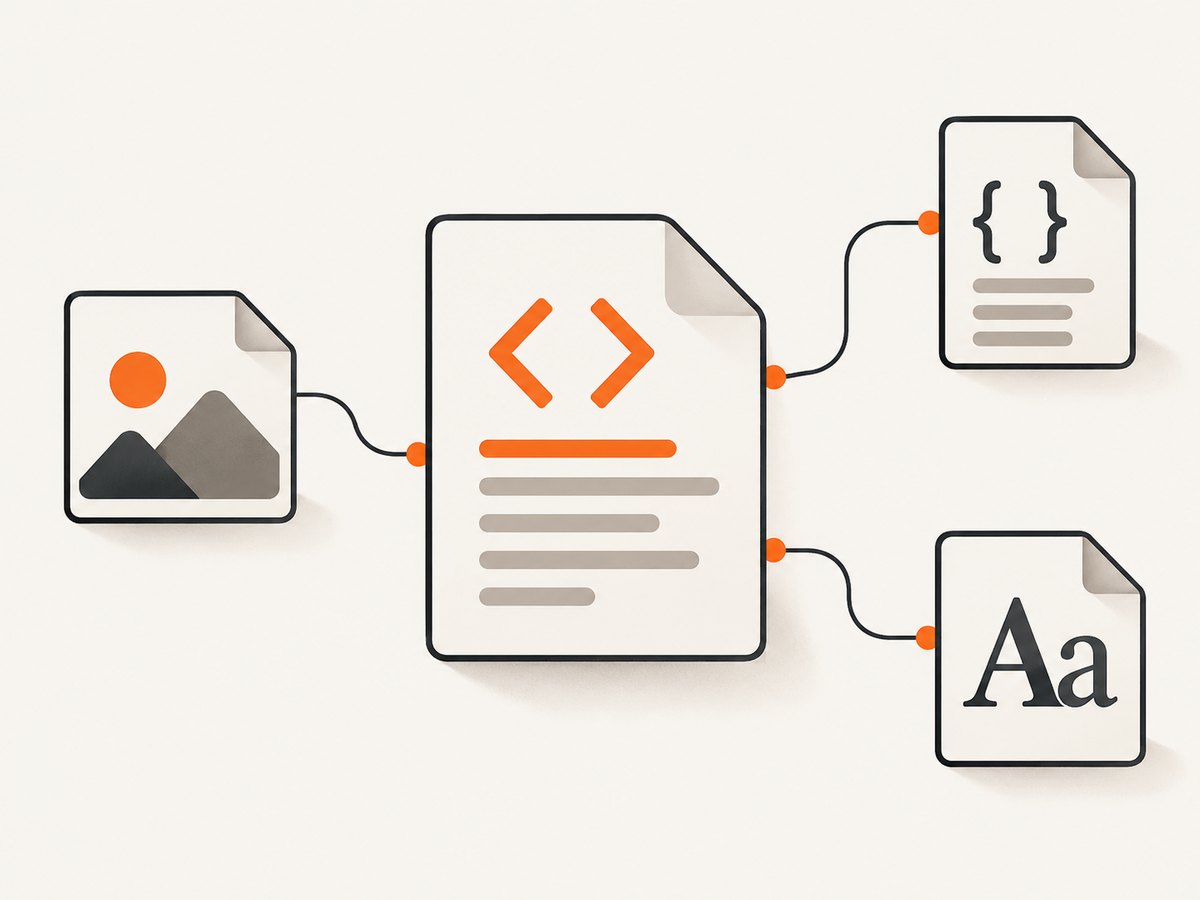
It is not a self-contained offline copy of the website. The HTML can still refer to external stylesheets, JavaScript, fonts, images, and API resources by URL. It also does not package the browser’s network cache or guarantee that the page will look the same when opened as a local file. Relative URLs may resolve differently, scripts may expect an origin or server, and some content may depend on cookies or authenticated requests. If you need a portable archive, you need a separate process to collect dependencies and rewrite references; this recipe saves markup only.
For large pages, the string and browser DOM both occupy memory. Write the returned string directly to disk as shown, and avoid keeping many page snapshots in memory at once on a memory-constrained board. Pick an output path with enough free space and permissions for the user running Node.
6. Handle errors and make runs reliable
The example checks an HTTP status when the navigation response exists. This matters because an HTTP 404 or 500 may still produce a valid navigation response rather than throwing a navigation exception. Always distinguish a browser-level navigation failure from a server response with an error status.
The try/finally ensures that the browser is closed if navigation, readiness waiting, or writing fails. For a scheduled capture job, also log the URL, failure stage, and error message; use a process supervisor or scheduler to retry failures according to your needs. Retry transient network problems with a bounded retry count and backoff. Do not retry a persistent 404 or a selector that is wrong without changing the underlying cause.
When capturing multiple URLs, process a small number at once. Each browser page consumes resources, and a Raspberry Pi has less memory and CPU headroom than a server. Reuse a browser for a batch when appropriate, but create and close pages deliberately and close the browser at the end. Avoid launching a fresh browser for every item if launch overhead is a concern; also avoid opening so many tabs that the device runs out of memory.
7. HTML, PDF, and screenshot are different outputs
| Goal | Puppeteer API | Result |
|---|---|---|
| Inspect or save markup | page.content() and Node filesystem write |
Serialized HTML including the DOCTYPE. |
| Produce a print document | page.pdf({ path: 'page.pdf' }) |
PDF rendering; print media is used by default. |
| Capture the visual appearance | page.screenshot({ path: 'page.png', fullPage: true }) |
Image of the rendered viewport or full page. |
For PDF output intended to use screen styling, emulate screen media before generating it. For a screenshot, use screenshot options such as a path and full-page capture. Neither a PDF nor an image is a substitute for an HTML DOM snapshot: choose the output based on whether you need structure, print layout, or pixels.
8. Troubleshooting
| Symptom | Likely cause | What to do |
|---|---|---|
| Saved HTML is missing app content | The snapshot ran before asynchronous rendering finished. | Wait for a target-specific rendered element or documented app-ready signal, then capture. |
| Selector wait times out | The selector is illustrative, misspelled, hidden behind a different route, or never appears. | Inspect the target DOM and choose a real readiness marker; verify URL, login state, and page response. |
goto() times out |
The server is slow or unreachable, navigation is stalled, or the timeout is too short. | Check connectivity and URL; raise the timeout only when slow responses are expected. Keep a finite limit. |
| Navigation throws an SSL or URL error | The URL is invalid, TLS validation fails, or the host cannot be reached. | Correct the URL or resolve the certificate/network issue. Do not hide certificate errors as a routine workaround. |
| HTTP error page is saved | The server returned a status such as 404 or 500, which is not necessarily a thrown navigation error. | Inspect response.status() and decide explicitly whether to keep or reject that response. |
| Browser fails to launch on Pi | Architecture mismatch, unsupported browser build, missing system dependencies, or insufficient storage. | Check uname -m, Node version, Puppeteer requirements, browser binary, and install output. Use a compatible arm64 setup where supported. |
| Process is killed or device becomes unresponsive | Memory pressure from the browser, page, or concurrent captures. | Reduce concurrency, close pages, capture fewer URLs per process, and monitor available memory. |
| File is empty or write fails | The capture did not reach the write step, output path is wrong, or filesystem permissions/storage are insufficient. | Read the logged error, use a writable absolute path, and check free disk space. |
| HTML opens without styling or images | The document references external resources or expects its original site origin. | Understand this is markup, not a bundled archive; keep the original resource URLs reachable or build a separate dependency collection process. |
9. Or skip the browser setup
If your goal is a screenshot or PDF rather than an HTML DOM snapshot, ScreenshotNeo provides a website screenshot API and MCP server. One GET request takes a URL and returns an image or PDF. See the API documentation.
curl -G "https://api.screenshotneo.com/v1/shot" -d access_key=YOUR_API_KEY --data-urlencode url=https://example.com -o shot.webpimport requests
r = requests.get(
"https://api.screenshotneo.com/v1/shot",
params={"access_key": "YOUR_API_KEY", "url": "https://example.com"},
timeout=90,
)
open("shot.webp", "wb").write(r.content)const q = new URLSearchParams({ access_key: 'YOUR_API_KEY', url: 'https://example.com' });
const res = await fetch(`https://api.screenshotneo.com/v1/shot?${q}`);ScreenshotNeo removes cookie banners, newsletter popups, and chat widgets before the shot. Bot checks, blank pages, and failed loads are never billed; response headers report the page verdict and billing status. Its MCP server lets AI agents use screenshot tools. The Free plan includes 1,000 screenshots a month with no card, and paid plans start at $5 for 3,000 shots. ScreenshotNeo captures visual output; it does not replace page.content() when you need the page’s HTML markup.
Sign up free for 1,000 screenshots a month, with no card required.
10. Short FAQ
Does Puppeteer save the original server HTML or the rendered page?
page.content() serializes the current page DOM. For a JavaScript-rendered site, that generally means the markup present after the client has changed the DOM, not a raw copy of the original HTTP response body.
Can I use this for an authenticated page?
Only if your browser session is authenticated and the content is present in the page before capture. Handle login and session setup according to the site’s rules, then wait for a signal that confirms the required content is available.
Is a Raspberry Pi 5 required?
No requirement in the cited platform facts says Pi 5 is necessary. Compatibility depends on the board, OS architecture, Node version, Puppeteer version, and browser build you install.
Can I use the resulting file as a complete backup?
Not by itself. It is an HTML snapshot and can reference resources that remain hosted elsewhere.


