How to Save a Screenshot with Puppeteer
Save a Puppeteer screenshot to disk, capture a full page, region, or element, and handle image formats, memory output, and common errors.
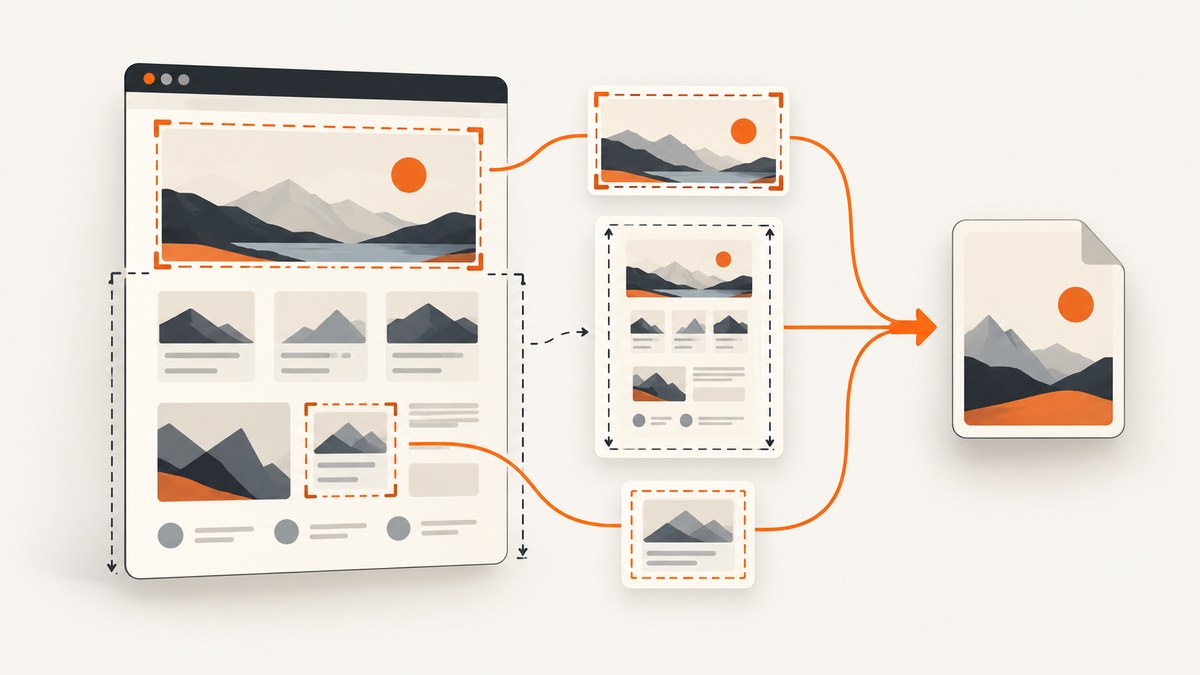
To save a screenshot with Puppeteer, navigate a page and call page.screenshot({ path: 'screenshot.png' }). Puppeteer writes the image at that path; a relative path is resolved from the Node.js process’s current working directory. The default capture is the visible viewport. Use fullPage: true for the full document, a clip rectangle for a region, or an element handle’s screenshot() method for one element.
The examples below use Puppeteer’s standard Node.js API. Install Puppeteer in your project with npm install puppeteer, save one example as an .mjs file, then run it with node filename.mjs. Puppeteer’s standard package manages a compatible browser installation; if you use a different package or connect to an existing browser, follow that setup’s browser requirements.
1. Save a basic screenshot to a file
This complete example opens a page, waits for navigation, saves the viewport as a PNG, and closes the browser even if navigation or capture fails. Replace the target URL and output path as needed.
import puppeteer from 'puppeteer';

const browser = await puppeteer.launch();
try {
  const page = await browser.newPage();
  await page.goto('https://example.com', { waitUntil: 'networkidle2' });
  await page.screenshot({ path: 'screenshot.png' });
  console.log('Saved screenshot.png');
} finally {
  await browser.close();
}
path is optional. When supplied, Puppeteer writes the screenshot to disk. When omitted, page.screenshot() returns image bytes instead. The default format is PNG; with a file path, Puppeteer infers the format from the filename extension. Use an absolute path if a scheduled task or service needs a predictable destination, or create the destination directory before capturing it.
networkidle2 waits until there are no more than two network connections for at least 500 ms. It can help pages that load resources after the initial document, but analytics, polling, streaming, and other long-lived connections can make network-idle waits unreliable or slow. For a simple page, the default navigation wait may be enough; for dynamic content, prefer waiting for a specific selector as shown below.
2. Choose what to capture
Capture the visible viewport
A normal page.screenshot() captures the current viewport. Set its dimensions before navigating or capturing to control what is visible:
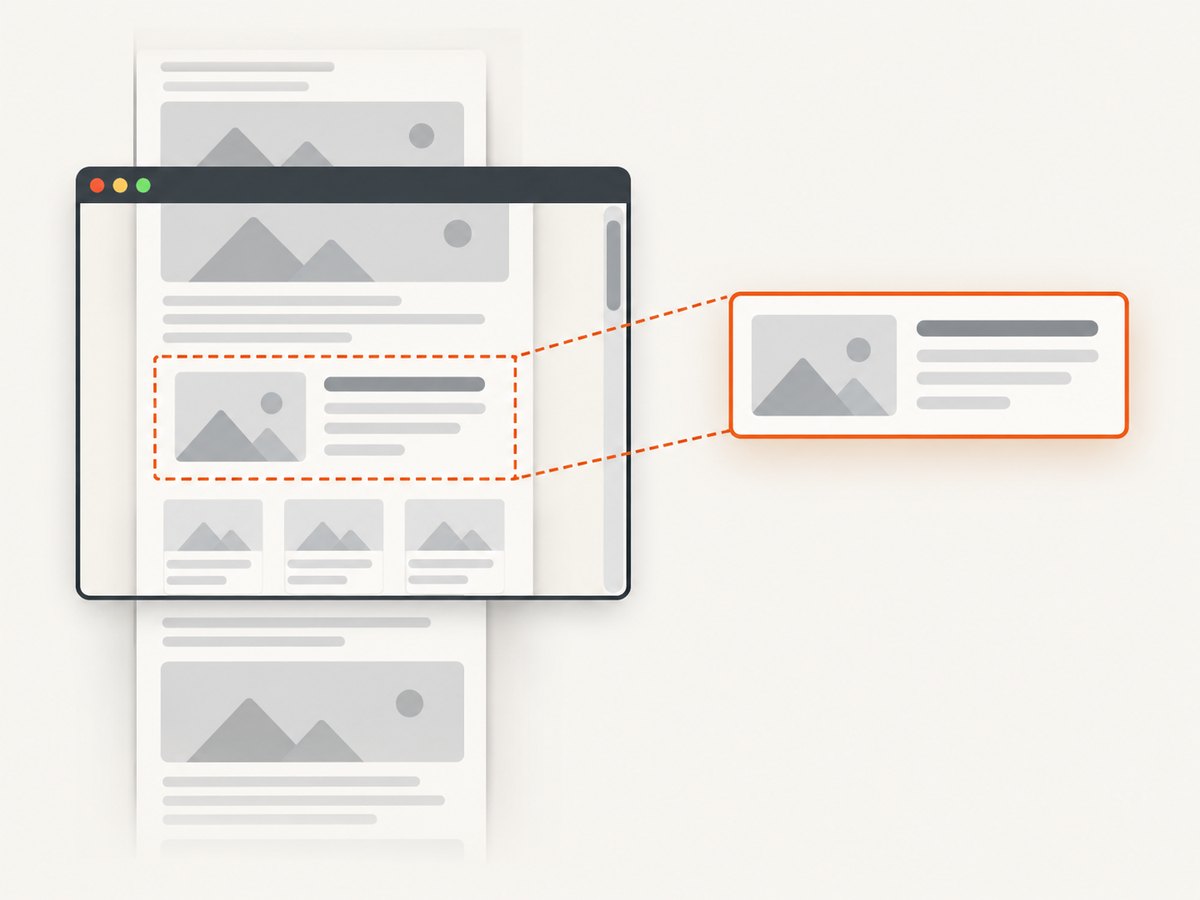
const page = await browser.newPage();
await page.setViewport({ width: 1440, height: 900 });
await page.goto('https://example.com');
await page.screenshot({ path: 'viewport.png' });
Viewport dimensions are in CSS pixels. If you need a higher-density output, set deviceScaleFactor in the viewport configuration. This affects the pixel dimensions of the resulting image, so it also affects file size and memory use.
Capture the entire page
Pass fullPage: true to capture beyond the current viewport:
await page.screenshot({
  path: 'full-page.png',
  fullPage: true
});
Full-page capture is useful for reports and page archives, but very tall documents can create large images and consume significant memory. Lazy-loaded images may not appear if the page has not scrolled far enough to load them. If completeness matters, scroll through the page before capturing, wait for the relevant images or content, then take the screenshot. Fixed headers and sticky elements may appear differently than expected across a long capture, so inspect the output for the page you are automating.
Capture a rectangular region
Use clip to capture a rectangle in page coordinates. Its x and y values identify the top-left corner, and width and height set the dimensions:
await page.screenshot({
  path: 'region.png',
  clip: { x: 120, y: 240, width: 640, height: 360 }
});
Make sure the rectangle has positive dimensions and corresponds to the coordinates you intend to capture. If you need a region positioned relative to an element, obtain its bounding box and use that geometry, taking care to account for scrolling and page coordinates.
Capture one element
Find the element and call screenshot() on its handle. Puppeteer scrolls the element into view when needed. The selector must match an element that is present and attached to the DOM.
const card = await page.waitForSelector('.product-card');
if (!card) {
  throw new Error('Product card was not found');
}
await card.screenshot({ path: 'product-card.png' });
For pages where the element appears asynchronously, waitForSelector avoids capturing too early. If the site replaces or removes the element after you find it, the handle can become detached and the screenshot will fail; locate it again after the page updates.
3. Set format, quality, and transparency
Puppeteer’s screenshot options let you select an image type, set a quality for supported lossy formats, and omit the default background. Use a filename extension that matches the chosen type so that the output is clear to downstream tools.
| Option | What it does | Notes |
|---|---|---|
type |
Selects PNG, JPEG, or WebP output. | PNG is the documented default. A supplied path’s extension is normally used to infer the type. |
quality |
Sets lossy image quality from 0 to 100. | Does not apply to PNG. Use with JPEG or WebP where supported. |
omitBackground |
Omits the default white page background. | Use for transparent output, typically with PNG. |
encoding |
Controls the returned data representation. | The default is a Uint8Array; base64 returns a base64 string. |
await page.screenshot({
  path: 'transparent.png',
  type: 'png',
  omitBackground: true
});

await page.screenshot({
  path: 'compressed.webp',
  type: 'webp',
  quality: 80
});
Do not expect quality to change PNG output. For a transparent background, confirm the chosen output format and the application that will consume the image both preserve transparency.
4. Use the screenshot in memory
Omit path to receive the screenshot bytes instead of writing a file. This is useful when uploading directly to object storage, attaching an image to a job, or processing it in memory.
import { writeFile } from 'node:fs/promises';

const bytes = await page.screenshot({ type: 'png' });
await writeFile('memory-capture.png', bytes);
To obtain base64 data for a JSON payload or a data URL, request base64 encoding:
const base64 = await page.screenshot({ encoding: 'base64' });
const dataUrl = `data:image/png;base64,${base64}`;
Base64 adds encoding overhead, and holding many large screenshots in memory can increase process memory use. For large batches, write each capture or upload it as soon as it is ready instead of keeping all images in an array. If a consumer accepts binary data, prefer the returned bytes over base64.
5. Make captures reliable on dynamic pages
A successful navigation does not guarantee that the content you care about has rendered. Wait for a meaningful condition, such as a heading or chart container, and then capture:

await page.goto('https://example.com/dashboard', {
  waitUntil: 'domcontentloaded'
});
await page.waitForSelector('[data-report-ready="true"]', {
  timeout: 15000
});
await page.screenshot({ path: 'dashboard.png' });
Other useful controls include a fixed delay for known animations or delayed transitions, and waiting for network activity to settle when the site’s behavior supports it. A fixed delay is simple but can waste time on fast pages and still be too short on slow ones. A selector wait is often more targeted. Avoid relying on network idle for pages with persistent network connections.
For repeatable screenshots, also consider:
- Set a fixed viewport and device scale factor.
- Wait for fonts and important images to load before capture.
- Disable or finish animations if the page has moving content.
- Use a stable test account and deterministic page data.
- Set locale, timezone, or other page context when rendering depends on them.
- Set a timeout appropriate to the target site and fail clearly when the expected content never appears.
Screenshot timing, browser version, fonts, and remote content can all affect output. If you compare screenshots over time, keep the browser environment and page state consistent.
6. cURL, Python, and the API alternative
Puppeteer is a Node.js browser automation library, so its native capture workflow is JavaScript. If you need to request a screenshot from a service instead of launching and maintaining a browser, these equivalent HTTP examples use ScreenshotNeo. See the ScreenshotNeo API documentation for request options.
cURL
curl -G "https://api.screenshotneo.com/v1/shot" \
  -d access_key=YOUR_API_KEY \
  --data-urlencode url=https://example.com \
  -o shot.webp
Python
import requests

r = requests.get(
    "https://api.screenshotneo.com/v1/shot",
    params={"access_key": "YOUR_API_KEY", "url": "https://example.com"},
    timeout=90,
)
r.raise_for_status()
open("shot.webp", "wb").write(r.content)
Node.js
const q = new URLSearchParams({
  access_key: 'YOUR_API_KEY',
  url: 'https://example.com'
});
const res = await fetch(`https://api.screenshotneo.com/v1/shot?${q}`);
if (!res.ok) throw new Error(`Screenshot request failed: ${res.status}`);
await import('node:fs/promises').then(({ writeFile }) =>
  writeFile('shot.webp', new Uint8Array(await res.arrayBuffer()))
);
Replace YOUR_API_KEY with your key and keep it out of public client-side code. ScreenshotNeo accepts a URL and returns an image or PDF. It also offers full-page and element capture, viewport and device settings, wait controls, custom CSS and JavaScript, request blocking, headers and cookies, caching, async jobs, bulk capture, and other options documented in its API reference.
Or skip the browser setup
ScreenshotNeo takes a screenshot from one GET request, without installing or managing Puppeteer and a browser. Its capture can accept cookie consent and remove more than 60 known consent platforms, newsletter popups, and chat widgets before taking the shot; each step can be turned off. Bot checks and CAPTCHAs, blank pages, timeouts, failed loads, and cache hits cost nothing, and response headers identify the page verdict and billing status. An MCP server gives AI agents tools to take screenshots, inspect page info, and capture PDFs.
curl -G "https://api.screenshotneo.com/v1/shot" \
  -d access_key=YOUR_API_KEY \
  --data-urlencode url=https://stripe.com \
  -o shot.webp
Plans include 1,000 screenshots a month free with no card; paid plans start at $5 for 3,000 screenshots. Every feature is on every plan. Read the API docs and sign up for 1,000 free screenshots a month, with no card.
7. Troubleshooting
| Symptom | Likely cause | Fix |
|---|---|---|
| No file appears | path was omitted, or the relative path points somewhere other than expected. |
Supply path; log process.cwd() or use an absolute path. Create the parent directory first. |
| Screenshot is blank or incomplete | Capture ran before client-rendered content or images were ready. | Wait for a selector that represents readiness; wait for important images or fonts; inspect navigation errors. |
| Element screenshot throws | The selector matched nothing, or the element was detached after lookup. | Wait for the selector, verify it exists, and reacquire the handle after page updates. |
| Full-page capture is missing lazy content | Images or sections load only when scrolled into view. | Scroll through the document and wait for content before capturing. |
| Capture hangs on navigation | The page maintains active network connections, so a network-idle condition never arrives. | Use domcontentloaded or load, then wait for a specific page condition. |
| Output format is unexpected | Path extension and requested type do not match, or quality was set for PNG. | Use a matching extension and type; apply quality only to JPEG or WebP. |
| Browser process remains open after an error | The error path skipped browser cleanup. | Put browser.close() in a finally block. |
| Option works in one connection mode but not another | WebDriver BiDi documents a narrower supported screenshot option set than the general Puppeteer API. | Check the current BiDi support page and confirm the connection mode before depending on an option. |
8. Performance, reliability, and cost
A screenshot’s resource cost depends on page complexity, image dimensions, format, and how many captures run at once. Full-page images and high device scale factors increase pixel count. Keep concurrency within the memory and CPU capacity of the machine running the browser, and close pages and browsers reliably when jobs finish. Reuse a browser across a controlled batch when appropriate, while isolating page state between captures.
For reliability, treat each capture as a job with a navigation timeout, a content-ready condition, and a clear failure result. Retry transient navigation or network errors selectively, with a limit and delay; repeating a deterministic selector or permission failure will not fix it. Record the URL, capture scope, browser mode, and error context so a failed run can be diagnosed without logging secrets or sensitive page content.
Running Puppeteer yourself means accounting for the compute, browser maintenance, storage, and engineering time associated with the workload. It gives control over the browser and capture lifecycle. A hosted screenshot API trades some of that infrastructure control for a request-based workflow and plan pricing. ScreenshotNeo’s stated tiers are Free: 1,000 shots per month; Starter: $5 for 3,000; Growth: $15 for 15,000; Pro: $39 for 60,000; Scale: $99 for 250,000; and Business: $249 for 1,000,000. Yearly billing gives two months free. Choose based on volume and whether you want to operate the browser yourself; check the current product page for plan details.
9. Puppeteer screenshot FAQ
Where is screenshot.png saved?
At the path you pass. A relative path is resolved from the Node process’s current working directory, which may differ from the directory containing your script.
Can I save a screenshot without writing to disk?
Yes. Omit path and use the returned bytes, or set encoding: 'base64' if a string representation is required.
Can Puppeteer capture a transparent PNG?
Set omitBackground: true and use PNG output to preserve transparency.
Does every screenshot option work over WebDriver BiDi?
No. The BiDi support documentation lists a smaller set of supported options. Verify the current support page for the connection mode you use before relying on other options.


