How to Save Screenshots With a PyAutoGUI Hotkey
Save screenshots with PyAutoGUI, trigger hotkeys safely, capture regions, fix setup errors, and automate reliable desktop captures.
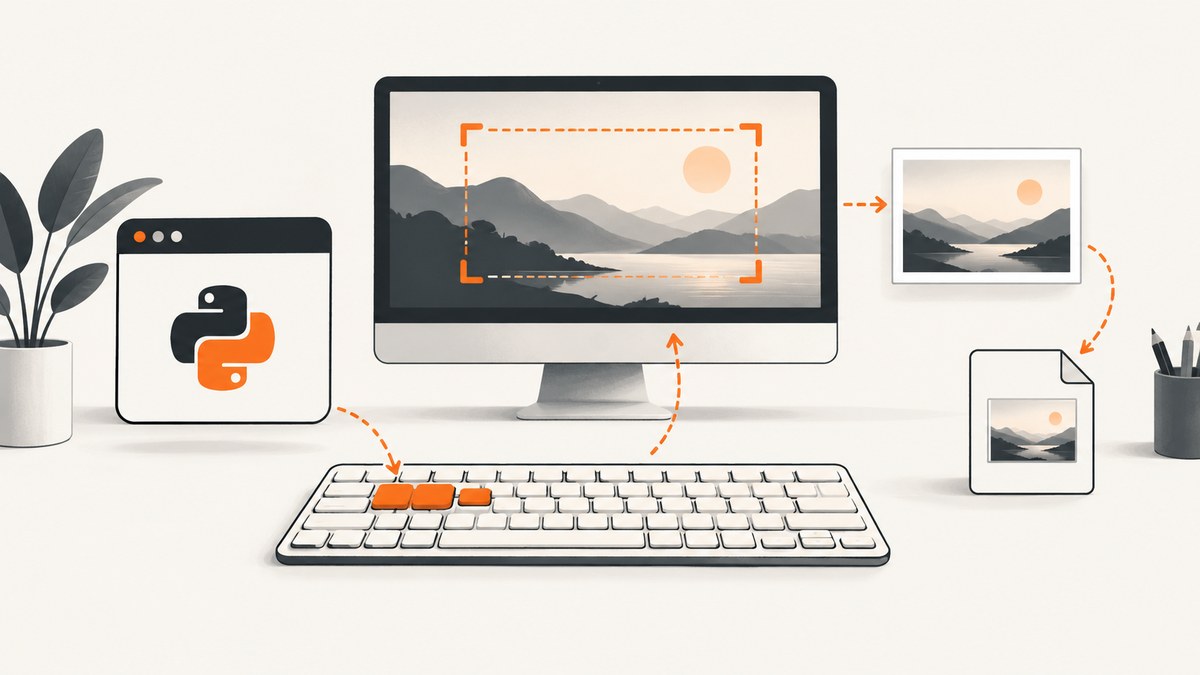
Direct answer: use pyautogui.screenshot("screenshot.png") to capture and save the screen. Use pyautogui.hotkey(...) separately when you need to send a keyboard shortcut to the active application. A hotkey does not save the image by itself.
import pyautogui

# Capture the full screen and save it.
pyautogui.screenshot("screenshot.png")

# Send a shortcut to the currently focused application.
pyautogui.hotkey("ctrl", "shift", "s")
The first call writes the image file and returns a Pillow image object. The second call presses the keys in the order supplied and releases them in reverse order. The shortcut is handled by the focused application and operating system, so there is no universal screenshot shortcut that works everywhere.
Install PyAutoGUI and its screenshot dependencies
Install PyAutoGUI and Pillow with pip:
python -m pip install pyautogui pillowPyAutoGUI’s screenshot documentation states that Pillow is required. On Linux, screenshot support also uses the scrot command:
sudo apt-get install scrotmacOS uses its built-in screencapture command according to the PyAutoGUI documentation. Check the current installation instructions for your operating system and PyAutoGUI version before deploying a script. See the Screenshot Functions documentation and Keyboard Control documentation.
Save a full-screen screenshot
Pass the filename directly
This is the shortest form. The call saves the screenshot and returns the image object:
import pyautogui

image = pyautogui.screenshot("screenshot.png")
print(image.size)
Use a relative path to save in the current working directory or an absolute path for a specific folder.
Save the returned image explicitly
Use this form when you need to inspect or modify the image before writing it:
from pathlib import Path
import pyautogui

output_path = Path("captures") / "desktop.png"
output_path.parent.mkdir(parents=True, exist_ok=True)

image = pyautogui.screenshot()
# Perform any Pillow processing here.
image.save(output_path)
Both patterns are documented. Direct filename saving is concise; explicit .save() is useful when the image must remain available for processing.
Use a hotkey before or after the capture
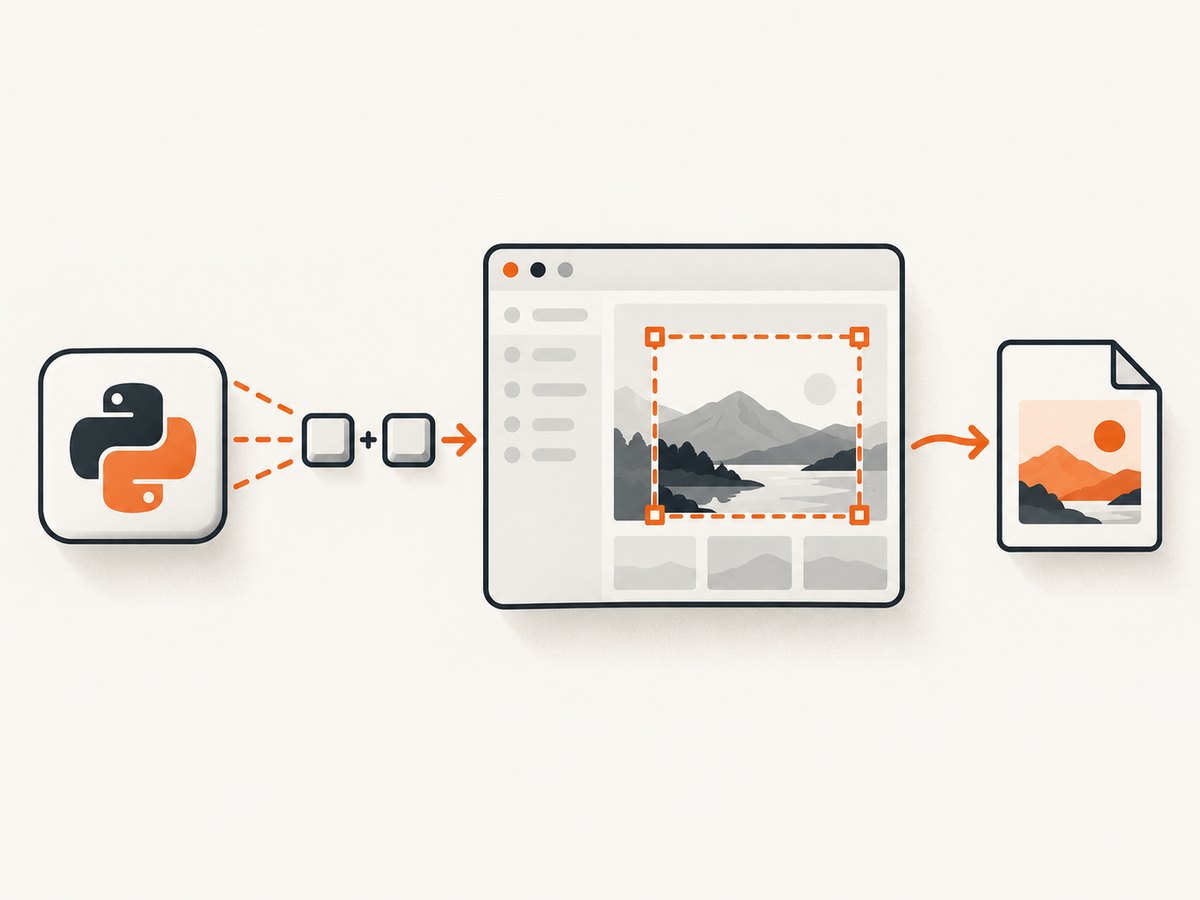
Call hotkey() only for a keyboard combination. For example, this script activates a shortcut and then captures the resulting screen:
import time
import pyautogui

# The target application must already be focused.
pyautogui.hotkey("ctrl", "shift", "s")
time.sleep(1)
pyautogui.screenshot("after-hotkey.png")
To capture first and then send a shortcut:
import pyautogui

pyautogui.screenshot("before-hotkey.png")
pyautogui.hotkey("ctrl", "s")
Key names are strings such as ctrl, shift, and other names supported by PyAutoGUI’s keyboard documentation. The application must have focus, and the application-specific shortcut must be known. If the purpose is simply to capture the desktop, call screenshot() directly instead of relying on an application’s screenshot command.
Capture only a screen region
Pass region=(left, top, width, height) to capture a rectangle:
import pyautogui

# x=100, y=80, width=900, height=600
pyautogui.screenshot(
    "editor-region.png",
    region=(100, 80, 900, 600),
)
The coordinates are screen coordinates. The top-left corner is usually (0, 0); confirm the coordinate system on multi-monitor setups. A region that is too large, negative, or outside the visible desktop can produce an error or an unexpected result depending on the platform.
Build a reusable hotkey capture script
This complete script creates a timestamped output path, waits briefly for the focused application to react, and reports the saved file:
from datetime import datetime
from pathlib import Path
import time
import pyautogui

OUTPUT_DIR = Path("captures")
OUTPUT_DIR.mkdir(parents=True, exist_ok=True)

filename = datetime.now().strftime("screenshot-%Y%m%d-%H%M%S.png")
path = OUTPUT_DIR / filename

# Optional: send the shortcut required by the focused application.
# Remove this line when you only need a direct desktop capture.
pyautogui.hotkey("ctrl", "shift", "s")
time.sleep(0.5)

image = pyautogui.screenshot()
image.save(path)
print(f"Saved {path} ({image.width}x{image.height})")
Change the shortcut, delay, output directory, or region for your workflow. The delay is necessary only when the application needs time to redraw after the shortcut.
Make repeated captures
from pathlib import Path
import time
import pyautogui

output_dir = Path("captures")
output_dir.mkdir(exist_ok=True)

for number in range(5):
    path = output_dir / f"frame-{number:03d}.png"
    pyautogui.screenshot(path)
    time.sleep(1)
For a hotkey-driven sequence, put pyautogui.hotkey() before each capture and give the target application enough time to update. Avoid overwriting files by using unique names.
Options and decisions
| Need | Use |
|---|---|
| Save the whole desktop | pyautogui.screenshot("file.png") |
| Keep the image for processing | image = pyautogui.screenshot(); image.save(path) |
| Capture part of the screen | region=(left, top, width, height) |
| Send an application shortcut | pyautogui.hotkey("ctrl", "shift", "s") |
| Use a different image format | Choose a filename extension supported by Pillow, such as .png or .jpg |
PNG is a practical default for text and interfaces. JPEG can reduce file size but is lossy. The PyAutoGUI API returns a Pillow image, so Pillow’s normal image operations are available after capture.
How fast is a PyAutoGUI screenshot?
The PyAutoGUI screenshot documentation gives an approximate capture time of 100 milliseconds for a 1920×1080 screen. That is a documentation estimate, not a guarantee. Actual time depends on the operating system, display arrangement, image format, and machine load. Measure your own workflow if capture latency matters.
Troubleshooting
ModuleNotFoundError: No module named 'pyautogui'
Install it in the same Python environment that runs the script:
python -m pip install pyautogui pillowLinux reports that scrot is missing
Install the documented Linux screenshot dependency:
sudo apt-get install scrotThen rerun the script in the same desktop session.
The file is saved somewhere unexpected
A relative filename is resolved from the process’s current working directory. Print it or use an absolute path:
from pathlib import Path
print(Path.cwd())
The hotkey does nothing
hotkey() sends keys to the active application. Focus the intended window, verify the application’s shortcut, and add a short delay before capturing. The shortcut may differ between operating systems and applications.
The screenshot shows the wrong state
The application may not have finished updating. Add a small time.sleep() after the hotkey, or wait for a visible state change before calling screenshot().
The region is offset or clipped
Check monitor coordinates, display scaling, and the tuple order. The value must be (left, top, width, height), not right and bottom coordinates.
A terminal or desktop session has no display
PyAutoGUI captures a local graphical desktop. A headless server, locked session, or remote desktop with no active display may not provide a capturable screen. Use a desktop session or a browser-rendering service for server-side captures.
Reliability checklist
- Use an explicit output directory and create it before capture.
- Generate unique filenames for repeated runs.
- Keep the target window focused before sending a hotkey.
- Add a delay when a shortcut triggers an animation, dialog, or navigation.
- Log the final path and image dimensions.
- Test full-screen and region coordinates on every monitor layout you support.
- Handle missing Pillow or platform screenshot dependencies during setup.

Or skip the browser setup
PyAutoGUI is suited to a local desktop. If you need a URL rendered on a server, in a job queue, or from an AI workflow, ScreenshotNeo provides a website screenshot API and MCP server. One GET request returns PNG, JPEG, WebP, or PDF. Cookie and consent banners, newsletter popups, and chat widgets are removed before the shot; bot checks, blank pages, failed loads, timeouts, and cache hits are not billed. Responses identify the page verdict and billing status with X-Page-Verdict and X-Billed headers. Its MCP server provides take_screenshot, get_page_info, and capture_pdf tools for Claude, Cursor, and other MCP clients.
See the ScreenshotNeo API documentation for all options.
cURL
curl -G "https://api.screenshotneo.com/v1/shot" -d access_key=YOUR_API_KEY --data-urlencode url=https://stripe.com -o shot.webpPython
import requests

r = requests.get(
    "https://api.screenshotneo.com/v1/shot",
    params={"access_key": "YOUR_API_KEY", "url": "https://stripe.com"},
    timeout=90,
)
r.raise_for_status()
open("shot.webp", "wb").write(r.content)
Node.js
const q = new URLSearchParams({ access_key: 'YOUR_API_KEY', url: 'https://stripe.com' });
const res = await fetch(`https://api.screenshotneo.com/v1/shot?${q}`);
if (!res.ok) throw new Error(`Screenshot failed: ${res.status}`);
const fs = await import('node:fs/promises');
await fs.writeFile('shot.webp', Buffer.from(await res.arrayBuffer()));
ScreenshotNeo includes full-page captures with lazy images loaded, CSS element capture, dark mode, device presets, retina scale, custom CSS and JavaScript, clicks, waits, blocked resources, headers, cookies, user agents, timezone and geolocation, resizing, caching, signed links, asynchronous jobs, webhooks, bulk capture for up to 100 URLs per call, usage data, and PDF options. The free plan includes 1,000 screenshots per month with no card; paid plans start at $5 for 3,000 shots. Create a free ScreenshotNeo account.
FAQ
Does hotkey() save a screenshot?
No. It sends keys. Save the image with screenshot(filename) or with image.save(path).
Can I capture only one window?
PyAutoGUI’s documented screenshot API captures the screen or a rectangular region. For a window, calculate that window’s coordinates and pass them as region.
Can this run without a graphical desktop?
PyAutoGUI requires a capturable desktop session. For server-side URL rendering, use a browser screenshot API such as ScreenshotNeo.
Should I use a hotkey or the direct screenshot call?
Use the direct call when Python should own the capture. Use a hotkey only when the focused application’s own command is part of the workflow.


