How to Screencast with Puppeteer
Record a Puppeteer-controlled browser as MP4 with page.record(), make the capture reliable, and learn when legacy screencasting or raw CDP makes sense.
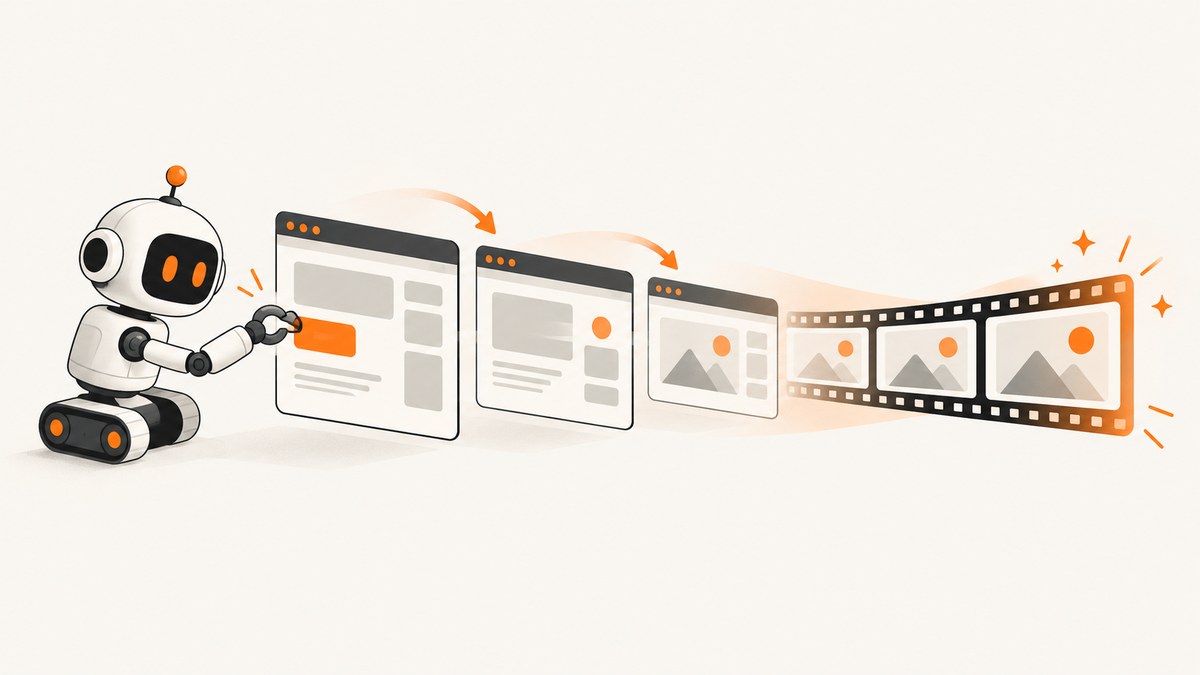
To record a Puppeteer-controlled page as a video, use the current page.record() API. It records through Chrome DevTools Protocol’s Page.startScreenRecording method and writes an MP4 stream. Start recording after navigation and setup, perform the actions you want to show, stop the recorder, then close the browser. The older page.screencast() API is marked obsolete in current Puppeteer documentation.
This guide covers browser video recording, not a person’s desktop or webcam. If you only need a still image of a page, Puppeteer’s screenshot API or a screenshot service is a better fit than recording a video.
1. Install Puppeteer and record an MP4
Use a current Puppeteer release that documents page.record(). Install it in a Node.js project:
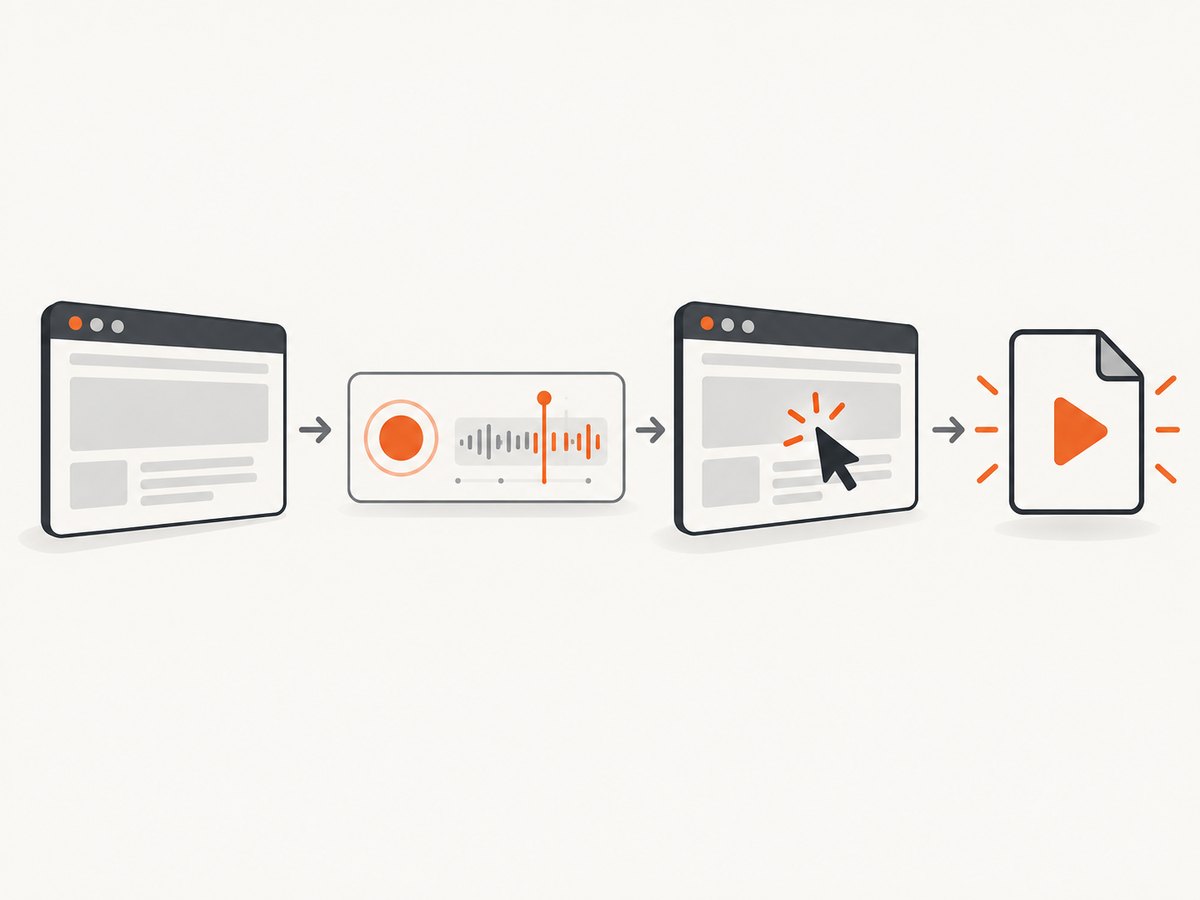
npm install puppeteerSave this as record.mjs and run it with node record.mjs. It opens a page, fixes the viewport, waits for navigation, begins recording, clicks a button, waits for the resulting state, and stops the recording.
import puppeteer from 'puppeteer';

const browser = await puppeteer.launch({ headless: true });
let recorder;

try {
  const page = await browser.newPage();
  await page.setViewport({ width: 1280, height: 800, deviceScaleFactor: 1 });

  await page.goto('https://example.com', { waitUntil: 'networkidle2' });

  recorder = await page.record({ path: 'recording.mp4' });
  await page.click('button');
  await new Promise(resolve => setTimeout(resolve, 1000));
  await recorder.stop();
  recorder = undefined;
} finally {
  if (recorder) await recorder.stop().catch(() => {});
  await browser.close();
}
The recording window starts when page.record() resolves. Setup performed before that call, such as opening the page and selecting a viewport, is not part of the video. Actions and waits after the call are part of it. Call stop() before closing the browser so the recorder can finalize the MP4 file.
The selector and interaction above are examples; replace them with elements and actions from your target page. If the page has no button, navigate to a route or perform another visible interaction during the recording window.
2. Make the recording deterministic
A useful recording shows the same state each time. Set up the page before starting the recorder, and decide which activity belongs in the clip.
- Fix the viewport. Set width and height before navigation or recording. Responsive layouts can otherwise change across environments. Set
deviceScaleFactorif pixel density is relevant to the demonstration. - Wait for the intended state.
networkidle2is a useful navigation option, but it is not a guarantee that every application is ready. Apps with polling, analytics, or long-lived requests may never become idle. Wait for a specific selector or state instead when possible. - Use stable selectors. Prefer an accessible selector, test id, or other selector that the application keeps stable. A selector tied to generated classes may break after a redesign.
- Keep setup outside the recording. Navigate, dismiss setup dialogs, and wait for the page to settle before calling
page.record(). If a transition itself is what you want to demonstrate, start before triggering it. - Use explicit timing for visible transitions. A short delay after a click can keep a resulting animation visible. For functional readiness, wait for a selector or application condition rather than guessing a long delay.
- Close resources even on errors. A failed click or navigation should not leave Chrome running. The
finallyblock above attempts to stop an active recorder and closes the browser.
For example, replace an arbitrary post-navigation delay with a meaningful wait:
await page.waitForSelector('[data-testid="dashboard-ready"]');
recorder = await page.record({ path: 'dashboard.mp4' });
await page.click('[data-testid="open-menu"]');
await page.waitForSelector('[role="menu"]');
await recorder.stop();
Keep the browser, navigation, recording, and cleanup lifecycle in one controlled script. If a process is interrupted before stop() completes, the output may not be finalized.
3. Record the full interaction you need
Recording captures the browser as it is driven; it does not automatically create a product tour or infer which states matter. Put every visible action between recorder start and stop. For example, for a short flow, navigate and wait first, start recording, open a menu, choose a destination, wait for its content, then stop.
When using asynchronous tasks, await each action. Starting an action without awaiting it can let the script reach stop() before the interaction has completed. For a download, file upload, or external redirect, decide whether that effect should be visible in the clip and keep the page alive until the relevant state appears.
To produce a series of focused clips, it is often simpler to create one recording per flow with a fresh page or browser context. That reduces contamination from cookies, local storage, prior navigation, and dialogs. If you reuse a page, reset its state deliberately before the next recording.
4. Legacy API: page.screencast()
Puppeteer’s documentation marks Page.screencast() obsolete and recommends Page.record(). The legacy method may still matter to existing code that depends on its output or is pinned to an environment that uses it, but it should not be the starting point for new recording code.
The documented legacy behavior is WebM output using VP9 at 30 FPS by default, and it requires ffmpeg to be installed. Its API is documented to work in Chrome 153 and newer. Check the version and dependency requirements for the specific environment in which legacy code runs.
import puppeteer from 'puppeteer';

const browser = await puppeteer.launch();
try {
  const page = await browser.newPage();
  await page.goto('https://example.com', { waitUntil: 'networkidle2' });
  const recorder = await page.screencast({ path: 'recording.webm' });
  await page.click('button');
  await new Promise(resolve => setTimeout(resolve, 1000));
  await recorder.stop();
} finally {
  await browser.close();
}
If code fails to find or call page.screencast(), first check the installed Puppeteer version and its documentation. For new work, migrate to page.record() and MP4 output where that API is available.
5. Use raw CDP for individual frames
Video recording and frame streaming are different tasks in Chrome DevTools Protocol. Puppeteer’s high-level page.record() uses Page.startScreenRecording to produce video. The separate Page.startScreencast command streams compressed individual frames through screencastFrame events. It supports JPEG or PNG, quality, maximum dimensions, and an every-n-th-frame setting.
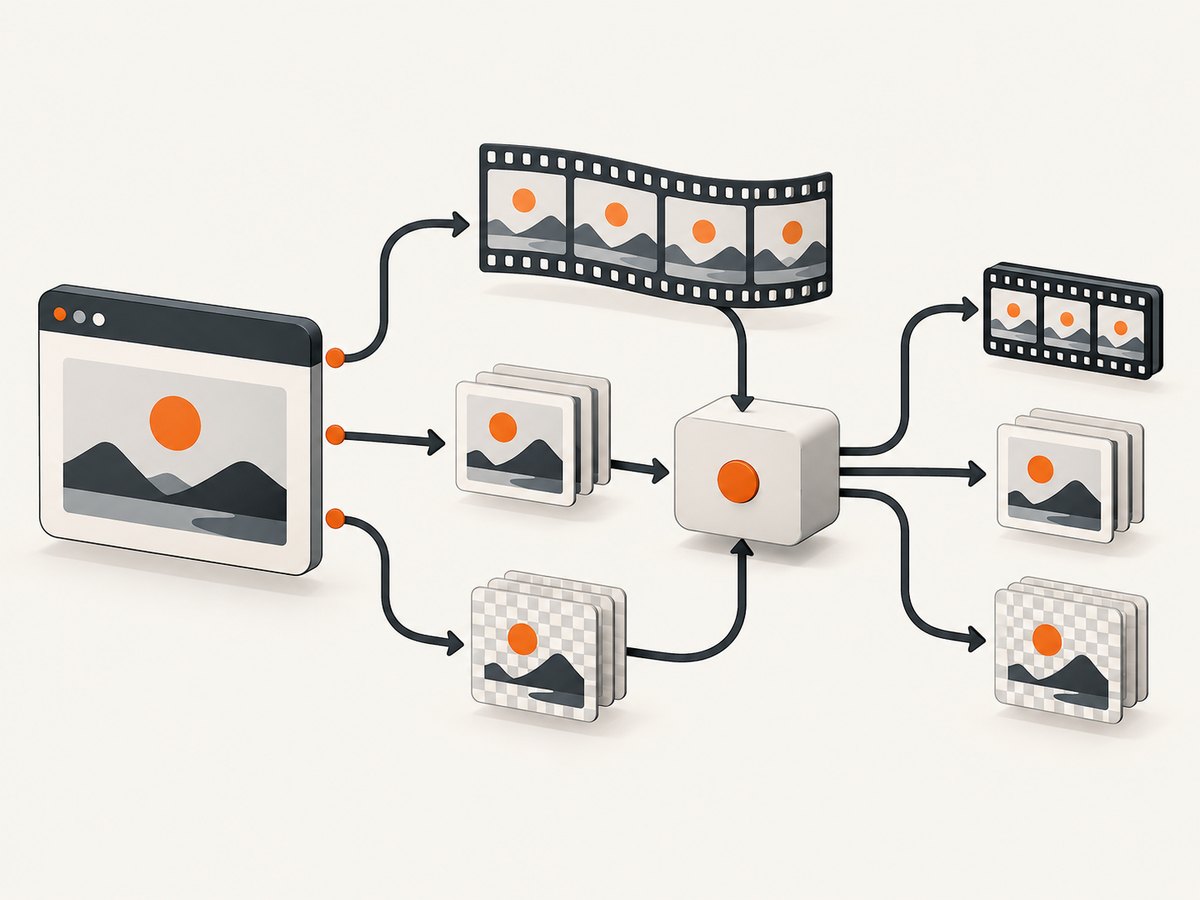
Use raw CDP when you need to process, transport, or inspect frames yourself, or need the frame-level controls that the high-level recorder does not expose. The protocol reference labels these methods experimental, so check the protocol supported by your Chrome version before depending on details.
A minimal outline for attaching a CDP session and starting a frame stream is:
const client = await page.createCDPSession();

client.on('Page.screencastFrame', async ({ sessionId, data, metadata }) => {
  // data is an encoded frame; decode or forward it in your application.
  // Acknowledge each frame so the browser can continue sending frames.
  await client.send('Page.screencastFrameAck', { sessionId });
});

await client.send('Page.startScreencast', {
  format: 'jpeg',
  quality: 80,
  maxWidth: 1280,
  maxHeight: 800,
  everyNthFrame: 1
});

// Drive the page while consuming and acknowledging frames.
await page.click('button');
await client.send('Page.stopScreencast');
await client.detach();
This is a protocol sketch rather than a complete video encoder. The event listener must acknowledge frames with Page.screencastFrameAck; without acknowledgements, the protocol’s in-flight frame limit can stall delivery. A real consumer should handle errors, store or transmit frame data, and stop the stream during cleanup. Use the protocol methods only when you need frame processing rather than a finished MP4.
6. Choose the right capture path
| Need | Use | Output and trade-off |
|---|---|---|
| Record a browser interaction as a video | page.record() |
MP4 through Puppeteer’s current high-level recording API. |
| Maintain existing WebM/VP9 recording code | Legacy page.screencast() |
WebM at documented defaults; obsolete API and ffmpeg dependency. |
| Consume or relay individual frames | Raw CDP Page.startScreencast |
JPEG or PNG frame events with dimensions and quality controls; requires acknowledgements. |
| Capture a still image of a URL | Screenshot API | A single PNG, JPEG, or WebP image instead of a video of browser actions. |
For a still page capture without managing a browser, ScreenshotNeo is a screenshot API and MCP server for developers. It returns a screenshot or PDF from a URL, so it fits page snapshots rather than interactive video recordings.
7. Or skip the browser setup
If the job is a clean still screenshot rather than a browser interaction video, a single request can capture a URL. See the ScreenshotNeo API documentation for request options.
curl -G "https://api.screenshotneo.com/v1/shot" -d access_key=YOUR_API_KEY --data-urlencode url=https://stripe.com -o shot.webpScreenshotNeo accepts cookie and consent banners before capture and removes 60+ known consent platforms, newsletter popups, and chat widgets; each step can be turned off. Bot checks, blank pages, and failed loads are not billed, and response headers report the page verdict and billing status. Its MCP server provides take_screenshot, get_page_info, and capture_pdf tools for Claude, Cursor, or another MCP client. The free plan includes 1,000 screenshots per month with no card, and paid plans start at $5 for 3,000 screenshots.
Sign up free for 1,000 screenshots a month, with no card required.
8. Troubleshooting
| Symptom | Likely cause | Fix |
|---|---|---|
page.record is not a function |
The installed Puppeteer version does not expose the current recording API. | Check the installed version and use a release whose API documents page.record(); do not assume the legacy method is equivalent. |
| Output file is missing or unusable | The recorder was not stopped cleanly, or the browser closed first. | Await recorder.stop() before closing the browser. Keep cleanup in a finally block. |
| Video is blank or misses the action | The action happened before recording started, or the page had not reached the intended state. | Start the recorder before the visible action and wait for a concrete ready selector before recording. |
| Click fails with selector or timeout errors | The selector is wrong, unstable, or the target has not appeared. | Inspect the target page, prefer stable selectors, and wait for the expected element before clicking. |
Navigation never reaches networkidle2 |
The site maintains ongoing network activity such as polling. | Use a more suitable navigation milestone, then wait for the specific element or state needed for the recording. |
| Legacy screencast cannot start | Chrome is below the documented version, Puppeteer API compatibility differs, or ffmpeg is absent. | Check Chrome and Puppeteer versions and install ffmpeg if maintaining legacy use; for new code use page.record(). |
| CDP frames stop arriving | Frames have not been acknowledged, so the in-flight frame limit is reached. | Send Page.screencastFrameAck for each received frame and stop the stream cleanly. |
| Recording differs across runs | Viewport, page state, timing, or application data varies. | Set the viewport, control cookies and storage, wait on selectors, and keep actions and timing explicit. |
9. Performance, reliability, and cost
Video recording consumes browser resources while Chrome renders and the capture is produced. Keep the viewport no larger than the output needs, avoid loading unrelated tabs, and record only the interval that matters. A raw frame stream can add application work for encoding, copying, or transmitting every frame; choose its cadence and dimensions to match the consumer instead of processing more frames than needed.
Reliability comes mainly from controlling state and lifecycle: fixed viewport, known page data, explicit readiness conditions, awaited actions, and a recorder stop before browser shutdown. Use timeouts to bound navigation and waits in production scripts, and preserve enough error context to identify which step failed. Do not treat a successful navigation alone as proof that the visible page is ready.
The Puppeteer workflow has no API charge described here, but it requires a Node.js runtime, a compatible browser, and compute to run it. Legacy recording additionally depends on ffmpeg. A hosted screenshot API has a different cost model: ScreenshotNeo lists 1,000 free shots monthly, then paid tiers beginning at $5 for 3,000; only clean shots are billed, while bot checks, blank pages, timeouts, failed loads, and cache hits cost nothing. Those still-image requests do not replace Puppeteer when the required deliverable is an interaction video.
10. Frequently asked questions
Can Puppeteer record a video of a website?
Yes. Use page.record() in current Puppeteer, drive the page after starting it, and stop the recorder to produce the MP4.
Is page.record() the same as page.screencast()?
No. page.record() is the current high-level video recording route. page.screencast() is documented as obsolete; raw CDP Page.startScreencast is a separate frame-streaming feature.
Can I capture a full page video?
The recording captures the browser while it is driven. To show content below the fold, scroll the page during the recording; this is different from a full-page still screenshot.
How do I capture only a still screenshot?
Use Puppeteer’s screenshot capability or a screenshot API. ScreenshotNeo is an option when you want a URL-to-image request without launching and managing a browser yourself.


