How to Take a Screenshot in Adobe Apps
Learn the right way to capture screens, video frames, artboards, pages, and PDFs in Photoshop, Premiere Pro, Illustrator, InDesign, Acrobat, and FrameMaker.
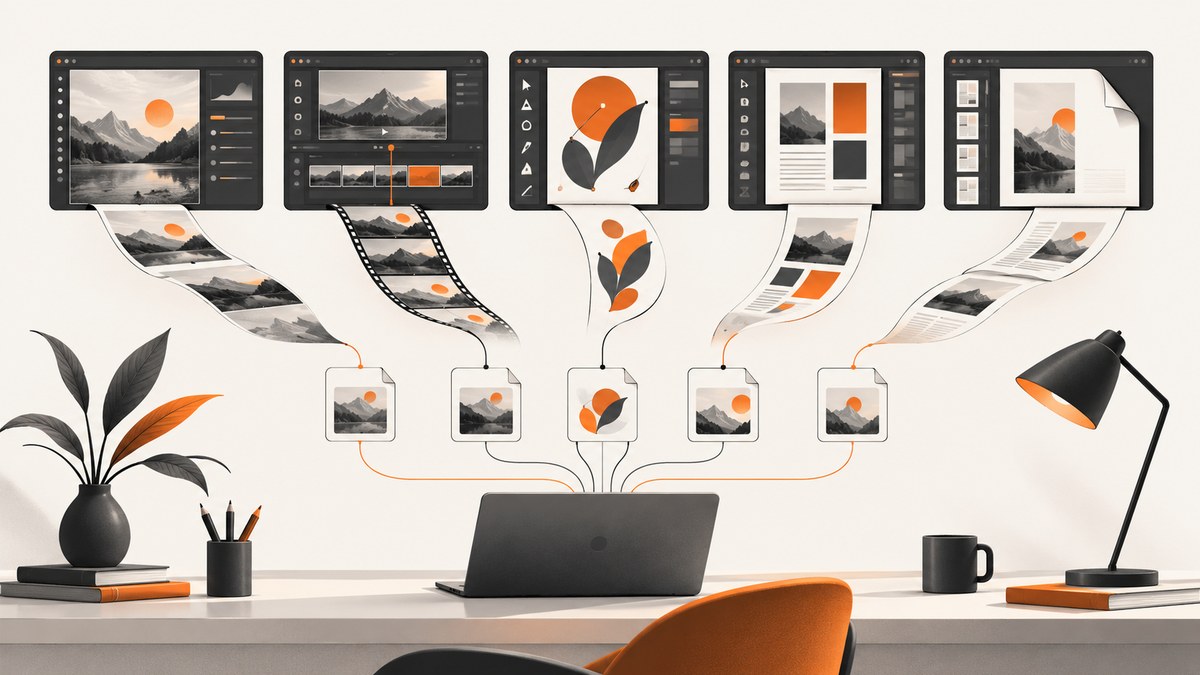
Short answer: Adobe apps do not all use the same screenshot command because they solve different capture jobs. Use your operating system’s screenshot tool for a picture of the Adobe interface or another app. Use Premiere Pro’s Export Frame for a video still, Illustrator’s Export for Screens for artboards and assets, InDesign’s export command for page images, Acrobat’s Clipboard Image or Grab service for a screenshot-based PDF, and FrameMaker’s RoboScreenCapture when you need a built-in capture and annotation workflow.
The key decision is what you need to preserve: application chrome, a clean design asset, one video frame, a document page, or a PDF. The sections below give exact steps, output choices, platform notes, and fixes for common failures.
Choose the capture method by deliverable
| Goal | Best workflow | What you get |
|---|---|---|
| Picture of Photoshop, Premiere, or another window | Windows or macOS screenshot | Pixels exactly as displayed, including visible menus and panels |
| One frame from a video | Premiere Pro Export Frame | A still image from the sequence, with optional project re-import |
| Clean Illustrator artwork | Export for Screens | Artboard or selected asset as PNG, JPEG, SVG, or PDF |
| InDesign page image | Export to JPEG or PNG | Document content without the application window |
| Screenshot delivered as PDF | Acrobat Clipboard Image or Grab | A PDF containing the captured screen or selection |
| Annotated application capture | FrameMaker RoboScreenCapture | Capture beyond the visible area, annotations, and many image formats |
Capture an Adobe window or desktop screen
Use the operating system when the screenshot must show Photoshop tools, a Premiere timeline, an Illustrator panel, or another application. This is a display capture, so it includes whatever is visible: menus, overlays, cursor state, and application chrome.
Windows
- Show the window or desktop area you want to capture.
- Press Print Screen to copy the screen to the Clipboard. Use the operating system’s window or snipping options when you need only a region or one window.
- Paste into Photoshop, another Adobe document, Paint, or an image editor.
- Save in PNG for lossless UI text, JPEG for smaller photographic files, or WebP when your destination supports it.
macOS
- Show the target window, menu, or region.
- Use the macOS screenshot shortcut for a full screen, window, or selected area.
- Open the resulting file or paste it into an Adobe document.
- Crop and annotate only after confirming that the required interface state is visible.
For documentation, capture at the display scale your readers will see. Retina or high-DPI screens can produce large pixel dimensions; resize a copy for the web while keeping the original for future edits.
Take a screenshot in Photoshop
Photoshop is usually the destination for a screenshot rather than the source of a special desktop-capture command. Capture the screen with Windows or macOS, then paste or open the result in Photoshop.
- Arrange the Photoshop canvas, panels, or reference application.
- Take the operating-system capture.
- Choose File > New and accept Clipboard dimensions, or use File > Open for a saved capture.
- Use layers to add callouts, blur private data, or crop the image.
- Export a copy with File > Export > Export As.
If the goal is a clean image of Photoshop artwork, hide guides, selections, and panels before capturing, or export the artwork directly from the document. A desktop screenshot will always reflect the current zoom and visible chrome.
Save a video frame in Premiere Pro
Premiere Pro has a dedicated still-frame workflow. Adobe’s current instructions are summarized in its Export a frame help.
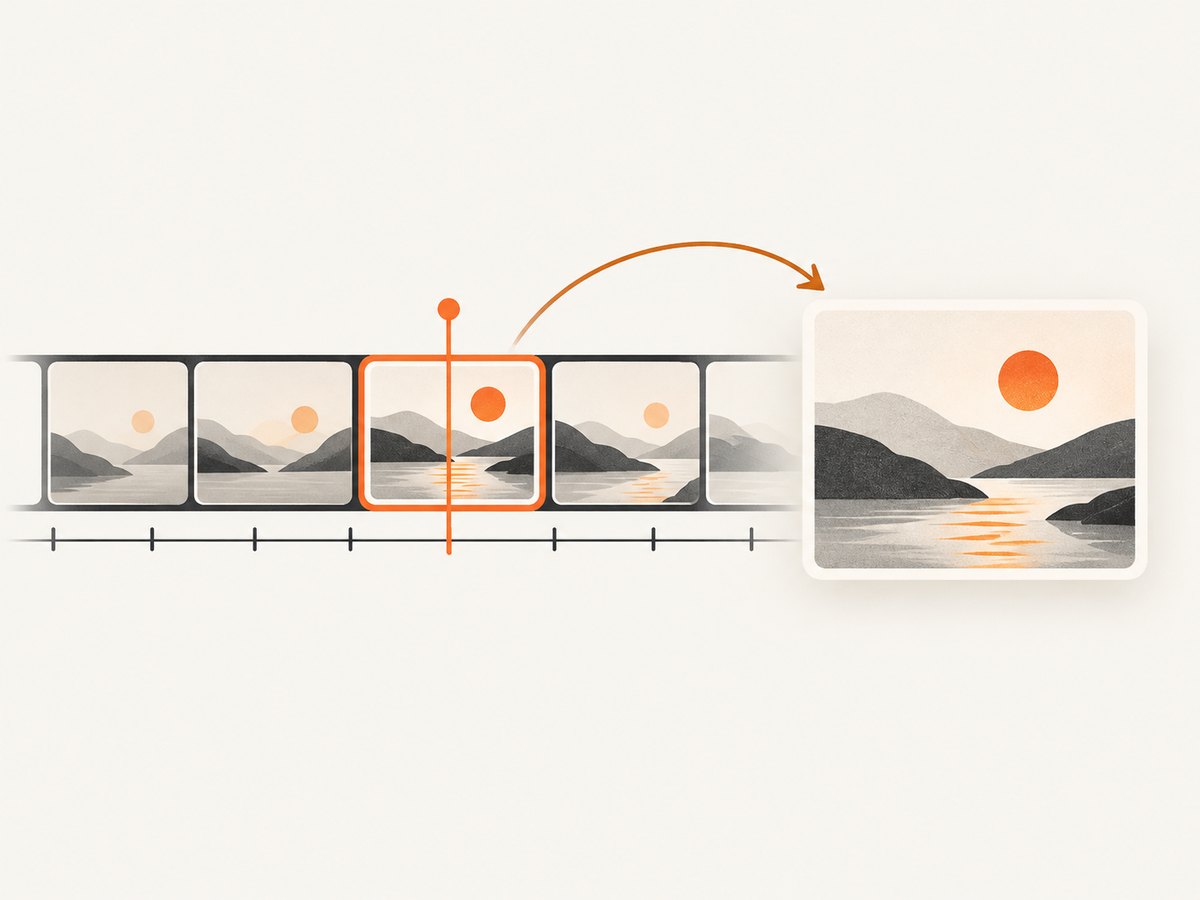
- Add the clip to a sequence and move the playhead to the exact frame.
- Open the clip in the Source Monitor or place the sequence in the Program Monitor.
- Choose Export Frame.
- Enter a filename, select an image format and destination, then choose OK.
- Enable Import into project when the still should return to the Premiere project as media.
The Export Frame icon is not visible by default. Add it through the Monitor panel’s Button Editor. If you need a high-quality still such as DPX, TIFF, TRG, or PNG, use File > Export > Media, select the desired format, and clear Export As Sequence so Premiere writes one frame instead of an image sequence.
Frame-quality checklist
- Confirm the playhead is on the intended frame, not between frames.
- Check the sequence resolution and pixel aspect ratio.
- Use PNG or TIFF for graphics and text; use JPEG when file size matters more.
- Export from the Program Monitor when you need the sequence’s effects and framing.
- Import the still only when it belongs in the project; otherwise keep it as a delivery asset.
Export an Illustrator artboard or asset
Illustrator’s Export for Screens is an output workflow, not a picture of the Illustrator window. It produces clean artwork without application chrome and can export several scales in one action. Adobe’s guide describes PNG, JPEG, SVG, and PDF output.
- Choose File > Export > Export for Screens.
- In the Artboards view, select complete artboards, or switch to Assets and select individual objects.
- Choose one or more formats: PNG, JPEG, SVG, or PDF.
- Set the destination and scale variants such as 1x, 2x, and 3x.
- Export and inspect the generated files for clipping, transparency, and color.
Use an artboard export for a logo, illustration, icon set, or presentation slide. Use a desktop screenshot only when the Illustrator interface itself is part of the explanation. The available Adobe guide is for Creative Cloud 2018, so labels and panel placement can differ in newer releases.
Export an InDesign page as an image
For a page image, export the InDesign document instead of photographing the application window.
- Select the page or page range you need.
- Choose File > Export.
- Select JPEG or PNG as the format.
- Set the export range, quality, color space, and resolution.
- Choose the low screen-resolution option when the file is intended for on-screen sharing, then export.
This route preserves page content while removing panels and menus. Keep a print-oriented resolution when the image will be placed in a larger publication; use screen resolution for web previews and review links.
Turn a screenshot into a PDF with Acrobat
Acrobat can convert a screen capture into a PDF. This is different from exporting an editable Acrobat document to PDF.
Windows: Clipboard Image
- Capture the current window or screen so the image is on the Clipboard. The Print Screen key is one option.
- Open Acrobat.
- Choose File > Create PDF > From Clipboard Image.
- Save the resulting PDF and check its page size and orientation.
macOS: Grab service
- Open Acrobat and choose Acrobat > Services > Grab.
- Select Screen, Selection, or Timed Screen.
- Complete the capture. Acrobat converts it to a PDF and opens it.
- Save or add pages as required.
Clipboard Image is useful when another application already owns the capture. Grab is useful when you want Acrobat to control the screen, selection, or delay. A screenshot PDF contains pixels; it does not recreate editable text, vector objects, or the original Adobe document structure.
Use FrameMaker RoboScreenCapture
FrameMaker includes RoboScreenCapture for dedicated screen capture and annotation. Its modes include freehand, virtual screen, and multi-region capture. It can capture beyond the visible area, edit the result, add stamps or callouts, and save in more than 20 image formats.
- Open RoboScreenCapture from FrameMaker.
- Choose freehand for an irregular region, virtual screen for a large or scrolling area, or multi-region for several separated areas.
- Capture the target and open it in the editor.
- Add annotations such as stamps or callouts.
- Save in the image format required by your documentation workflow.
This is the strongest Adobe-native choice when the screenshot itself is a technical illustration that needs markup and a capture larger than the current viewport.
Or skip the browser setup
When the source is a website rather than an Adobe desktop window, ScreenshotNeo provides a single HTTP request for a PNG, JPEG, WebP, or PDF. The API handles the browser session and offers options for full-page capture, lazy-loaded images, a CSS-selected element, dark mode, device presets, custom viewports, retina scale, PDF paper and margins, custom CSS or JavaScript, clicks, selector waits, delays, network-idle waits, blocked resources, headers, cookies, user agents, authorization, timezone, geolocation, transparent backgrounds, resizing, caching, signed links, asynchronous jobs, webhooks, bulk capture, and usage reporting. See the ScreenshotNeo documentation for parameter details.
cURL
curl -G "https://api.screenshotneo.com/v1/shot" -d access_key=YOUR_API_KEY --data-urlencode url=https://stripe.com -o shot.webpPython
import requests
r = requests.get("https://api.screenshotneo.com/v1/shot", params={"access_key": "YOUR_API_KEY", "url": "https://stripe.com"}, timeout=90)
open("shot.webp", "wb").write(r.content)
Node.js
const q = new URLSearchParams({ access_key: 'YOUR_API_KEY', url: 'https://stripe.com' });
const res = await fetch(`https://api.screenshotneo.com/v1/shot?${q}`);
Cookie banners, newsletter popups, and chat widgets are removed before the shot. Bot checks, blank pages, failed loads, timeouts, and cache hits are not billed, and response headers identify the page verdict and billing result. ScreenshotNeo also has an MCP server with take_screenshot, get_page_info, and capture_pdf tools so Claude, Cursor, and other MCP clients can capture pages. The Free plan includes 1,000 shots per month with no card; paid plans start at $5 for 3,000 shots. Create a free ScreenshotNeo account.
Output choices: format, scale, and reuse
| Choice | Use it when | Watch for |
|---|---|---|
| PNG | UI text, diagrams, transparency, or lossless graphics | Larger files for photographs |
| JPEG | Photos, review images, and compact delivery | Compression artifacts around text |
| SVG | Vector artwork that must remain scalable | Font and effect compatibility |
| Page delivery, print review, or multi-page sharing | Pixel screenshots remain non-editable | |
| 1x/2x/3x | Responsive interfaces and high-density displays | Storage and download size increase |

Troubleshooting common errors
The screenshot contains the wrong window
Bring the target window to the front, close menus that should not appear, and repeat the operating-system capture. Window captures record the active display state.
Premiere has no Export Frame button
Open the Monitor panel’s Button Editor and add Export Frame. The control is hidden by default.
The Premiere still looks soft
Check the sequence dimensions, preview scaling, and export format. For higher-quality still formats, use Export > Media and clear Export As Sequence.
Illustrator export includes extra whitespace
Check the artboard bounds and whether you selected an entire artboard or an asset. Resize the artboard or export the selected asset.
Acrobat does not create a PDF from the Clipboard
Confirm that the capture is actually on the Clipboard, then retry File > Create PDF > From Clipboard Image. On macOS, use Acrobat > Services > Grab instead.
The PDF is not editable
A screenshot-based PDF contains an image. Run OCR if searchable text is required, or export the original Adobe document when editable content matters.
RoboScreenCapture misses a scrolling region
Use its virtual-screen mode and verify the application allows the content to render before capture. For a very large page, capture in regions and assemble the result.
A web capture is blank or blocked
For ScreenshotNeo, inspect the X-Page-Verdict and X-Billed response headers, then adjust waits, headers, cookies, user agent, or resource blocking. Bot checks, blank pages, failed loads, and timeouts are reported and are not billed.
Performance, reliability, and cost notes
- Desktop captures are immediate but depend on display resolution and what is visible at capture time.
- Native exports are more repeatable because they use document, artboard, sequence, or page dimensions instead of a screen’s zoom.
- Large PNGs, 3x exports, and high-resolution PDFs consume more storage and take longer to transfer.
- For repeatable website captures, wait for a selector or network idle instead of relying on an arbitrary delay. Cache with a chosen TTL when the page can be reused.
- For many URLs, ScreenshotNeo supports bulk capture of up to 100 URLs per call and asynchronous jobs with signed webhooks.
- ScreenshotNeo’s Free plan is 1,000 shots per month with no card. Starter is $5 for 3,000, Growth $15 for 15,000, Pro $39 for 60,000, Scale $99 for 250,000, and Business $249 for 1,000,000; yearly billing gives two months free.
FAQ
Can Photoshop take a screenshot by itself?
Use the operating system’s capture command, then paste or open the result in Photoshop. Photoshop is the editing destination in this workflow.
What is the cleanest way to capture Illustrator artwork?
Use Export for Screens. It removes application chrome and supports PNG, JPEG, SVG, PDF, and multiple scale variants.
Can Acrobat make a PDF from a screenshot?
Yes. Windows uses Clipboard Image; macOS uses Acrobat Services > Grab.
Should I export or screenshot an InDesign page?
Export when you need clean page content. Screenshot when the InDesign interface is part of the explanation.
How do I capture a website for documentation?
Use a browser manually for occasional work, or use ScreenshotNeo’s API for repeatable captures, clean pages, PDF output, and automation.
Final checklist
- Identify whether you need interface pixels, a video frame, artwork, a page, or a PDF.
- Choose native export when clean content and repeatability matter.
- Choose an operating-system capture when the visible Adobe interface is part of the subject.
- Verify format, dimensions, scale, transparency, and color before delivery.
- Keep the original editable Adobe project alongside any flattened screenshot.


