How to Screenshot on a Computer and Send It by Email
Capture the right part of your screen on Windows, Mac, or Chromebook, then attach it to an email or share it safely with a link.
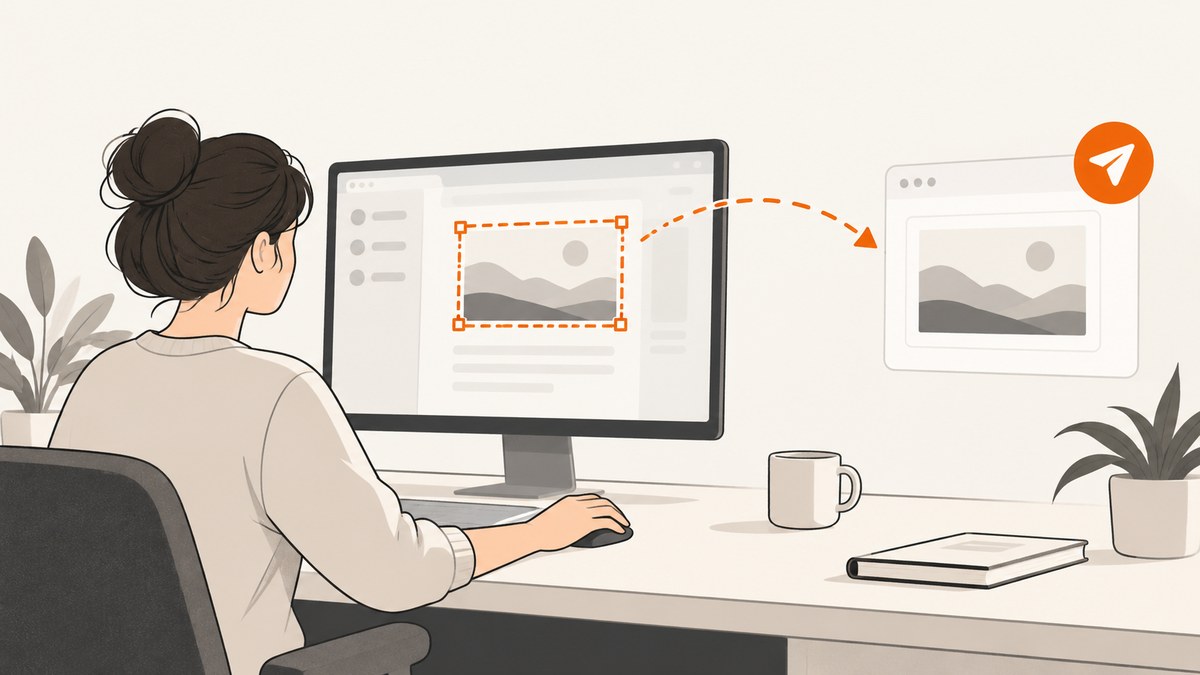
To screenshot on a computer and send it by email, capture the whole screen, a window, or a selected area with your computer’s built-in screenshot tool. If the screenshot is saved as a file, attach it to a new email; if it is copied to the clipboard, paste it into the message or save it first. Before sending, check that the image is present and does not reveal unrelated or sensitive information.
The shortcut depends on your operating system. Use the steps below for Windows, Mac, or Chromebook. The email example uses Gmail; other providers have similar compose and attachment controls, but their labels and file limits may differ.
1. Choose what to capture
Decide what the recipient needs to see before taking the screenshot. A selected area or one window usually communicates the issue more clearly than a full desktop capture and is less likely to expose private tabs, notifications, account details, or other open content.
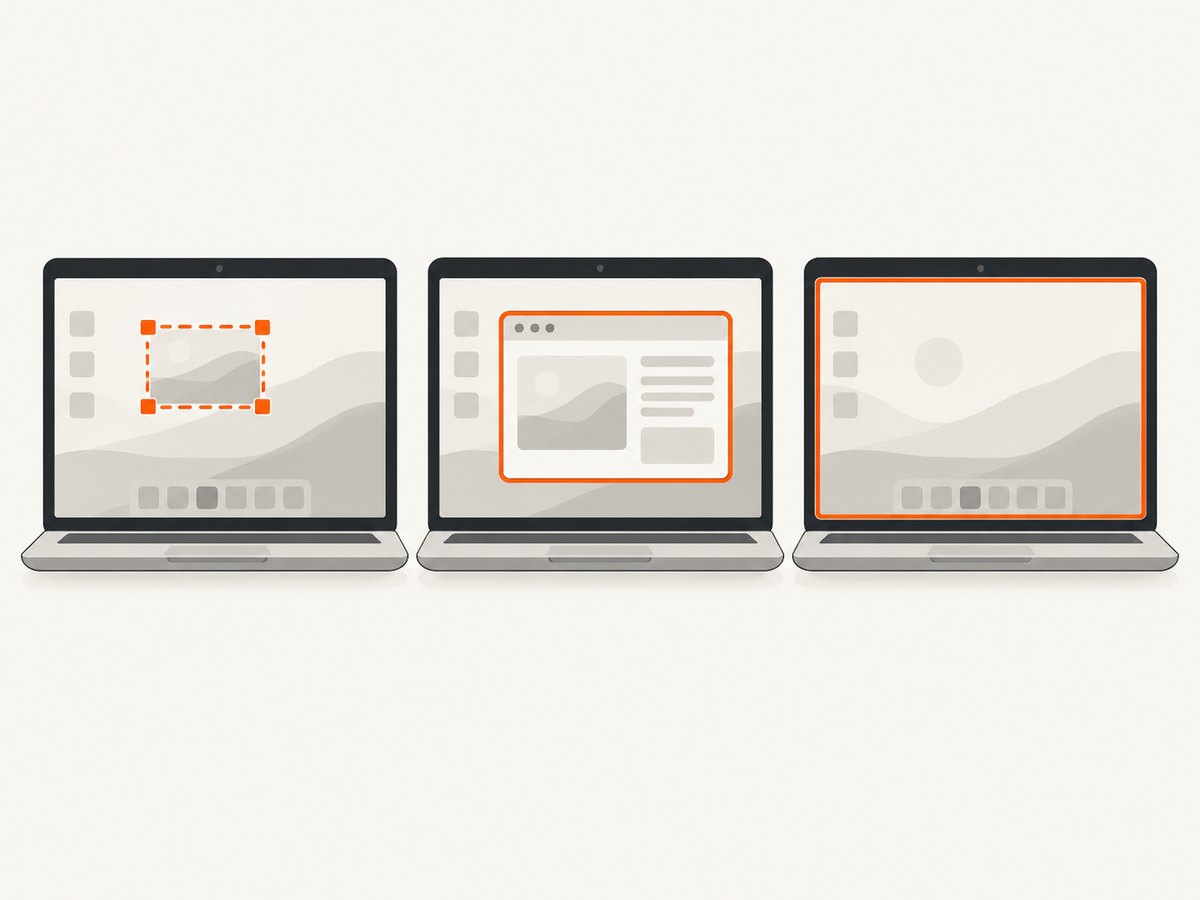
| Capture type | Use it when | Check before sending |
|---|---|---|
| Selected area | You need to show one error, chart, paragraph, or small interface region. | Include enough surrounding context to identify what the image shows. |
| Window | The recipient needs to see an entire app or dialog. | Close or obscure unrelated windows and private details. |
| Full screen | The layout across the whole display matters. | Review every visible area, including notifications and secondary displays. |
If the screenshot contains passwords, personal information, internal URLs, customer data, or confidential work, crop or redact it before sending. Cropping hides areas outside the crop; use an opaque redaction mark for information that must not be recoverable from the image.
2. Take a screenshot on Windows
On Windows 10 and Windows 11, press Windows + Shift + S to open the Snipping Tool overlay. Choose a rectangular, freeform, window, or full-screen capture mode, then make the capture. Microsoft says the snip is copied into Snipping Tool, where you can edit, save, or share it. Microsoft’s Snipping Tool instructions also describe Print Screen as a full-screen clipboard capture.
- Press Windows + Shift + S.
- Select the capture mode from the toolbar. For a focused email, choose a rectangle or window.
- Drag to select the area, or click the window or screen as appropriate.
- Open the Snipping Tool notification or app to review the capture. Use the save control if you want to attach a file.
- Choose a descriptive filename and a location you can find, such as Pictures or Desktop.
If the shortcut does not open the overlay, open Start, search for Snipping Tool, and select New. On some systems, the Print Screen key may be configured differently; the Snipping Tool route gives you a capture mode and review step.
3. Take a screenshot on Mac
macOS keyboard shortcuts provide full-screen, selected-area, and window or menu captures. The Office support reference documents the standard combinations and says screenshots default to the Desktop in its described setup. See Microsoft’s screenshot shortcut guidance.
- Shift + Command + 3: capture the screen.
- Shift + Command + 4: drag to select an area.
- Press Shift + Command + 4, then press Space: capture a window or menu by selecting it.
After capture, look for the image file on the Desktop in the documented default setup. Open it to review and crop it if needed, then note its location for the attachment step. If you cannot find it there, use Finder’s recent files or search for a recently created image file; system settings or versions may affect where captures are stored.
4. Take a screenshot on Chromebook
Google lists Ctrl + Show windows for a screenshot, and Shift + Ctrl + Show windows to select an area. The Show windows key is generally on the top row and looks like a rectangle with lines. On a Chromebook with a dedicated screenshot key or on-screen capture tool, you can use that instead. Google’s Chromebook shortcut list notes that key labels vary; an external Windows or Mac keyboard may use the Windows or Command key in place of Search/Launcher where applicable.
- For a full-screen capture, press Ctrl + Show windows.
- For an area, press Shift + Ctrl + Show windows, then select and drag.
- For additional capture choices, press Ctrl + Shift + Show windows to open the screen-capture controls.
- Open the captured image from the screen notification or Files app, review it, and note its location before composing the email.
If the keyboard has no Show windows key, Google’s capture guidance offers the on-screen Screen capture control; on an external keyboard it also documents Ctrl + Shift + F5. See Google’s screen capture instructions.
5. Attach the screenshot to an email
Most email services let you attach an image file from the compose window. Their exact button names, upload progress indicators, and attachment limits vary. In Gmail on a computer:
- Open Gmail and click Compose.
- Enter the recipient and a subject that explains the message, such as “Checkout error screenshot”.
- Write one or two sentences explaining what the recipient should look at and when the issue occurred.
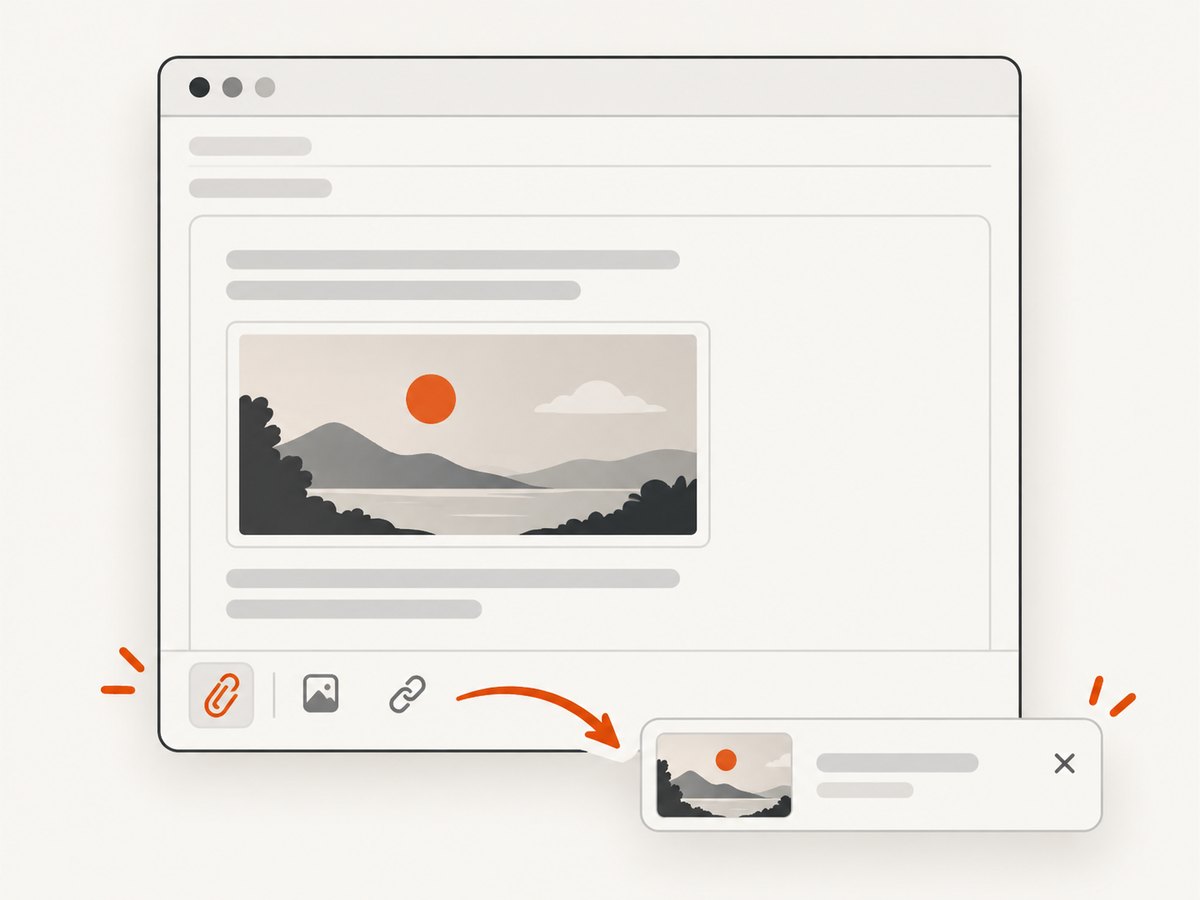
- Click the paperclip Attach files control, choose the screenshot, and click Open. You can also drag an image file into the compose window.
- Wait for the upload to finish. Confirm the image or attachment chip appears in the draft and is the intended file.
- Send the email, or save the draft if you need someone to review it first.
These Gmail steps come from Gmail Help for sending attachments. If you pasted a clipboard capture into the email body instead, inspect the rendered image in the draft before sending. Inline images are convenient for quick viewing; attachments are easier for recipients to download, store, or open separately.
Use a Drive link for a large screenshot
For personal Gmail accounts, the total attachment limit is 25 MB. Work and school account limits are set by the Google Workspace administrator. When Gmail’s applicable size limit is exceeded, Gmail may replace the attachment with a Google Drive link. These limits apply to Gmail; check the help page for another mail provider.
To insert a screenshot already stored in Drive, use Gmail’s Drive insertion control and choose whether to send a link or an attachment when that file type supports attaching. Google Docs, Sheets, Slides, and Forms are shared as links. Gmail checks recipient access and may prompt you to change sharing. Before sending, choose access deliberately: a broadly shared link can expose the screenshot to people beyond the intended recipient. See Google’s Drive attachment guidance.
6. Make the screenshot clear and safe to share
- Include context: Keep the app name, relevant heading, error message, or surrounding controls visible so the image is understandable.
- Remove distractions: Crop unused desktop space, unrelated tabs, and notifications.
- Redact sensitive content: Cover private data with an opaque mark and save a flattened copy. Do not rely on a translucent highlight or blur if the original text must be concealed.
- Use a clear filename: For example,
checkout-error-2026-09-30.pngtells the recipient more thanScreenshot 14.png. - Describe the image: Say what page or workflow it shows and what you want the recipient to notice.
- Check the recipient: Verify the address and the access permissions of any Drive link, especially for sensitive material.
For a single image, PNG is commonly convenient for sharp interface text. If you have a choice of format, JPEG can reduce file size for photographic content, though compression can soften small text. Keep the original if you may need to edit or annotate again.
7. Troubleshoot common screenshot and email problems
| Problem | Likely cause | What to do |
|---|---|---|
| The shortcut does nothing | The key differs on your keyboard, the capture tool is unavailable, or a key setting changed. | Open Snipping Tool from Start on Windows; use the Mac key combination for the desired capture; on Chromebook use the on-screen Screen capture control or check Google’s keyboard guidance. |
| The screenshot is not in the email attachment picker | The capture went to the clipboard, or you are looking in the wrong folder. | Paste the clipboard image into an editor and save it, or review the capture notification and choose Save. Search recent files if needed. |
| The pasted image is missing | The clipboard was replaced, the email editor rejected the paste, or the paste did not complete. | Capture again, paste once into the draft, and check that the image renders. If not, save the screenshot as a file and attach it. |
| The attachment is still uploading | The file is large, the connection is slow, or storage is full. | Wait for the upload indicator to finish. Reduce dimensions or use the provider’s cloud-drive link flow. Gmail says storage limits can prevent sending or receiving attachments. |
| Gmail says the message is too large | The total attachments exceed the personal Gmail 25 MB limit, or the account has a different administrator-set limit. | Use Drive sharing and check that the recipient has access, or reduce the image dimensions/file size. |
| A Drive recipient cannot open the link | The file’s sharing permissions do not include that recipient. | Adjust access to the intended people, or use an attachment if the file and size allow it. Recheck the sharing choice before sending. |
| Gmail blocks an attachment | Gmail blocks some risky file types and archives; this is unusual for a normal PNG or JPEG screenshot but can happen with other files. | Confirm you selected the image itself. Gmail recommends using Drive for a file it blocks when the file is safe. |
8. Or skip the browser setup
If you are a developer who needs a screenshot of a live web page rather than your computer’s current display, ScreenshotNeo provides a website screenshot API. One GET request returns an image or PDF. See the ScreenshotNeo API documentation for request options, and ScreenshotNeo for the product overview.
curl -G "https://api.screenshotneo.com/v1/shot" -d access_key=YOUR_API_KEY --data-urlencode url=https://stripe.com -o shot.webpimport requests
r = requests.get("https://api.screenshotneo.com/v1/shot", params={"access_key": "YOUR_API_KEY", "url": "https://stripe.com"}, timeout=90)
open("shot.webp", "wb").write(r.content)const q = new URLSearchParams({ access_key: 'YOUR_API_KEY', url: 'https://stripe.com' });
const res = await fetch(`https://api.screenshotneo.com/v1/shot?${q}`);
const image = Buffer.from(await res.arrayBuffer());
await import('node:fs/promises').then(fs => fs.writeFile('shot.webp', image));ScreenshotNeo accepts cookie or consent banners like a visitor and removes more than 60 known consent platforms, newsletter popups, and chat widgets before capture; each step can be turned off. Bot checks, CAPTCHAs, blank pages, timeouts, failed loads, and cache hits cost nothing, and response headers identify the page verdict and whether it was billed. Its MCP server gives AI agents tools for screenshots, page information, and PDF capture. The free plan includes 1,000 screenshots per month with no card; paid plans start at $5 for 3,000.
Sign up free for 1,000 screenshots a month, no card required.
9. Frequently asked questions
Should I paste the screenshot into the email or attach the file?
Paste or insert it inline when the recipient should see it while reading. Attach the file when they may need to download, archive, or reuse it. Either way, verify that it appears in the draft before sending.
Can I email a screenshot without saving it first?
Yes, if the capture is on the clipboard and your mail editor accepts pasted images. Saving it first is more reliable when you want to review, crop, redact, or attach the original image as a file.
Why should I capture a selected area instead of the entire screen?
A selected area focuses attention and reduces the chance of including unrelated windows, notifications, or private information. Use full screen when the overall layout itself is needed to explain the issue.
Does the 25 MB limit apply to every email service?
No. The 25 MB figure here is Gmail’s limit for personal accounts. Other providers and managed work accounts may use different limits.


