How to Screenshot Dropdown Options with Selenium in C#
Learn how to capture native and custom dropdowns with Selenium in C#, including waits, screenshots, troubleshooting, and a ready-to-run example.
To screenshot dropdown options with Selenium in C#, first determine whether the control is a native HTML <select> or a custom JavaScript menu. Use Selenium’s SelectElement helper to inspect and select native options. For a custom dropdown, click its trigger, wait until the menu is visible, then capture the page or the rendered menu element. Native browser popup chrome is not guaranteed to appear in a Selenium screenshot, so if you need every native choice visible at once, verify that behavior in your target browser and driver.
This guide covers both control types, provides runnable C# patterns and equivalent cURL, Python, and Node.js alternatives, and explains how to handle waits, screenshots, failures, and output costs.
1. Identify the dropdown type
Inspect the page DOM before choosing an approach. A native dropdown is an actual <select> element containing <option> elements. A custom dropdown is typically built from buttons, div elements, list items, or a framework component that renders an overlay.
| Control | How to recognize it | Selenium approach |
|---|---|---|
| Native select | The trigger is an HTML <select> |
Wrap it in SelectElement; inspect or select options |
| Custom menu | A button or other element opens a separate menu or list | Click the trigger, wait for the visible menu, then capture it |
SelectElement is specifically for native select controls. Selenium’s documentation says the helper works only with HTML select and option elements; it does not operate custom overlays. Its constructor can throw UnexpectedTagNameException if you pass it an element that is not a select. See the [Selenium select-list guide](https://www.selenium.dev/documentation/webdriver/support_features/select_lists/) and [SelectElement API reference](https://www.selenium.dev/selenium/docs/api/dotnet/support/OpenQA.Selenium.Support.UI.SelectElement.html).
2. Set up a C# Selenium project
Install Selenium WebDriver and Selenium Support in the project, using versions compatible with the browser and driver setup already pinned by your test suite. SelectElement is in OpenQA.Selenium.Support.UI; screenshot and driver interfaces are in OpenQA.Selenium.
dotnet add package Selenium.WebDriver
dotnet add package Selenium.Support
The following examples assume you already have an IWebDriver named driver pointed at the page under test. They use explicit waits where a page update or overlay may take time. Replace sample locators with selectors that match the actual page DOM.
3. Capture a native select and its options
A screenshot of a native select after choosing an option shows the selected state. It does not necessarily show the browser’s expanded native popup. Selenium documents page and element screenshot APIs, but the API references do not promise that operating-system or browser popup chrome will be included. Treat popup capture as browser-specific behavior to verify, not a portable guarantee.
To create one screenshot per option, select each option and capture the page after any dependent content has settled:
using System;
using OpenQA.Selenium;
using OpenQA.Selenium.Support.UI;

IWebElement selectNode = driver.FindElement(By.Id("country"));
var select = new SelectElement(selectNode);

int index = 0;
foreach (IWebElement option in select.Options)
{
    select.SelectByText(option.Text);

    // Add an explicit wait here if selecting an option updates the page.
    driver.GetScreenshot().SaveAsFile($"dropdown-{index:D2}.png");
    index++;
}
Use a stable locator such as an ID or a robust CSS selector. If option text is duplicated, blank, localized, or changes with the test data, select by value or index instead:
select.SelectByValue("CA");
// Or:
select.SelectByIndex(2);
SelectByText uses exact text matching by default in the .NET API. If the page reacts asynchronously after selection, wait for the resulting state before saving. For example, wait until a dependent element displays the expected value:
var wait = new WebDriverWait(driver, TimeSpan.FromSeconds(10));
select.SelectByValue("CA");
wait.Until(d => d.FindElement(By.Id("selected-country")).Text == "Canada");
driver.GetScreenshot().SaveAsFile("country-canada.png");
Use meaningful file names and a dedicated output directory in a larger suite. If the test needs all choices in one image, consider a page-controlled demonstration view that renders the values as ordinary visible content; document that the page was altered for the capture.
4. Capture a custom JavaScript dropdown
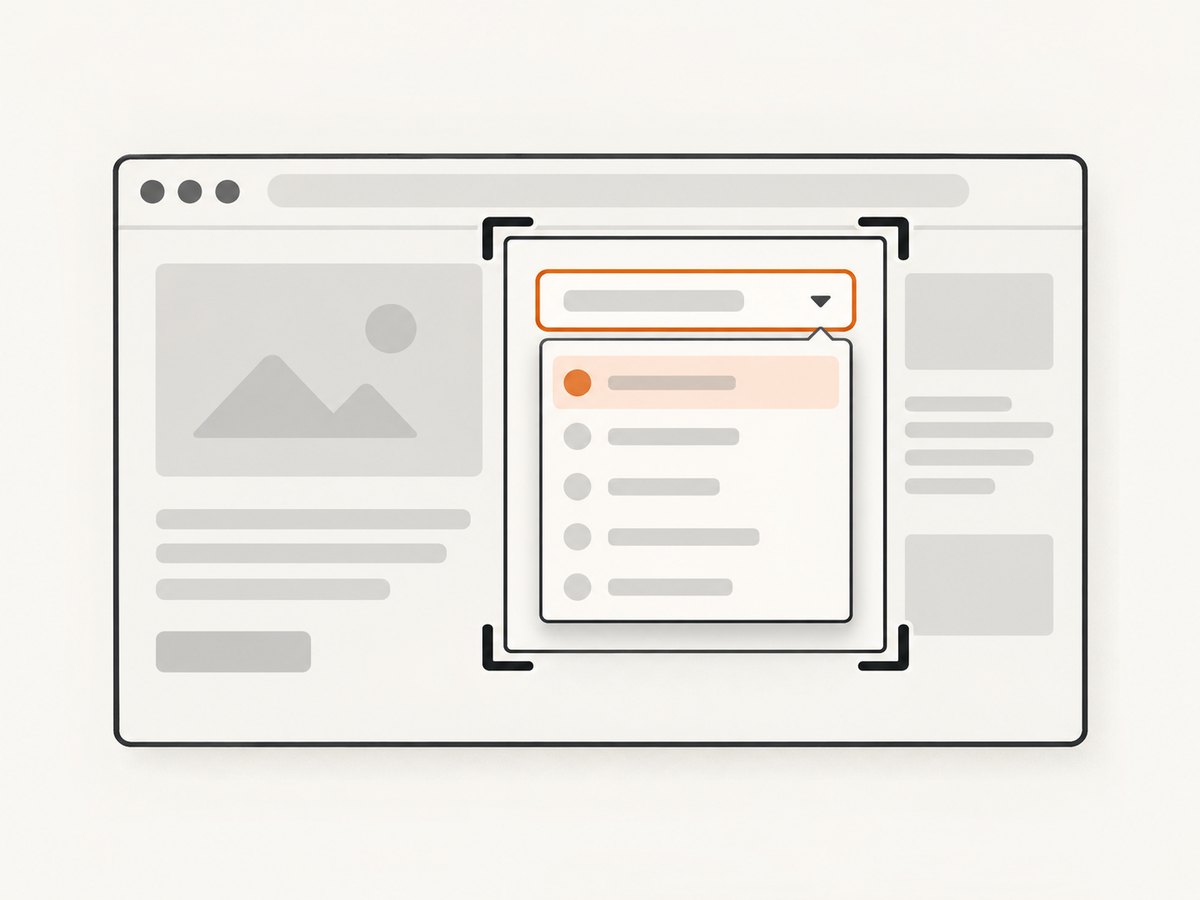
For a custom menu, interact with the visible trigger as a user would. Then wait for the menu or listbox to become visible before taking the screenshot. The accessible attributes are a useful starting point, but real sites vary: the menu may be rendered in a portal, use different roles, live in shadow DOM, or appear only after an animation.
using System;
using OpenQA.Selenium;
using OpenQA.Selenium.Support.UI;

var wait = new WebDriverWait(driver, TimeSpan.FromSeconds(10));

IWebElement trigger = driver.FindElement(
    By.CssSelector("[aria-haspopup='listbox']"));
trigger.Click();

IWebElement menu = wait.Until(d =>
{
    IWebElement candidate = d.FindElement(By.CssSelector("[role='listbox']"));
    return candidate.Displayed ? candidate : null;
});

menu.GetScreenshot().SaveAsFile("dropdown-options.png");
This selector is an example, not a universal recipe. Inspect the actual markup and choose a locator that points to the visible menu. If the menu is outside the trigger’s DOM subtree, locate it from the driver rather than searching only inside the trigger.
Choose the screenshot surface based on what the evidence needs to show:
- Page screenshot: captures the current page view and preserves surrounding context. Use it when an overlay overlaps other content or the menu is rendered elsewhere in the page.
- Element screenshot: isolates a visible menu or list element. Use it when that element covers the region you need.
// Page screenshot
((ITakesScreenshot)driver)
    .GetScreenshot()
    .SaveAsFile("dropdown-page.png");

// Element screenshot
menu.GetScreenshot().SaveAsFile("dropdown-menu.png");
Selenium’s [ITakesScreenshot API](https://www.selenium.dev/selenium/docs/api/dotnet/webdriver/OpenQA.Selenium.ITakesScreenshot.html), [IWebElement API](https://www.selenium.dev/selenium/docs/api/dotnet/webdriver/OpenQA.Selenium.IWebElement.html), and [Screenshot API](https://www.selenium.dev/selenium/docs/api/dotnet/support/OpenQA.Selenium.Screenshot.html) describe page and element capture. A screenshot records what is rendered on the chosen surface; it does not make hidden options visible.
5. Capture all custom menu options in one image
If a custom menu scrolls or clips its contents, opening it may not reveal every option at once. First determine whether all entries are present in the DOM and whether the menu uses an internal scroll region. You can scroll the menu element itself, but each screenshot then shows only the current viewport of that list. For complete evidence, capture a sequence of scroll positions or render a dedicated test view with all entries visible.
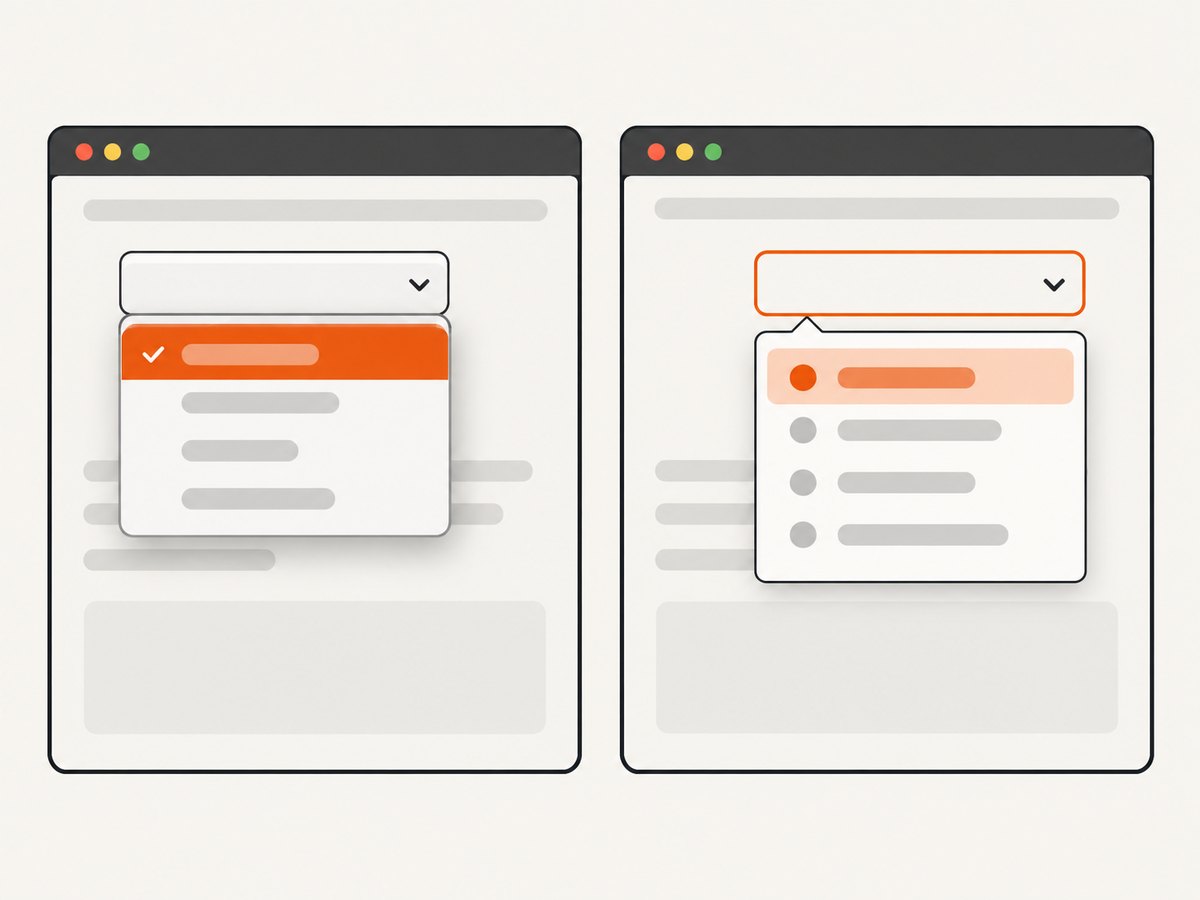
Do not assume an element screenshot expands a scroll container or captures content outside its rendered bounds. Likewise, a full-page screenshot may not include an open overlay if the browser’s screenshot implementation captures only the current viewport or the overlay is native browser chrome. Verify the behavior needed by the test against the actual browser and driver combination.
6. Common errors and fixes
| Symptom | Likely cause | Fix |
|---|---|---|
UnexpectedTagNameException |
SelectElement received a button, div, or other custom control |
Inspect the tag. Use normal WebDriver clicks and locators for custom menus. |
NoSuchElementException for the menu |
The menu is not rendered yet, the locator is wrong, or it is mounted elsewhere | Wait for visibility; inspect the live DOM after opening; search from the driver for portal content. |
ElementNotInteractableException |
The trigger is hidden, covered, disabled, or not the actual clickable element | Locate the visible trigger, wait until it is interactable, and check for overlays or disabled state. |
| Screenshot shows a closed menu | The click did not open it, or capture happened before the overlay became visible | Wait for the menu’s displayed state, and confirm the click changed the page state. |
| Native options are absent from the image | The popup is browser or OS UI rather than captured page content | Capture selected states, verify target-browser behavior, or use a page-rendered demonstration list. |
| Screenshot is cropped or empty | The wrong element was captured, it was not visible, or the menu is clipped | Capture the page for context, choose the menu element, or scroll/capture the list in segments. |
| Stale element reference | The page re-rendered the menu after a click or selection | Re-find the menu or option after the update instead of reusing an old element reference. |
7. Reliability and performance considerations
Prefer explicit waits for a specific state—visible menu, expected selected value, or completed dependent update—over fixed delays. A fixed sleep can waste time on fast runs and still be too short on a slow run. Use timeouts that reflect the page and test environment, and let a timeout fail with a diagnostic that identifies the expected state.
Make captures deterministic where possible: use a stable viewport, known page state, and a fresh output path. If an animation changes the menu during capture, wait for the final state or use a test page configuration that disables animation. Avoid selecting every native option if the goal is only to confirm that the control contains those values; inspect Options directly and capture only the states the test needs.
Each screenshot adds browser work and output storage. Capturing a large menu repeatedly can increase suite duration and artifact size. Keep only evidence that helps diagnose or document behavior, and use element capture when a focused region is sufficient. Native popup rendering and full-page behavior are browser and driver dependent; validate those requirements in the same environment used by the test suite.
8. Or skip the browser setup
If you need a clean screenshot of a page rather than Selenium interaction with a specific dropdown state, [ScreenshotNeo](https://screenshotneo.com) is a website screenshot API and MCP server for developers. One GET request returns a PNG, JPEG, WebP, or PDF. See the [ScreenshotNeo API documentation](https://screenshotneo.com/docs/) for parameters and setup.
curl -G "https://api.screenshotneo.com/v1/shot" \
  -d access_key=YOUR_API_KEY \
  --data-urlencode url=https://stripe.com \
  -o shot.webp
import requests
r = requests.get(
"https://api.screenshotneo.com/v1/shot",
params={"access_key": "YOUR_API_KEY", "url": "https://stripe.com"},
timeout=90,
)
open("shot.webp", "wb").write(r.content)const q = new URLSearchParams({
access_key: 'YOUR_API_KEY',
url: 'https://stripe.com'
});
const res = await fetch(`https://api.screenshotneo.com/v1/shot?${q}`);
const bytes = new Uint8Array(await res.arrayBuffer());
await Bun.write('shot.webp', bytes);ScreenshotNeo removes cookie and consent banners, newsletter popups, and chat widgets before capture; each cleanup step can be turned off. Bot checks, blank pages, failed loads, timeouts, and cache hits are not billed, and response headers report the page verdict and billing status. Its MCP server lets AI agents use take_screenshot, get_page_info, and capture_pdf. The free plan includes 1,000 shots a month with no card; paid plans start at $5 for 3,000 shots. These captures show the page state the API can render; they do not replace Selenium when you need to open a specific interactive dropdown state.
Sign up free for 1,000 screenshots a month, with no card required.
9. Frequently asked questions
Can Selenium capture the choices in a native select without selecting them?
You can inspect the choices through SelectElement.Options. A screenshot of the expanded native popup is not guaranteed by the documented Selenium screenshot APIs. For portable evidence, capture selected states or show the choices in ordinary page content.
Should I use a page or element screenshot?
Use a page screenshot when context or an overlay outside the trigger matters. Use an element screenshot when the visible menu element itself is the evidence you need.
Does SelectElement work with React or Angular dropdowns?
Only if the rendered control is an actual HTML <select>. A framework-built overlay needs normal WebDriver interaction and locators for its rendered elements.
Why does the screenshot show one selected value rather than every choice?
A native select selection changes the selected value; it does not guarantee that the browser popup is included in the screenshot. Capture each selected state or use a rendered custom list for a single-image presentation.


