How to Screenshot an EJS Template with Puppeteer, Node.js, and Express
Render an EJS view through Express and capture it with Puppeteer. Set up a runnable Node.js example, choose the right capture options, and fix common issues.
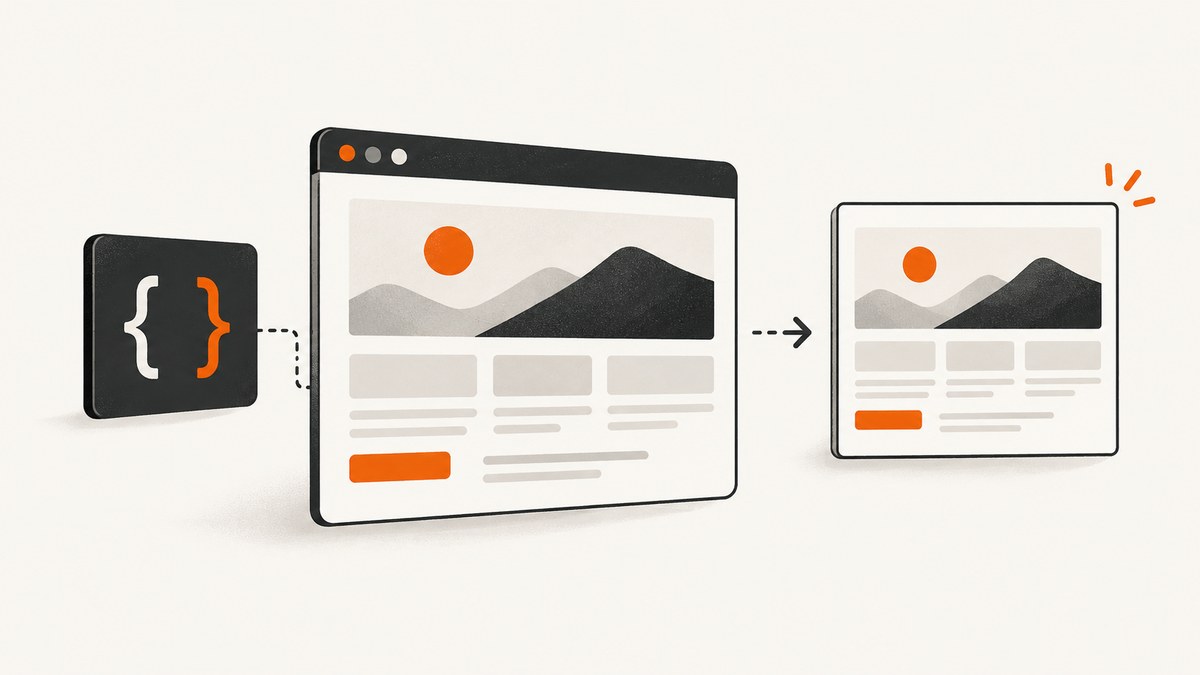
To screenshot an EJS template with Puppeteer, render it through an Express route, open that route in a Puppeteer-controlled browser, wait for the page to be ready, and call page.screenshot(). Set the viewport before navigation when the layout depends on screen size. Use fullPage: true for the full document, or capture a specific element when you only need one component.
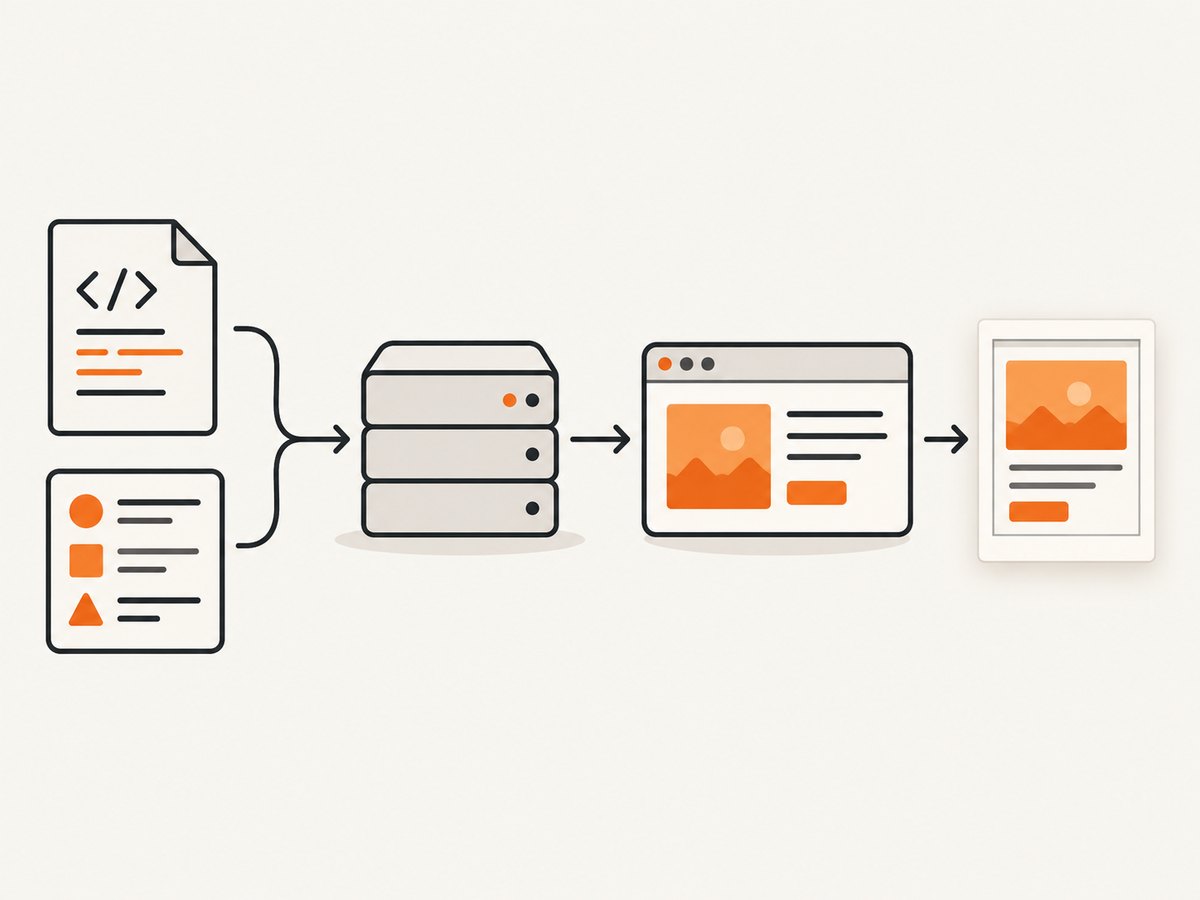
This route-based approach exercises the same Express view configuration and rendering path your application uses. The complete example below starts Express and Puppeteer from one Node.js script, waits for the server to accept connections, writes a PNG, and closes both resources.
1. Install EJS, Express, and Puppeteer
Create a project and install the three packages:
mkdir ejs-screenshot
cd ejs-screenshot
npm init -y
npm install express ejs puppeteer
Puppeteer downloads a compatible browser as part of its standard installation. The Puppeteer installation guide currently documents approximate Chrome for Testing download sizes of 170 MB on macOS, 282 MB on Linux, and 280 MB on Windows; actual requirements depend on platform and version. If install scripts are disabled, the browser download may be skipped. The manual installation command is npx puppeteer browsers install. If you choose puppeteer-core instead, you manage the browser yourself and must connect to an installed browser or specify a suitable executable path or channel. See the Puppeteer installation guide.
Create this directory structure:
ejs-screenshot/
  views/
    report.ejs
  capture.js
  package.json
2. Create the EJS view
Add a view named views/report.ejs. EJS uses <%= value %> to emit HTML-escaped output, which is the appropriate choice for ordinary text such as a title or row value. The <%- value %> form emits raw HTML. Use raw output only for trusted markup; it does not sanitize user input.
<!doctype html>
<html lang="en">
<head>
  <meta charset="utf-8">
  <meta name="viewport" content="width=device-width, initial-scale=1">
  <title><%= title %></title>
  <style>
    * { box-sizing: border-box; }
    body {
      margin: 0;
      padding: 40px;
      color: #172033;
      background: #f2f5fa;
      font: 16px/1.5 system-ui, sans-serif;
    }
    main { max-width: 900px; margin: auto; }
    h1 { margin-top: 0; }
    .card {
      margin: 16px 0;
      padding: 20px;
      background: white;
      border: 1px solid #dfe5ef;
      border-radius: 12px;
    }
    .muted { color: #5e687a; }
  </style>
</head>
<body>
  <main>
    <h1><%= title %></h1>
    <p class="muted">Generated report</p>
    <% if (rows.length === 0) { %>
      <p class="card">No rows to display.</p>
    <% } else { %>
      <% rows.forEach((row) => { %>
        <section class="card">
          <strong><%= row.name %></strong>
          <span> — <%= row.value %></span>
        </section>
      <% }) %>
    <% } %>
  </main>
</body>
</html>
The conditional handles an empty data set explicitly, so the template still renders a meaningful state instead of assuming at least one row exists.
3. Render the template with Express and capture it
Save the following as capture.js. Express configures EJS as its view engine and maps the views directory. The /preview route renders the template with controlled local data. Puppeteer then opens the actual route, rather than rendering a second, separate copy of the template.
const express = require('express');
const puppeteer = require('puppeteer');
const path = require('node:path');
const net = require('node:net');

const app = express();
app.set('views', path.join(__dirname, 'views'));
app.set('view engine', 'ejs');

app.get('/preview', (req, res) => {
  res.render('report', {
    title: 'Monthly activity',
    rows: [
      { name: 'New accounts', value: '128' },
      { name: 'Completed projects', value: '42' },
      { name: 'Open tasks', value: '17' },
    ],
  });
});

function listen(server) {
  return new Promise((resolve, reject) => {
    server.once('error', reject);
    server.listen(0, '127.0.0.1', () => {
      server.removeListener('error', reject);
      resolve(server.address().port);
    });
  });
}

async function main() {
  const server = app.listen();
  let browser;

  try {
    const port = await new Promise((resolve, reject) => {
      server.once('error', reject);
      server.once('listening', () => resolve(server.address().port));
    });

    browser = await puppeteer.launch();
    const page = await browser.newPage();
    await page.setViewport({ width: 1280, height: 900 });
    await page.goto(`http://127.0.0.1:${port}/preview`, {
      waitUntil: 'networkidle2',
    });
    await page.screenshot({ path: 'preview.png', fullPage: true });
    console.log('Wrote preview.png');
  } finally {
    if (browser) await browser.close();
    await new Promise((resolve) => server.close(resolve));
  }
}

main().catch((error) => {
  console.error(error);
  process.exitCode = 1;
});
The listen helper above is not needed in this version of the script and can be removed; it is included only if you want to extract startup into a helper. The actual startup flow uses server.once('listening', ...) and does not navigate until Express has a bound port. Run the program with:
node capture.jsIt writes preview.png in the current working directory. Express describes res.render(viewName, locals) as the route-level rendering path, while EJS is compatible with the Express view system. See the Express template engine guide and EJS documentation.
4. Choose the capture size and output
Puppeteer’s screenshot options control what appears and how the result is returned. The output file extension is used to infer the format when you provide a path; PNG is the default. The API also supports an explicit image type. See the ScreenshotOptions API.
| Need | Option or method | Notes |
|---|---|---|
| Browser-sized image | Default screenshot | Captures the visible viewport. |
| Entire document | fullPage: true |
Useful for long reports. Very tall pages produce correspondingly large images. |
| Specific region | clip: { x, y, width, height } |
Coordinates describe the page region to capture. |
| One component | element.screenshot() |
Find it with waitForSelector(); Puppeteer scrolls it into view by default. |
| Transparent background | omitBackground: true |
Hides the default white background where transparency is supported. |
| Image format | type: 'jpeg' or 'webp' |
PNG is the default; the path extension can also determine format. |
| Output bytes | Omit path |
page.screenshot() returns the image bytes, which you can store or send onward. |
For example, to save a JPEG at quality 85, replace the screenshot call with:
await page.screenshot({ path: 'preview.jpg', type: 'jpeg', quality: 85 });Quality applies to JPEG and WebP, not PNG. For a transparent PNG, use:
await page.screenshot({ path: 'preview.png', omitBackground: true });For a component-only capture, wait for a stable selector and capture its element:
const card = await page.waitForSelector('.card');
await card.screenshot({ path: 'first-card.png' });
5. Wait for the page state you actually need
waitUntil: 'networkidle2' is a useful starting point and appears in Puppeteer’s screenshot guide. It is not a guarantee that every application has finished rendering: analytics, polling, long-lived connections, or delayed client-side work can make network activity a poor proxy for visual readiness. Conversely, a page can be visually ready while some unrelated request continues.
Prefer a selector or application-specific readiness signal when the screenshot depends on data rendered by client-side JavaScript. For example:
await page.goto(url, { waitUntil: 'domcontentloaded' });
await page.waitForSelector('[data-report-ready="true"]');
await page.screenshot({ path: 'report.png', fullPage: true });
Your application can mark the page ready after it has completed the work required for the image. If the view has a known animation or short delayed transition, a bounded delay can help, but avoid using an arbitrary sleep as the only readiness check. A stable selector is more reliable and often faster.
Set dimensions before navigation. Puppeteer notes that changing the viewport can resize the page and may cause a reload in some cases. If you need mobile layout, choose mobile viewport dimensions before opening the route. For a sharper image, use a device scale factor:
await page.setViewport({
  width: 390,
  height: 844,
  deviceScaleFactor: 2,
});
That changes the rendered pixel density, not the CSS viewport width. Keep the CSS viewport appropriate to the layout you intend to capture.
6. Alternative: render HTML directly with EJS
If you do not need to exercise an Express route, EJS can render a template to an HTML string and Puppeteer can load that content into a page. This can be convenient for a one-off document, but the route-based example is closer to the real application path and naturally uses Express middleware, route data, and view configuration.
const ejs = require('ejs');
const puppeteer = require('puppeteer');
const path = require('node:path');

async function capture() {
  const html = await ejs.renderFile(
    path.join(__dirname, 'views', 'report.ejs'),
    { title: 'Preview', rows: [{ name: 'Items', value: '3' }] },
  );

  const browser = await puppeteer.launch();
  try {
    const page = await browser.newPage();
    await page.setViewport({ width: 1280, height: 900 });
    await page.setContent(html, { waitUntil: 'networkidle2' });
    await page.screenshot({ path: 'direct-preview.png', fullPage: true });
  } finally {
    await browser.close();
  }
}

capture().catch(console.error);
Relative asset URLs may not resolve as they would from your application route when using setContent(). For CSS, images, and fonts, use absolute URLs or the route-based approach so the browser has the expected origin and asset paths.
7. Keep rendering safe and predictable
Use fixed template names in server code and validate values passed as locals. EJS warns that rendering with unchecked input makes the application responsible for the result, and advises against giving end users unrestricted access to rendering. Use escaped <%= ... %> output for user-controlled text. Treat <%- ... %> as an explicit raw-HTML boundary and only pass trusted, appropriately sanitized markup.
The screenshot route itself should not accept arbitrary template names or arbitrary executable content from a request. If it accepts user-selected report data, validate its shape and size before rendering. In production, protect internal preview routes as appropriate for your application and do not expose secrets in screenshot output.
8. Troubleshooting
| Symptom | Likely cause | Fix |
|---|---|---|
net::ERR_CONNECTION_REFUSED |
Puppeteer navigated before Express was listening, or used the wrong port. | Wait for the server’s listening event and build the URL from server.address().port. |
| Chrome executable missing | Install scripts were blocked or the managed browser was not downloaded. | Run npx puppeteer browsers install, or configure a managed browser when using puppeteer-core. |
| Template not found | The configured views path or view name does not match the file location. | Set an absolute views directory, check the filename, and call res.render('report', ...) without the extension when EJS is the configured engine. |
| Screenshot is blank or incomplete | Navigation succeeded before client rendering or image loading finished. | Wait for a page-specific selector or readiness signal; check that the route returns the intended content. |
| Page hangs at network idle | Persistent polling or other network activity prevents the chosen idle condition. | Use domcontentloaded or another navigation milestone, then wait for the specific content you need. |
| Wrong layout or wrapping | Viewport was set too late or has the wrong CSS dimensions. | Set the viewport before goto(); use the intended desktop or mobile CSS width. |
Missing CSS or images with setContent() |
Relative URLs have no expected application route base. | Use absolute asset URLs or navigate to the Express route. |
| HTML appears unescaped | The template uses <%- ... %>. |
Use <%= ... %> for text and reserve raw output for trusted markup. |
9. Performance, reliability, and cost
A screenshot requires a browser process, page navigation, rendering, and image encoding. For a single capture, launch and close the browser in the same script as shown. For repeated captures in a worker, reusing a browser process can avoid repeated startup, but isolate each job in its own page and close pages when finished. Also close the browser on errors so a failed render does not leave browser processes behind.
Keep the page as small as the required output: choose a viewport capture instead of a full document when appropriate, use a specific element for a component image, and avoid waiting on unrelated network activity. Full-page screenshots of very long documents consume more memory and produce larger files. JPEG or WebP can reduce output size when transparency and lossless text rendering are not required; PNG is useful for crisp interface text and transparency.
Reliability comes from controlling the inputs: pin your package versions in the project lockfile, set a deliberate viewport, wait on an application-specific ready state, and handle navigation and screenshot errors. Browser downloads increase installation and deployment storage requirements. Self-hosted capture has no per-image API charge, but it still uses compute, memory, storage, and maintenance time; size workers and limits for your own workload.
Or skip the browser setup
If the rendered page is reachable at a URL, ScreenshotNeo can return a screenshot or PDF with one GET request. The API and parameter reference is in the ScreenshotNeo documentation.
curl -G "https://api.screenshotneo.com/v1/shot" \
  -d access_key=YOUR_API_KEY \
  --data-urlencode url=https://your-app.example/preview \
  -o preview.webp
import requests
r = requests.get(
"https://api.screenshotneo.com/v1/shot",
params={"access_key": "YOUR_API_KEY", "url": "https://your-app.example/preview"},
timeout=90,
)
r.raise_for_status()
open("preview.webp", "wb").write(r.content)const q = new URLSearchParams({
access_key: 'YOUR_API_KEY',
url: 'https://your-app.example/preview',
});
const res = await fetch(`https://api.screenshotneo.com/v1/shot?${q}`);
if (!res.ok) throw new Error(`Screenshot request failed: ${res.status}`);
await import('node:fs/promises').then(({ writeFile }) =>
writeFile('preview.webp', Buffer.from(await res.arrayBuffer()))
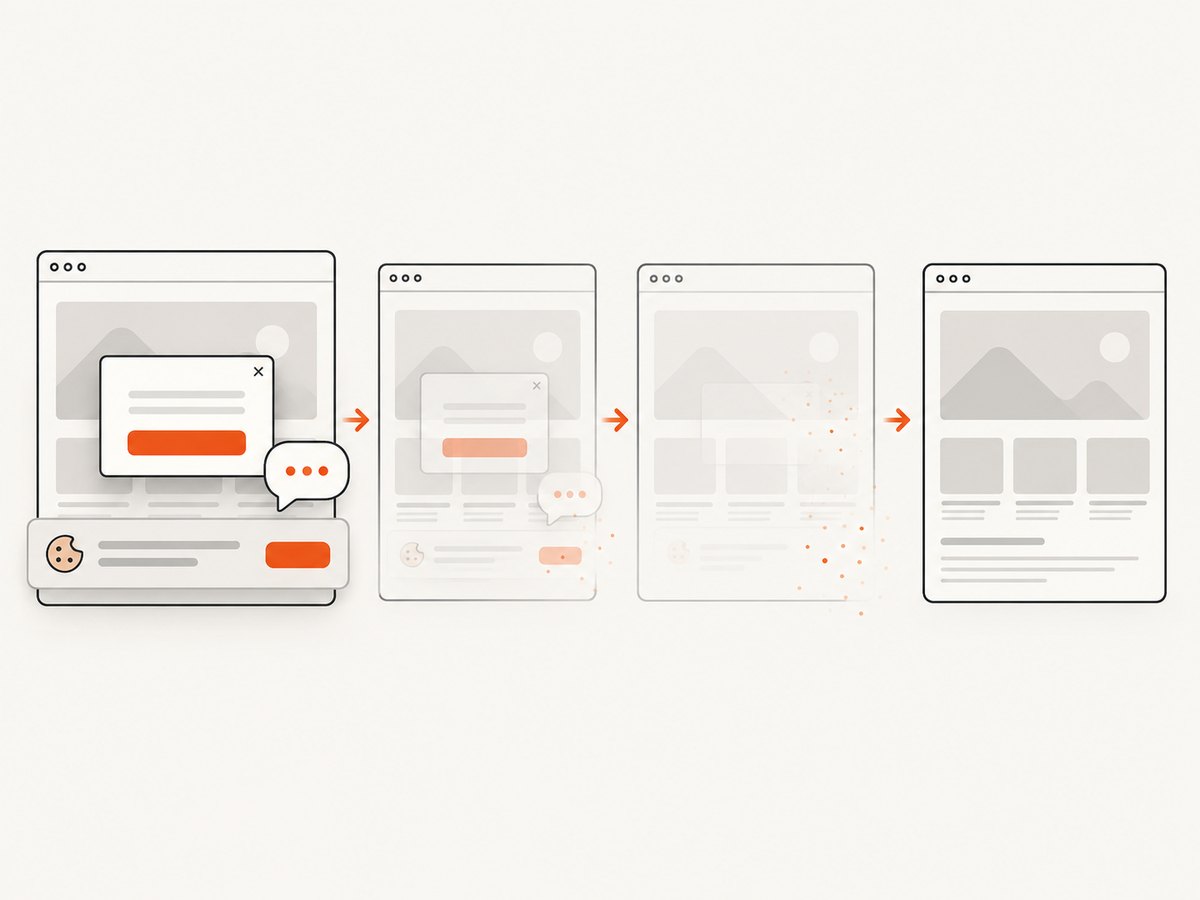
);ScreenshotNeo removes cookie banners, newsletter popups, and chat widgets before capture. Bot checks, blank pages, and failed loads are never billed. Its MCP server lets AI agents take screenshots. The free plan includes 1,000 screenshots a month with no card; paid plans start at $5 for 3,000. Sign up for 1,000 free screenshots a month, with no card.
FAQ
Can Puppeteer screenshot an EJS file directly?
Puppeteer captures browser pages, not template source files. Render the EJS template into HTML first, either through Express or EJS’s rendering API, then load that result in a page.
Does fullPage: true include content below the fold?
Yes. It captures the full document rather than only the visible viewport. Lazy-loaded content may still need to be triggered or awaited before capture.
Should I use puppeteer or puppeteer-core?
Use puppeteer for its managed browser download. Choose puppeteer-core when your environment provides the browser or you connect to a remote one.


